


DIY Dyeing Wood & Cloth
My friend Adam asked if I wanted to work on a dyeing project together and of course I said yes! He had experimented with dyeing things like wood pieces, wood beads and shells (which by the way those shells did not take the color!). We also played with tea dye, which was pretty cool and we will cover that in a separate tutorial.
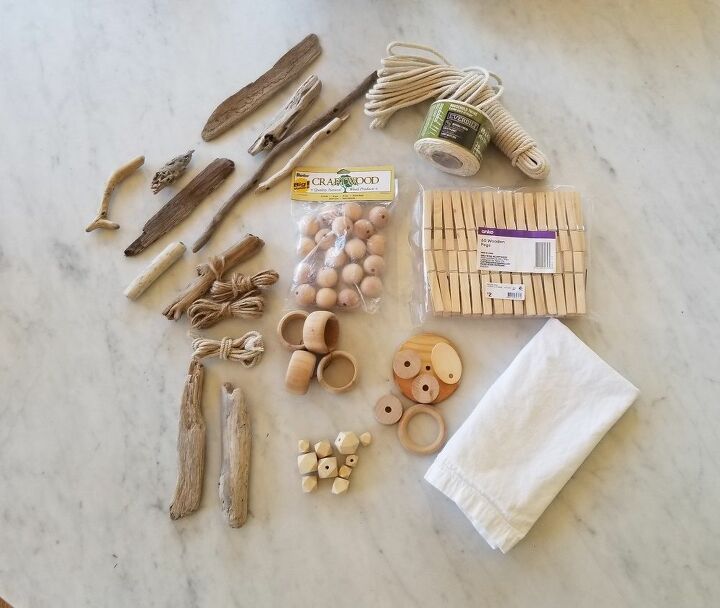
Gather items to dye.
Adam showed up to my house with a crafter's dream of Rit dyes, tons of fun wood beads, drift wood and various string. We used clothespins from a store called Anko, wooden beads from Michael's and Goodwill, household twine from Home Depot, as well as driftwood found on the beach. In addition to your favorite craft stores, check for interesting wood pieces on your neighborhood walks, wood scraps from previous projects, or odds and ends like twine and string that you have around the house.
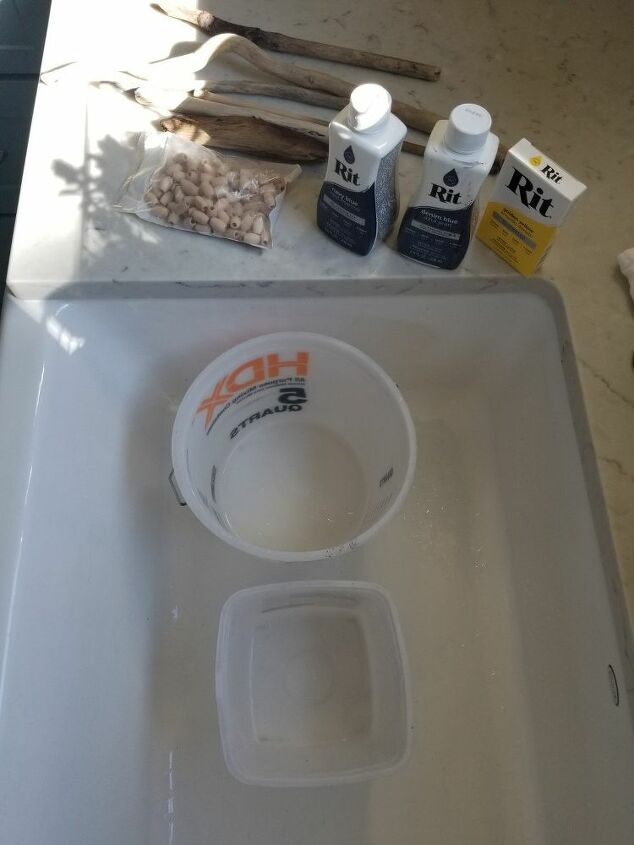
Place plastic tubs in sink. Read instructions on Rit dye packages.
Once I ogled all the fun treasures, Adam explained mixing the dye and we got started! We used one square tub that had held nuts or some other food. And we used a HDX 5 quart tub from Home Depot. Consider the size of your objects when choosing your containers because you need to submerge the items and you want a bit of space for stirring. Choose containers from around the house, such as small trash cans, buckets etc; just make sure you don't care if they were to stain.
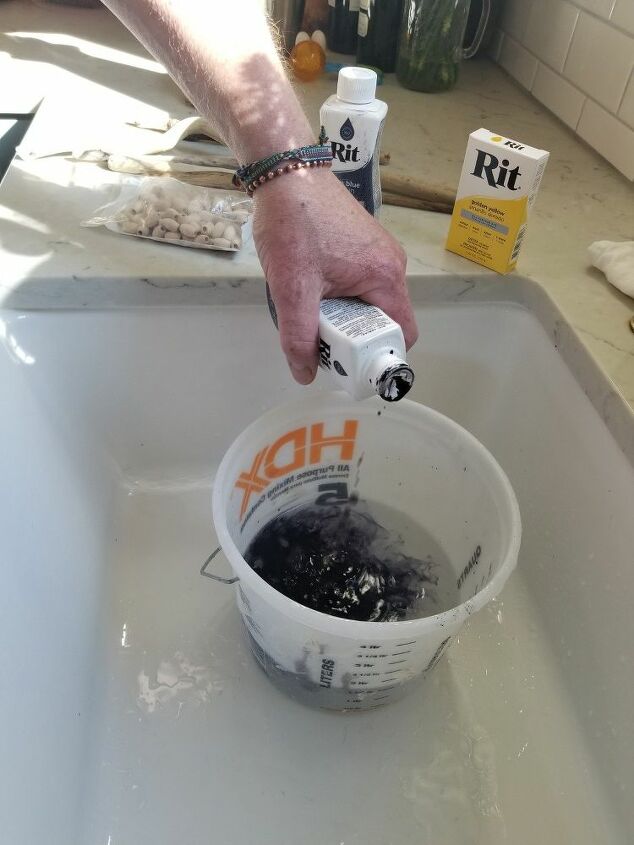
Fill container with hot water and dye, per instructions.
Adam chose to combine two Rit dye blue colors, Navy blue and Denim blue. Mixing colors is a fun way to get creative and custom. The dye is pretty forgiving and you can experiment and have fun. We tried both liquid and powder dyes, and found both had excellent color. The liquid dye was very easy to use, the powder dye had more steps.
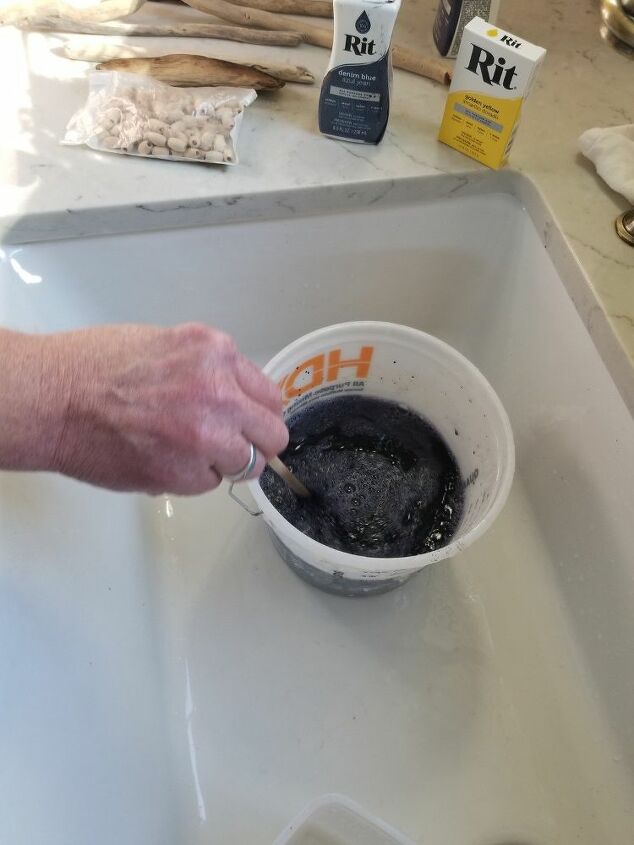
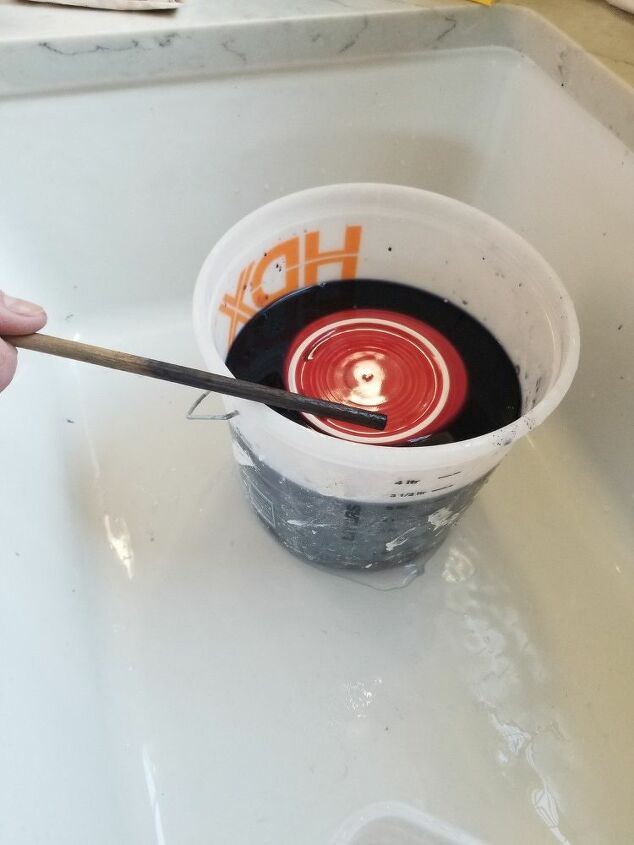
Stir dye into hot water with a stick or other utensil.
If you don't want tinted hands, use some rubber gloves for the remainder of the steps.
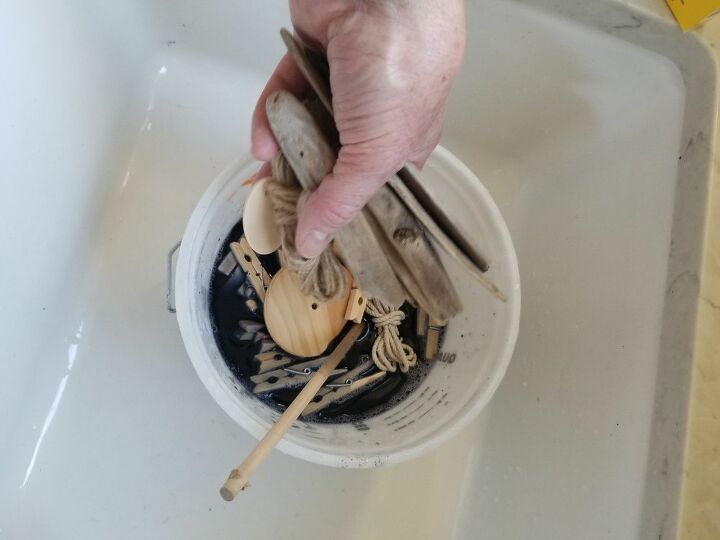
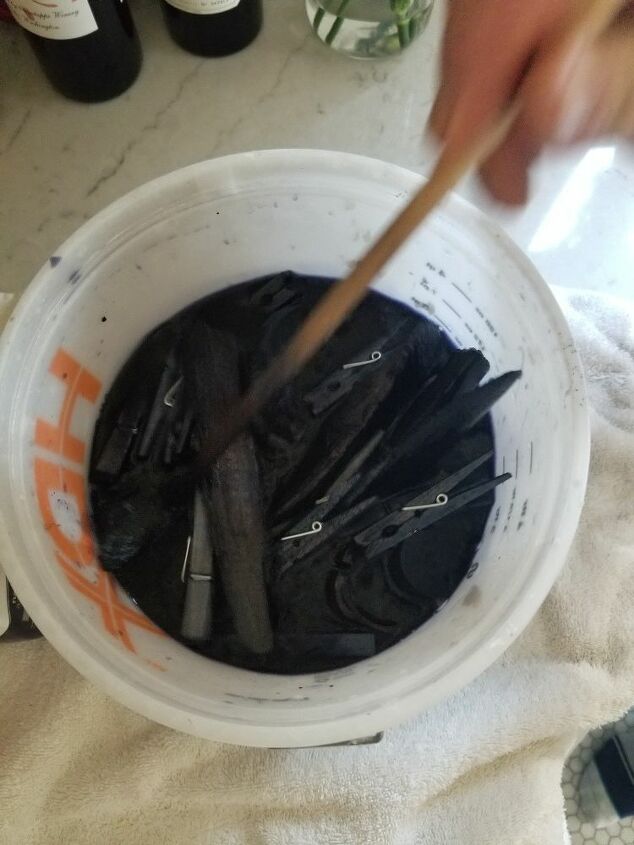
Drop in the objects you wish to dye. Agitate them until they are covered in dye.
Carefully place a saucer or bowl on top of the items in the dye to ensure they are submerged.
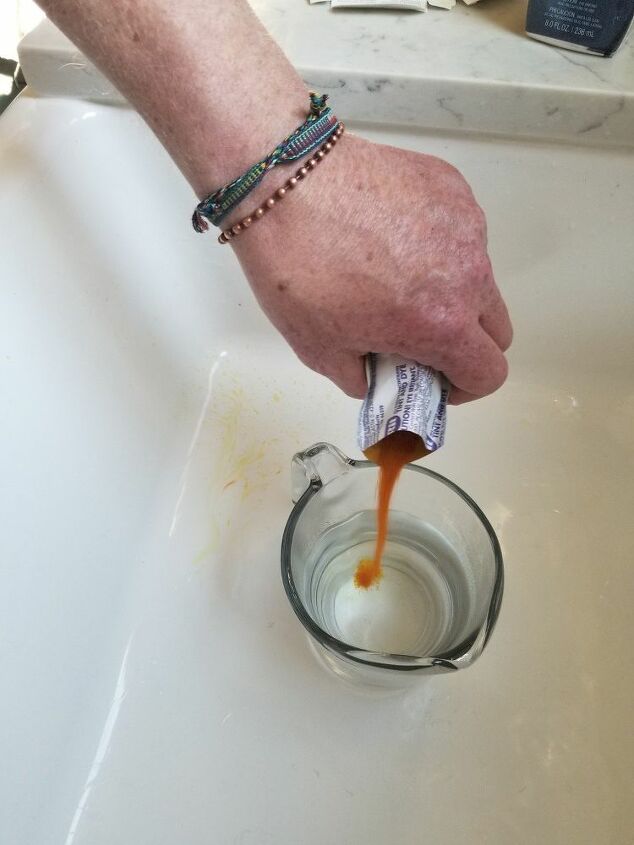
Pour packet of dye into boiling water and stir until dissolved.
While our blue dye sat, we prepped for the yellow dye bath.
We a boiled a kettle full of water and then poured about 1 cup into a 2 cup Pyrex measuring cup. Adam poured the remaining water into a tub. Depending on the intensity of color you prefer, use one or multiple packets of Rit powder dye. We used two packets of Golden Yellow to get a very vibrant yellow.
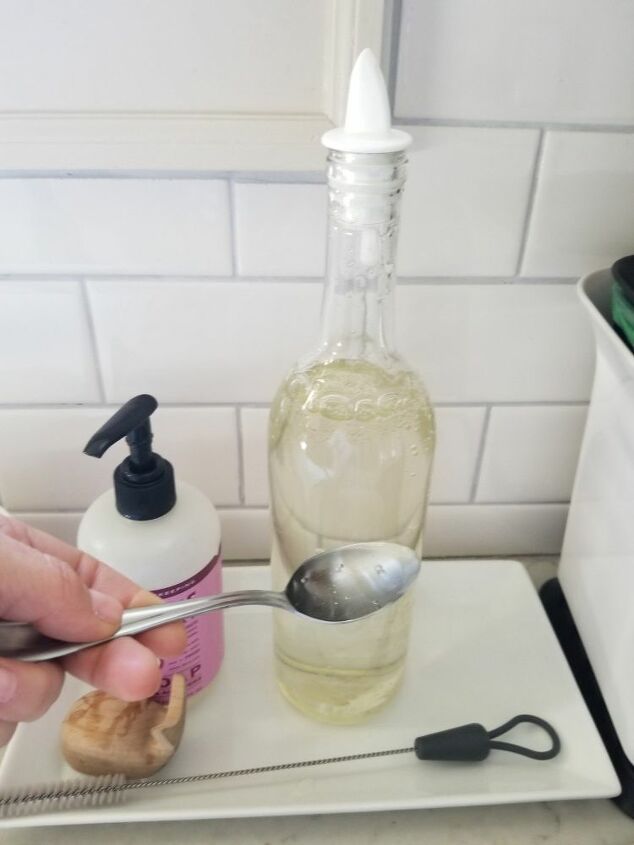
Add 1 teaspoon of dishsoap to bucket of bucket water.
We skipped adding the salt since we weren't dyeing fabric. We did dye some household twine and it still absorbed the dye really well.
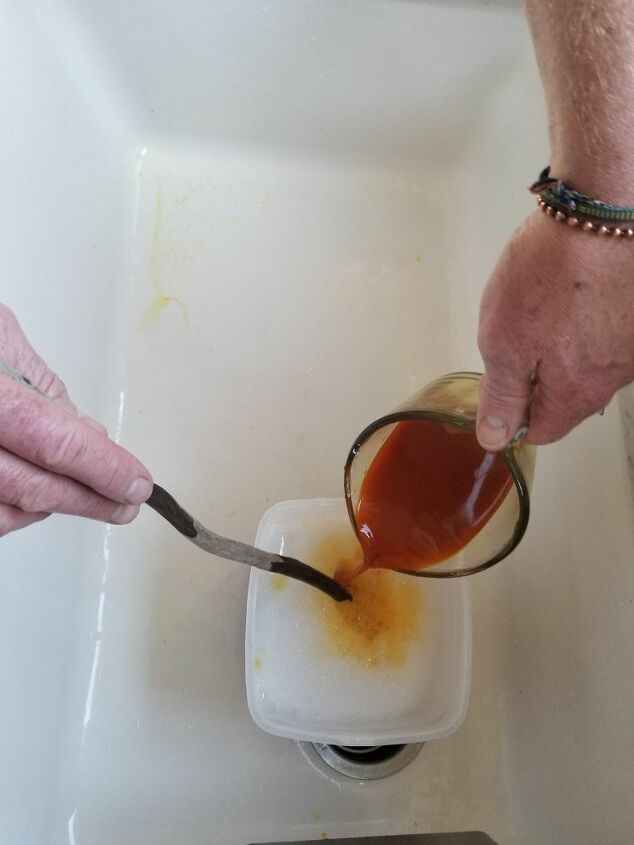
After dissolving the powder, pour into your soapy water and stir.
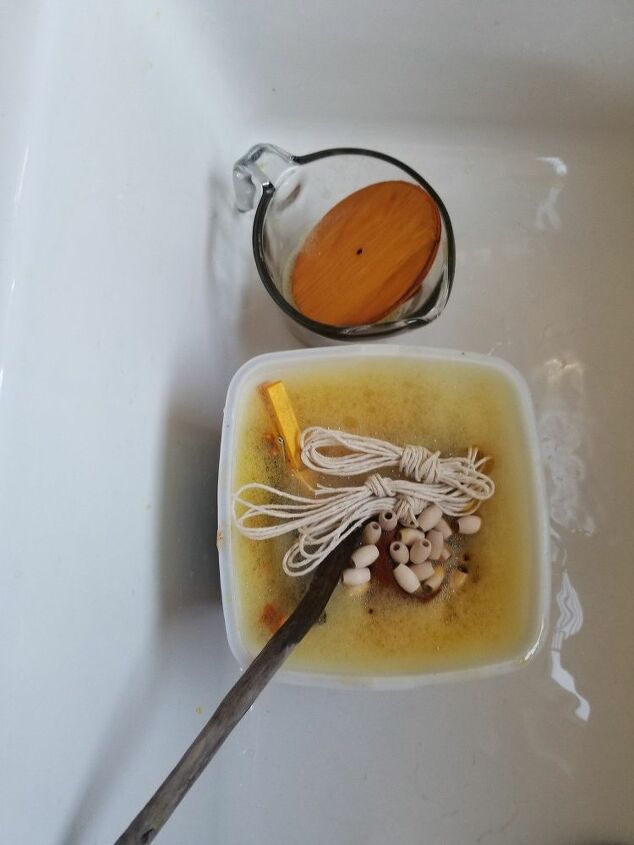
Drop in your items and stir.
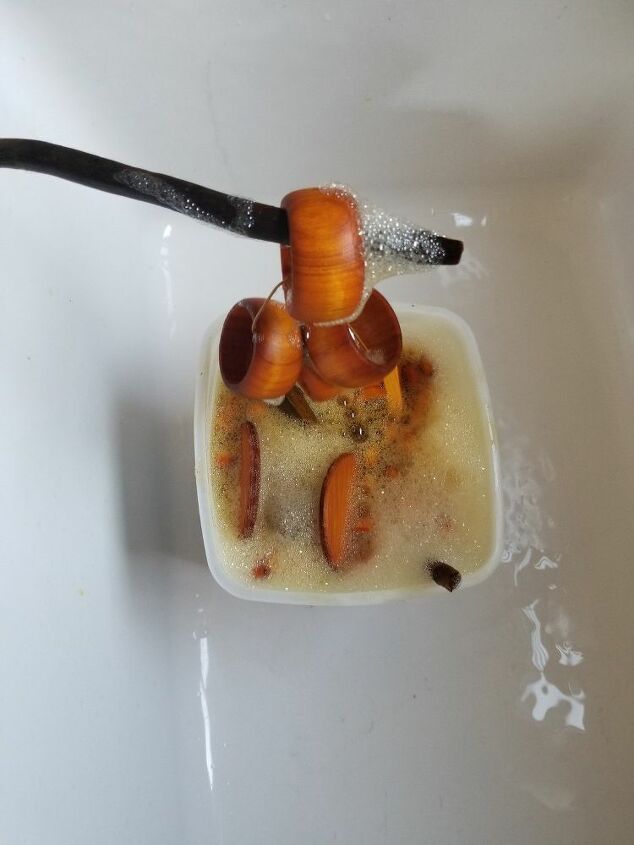
Let items sit for at least 30 minutes. Use a stick or tongs to check on the color saturation.
Let sit for longer or remove from dye bath.
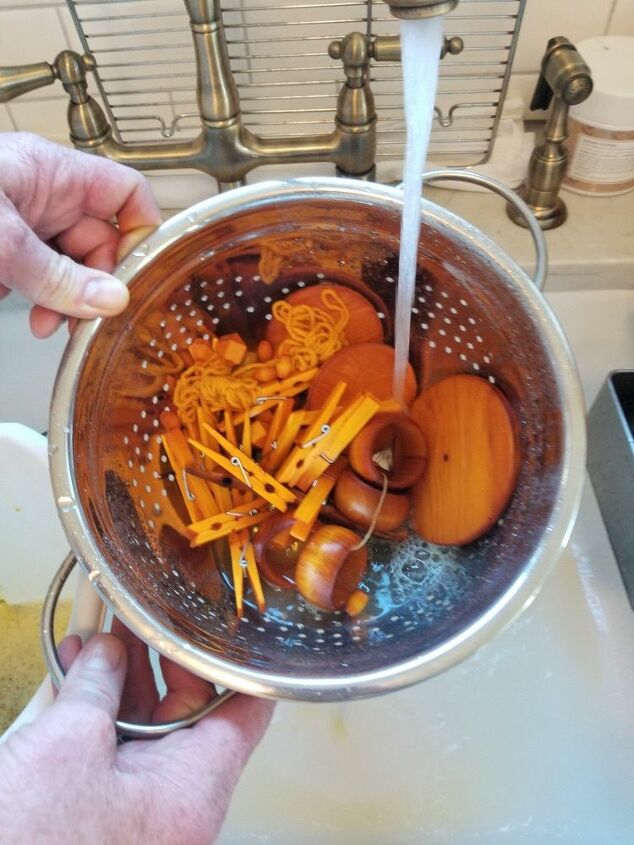
Use a collander to rinse objects.
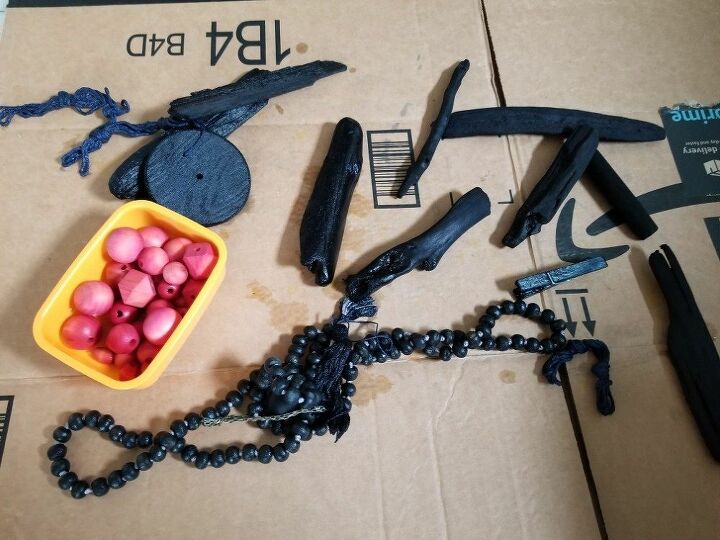
Place objects on cardboard to dry overnight.
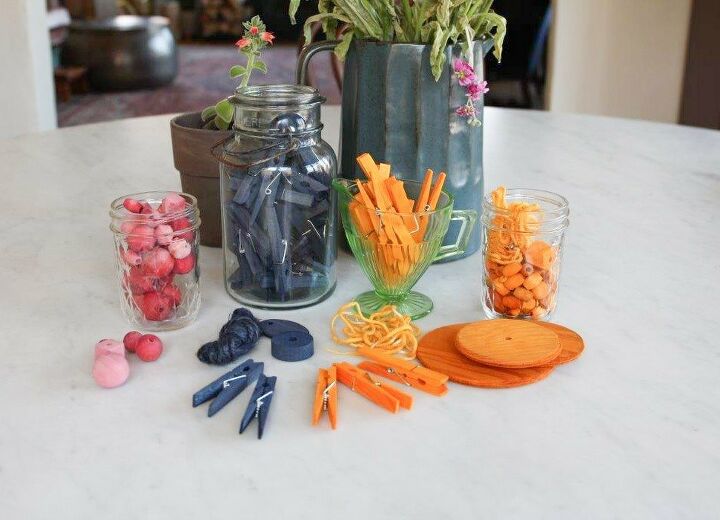
Here is an assortment of some of the things that we dyed. The Golden Yellow color photographed like carrot orange, but in person it is a pretty goldenrod color. The pinkish-red beads pictured were done in a tea dye, that will be shown in a different tutorial.
The dyeing process can be messy! Don't wear your favorite clothes, lay down some old towels and/or drop cloths. It may difficult to see in the photos, but we laid down old towels on the counter top when had to move around buckets. We also had some old rags on hand to wipe off any splashes; wipe up splashes immediately!! As mentioned above, rubber gloves will protect your hands from staining. We did this in my kitchen sink, but weather permitting, you can take this project outside.
We were super inspired by the outcome of the colors and we spent an afternoon making a whole tablescape using the projects we dyed!
Thanks for reading! For home decor, renovation, and those crafted tablescapes, visit me at http://instagram.com/this.dear.casa.
Have extra concrete? Try this project.
Check out this cardboard transformation.

Comments
Join the conversation
-
Love how this turned out! Can get so creative with it.
-
Hi there Paige! I would never think to dye a lampshade! I have a boring white one that is a good candidate ☺️ Thank you!


Frequently asked questions
Have a question about this project?