DIY Marble Clock Tutorial

by
Keitha The Bajan Texan
(IC: )
$40
60 Minutes
Easy
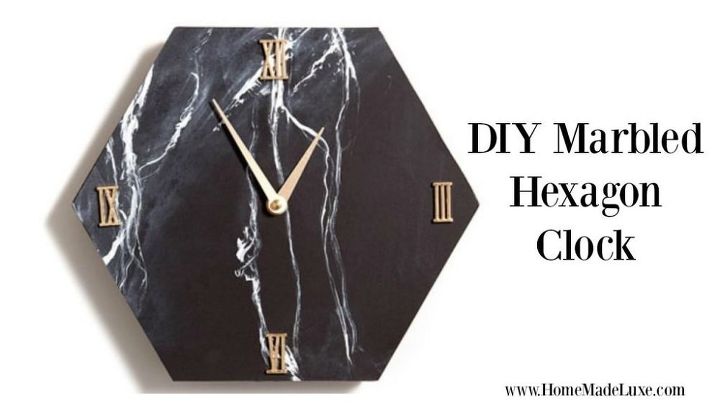
This DIY Marble Clock project is a really simple DIY that looks classic. This is a project kit from Home Made Luxe and each monthly project is like pinterest in a box and contains all the materials you need to create DIY home decor projects like this one plus written and video instructions. You can grab this DIY Marble Clock Project Kit here.
{
"id": "4099790",
"alt": "",
"title": "",
"video_link": "https://www.youtube.com/embed/hEj4UtkrNBs",
"youtube_video_id": "hEj4UtkrNBs"
}
{
"width": 634,
"height": 357,
"showRelated": true
}
DIY MARBLE CLOCK INSTRUCTIONSOPTION 1: DIY KID’S ROUTINE CLOCK:
Write down evening routine with beginning and end times.Use chalk to create triangles for these time blocks.Use chalk to ‘color’ every other triangle, leaving a space at the bottom to write.Write what child(ren) will be doing during each time block at the bottom of each triangle.Place clock numbers as needed around clock (Optional: secure numbers with hot glue for permanent hold)Add Clock hands and battery per kit instructions.Hang and enjoy.
OPTION 2: DIY MARBLED CLOCKAdd some white paint on a plate & water on another, use paint brush to slowly add water to paint.Dip the tip of your feather in the watered down paint and practice marbling on your cardstock.Try different strokes in different directions with different amounts of watered down paint.Try quickly tapping a dry or damp sponge edge on your painted lines for different looksUsing your practiced marbling technique, use your feather to paint some strokes on your chalkboard.Use just a few strokes to create a marbled look. If desired use the dry sponge around the edges of your clock.Optional all over marbled look: Dampen sponge and gently tap all over clock, adding more lines if needed.Optional removable look: Another option is to use chalk to create a removable marbling effect.Let dry and add as many or as few numbers to the clock as you would like. Optional: use glue gun to permanently secure numbers. Add Clock hands and battery per kit instructions. Hang and enjoy!
Enjoyed the project?
Published July 25th, 2017 9:05 PM


Frequently asked questions
Have a question about this project?