


DIY Turn "Over the Door" Mirrors Into a Beautiful Room Divider Screen!

by
Joy
Easy
4 over the door mirrors found their way to the cash register. Now to convince the hubby that my crazy idea would really work...if he helped me.
After explaining my thought process, he was quite receptive. I was in shock. He is after all, an engineer and my ideas kinda get "out there". The project is simple and will take a few days (paint has to dry). Here, let me show you what I'm talking about...
After explaining my thought process, he was quite receptive. I was in shock. He is after all, an engineer and my ideas kinda get "out there". The project is simple and will take a few days (paint has to dry). Here, let me show you what I'm talking about...

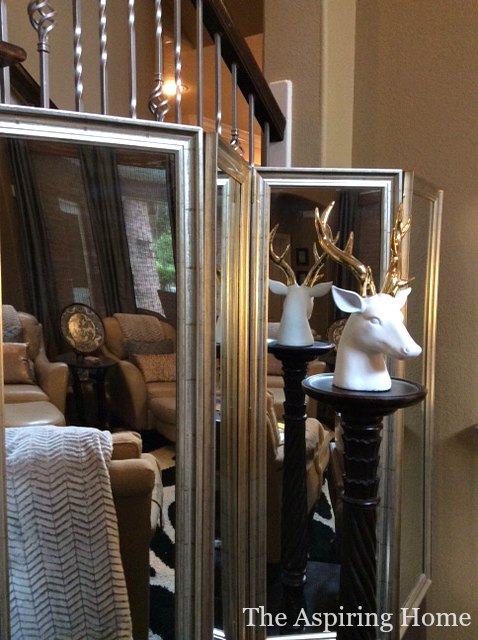
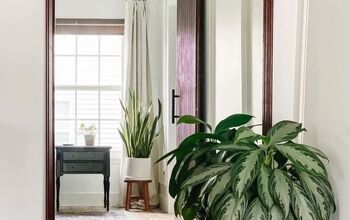
Not bad for 4 over the door mirrors! Let me give you the details...

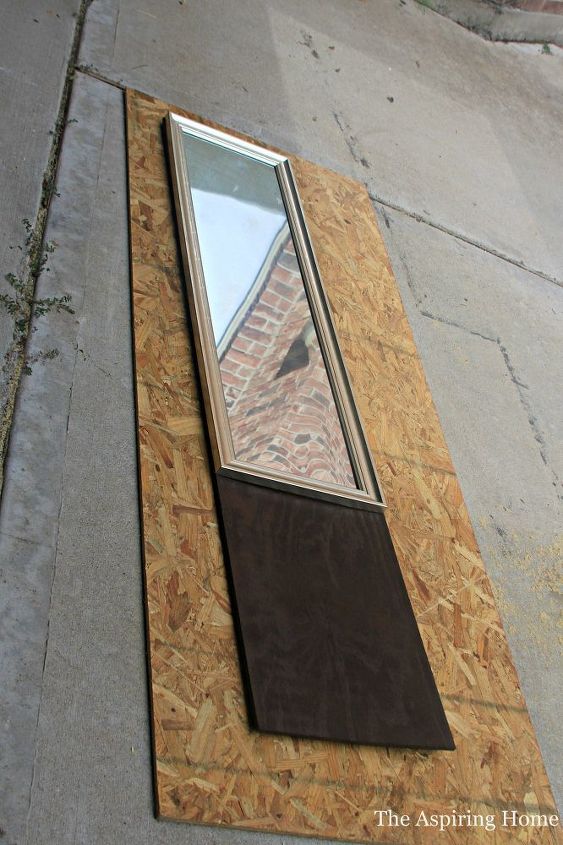
Take the paper backing off the mirrors. Pull any staples leftover from the protective corner covers. Some areas peeled easily- other areas required a box cutter. Use caution with that box cutter... pretty please.

Lay out your mirrors (exposed side up). Measure the width.
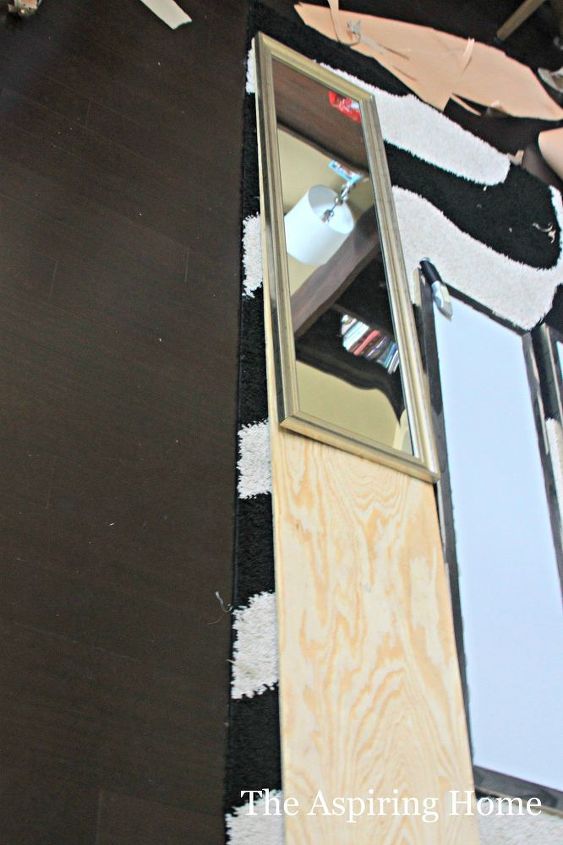
Measure and mark your plywood width exactly the measurement of the mirror width. To keep the back of the screen clean- we went with the plywood's pre-determined height (6ft). Rip down the plywood using a table saw (you will need two people on this) or talk to the nice folks at the big box hardware stores and have them rip the plywood for you!
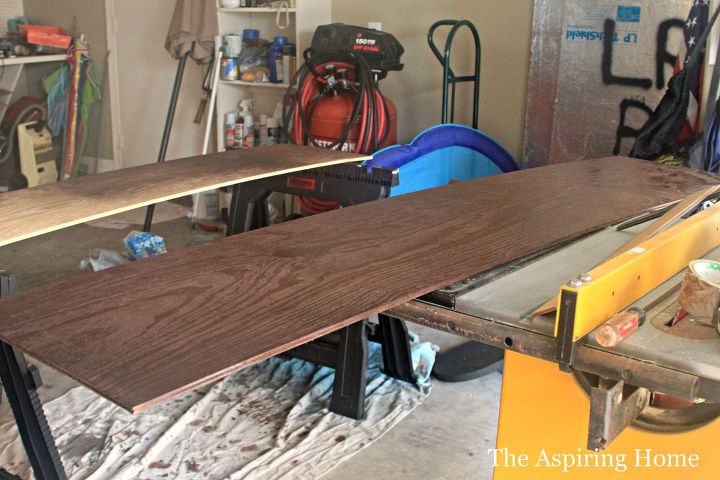
Paint the plywood. I chose to use spray paint we had on hand. You can choose whatever color your heart desires. Paint as many coats (follow drying time directions between coats) until you are happy.
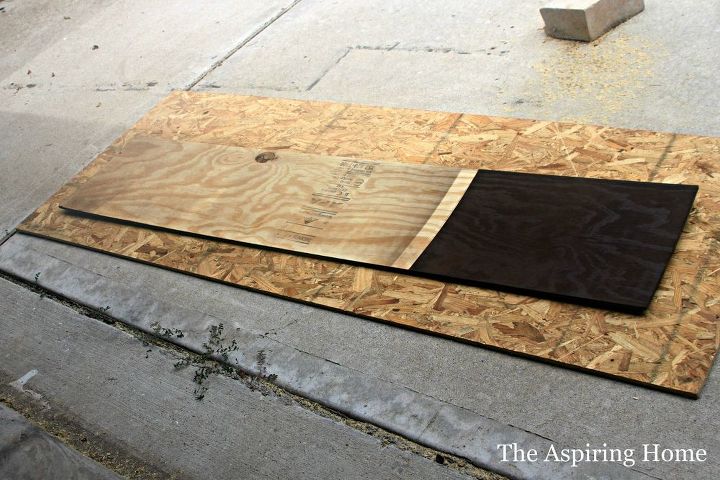
I painted the backside then marked off and taped the front area to save on paint.
Liquid Nail your reflective beauty to the plywood.
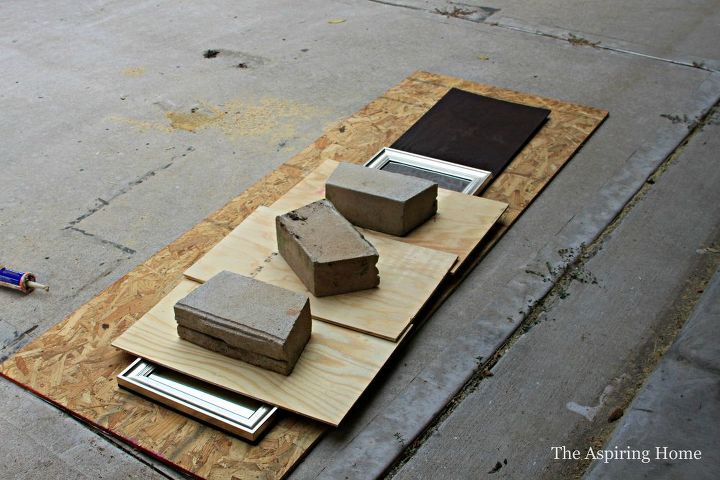
Carefully lay scrap lumber on top of mirror. Use heavy objects gingerly. Allow the Liquid Nails to set up. We waited a few of hours.
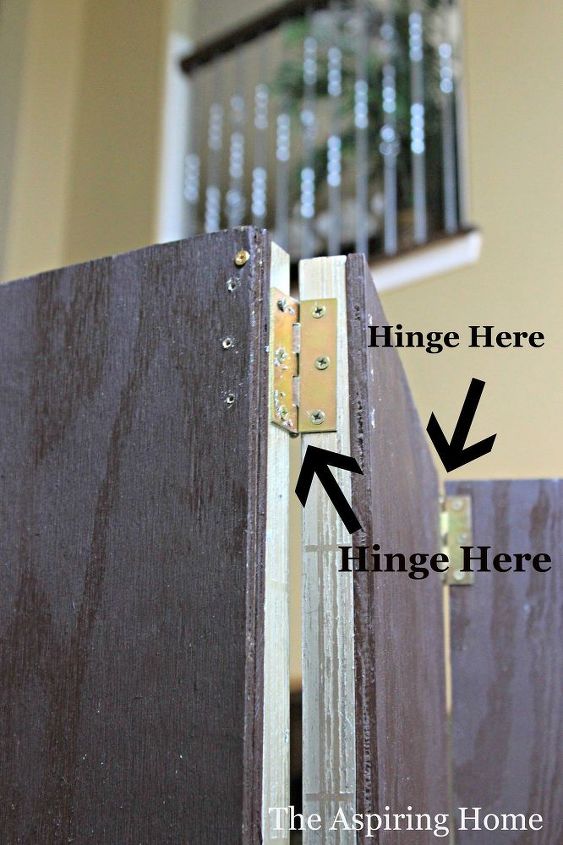
Ok, listen Children, listen well, to my tale of woe and struggle. No, seriously do not just lay the mirror panels side by side and start adding hinges. Yep, you guessed it- the dern thing was solid but not foldable. MHMM, my folding mirrored room divider was NOT foldable. Talk about having to give yourself a pep talk - geez it was a let down.
Want more details about this and other DIY projects? Check out my blog post!


Frequently asked questions
Have a question about this project?