


DIY Reusable Lunch Bag
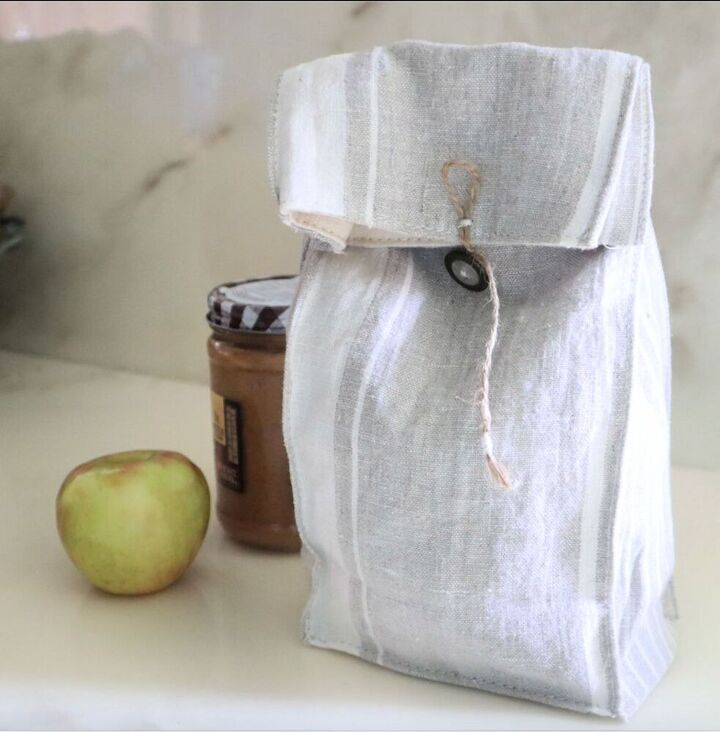
I have one daughter who likes the convenience of throwing away a paper bag and another that likes to carry her lunch in something special. Not an insulated floral Walmart lunch box though…
I decided to make a couple cute, small, reusable lunch sacs for my girls. It satisfies my youngest’s need for “special” and my olders’ need for something compact that can easily fold and store in her backpack.
This reusable lunch sac is so sew easy, and fast. Anyone can make this, including your child!
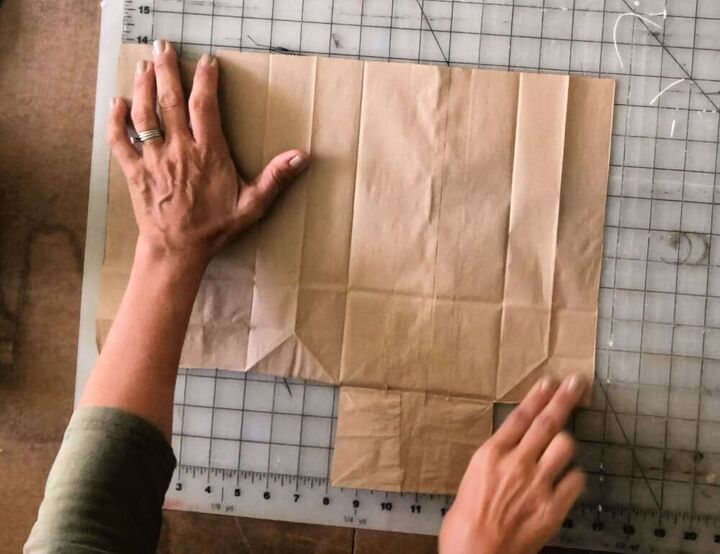
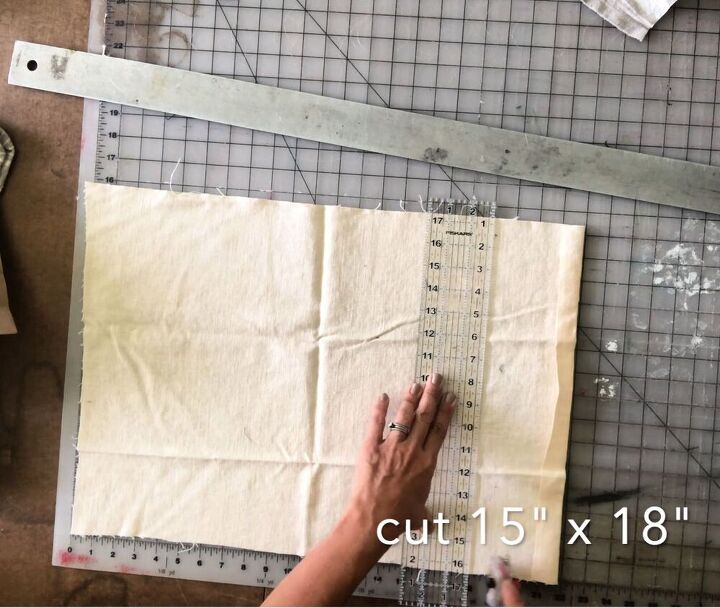
I cut open a brown paper lunch bag to determine the cut dimensions of my fabric. Then cut both pieces of fabric(one piece for lining and one piece for the outside of the bag) the same dimensions. I determined 15″ x 18″ would give me the exact size of a brown paper bag.
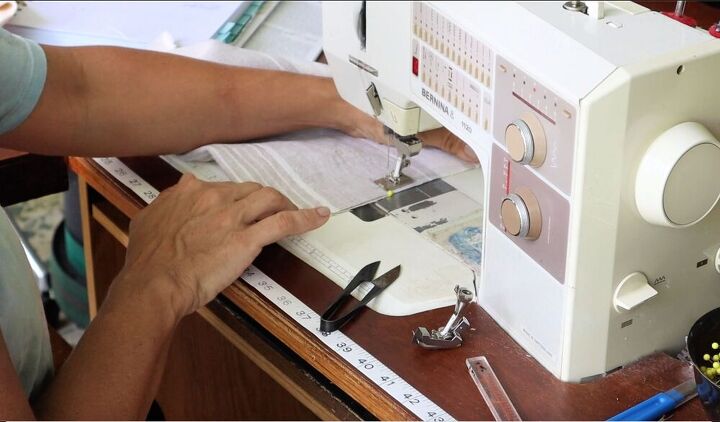
Fold each piece of fabric right side to right side, and pin down one side and across the bottom.
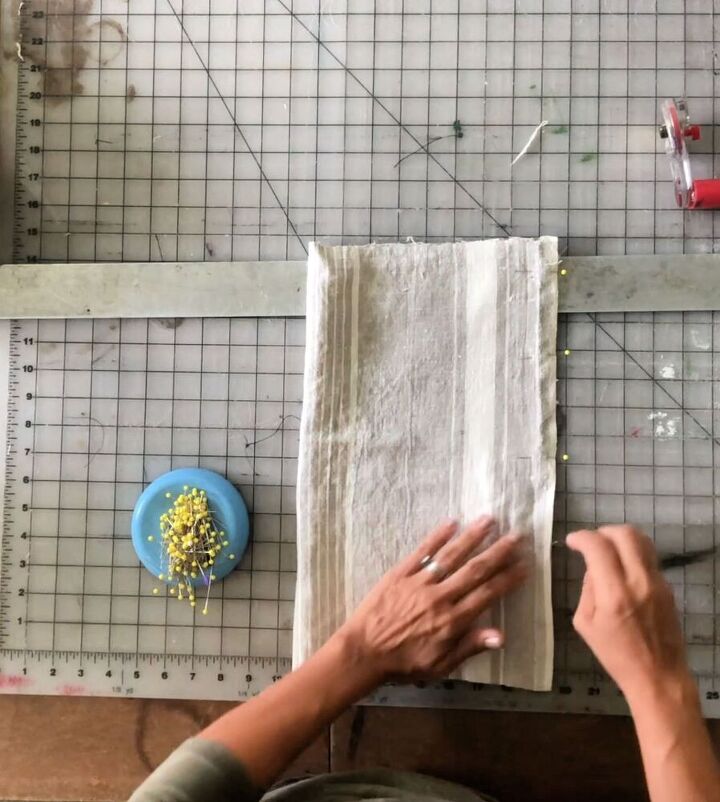
Sew along the pinned sides with a 1/2″ seam allowance. Be sure to back stitch at the beginning and end.
Be sure to leave an opening in the bottom of the lining bag…about 2-3 inches, so the lunch bag can be turned right side out.. No big deal if you forget like I did…just open up a 2-3 inch space in the bottom of the lining with your seam ripper.

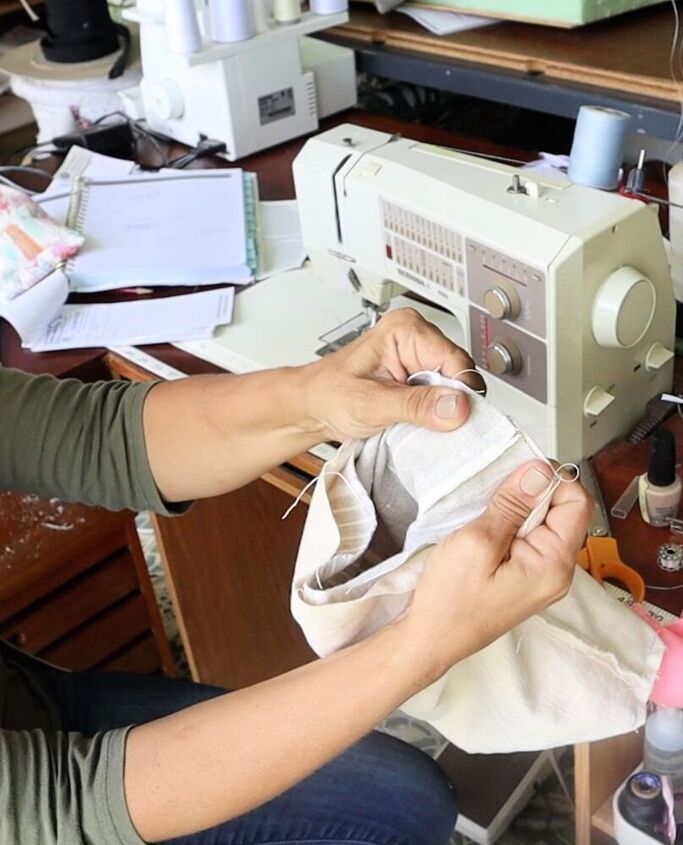
Once the lunch bag is sewn around the side and bottom, it’s time to sew in the box shape. With both hands, pull apart the seam on the bottom of the bag to form a triangle in the corner, with the seam centered. ( the video below shows this part clearly).
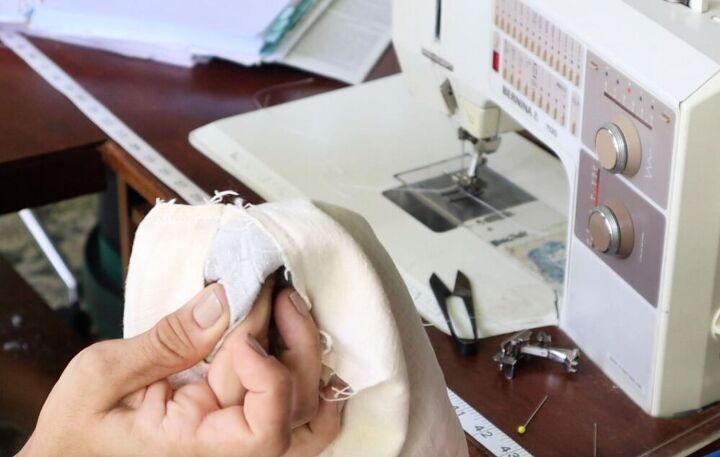
Place a pin perpendicular to the point of the triangle, and sew straight across that line. You’ll repeat this process on all four corners. Then trim off the corners with a 1/2″ seam allowance.

This is where your bag starts to take shape.
With the lining turned wrong side out and the face fabric(outside fabric) turned right side out, tuck the face fabric into the lining fabric. Make sure to line up the corners and the side seam. (again, this is very clear in the video)
Then pin together both pieces, all the way around the top raw edges, and then sew them together with a 1/2″ seam allowance.
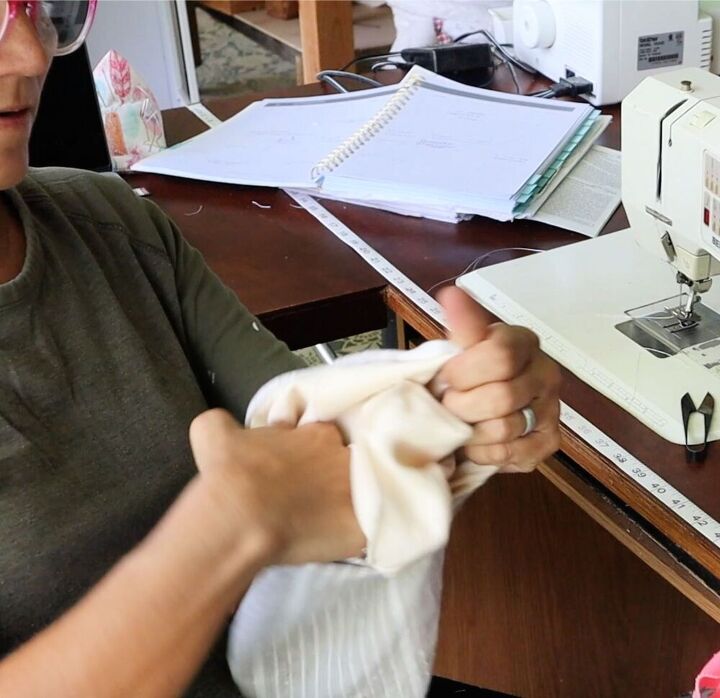
Turn the lunch bag right side out by pulling the face fabric through the hole in the center of the lining. Then top stitch the opening in the lining shut.
Tuck the lining into the face fabric. Make sure to poke out the corners.
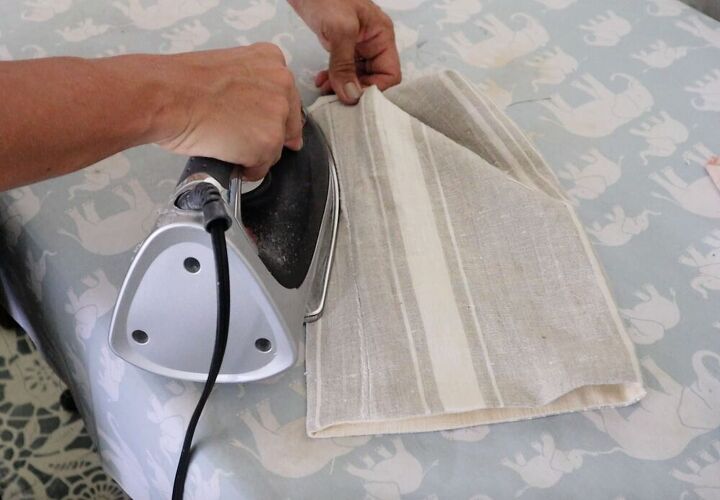
Press the seams around the top edge of the lunch bag.
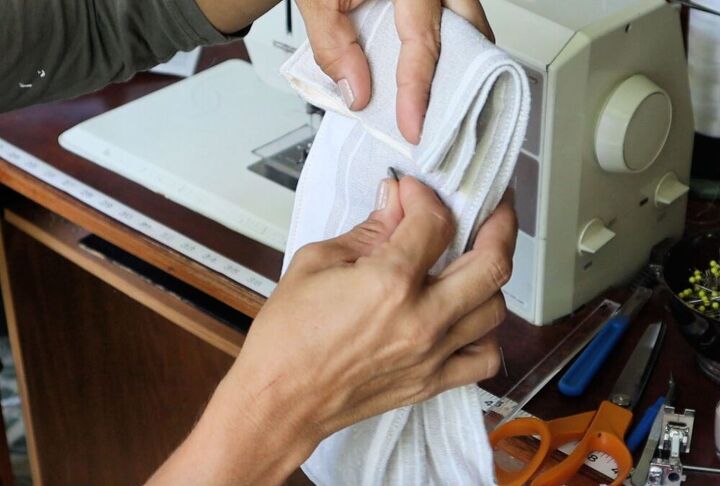
Topstitch the seams on the four corners. This part really makes the bag look like a brown paper lunch sac. I use a simple technique for topstitching that’s easy and gives THE BEST results. I use my blind hem foot. The blind hem foot allows the fabric to ride right next to the metal guide on the foot and creates a perfectly straight line of stitching that’s right on the very edge of the fabric.

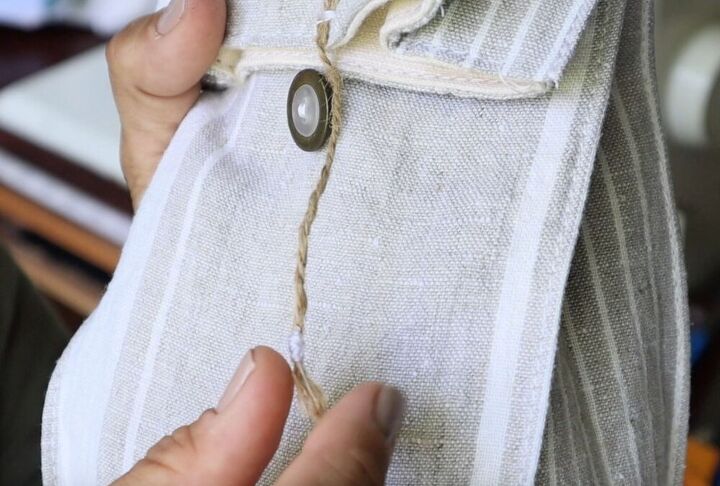
Add a closure. I used a button and some twine.
That’s the diy reusable lunch bag in a nutshell. If you’re thinking of making one, be sure to watch the video. It explains the steps clearly and in detail.
Summary
Article NameDIY reusable lunch bagDescriptionstep by step tutorial...how to sew a reusable lunch bag. Author

Comments
Join the conversation
-
I'll bet the girls love it! 😊👍️
-
I think this is a lunch bag even my husband would use. He definitely doesn't like most of the store bought ones.


Frequently asked questions
Have a question about this project?