


DIY Springtime Planters From Recycled Boxes
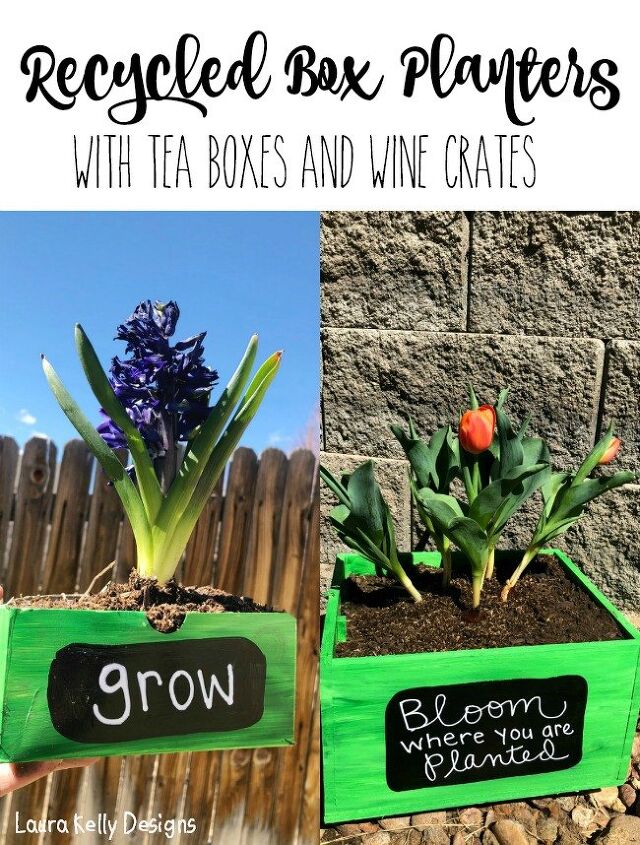
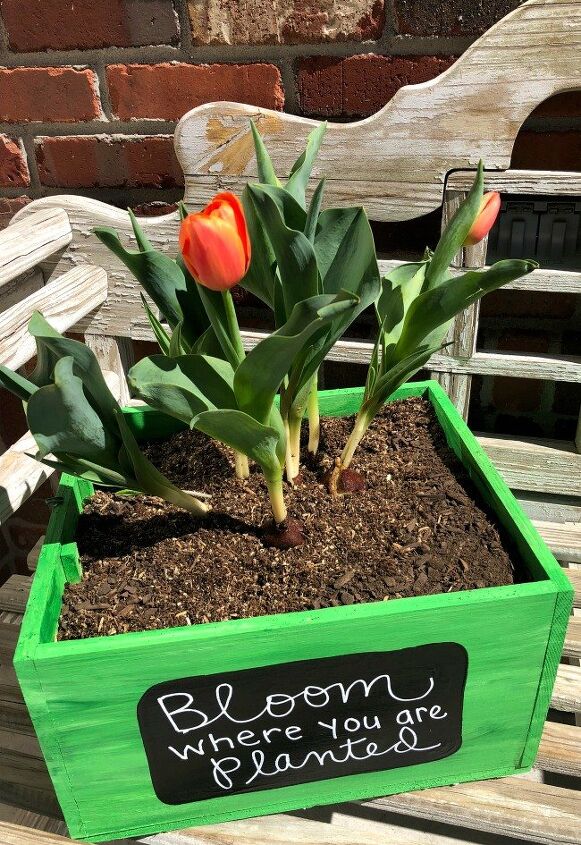
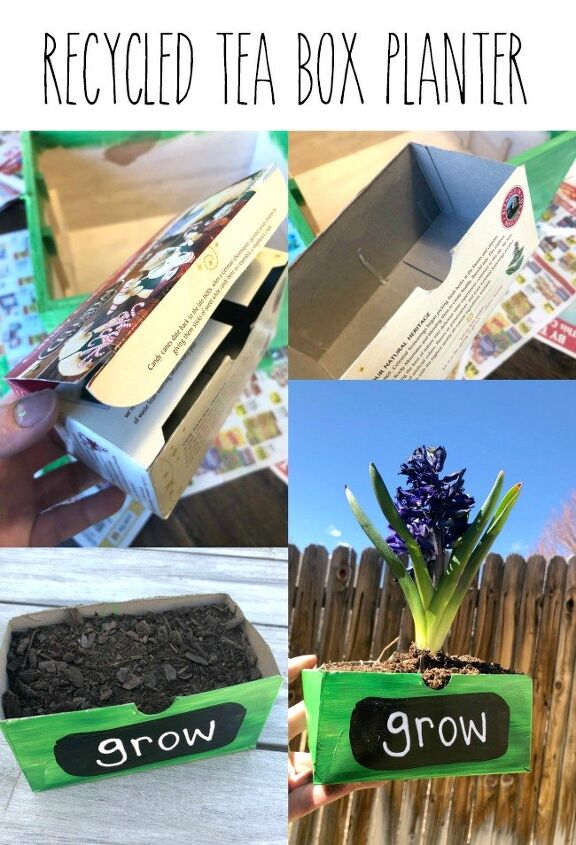
I am pretty excited to share these DIY springtime planters from recycled boxes for a couple of reasons. First of all, they came out so perfect. Second, I love making use of things that might otherwise end up in the landfill. Whether you have wine crates as boxes or grocery item boxes around, you can make a springtime planter that is pretty and inspiring. I made one from a wine crate and planted tulips in it for my front porch. I made another from a tea box to see how that works before doing it with my Girl Scout troop.
To get the project going, you will need the following supplies and materials.
- DecoArt Americana Acrylic Paints
- Paintbrush
- Box
- Potting Soil
- Plant
- Americana Chalkboard Paint
- Chalk or White Paint Markers

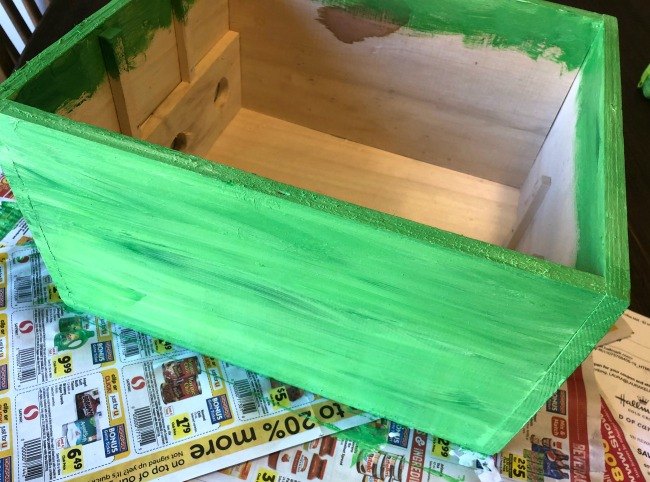
The first step is to paint the four sides of your box, the rim and about two inches down into the box. I mixed Festive Green with White to paint this one. Let it dry completely.
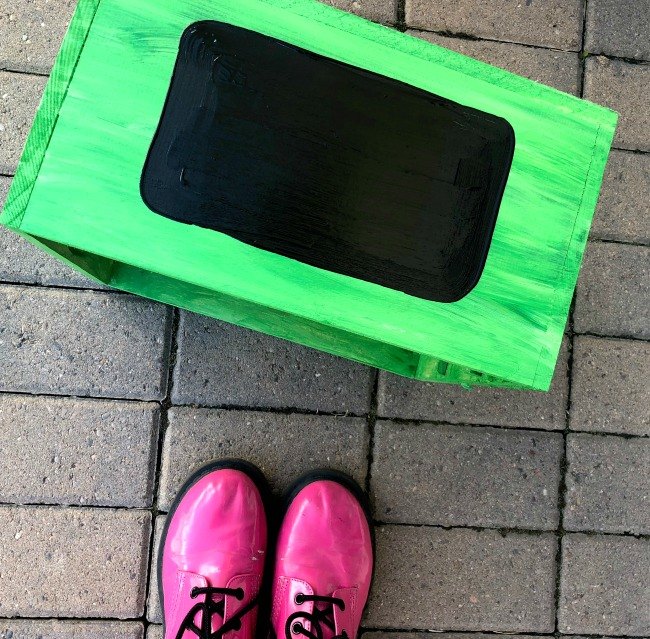
Add a black box to the front with chalkboard paint. For tips on using chalkboard paint, you can check out what they have to say straight from DecoArt on their website.
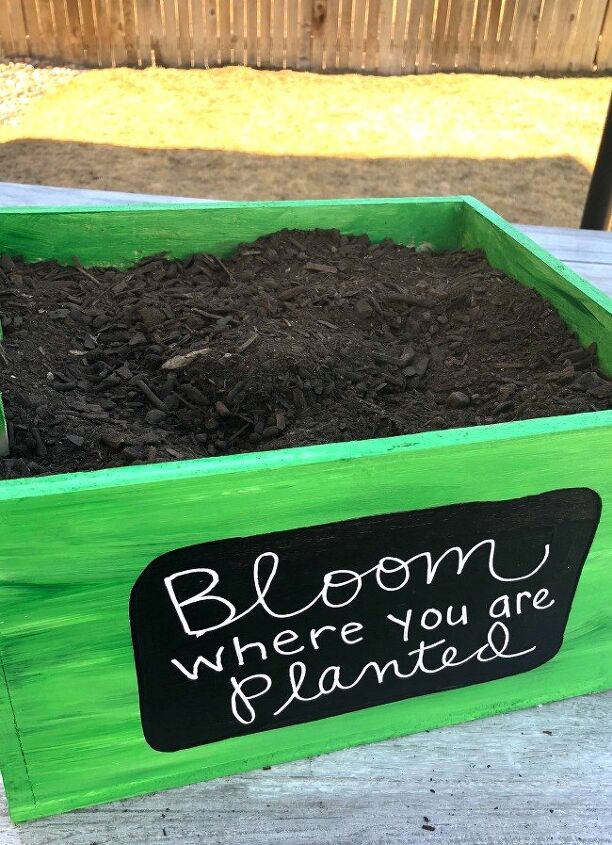
Let it dry then add your message using either white chalk or a white chalk marker. Fill your box with soil.
Plant your flowers and Ta-Da!.
It works just as great on a cardboard tea box. You could use tin cans or glass jars from the recycle bin too.
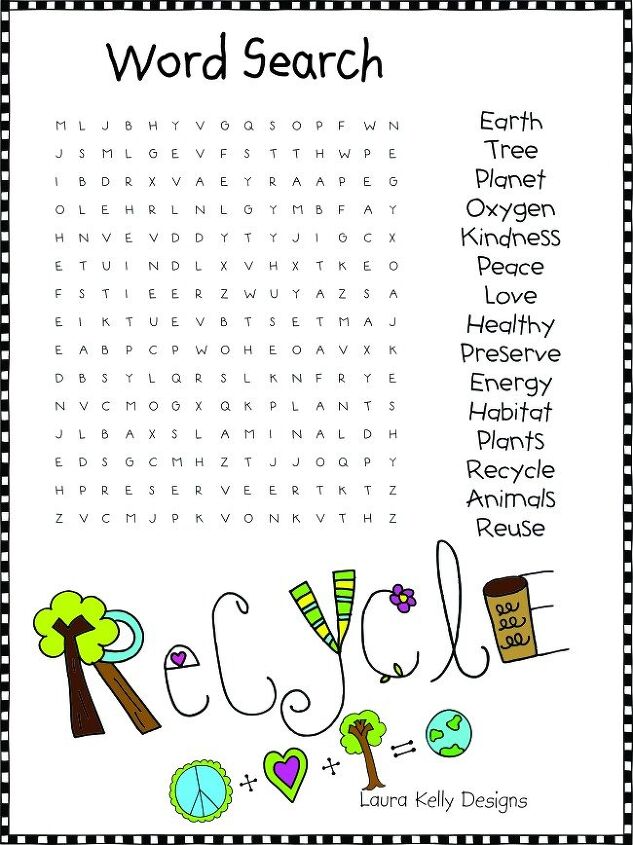
If you are doing this activity at a Girl Scout meeting or event, you might like this recycling word search puzzle for the early finishers to do.
Happy Spring and Happy Planting,
Laura
This post contains affiliate links.


Frequently asked questions
Have a question about this project?
Digging the boots girly 😝
No hardcore in the bottom of the crate needed, or drainage holes ?