


DIY Valentine's Day Lantern (Dollar Tree Picture Frames)

If you can't find a holiday theme lantern at the store, you can make your own with Dollar Tree picture frames. This tutorial will show the steps to make a lantern from picture frames. I used Valentine's Day window clings to decorate the lantern. Window clings are great to use because you can easily remove them. Then you can use different holiday theme window clings to decorate the lantern.
Here is the instagram link to my lantern reel:
https://www.instagram.com/reel/CZhdf3pqfER/?utm_source=ig_web_copy_link
Supplies
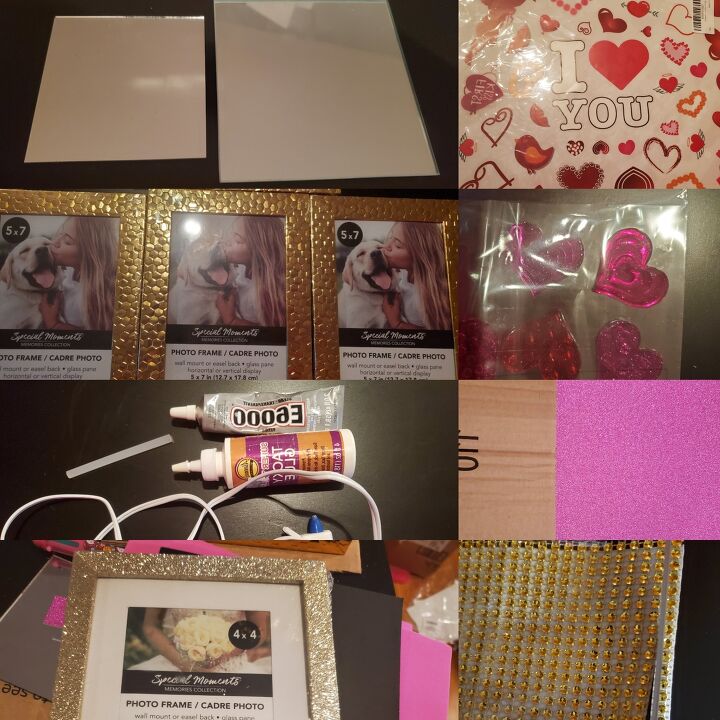
- 4 Picture Frames (5 x 7)
- 1 Picture Frame (4 x 4)
- 1 pink glitter card stock or color of your choice
- Hot glue gun with glue sticks
- E6000 glue
- Aleene's Tacky Glue
- Scissors (not in picture)
- Adhesive Diamond Wrap
- Valentine's Day Window Clings
- 1 mirror (4 x 4)
- 1 mirror (5 x 5)
- Pencil/Pen
- A sturdy box to maintain shape of lantern
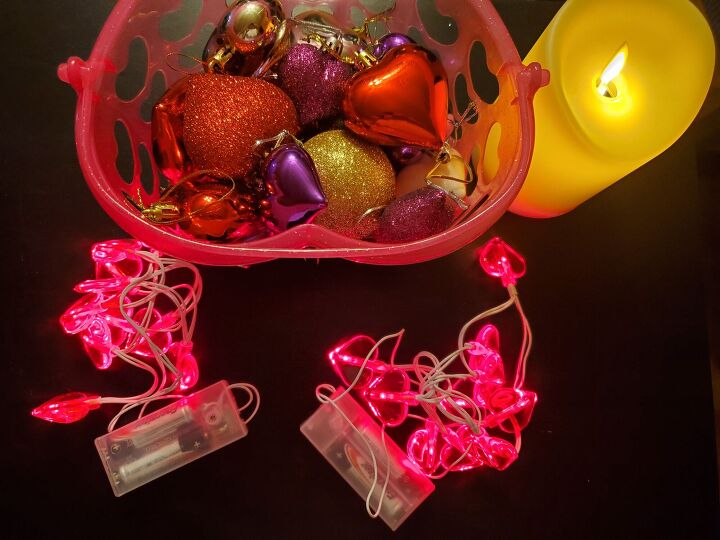
- Heart LED lights (optional)
- LED candle (optional)
- Valentine's Day ornaments (optional)
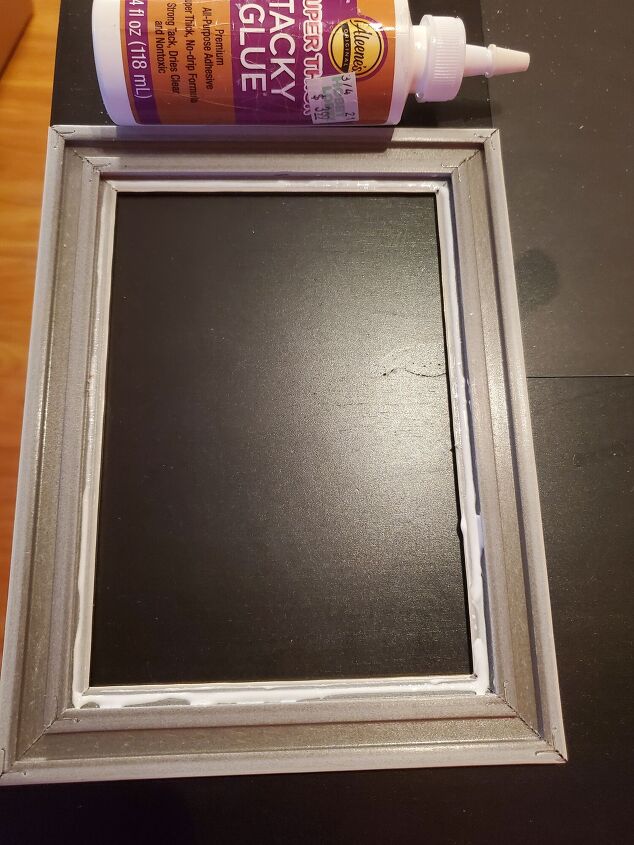
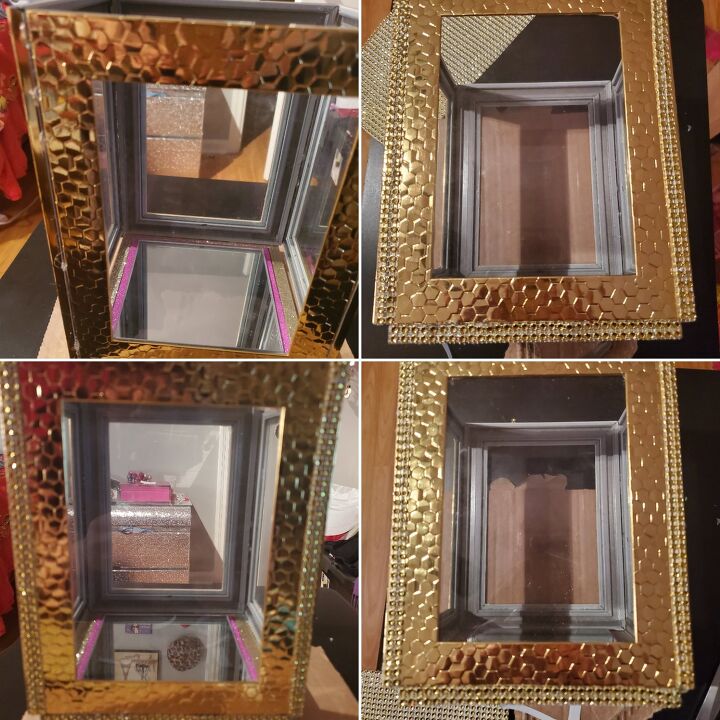
Remove the backing and glass from all 4 picture frames (5 x 7). Apply Aleene's Tacky glue to the inside borders.
Place the glass back on the pictures frames. Let the glue dry completely before you proceed to the next step.
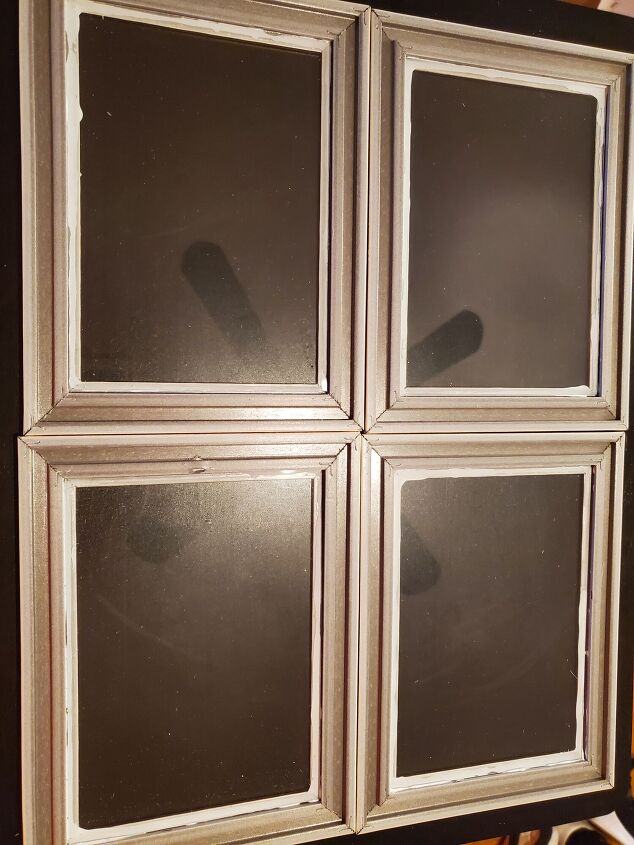
In order to make the lantern sturdy, I recommend you do not glue all 4 picture frames at once. Start with just gluing 2 picture frames together. Apply the E6000 glue first. Then apply the hot glue. Put the 2 picture frames together. Use a box to maintain the shape. Let this dry for at least 1 day.
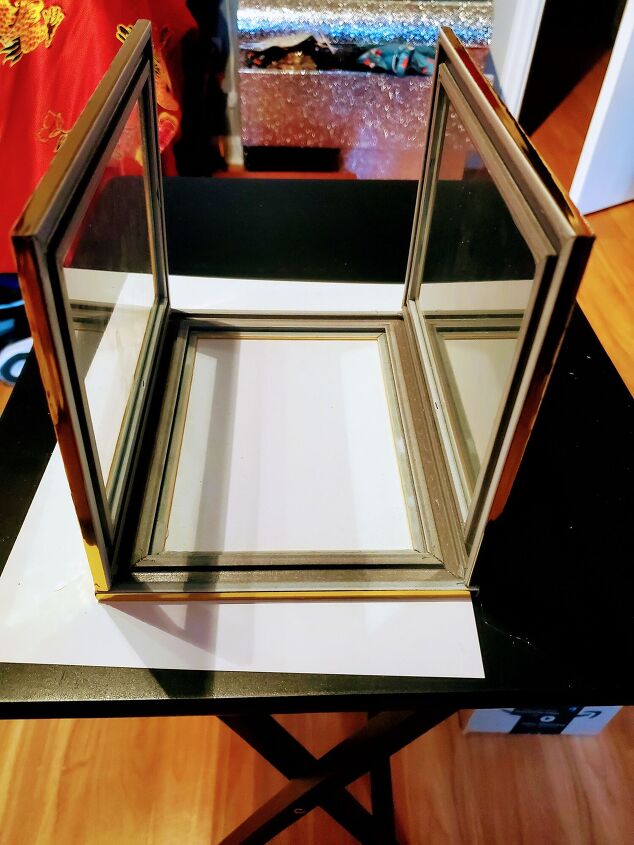
Next, glue the 3rd picture frame as shown in this picture. Just like the previous step, you are going to apply the E6000 glue first before you apply the hot glue. Let it dry for at least 1 day.
Then glue the 4th picture frame (apply E6000 glue first, then hot glue). Let it dry for at least 1 day.
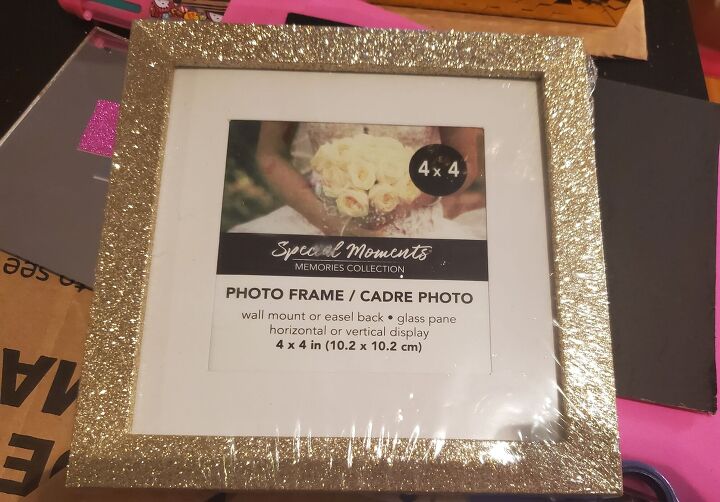
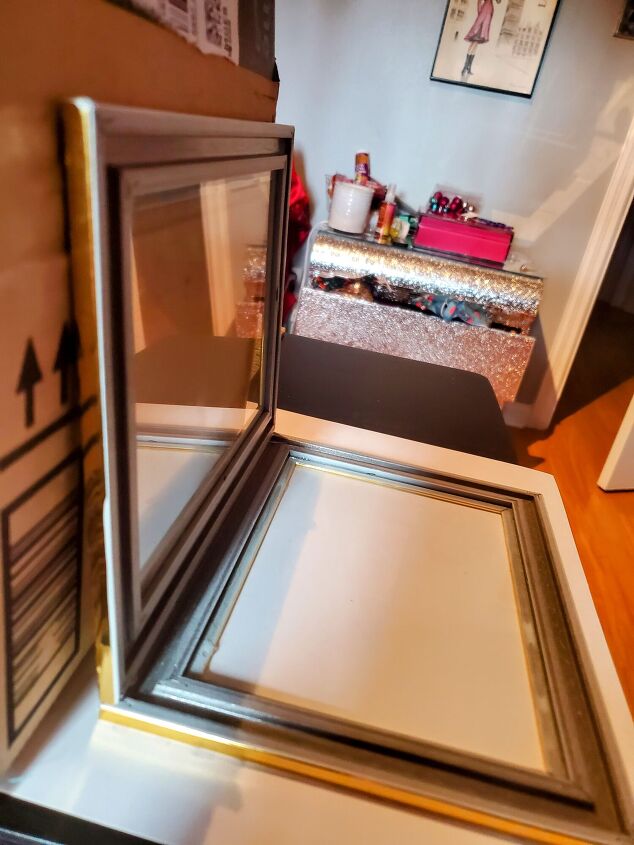
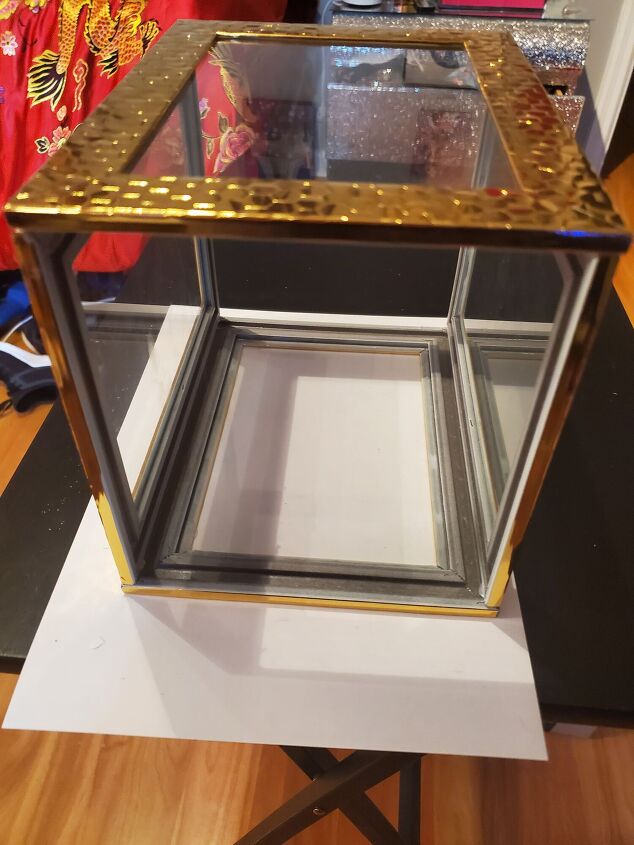
The next step is to prepare the base for the lantern. Remove the backing from the 4 x 4 picture frame. Make sure to remove the stand from the backing too.
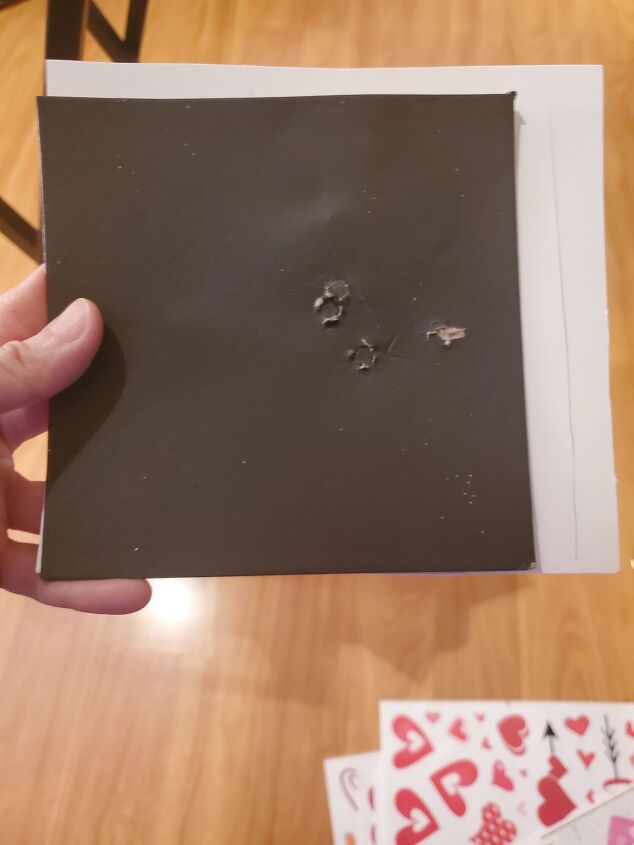
Turn the glitter card stock over to the white side. Use the 4 x 4 picture frame backing as the template and use your pencil/pen to trace on the glitter card stock. Cut out the traced glitter card stock.
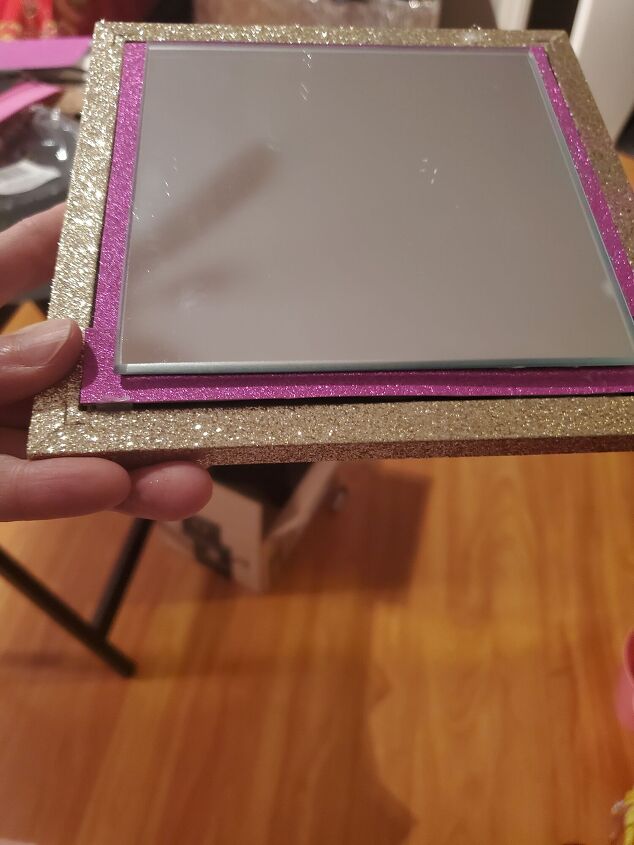
Insert the backing into the frame. With the hot glue gun, glue the cut out glitter card stock on top of the backing. Then glue the larger mirror on top of the glitter card stock.
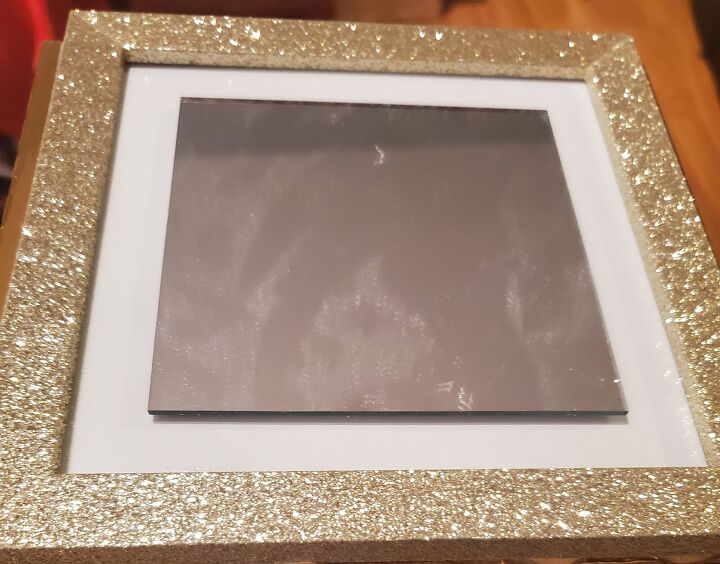
Turn over the 4 x 4 picture frame base. With the hot glue gun, glue the smaller 4 x 4 mirror on top of the 4 x 4 picture frame base.
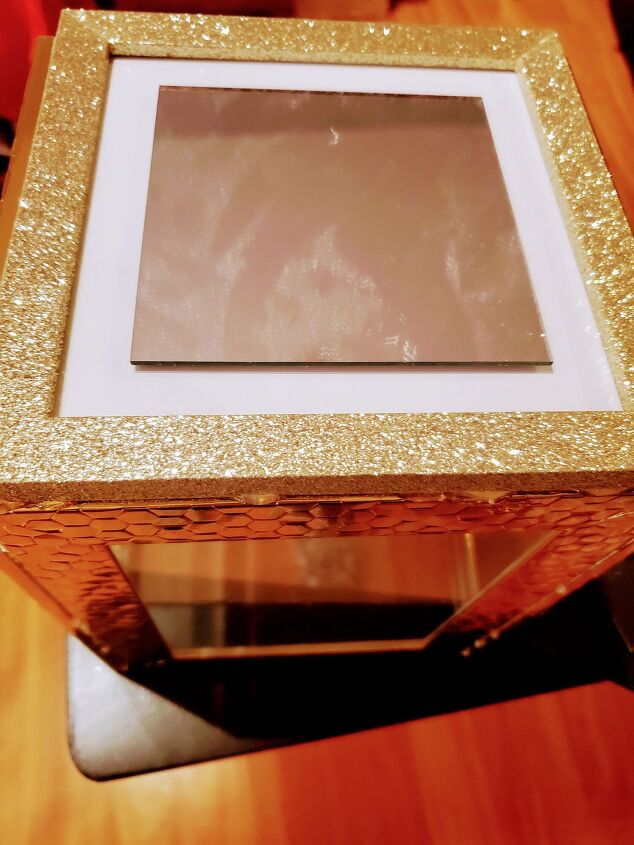
Apply E6000 glue on top of the lantern. Then apply the hot glue. Place the 4 x 4 picture frame base on top of the lantern. Let dry for least 1 day.
Use the adhesive diamond wrap to decorate the front, back, and base. The adhesive diamond wrap will also cover the glue.

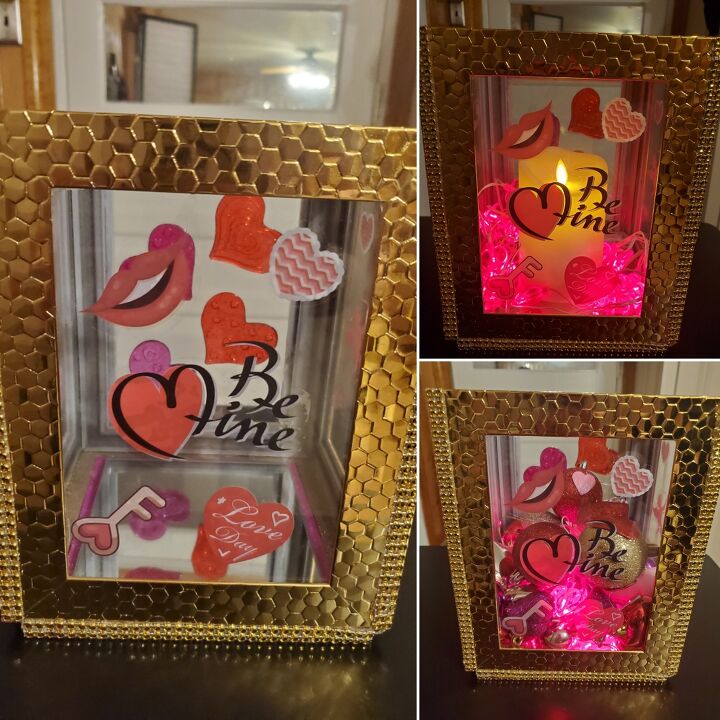
Finally, decorate all sides of the lantern with the window clings.
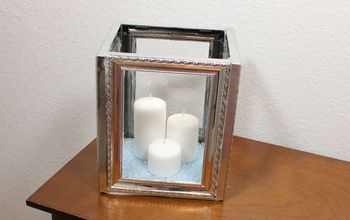
You can leave the lantern as is, or you can place LED lights, ornaments or an LED candle inside the lantern.
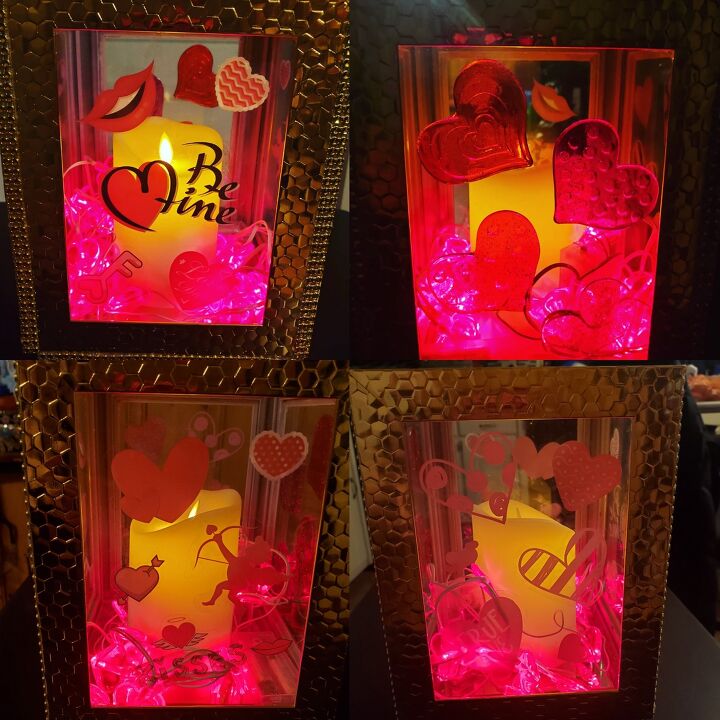
You can illuminate the lantern by placing an LED candle and heart LED lights inside it.
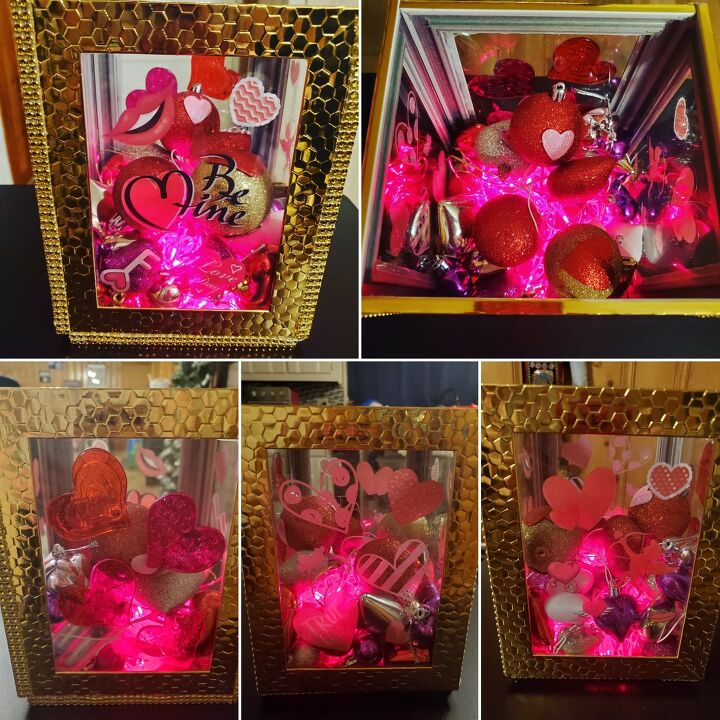
Another option is to place heart LED lights and Valentine's Day ornaments inside the lantern.
Have fun making your own lantern centerpiece! :)


Frequently asked questions
Have a question about this project?