


Easy Cement Vase DIY
Check out this easy cement vase diy project.
I’ve never worked with cement.
Until now.
But I wanted to do something a little different for a Father’s Day table setting I was working on.
I didn’t want the results to be delicate or feminine.
I wanted it to have some heft and simplicity.
After seeing a few diy cement planters online (which obviously wouldn’t work for a tablescape), I decided to try using cement to diy a vase.
And ya know what?
It’s SO much easier than I expected!
Super easy, in fact!
The hardest part was planning out what I would use as my diy cement vase form(s).
I actually rummaged my recycling bin ~ a truly great place to “shop” for diy cement molds, haha!!
And the final results ~ love ’em!
You’ve gotta try this simple cement vase diy project!!!
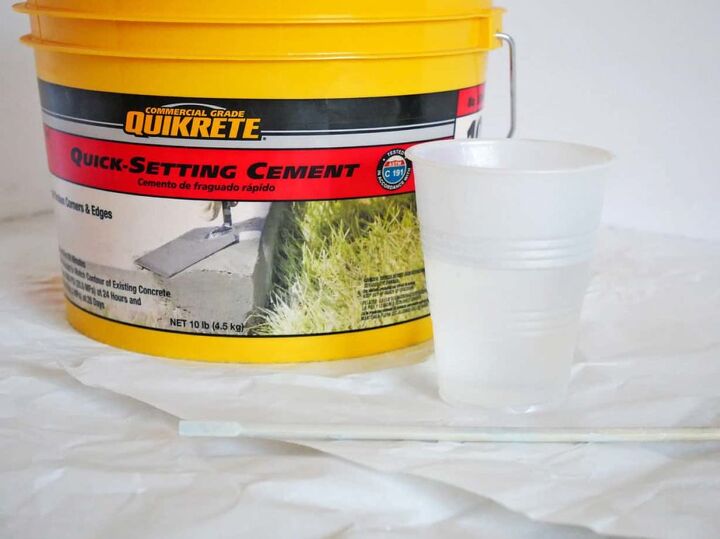
Supplies for Easy DIY Cement Vase
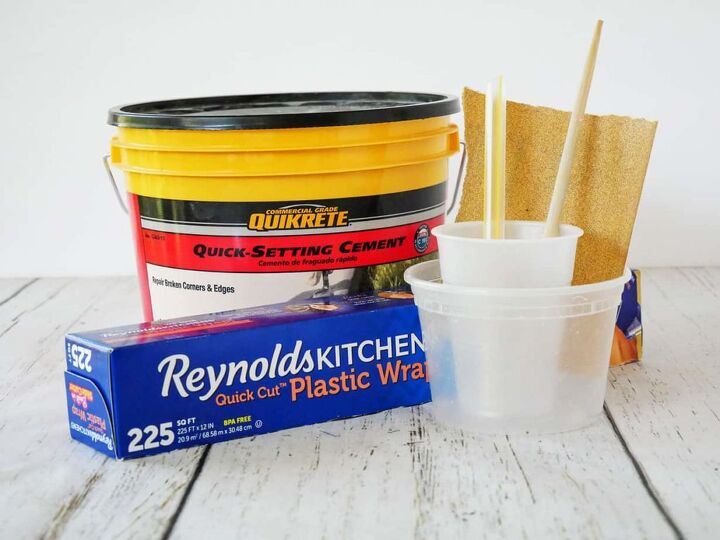
- Quick setting cement
- Disposable plastic cups
- Measuring cups
- Wooden stir stick
- Wide disposable straw
- Plastic wrap
- Sandpaper
How to Make a Simple Cement Vase DIY
Step 1: Plan how you want your diy cement vase to look
Planning how I wanted my final diy cement vase to look was the hardest part of this project.
It requires planning.
Not something that I’m the greatest at.
I tend to be a jump-in right away and plan as I go type of diy-er.
But using quick-setting cement doesn’t allow for adjusting as you go.
You’ve gotta have a plan. Grrr!
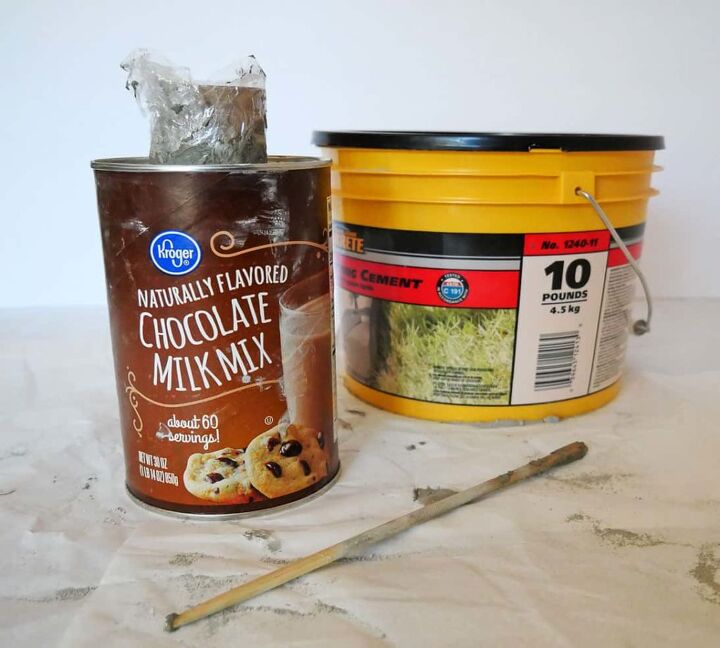
So, grab those disposable plastic bottles, disposable plastic cups, straws, cardboard tubes, and other cardboard containers you are happy to destroy.
A few ideas; Pringles container, chocolate mix container, protein bar box (for cool rectangular shape), milk carton, water bottles, etc.
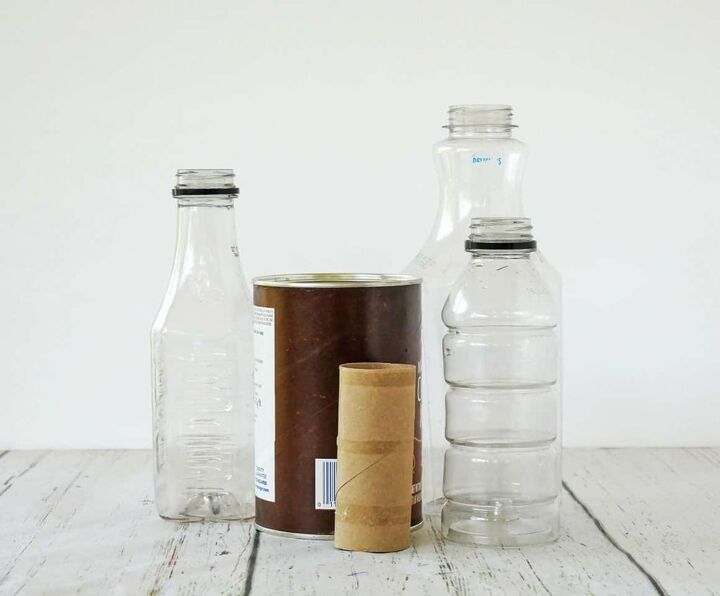
You get the idea.
Think about their size ~ if they have an indented pattern you like ~ if you can easily cut or tear them.
And then think if you can use them together.
Once you have your plan, you’re ready to start.
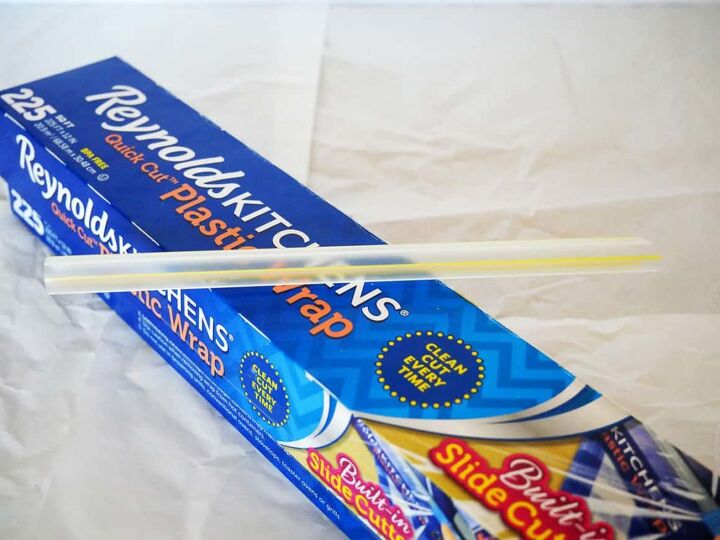
I started with a small disposable drinking cup and a wide straw.
The straw would be the middle of my diy cement vase.
I had thought about using something that would create a larger hole, but since I was using a small cup, I didn’t want the middle of my vase to be too big.
Before I went to step 2, I wrapped the sides and bottom of my wide straw with plastic wrap. *Wrapping the bottom is essential so the cement doesn’t get inside the straw.
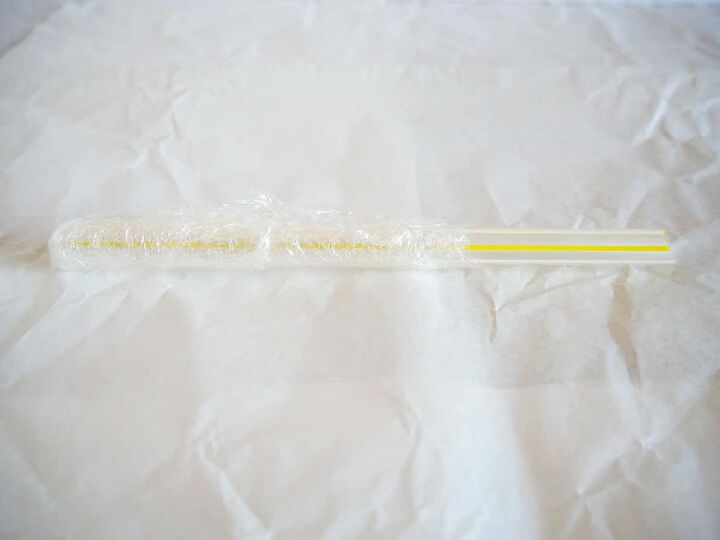
Since the straw was plastic, the cement probably wouldn’t adhere to it, but I didn’t want to risk it and have the straw stuck inside my diy concrete vase.
I figured that the plastic wrap would enable me to easily remove the straw and that it too would come away from the drying cement.
Step 2: Mix the cement
*Note: follow the instruction on your quick-setting cement.
The instructions on my cement said to add the dry cement to the water. So I started with cold water in my disposable cup and added the cement.
After I added the cement, I used a wooden stick to stir the mix.
In my case, I used a wooden chopstick as my stirrer. Something I could easily toss after I was done.
You’ll want your quick-setting cement to not be too runny, or too thick.
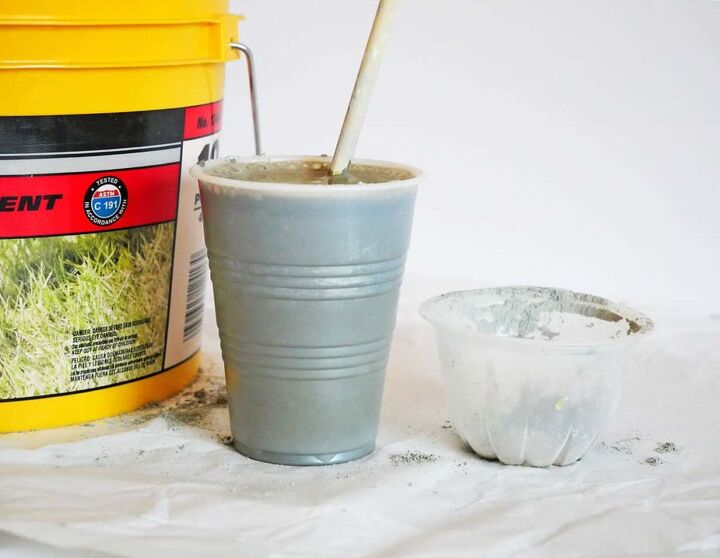
Add a little water or dry cement as you go to get to the right consistency.
Don’t forget, this is quick-setting cement, so you have about 5 minutes before it starts to set, and becomes difficult to work with.
Be sure and stir the mix really well, so there aren’t any lumps.
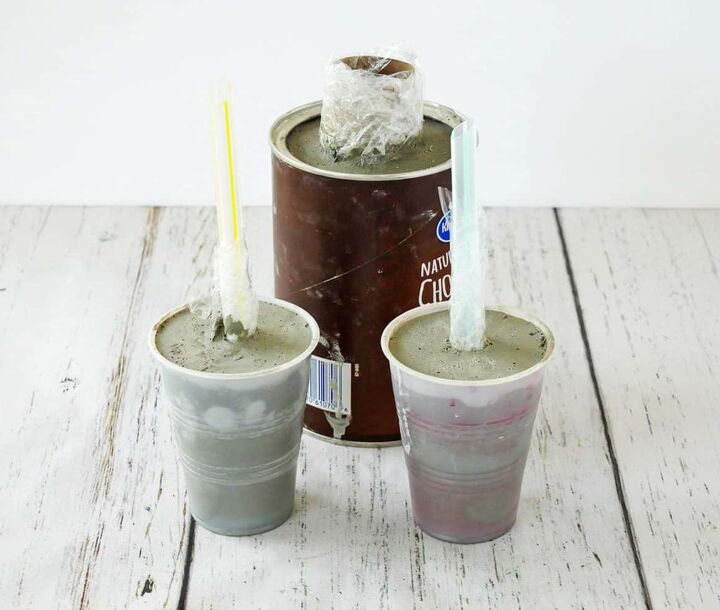
Step 3: Create the diy cement vase form
I mixed my cement directly in the cup I would be using for my diy concrete vase.
But you can easily create your mixture in a separate container and then fill your vase form using that mix.
Once I had my cement at the correct consistency and at the desired level of the cup, I added my wide straw.
Since I had already prepared my straw and covered it in plastic wrap, I just gently pushed it into the quick-setting cement mix.

I pushed it down 3/4 of the way and made sure it was standing up straight, not at an angle.
After all, I didn’t want the middle of the vase to be wonky.
Then I tapped the cement-filled cup on the tabletop to help release any air bubbles.
To remove air bubbles along the top of the cement, gently pop them and smooth the surface.
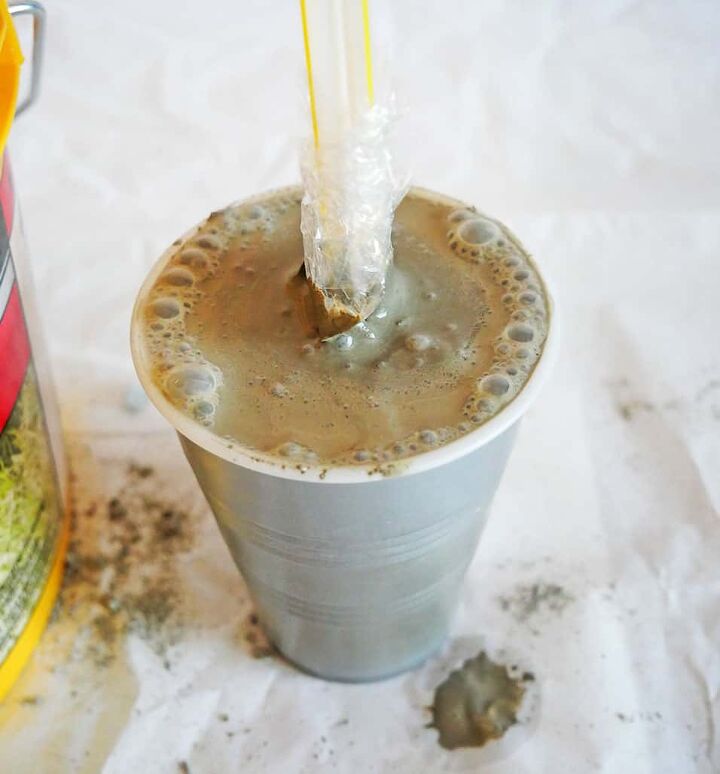
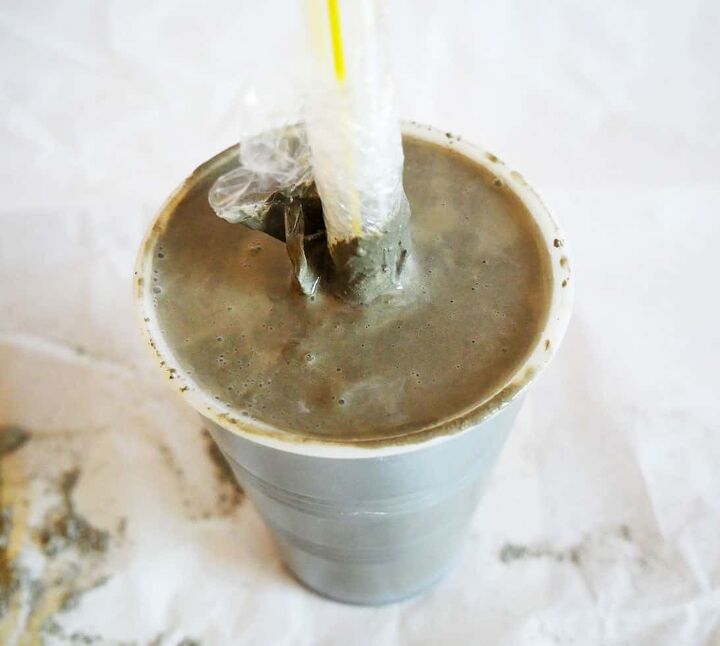
Otherwise, your easy diy concrete vase will harden with the air bubbles.
Now ~ time to wait and let it dry….. (That’s the hard part for me – I want immediate results – I have a hard time walking away and waiting. Grr!)
While I was waiting, I also made a larger diy concrete vase using a chocolate mix container and a toilet paper roll for the hole.
Step 4: Complete your simple cement diy vase
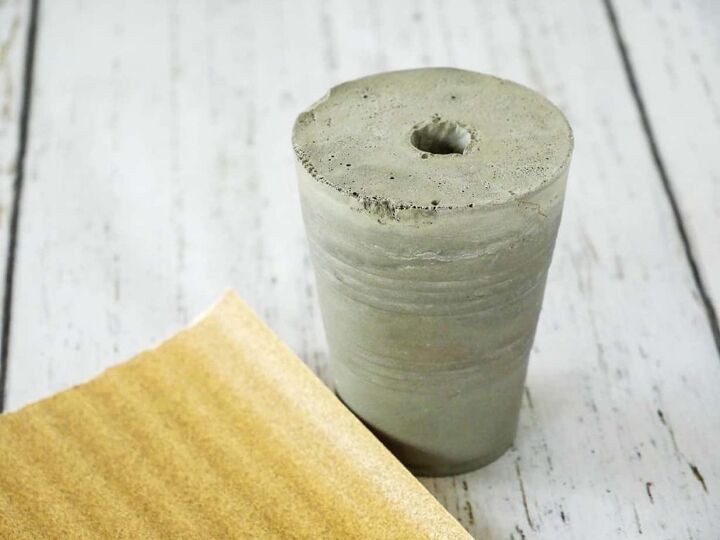
After waiting 24 hours for your cement diy vase to dry, carefully remove the plastic cup from the outside.
This was very easy because the disposable cup I used was easy to cut and then tear away from the cement.
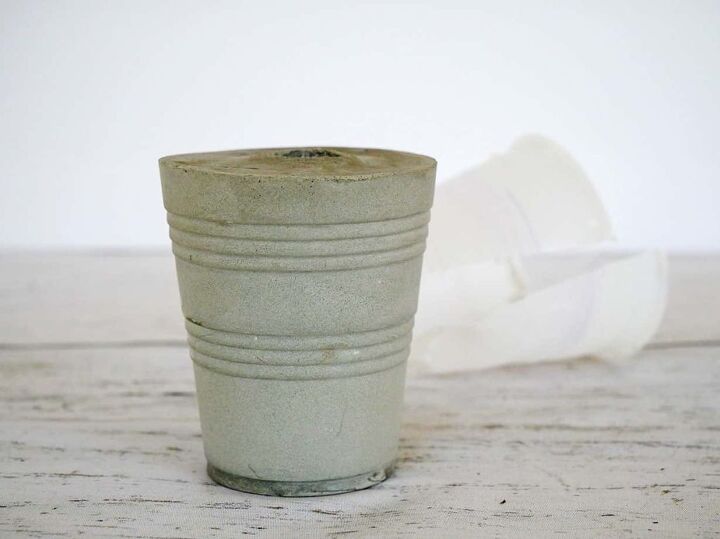
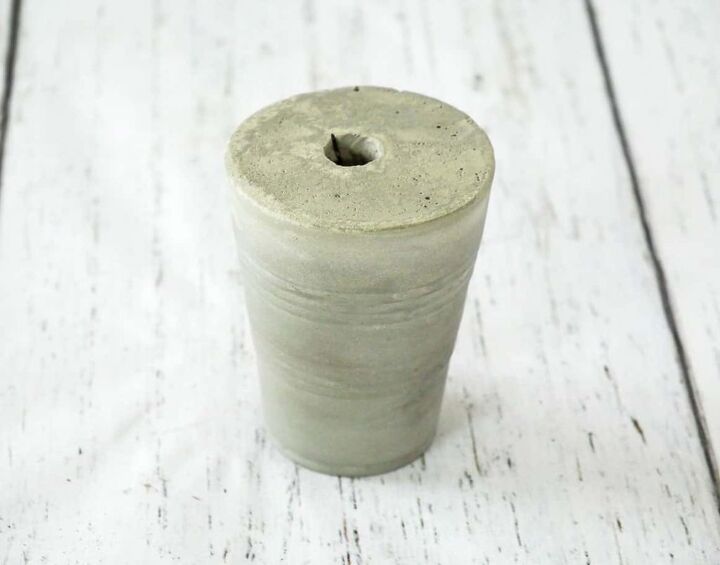
I was pleasantly surprised at the smoothness of the outside of the concrete diy vase.
Then I gently twisted and pulled the straw and plastic wrap out of the middle.
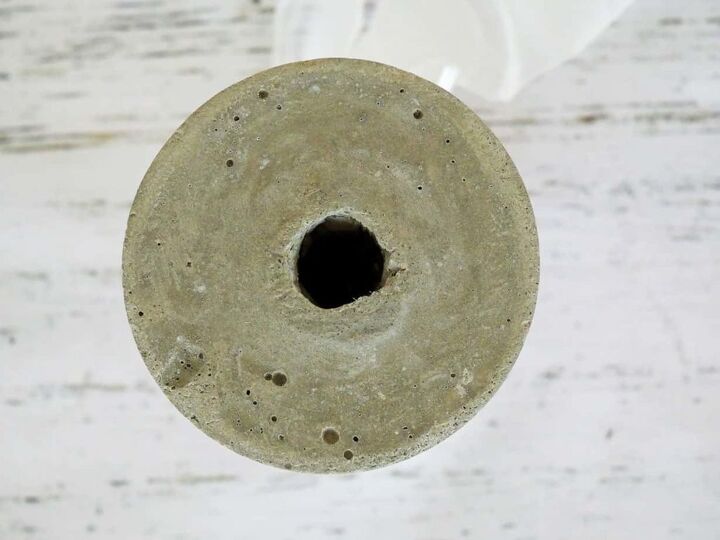
It came away very easily. Yay!
The top edge of the diy cement vase was a little rough.
The cement wasn’t completely cured. That takes about 48 hours (per the instructions).
So I dabbed my fingers with a little water and ran them across the rough edges. This smoothed them out a little.
Then I took some sandpaper and lightly sanded the rough edges. That really helped with the overall look of the vase.
Step 5: Seal your cement vase
Once your vase is done, you will want to seal it so the water doesn't get absorbed into the cement and then evaporate.
You want your vase to hold the water.
Be sure and seal both the outside and the inside of your vase.
That’s it!
You now have a super simple diy concrete vase.
Easy-peasy!!
Enhancing your easy diy cement vase
You can just leave your cement diy vase as-is, but if you want to enhance it, then paint it.
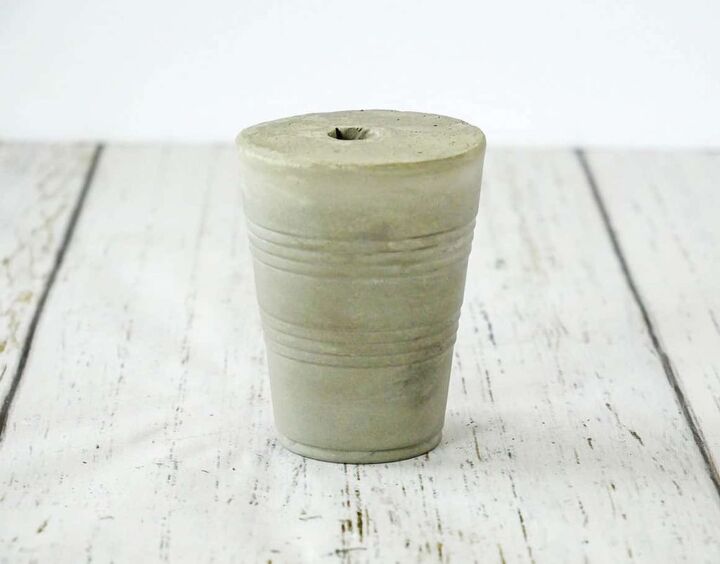
The disposable drinking cup I used had rings around the middle of it.
I decided to use them as an easy guide to tape off the middle.
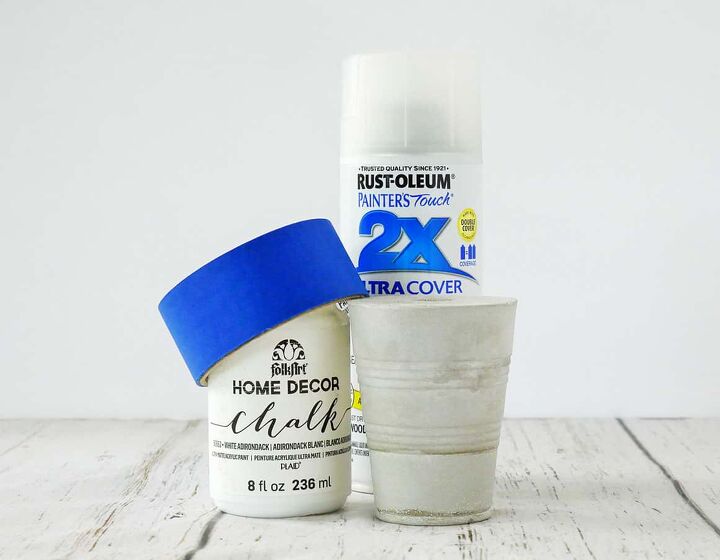
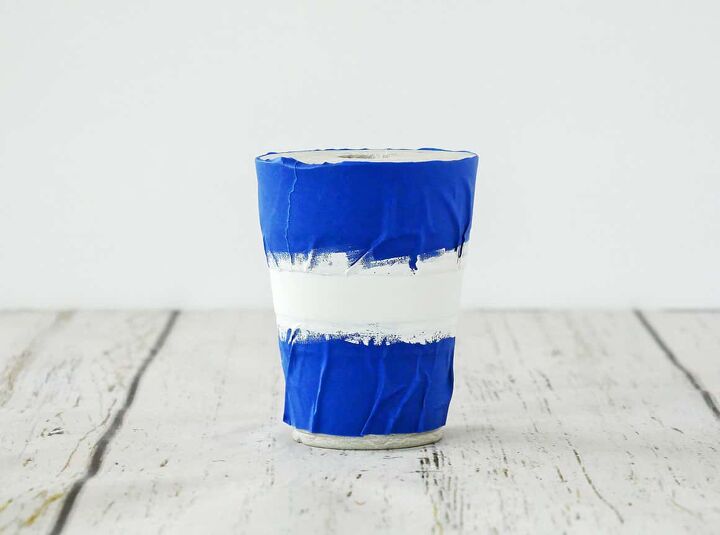
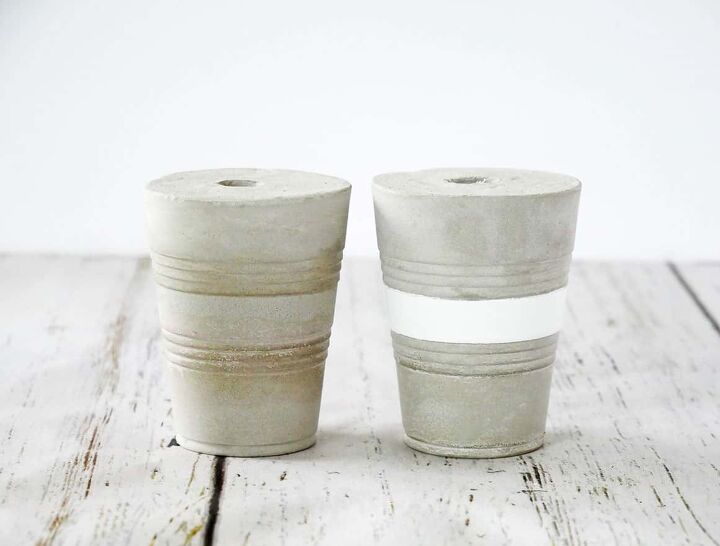
Then I painted that section white and finished it with a clear coat of sealer.
*Note: I had read that cement doesn’t take paint well, but mine took the paint very nicely.
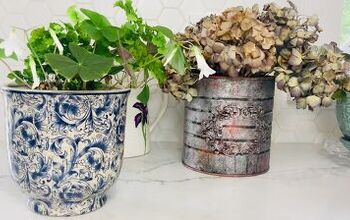
Check out the 3 easy diy cement vases I made…
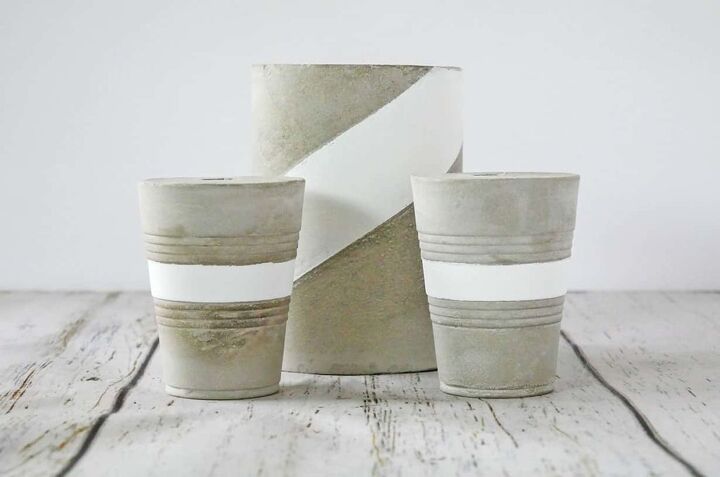
Plus they look great on my Father’s Day tablescape.
Check out other easy diy projects:
- DIY Paper Airplane Bouquet
- Easiest DIY Napkin Rings for Everyday
- Pretty Lace Flower Pot DIY
- DIY Unique Menu Holder
- Simple DIY Wood Tray with Handles
- DIY Wine Cork Napkin Rings
- Simple Moss Bowl Centerpiece DIY
- Diamond Napkin Rings
- Twisted Paper Flower Napkin Rings


Comments
Join the conversation
-
A great way to spruce up a backyard or patio.


Frequently asked questions
Have a question about this project?
You are calling them vases. Doesn't adding water wet the concrete and could do damage to furniture?
I have 2 questions: Does the vase hold water or do you need to seal it? Did you need to put it on a cloth, or attach felt to the bottom, to keep it from scratching the table? This is a very cool project and I'm glad you took the time to plan it out. Sometimes my brain needs "a little talking to," to make it follow all the steps, too. It's so easy to jump in with both feet, only to find you jumped into quicksand, the quick setting kind. 😁 😉