


Easy DIY Agate Stone Coasters

I’ll admit it, I’ve gotten into crystals lately. Do I believe in them and their healing powers? No. But do I love the gorgeous colors and natural shapes and textures? Absolutely.
My husband and son think I’m pretty much insane for dropping [quite a bit of] money on “rocks”, and I guess that’s justified. But I like what I like. Speaking of what I like, I’ve been crushing hard on those agate coasters I keep seeing on Pinterest. If you buy them premade, they can run up to $40 or $50. Whoa, I don’t like them that much!
But I found a super easy way to make them myself, and spend less than half of that price. Want to make your own DIY Agate Stone Coasters? Of course you do.
Here’s What You Need
- Large or Extra Large Agate Slices With No Hole I got mine from Etsy and I’m really happy with them, but you can buy them from any shop you like.
- Thin Cork Sheets I used round cork slices made specifically to be coasters, but a thin sheet of cork works just as well. I would have used that instead but it was out of stock online and in stores near me.
- Scissors (the heavy duty kind)
- Double Sided Adhesive Roller
- Ink Pen
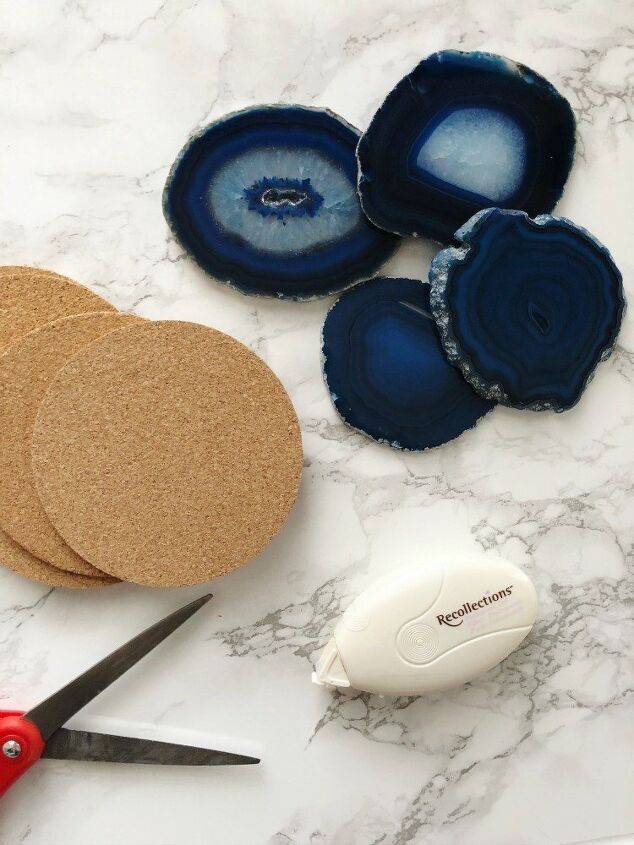
Start By Gathering Up Your Materials
This is such a quick and easy project that really takes no time at all. When I’m working on crafts, I always make sure I have everything I need before I get started. I like for it to be right in front of me, and I always make sure I have enough of it before I start.
There are so many times I’ve gotten halfway through a DIY project, only to realize I didn’t have enough of what I needed and had to leave it all on the table while I went to the store in a panic hoping they weren’t out of stock.
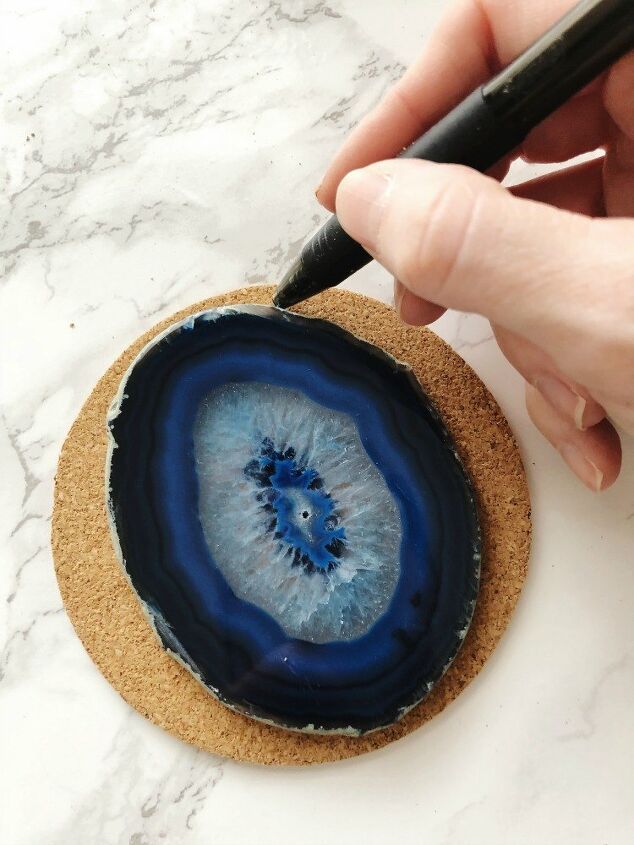
Trace The Agate Slice Onto The Cork
First, decide which side of your agate slice you want to be the top. These stones are very original and they all look different.
After you choose the top side, lay it face down on the cork and trace right around it with a pen.
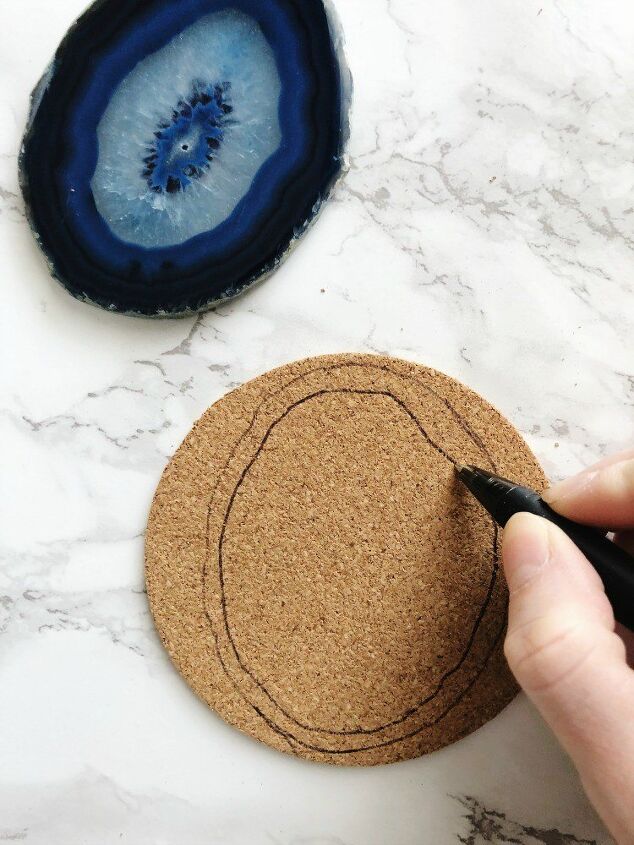
Draw A Smaller Outline Inside
You don’t want your cork to be exactly the same size as your traced top side, specifically because the top and bottom could possibly be different.
You also don’t want to see the cork on the stones when they’re on the table, so a little space between the edge and the cork will hide it. Ugly cork is going to ruin the look of the pretty agate in a heartbeat.
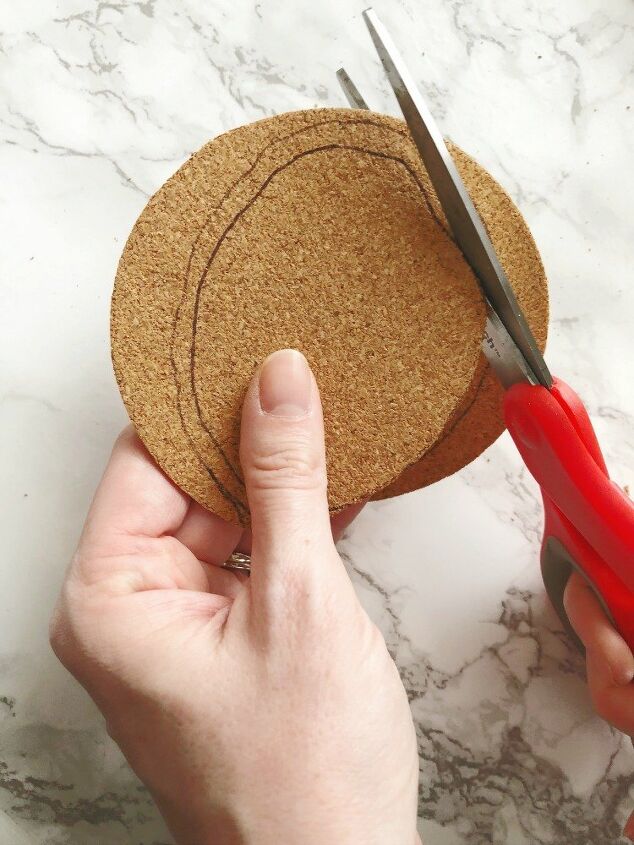
Cut Out The Inner Outline
Pretty self explanatory, just cut around your inner lining.
Make sure you’ve got good scissors for this, because the cork will just shred if you use old crappy shears.
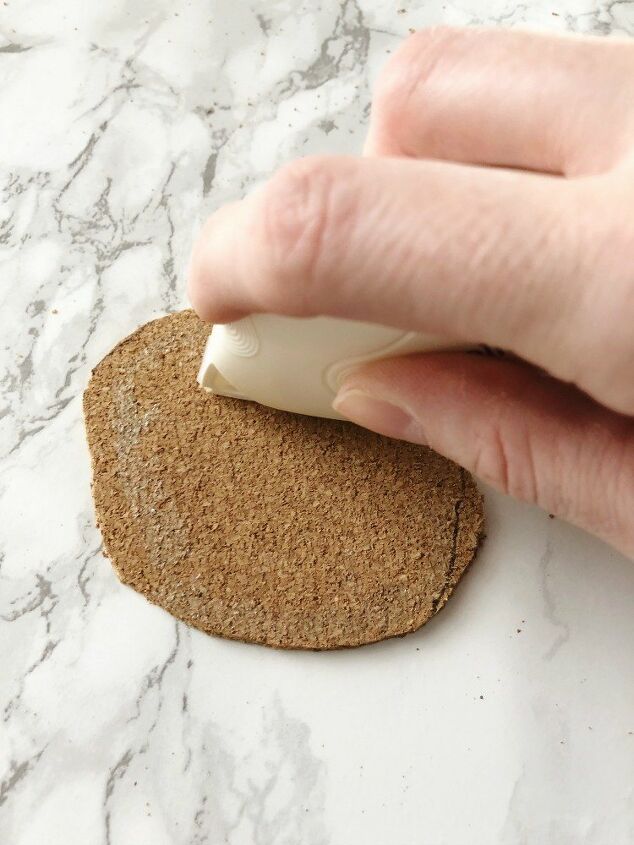
Roll On The Adhesive
I like roll-on adhesive because it’s not messy and really easy to control. It’s essentially double-sided tape that you don’t have to touch so you don’t mess it all up when it sticks to your fingers.
I thought about using hot glue, but it’s not really necessary. The scrapbooking roll-on tape I used held up just fine and it’s still doing well after a month of use.
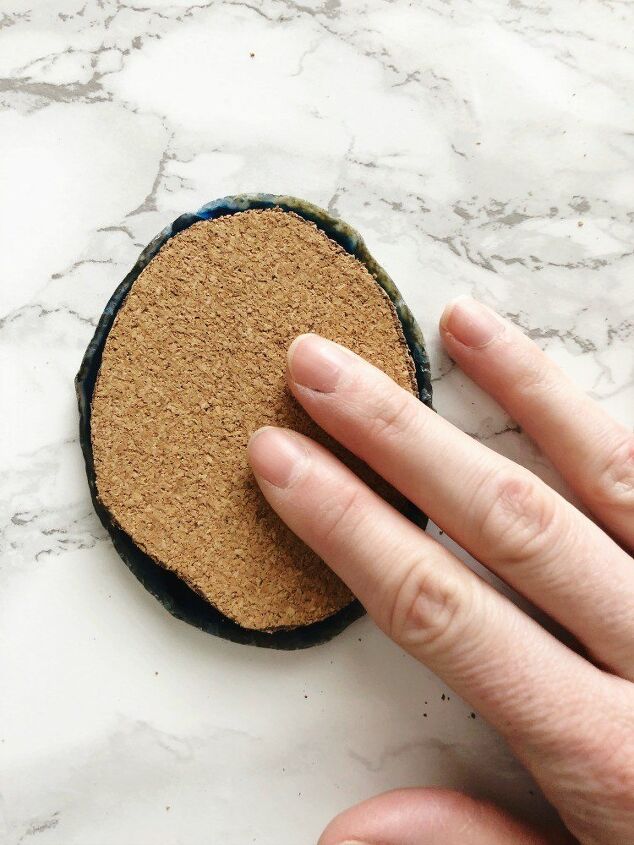
Stick The Cork Onto The Bottom Of The Agate
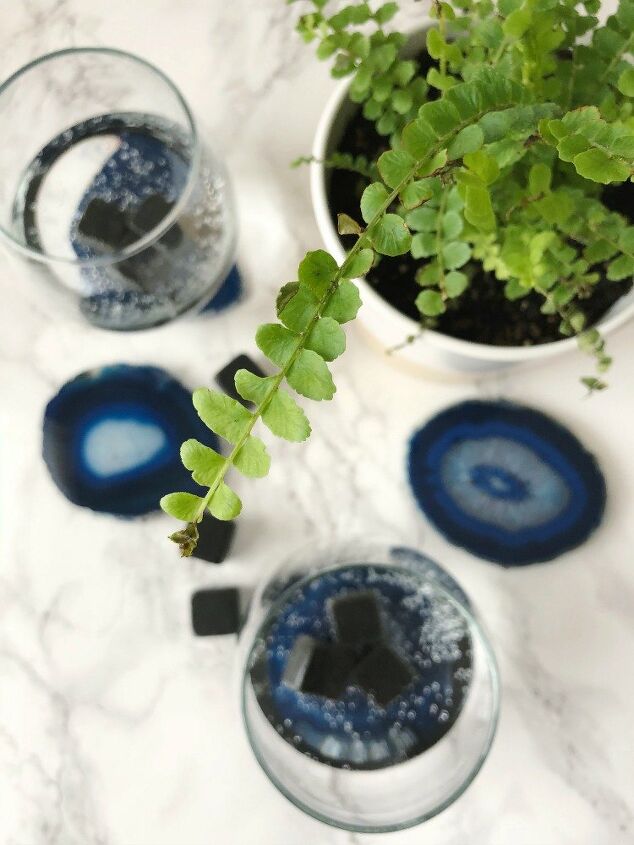
Easy Peasy! That’s seriously it. You can get fancy by gilding or painting the edges of the agate if you want, but I really like the raw natural edge of the stones I got.
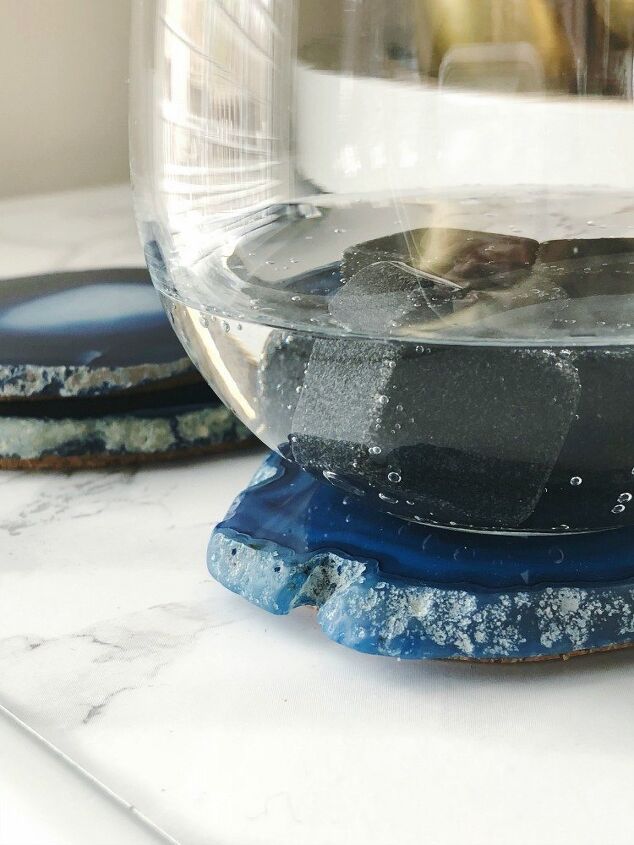
Aside from living on my bar cart, I plan on making more of these and giving them as gifts. How cute would they be wrapped up in a cute little box with some jute string?
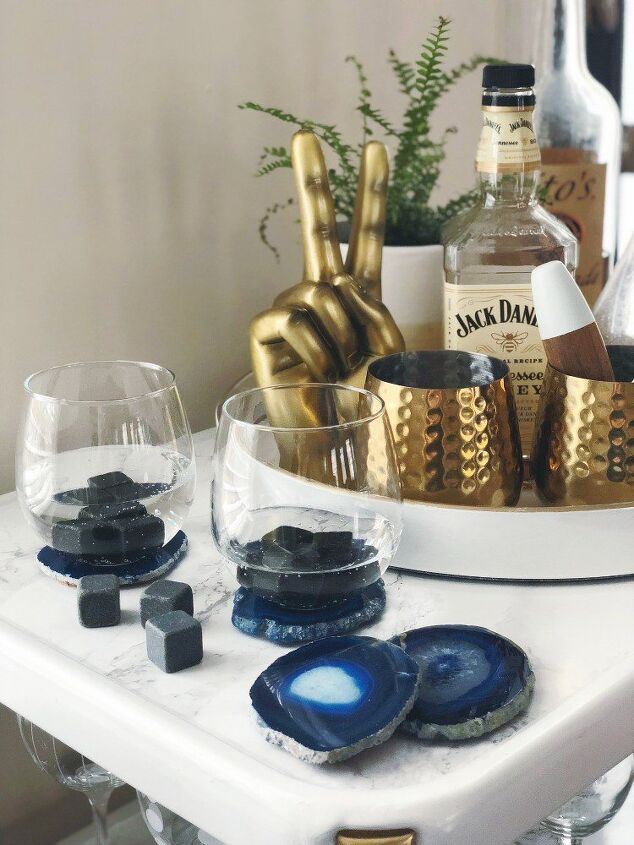
Love My Bar Cart?
Would you believe that it was once the ugliest duckling you’ve ever seen? Visit my blog to see how I transformed it into a beauty on a super tight budget.


Frequently asked questions
Have a question about this project?