


Easy Planner Setup Ideas 2016
Maybe it`s a bit late to talk about planning and planners, but I recently become planner addict, so there are some tips and DIY projects I learned in past several weeks. I wanted to share it with you, so you can spruce up your planners without breaking the bank!
We all know how busy our days and weeks can be, so it can be very overwhelming and stressful. But, if you plan your week and schedule each day, you can achieve much more. At list I can.
This year I use several planners and one of them is a personal planner. I wished to share it with you because I really love my planner setup and I have so many DIY projects in this one.
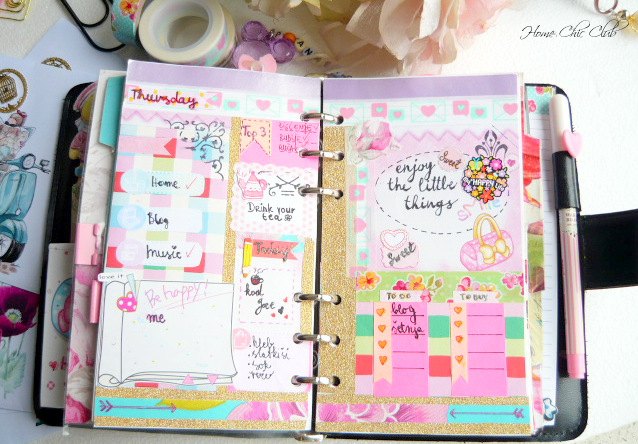
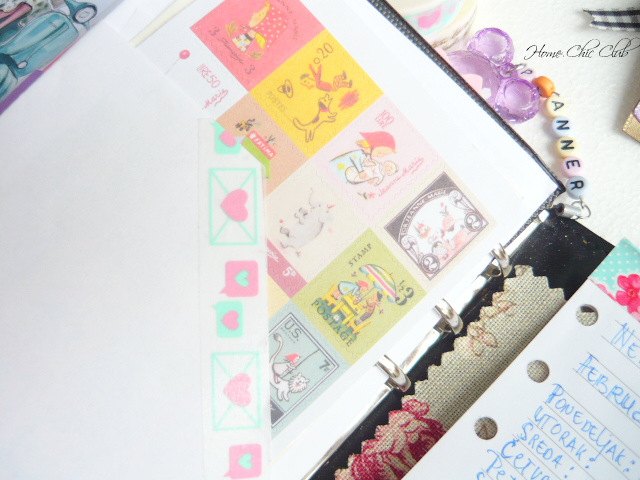
First, my dashboard. I used plasic folder to make it. I cut it out, whole punch it and add some sticky notes so I can easily write down any ideas or tasks.
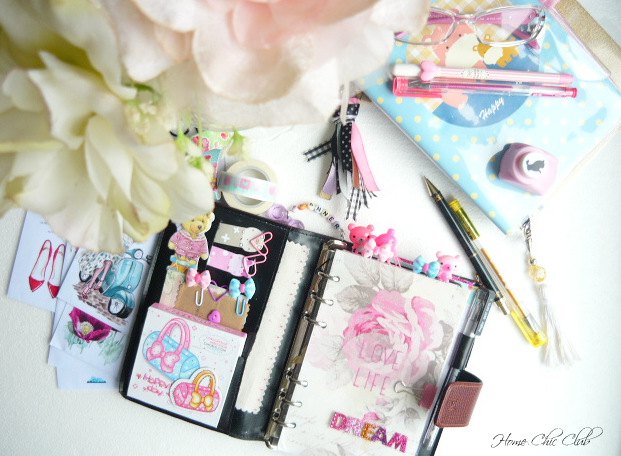
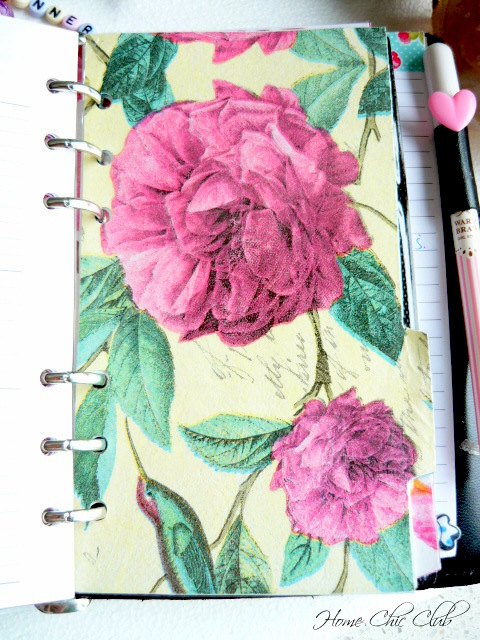
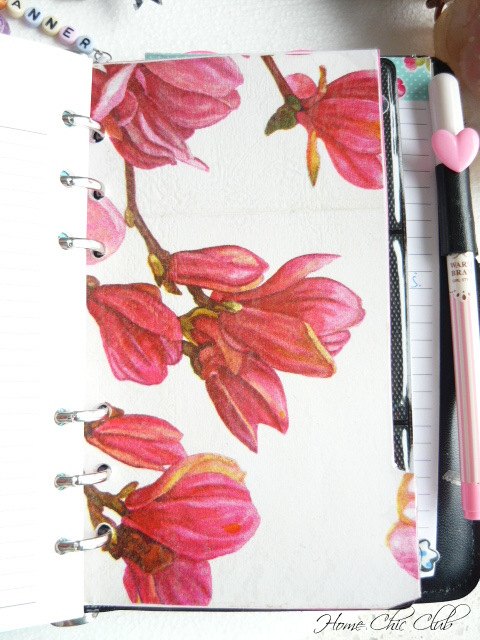
My cover and dividers is another DIY. I wanted floral ones but I couldn`t find proper floral scrapbook paper. So I made my scrapbook paper. It`s easy and inexpensive project. All you need is a piece of cardboard, paper napkins, kitchen plastic wrap (transparent) and baking (parchment) paper. Place layer of baking paper on your ironing board, then on top add cardboard, piece of plastic wrap, napkin (only the top layer with a print ), another layer of plastic wrap and finish with larger piece of baking paper. Use a very hot iron and press firmly on top so everything stick together in one layer. Remove baking paper and you`re done! Easy and inexpensive. Use the some procedure to make your dividers. Note the dividers have a different shape then your cover, so just trace the original dividers to make it perfect.

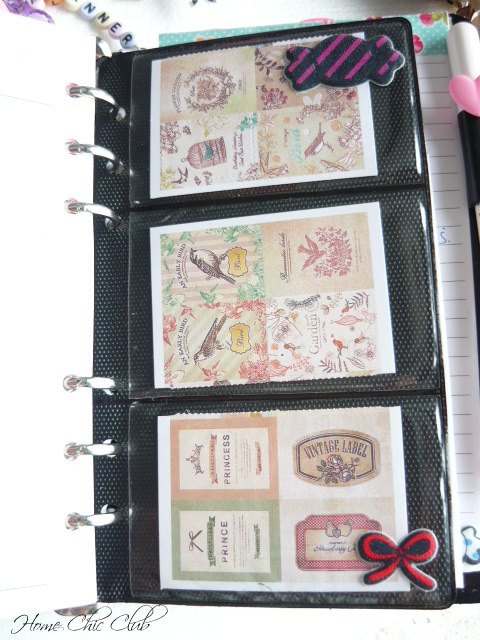
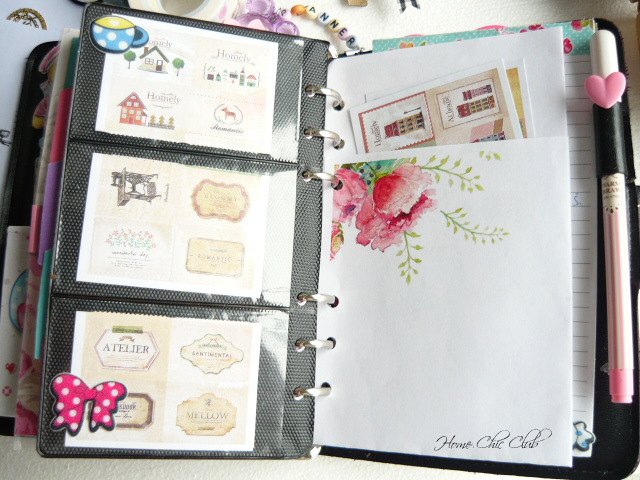
I added a business card holder too for stickers and made another paper holder for more space.
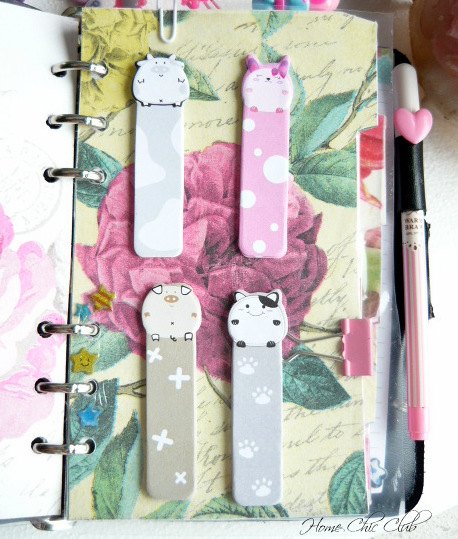
Another thing I made myself are cute paper clips. There is so many ideas on internet.
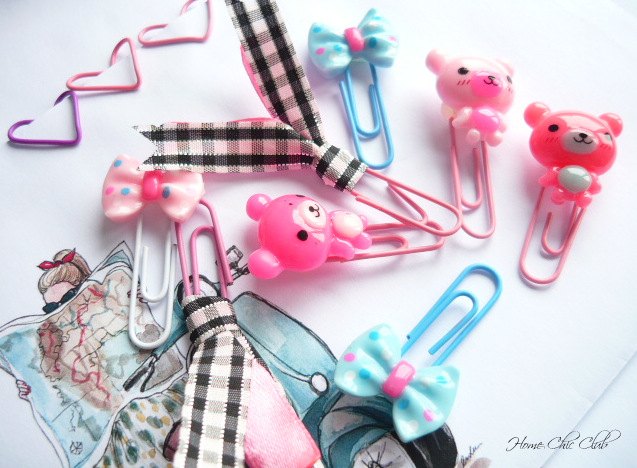
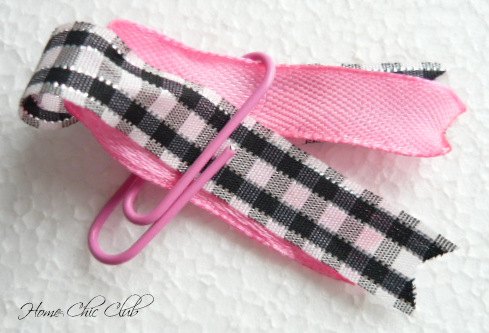
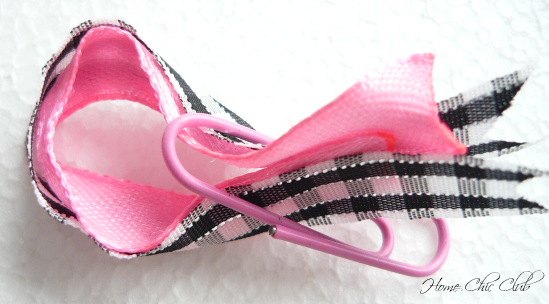
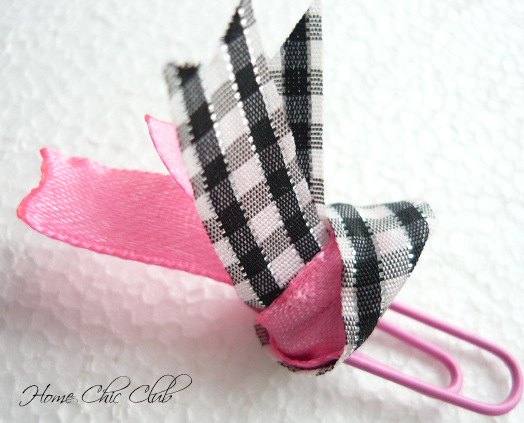
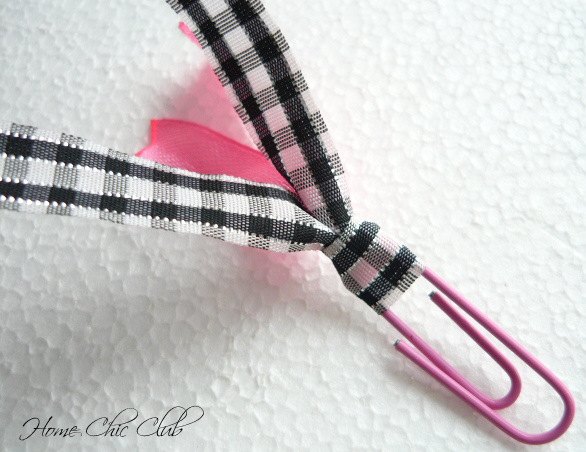
a) First one is with ribbon. You can use one ribbon or as many as you like. First fold your ribbons in half, then go through the paper clip, separate the strips in two so that you get an opening and pull the ends thought the opening. Pull the stripes and tighten them firmly. Finish with a little dot of glue on the back to keep everything nice and secure.
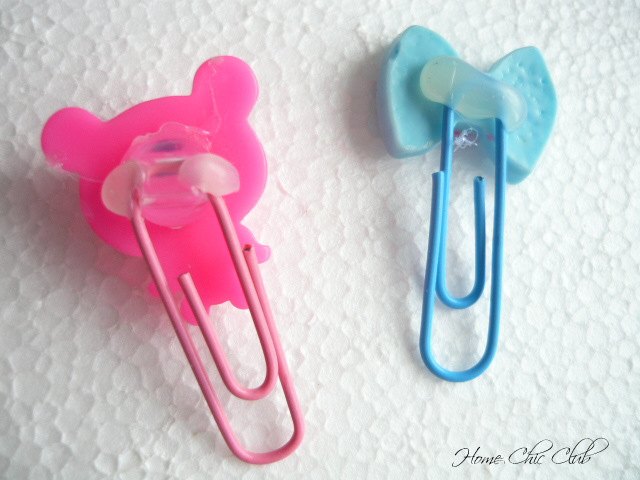
Other way to make them is to use charm from a hair clip (or other charms you have, button etc.) and hot glue it on the paper clip. Simple and cheap.
For more ideas visit my blog!

Want more details about this and other DIY projects? Check out my blog post!


Frequently asked questions
Have a question about this project?