


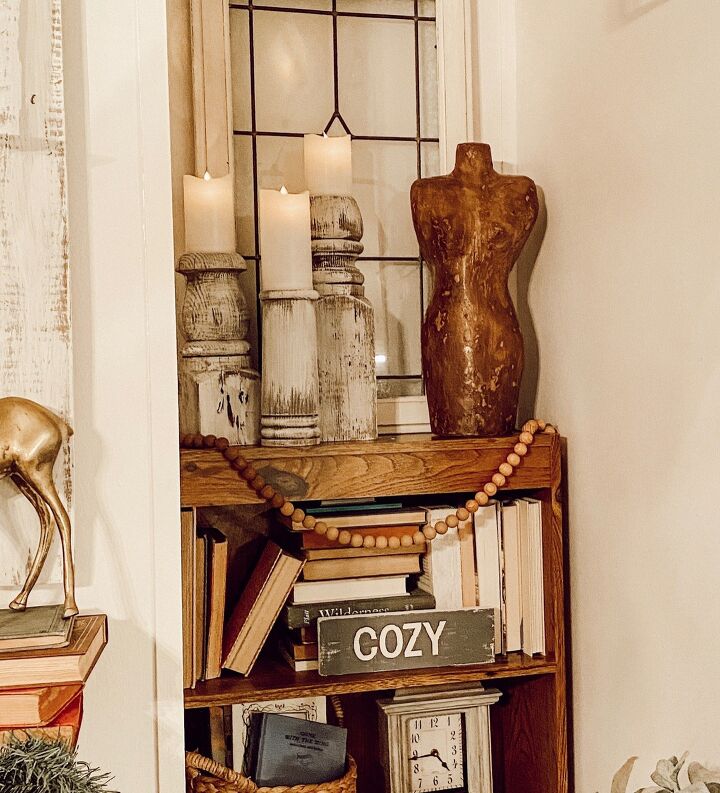
Faux Vintage Dress Form

This “vintage looking” dress form is by far one of my favorite projects to date. It certainly wasn’t the quickest project but it wasn’t difficult either. If you plan on it taking a couple days because of drying time, that’s really the hardest part.

Doesn’t this look like wood? Well it’s not, it’s paper mache!
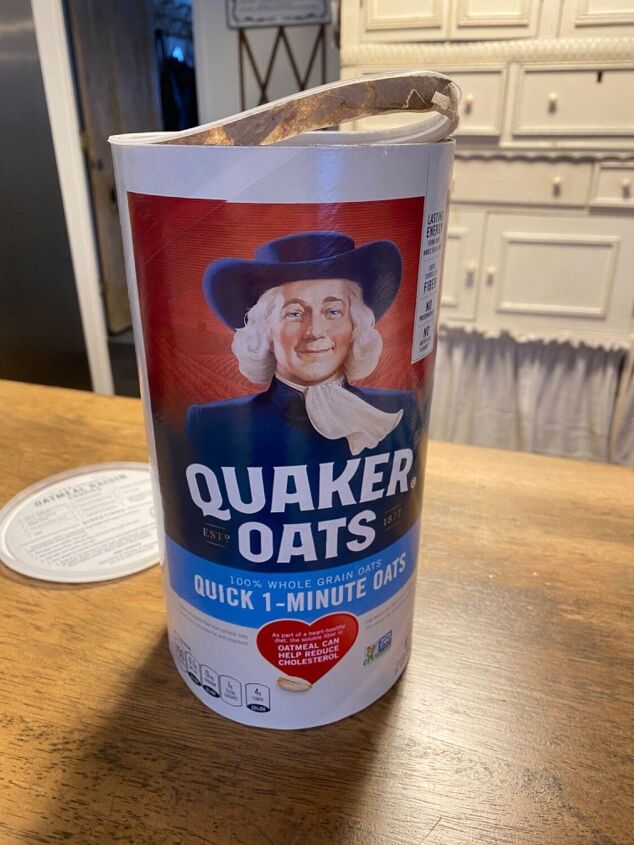
The first thing you’ll need is an empty 42 ounce cardboard oatmeal container.
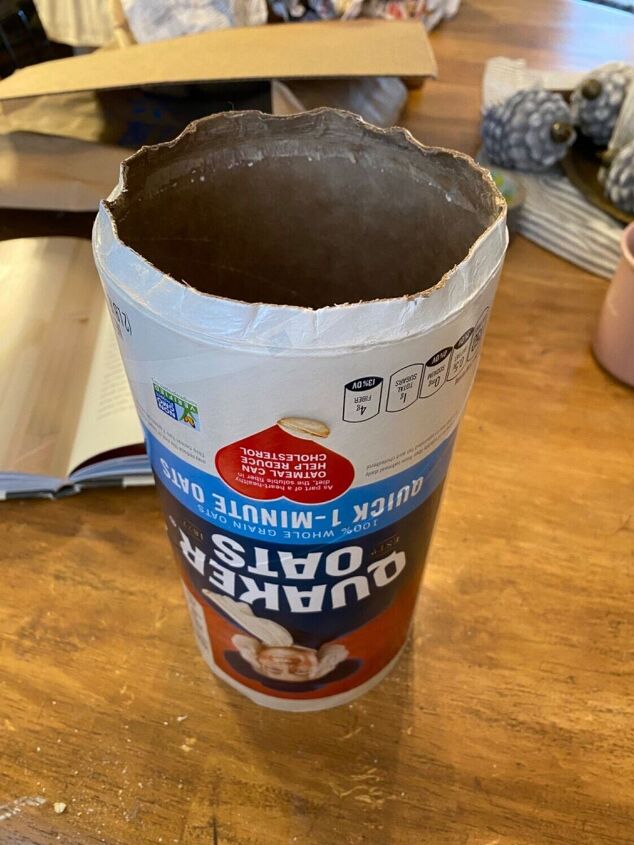
Pull off the plastic ring on the top and take out the bottom. (I just peeled back the bottom rim and the cardboard circle popped out easily).
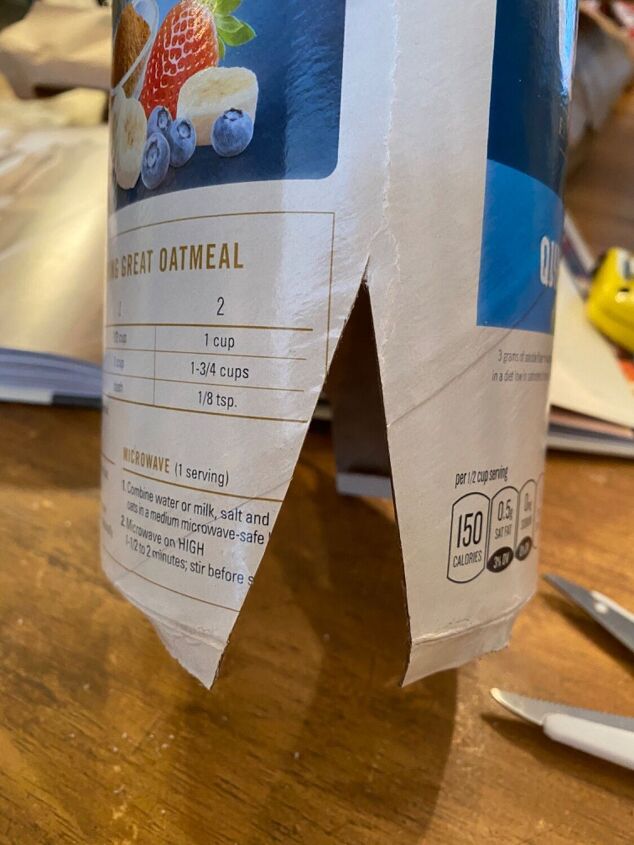
Next cut a triangle out of each side about 3 to 4 inches up.

Fold in the tabs and tape in place with duct tape.
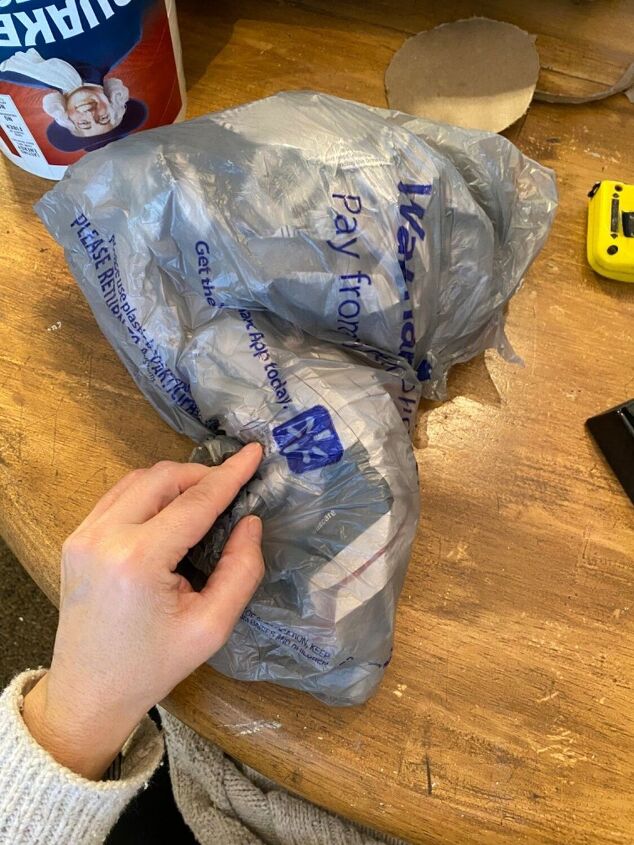
Now you will need to loosely stuff a plastic grocery bag with newspaper.
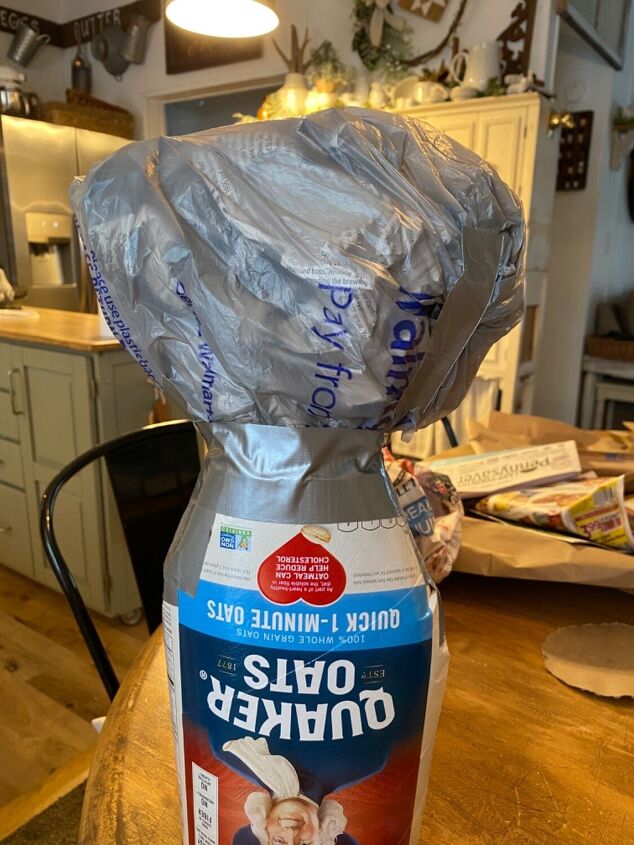
This will be the upper part of the body of the dress form. Try and shape it in a heart shape leaving some to stuff into the oatmeal container. Then tape around the bag and container to hold in place.
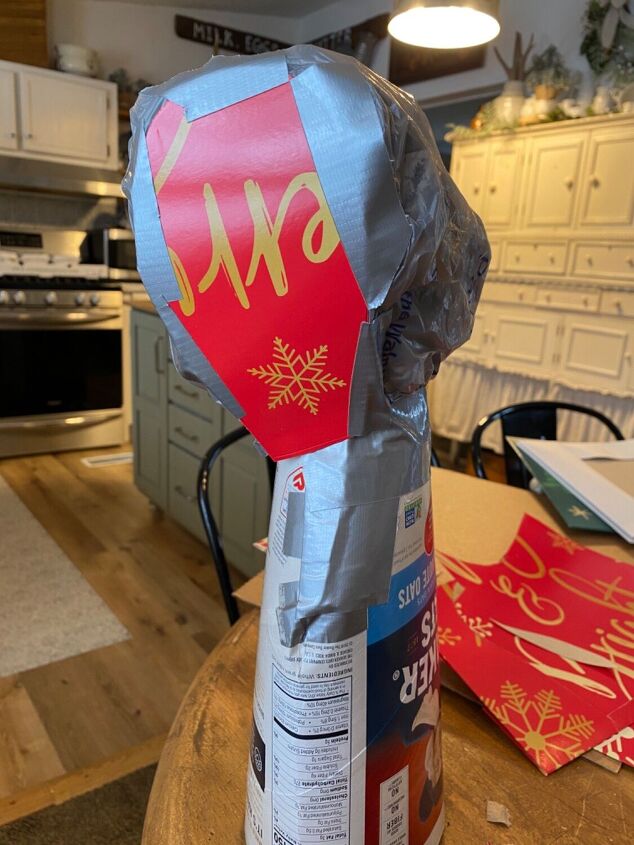
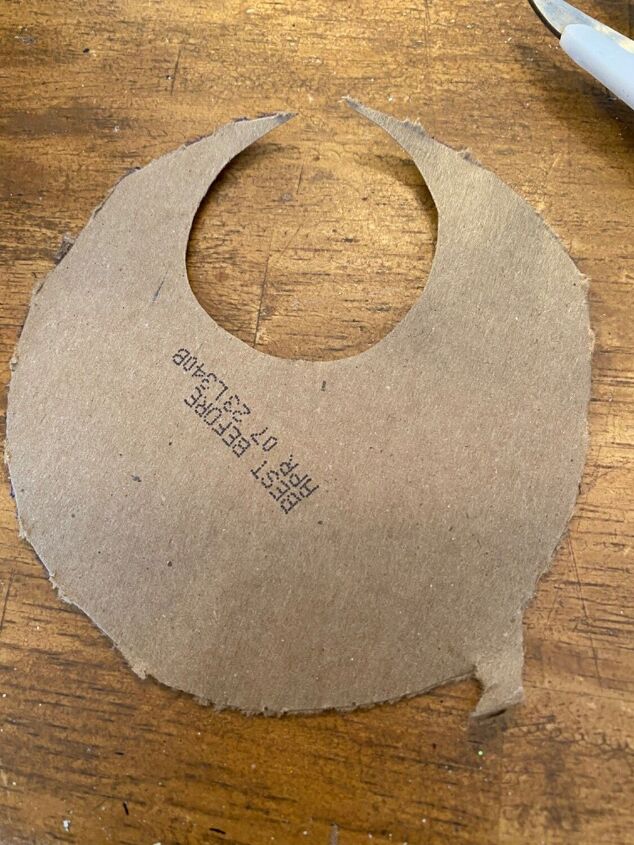
Cut two thin pieces of cardboard and tape them the shoulder area. Use duct tape.
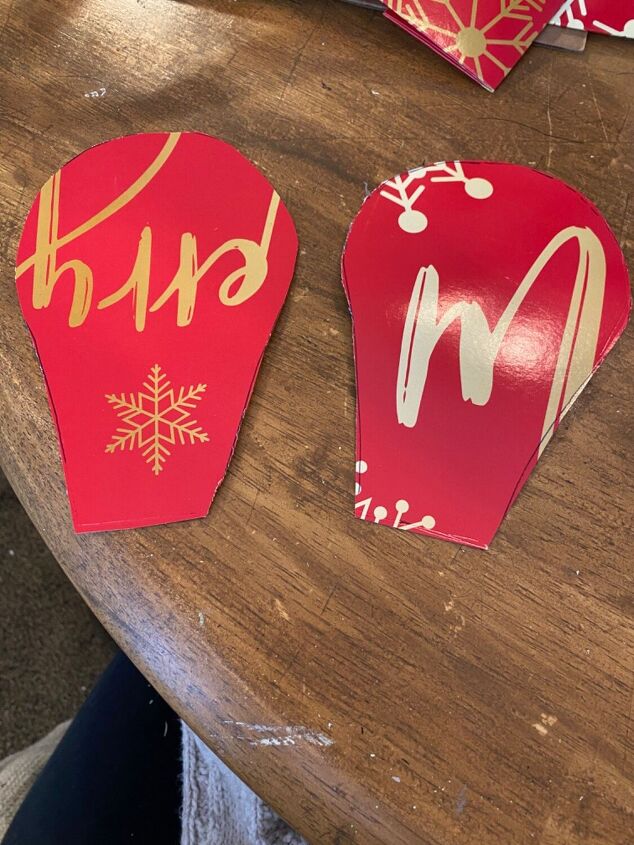
This is the shape you should cut out.
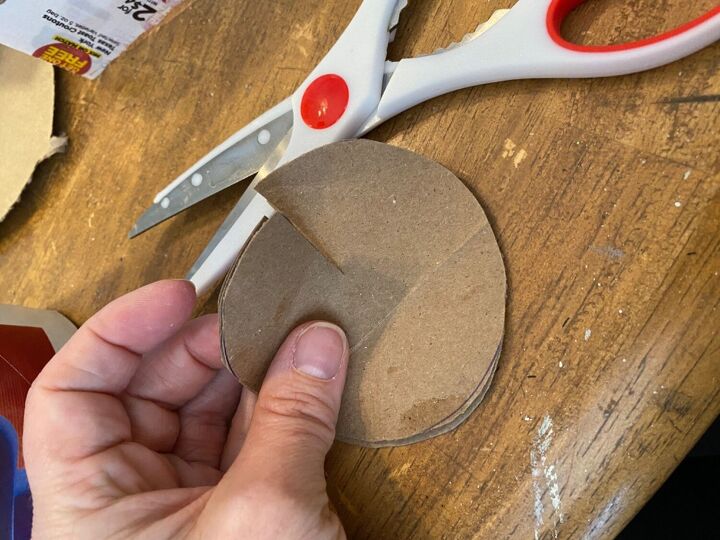
Now cut out two small circles for the bust area.
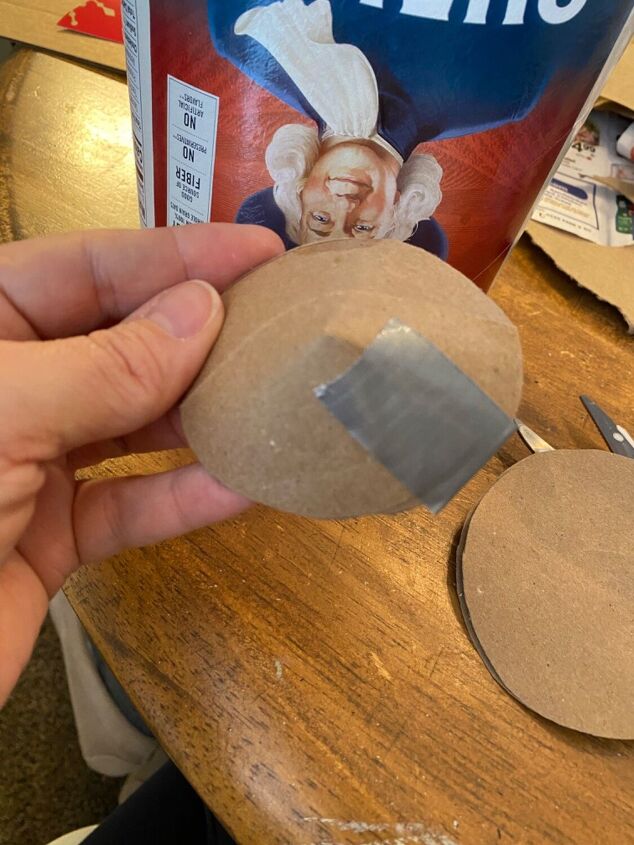
Cut a slit and make a cone like shape and tape in place. Think 1980’s Madonna. Lol
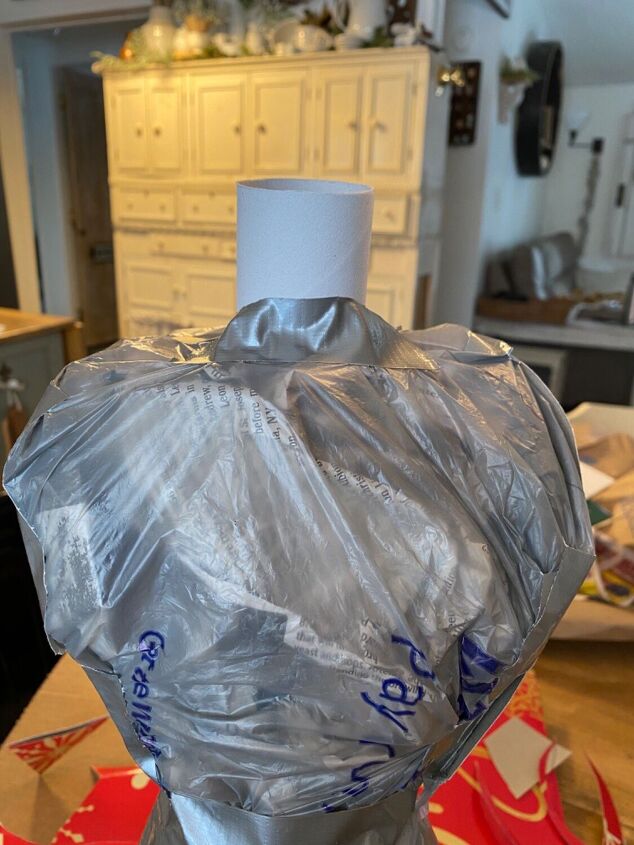
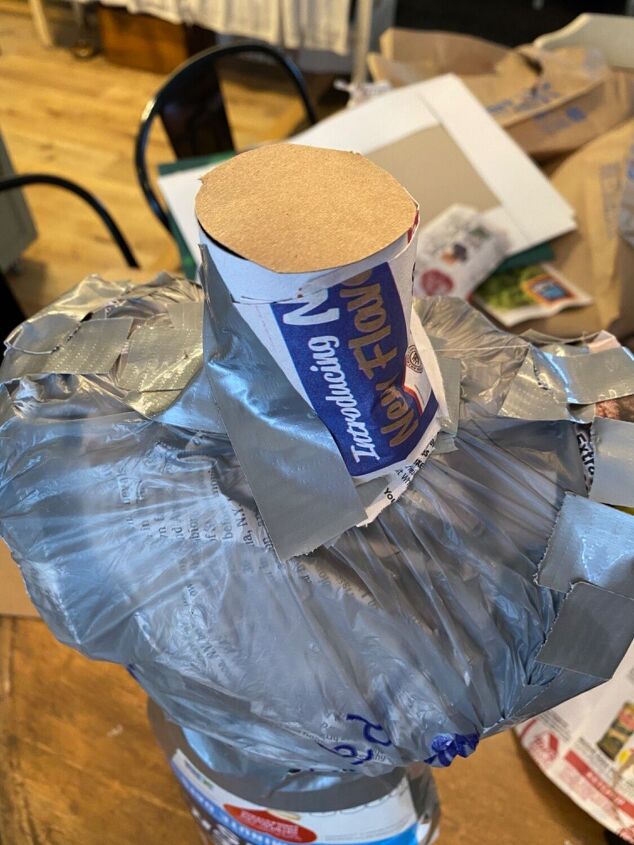
I used a toilet paper roll for the neck. Cut a slit in the bag and slide the roll in a little and tape in place.
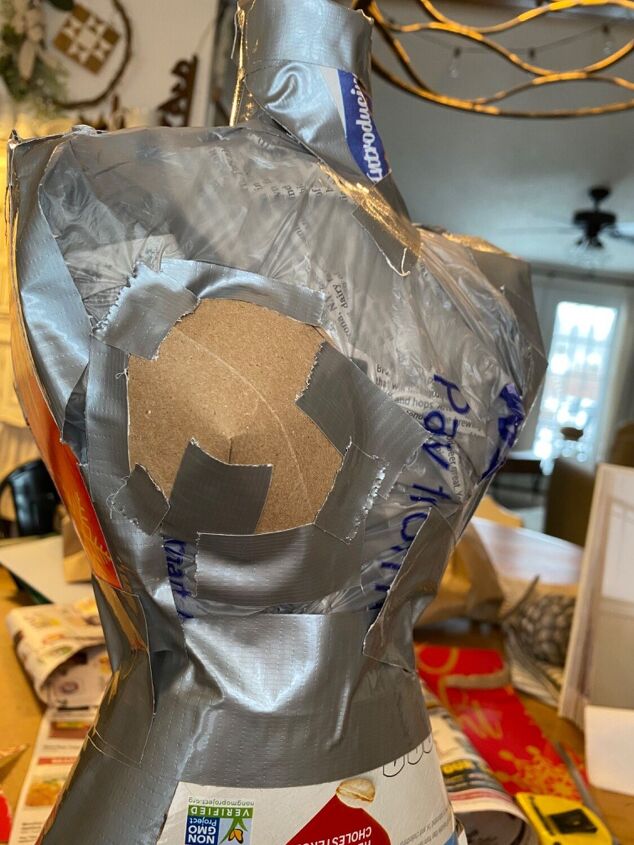
Tape your bust pieces in place.
I used the bottom of the oatmeal container to make a “collar”. I taped this in the chest area to make it more smooth. You could do this on any space to smooth or manipulate an area. It’s really almost like sculpting.

So here’s our form before the magic happens.
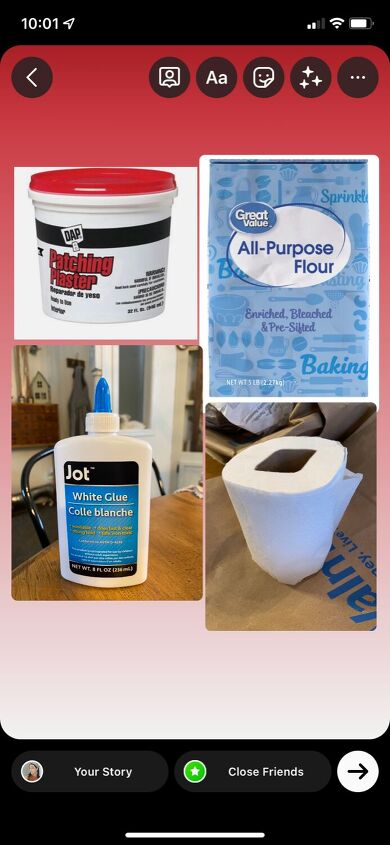
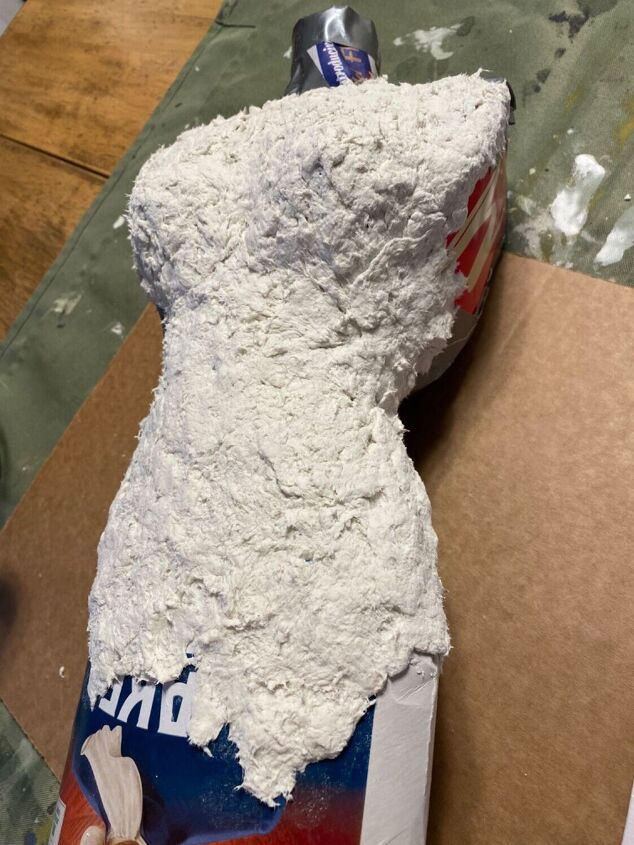
Soak one roll of cheap toilet paper in warm water. Pull out cardboard tube and discard. Squeeze out most of water.
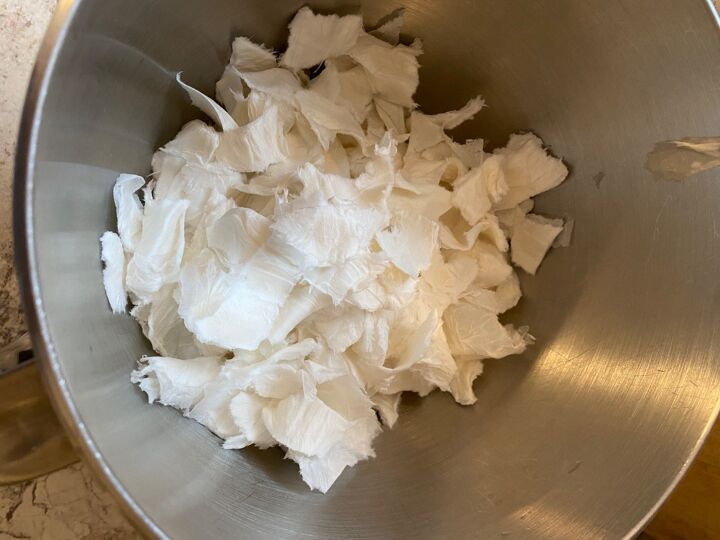
Tear up the entire roll and put in mixer bowl. Now add 3/4 Cup Elmer’s glue or white school glue, 1 cup joint compound/drywall mud, and 3/4 Cup flour. Mix all ingredients until you have a thick batter. It should be wet but not gooey (if that makes sense).
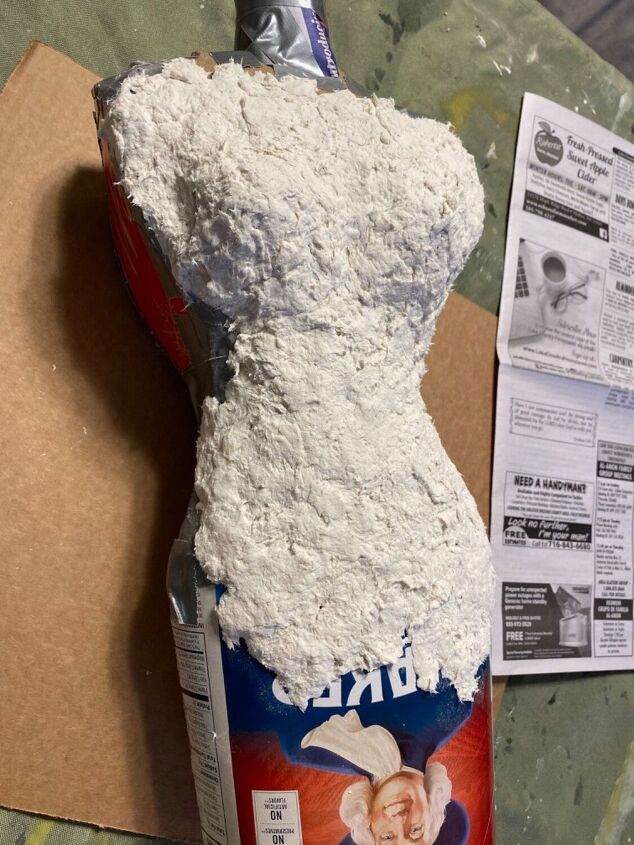
Start grabbing globs and cover your entire form. It should adhere nicely.
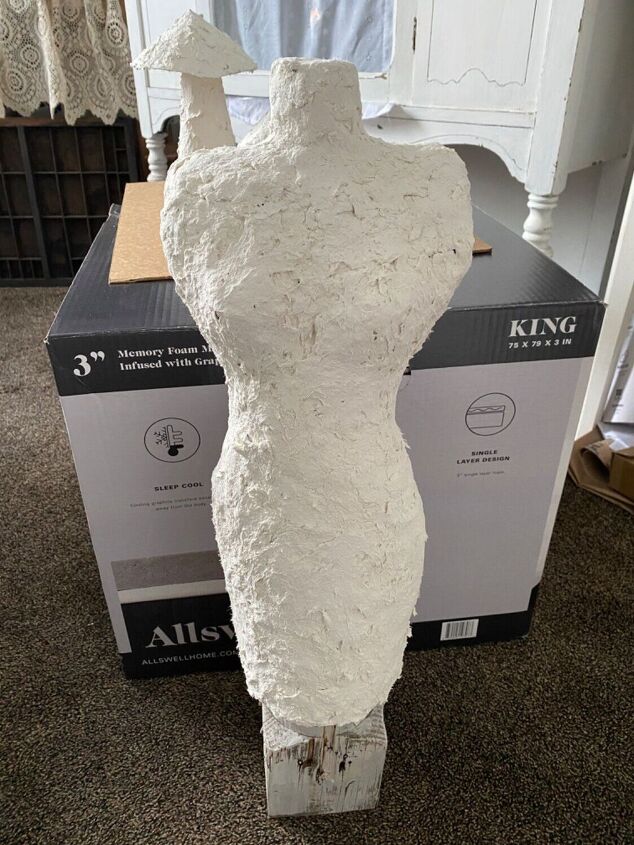
I set it up in a spare room with a fan on it for about 24 hours.
It dries nice and hard. At this point you could paint it, seal it and display it as art because it really looks like a sculpture. I chose to go further and get a vintage wood look.

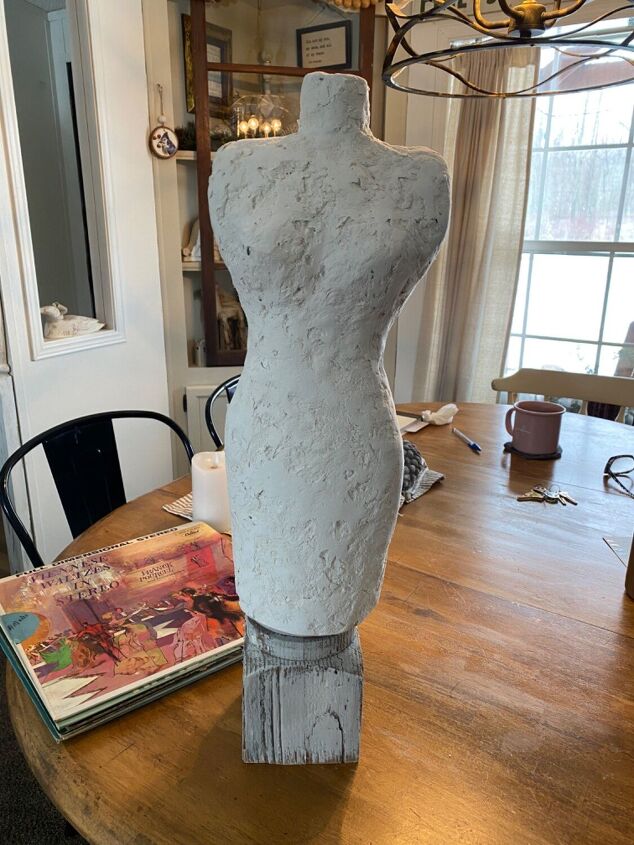
I spread a coat of dry wall muse all over to fill in grooves and divers.
I let it dry then I sanded it with my palm sander.
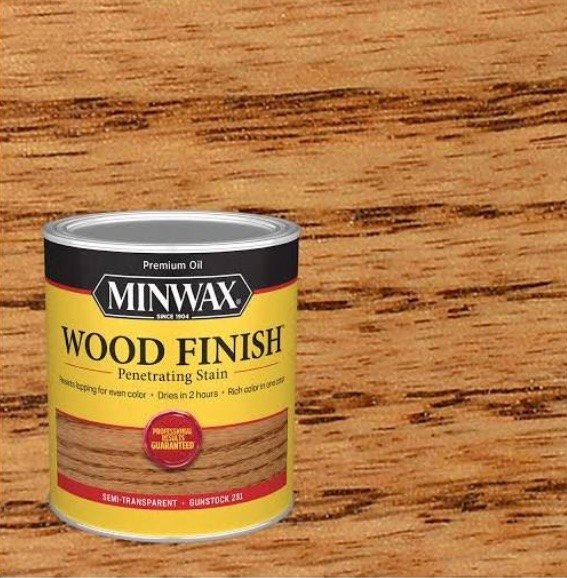
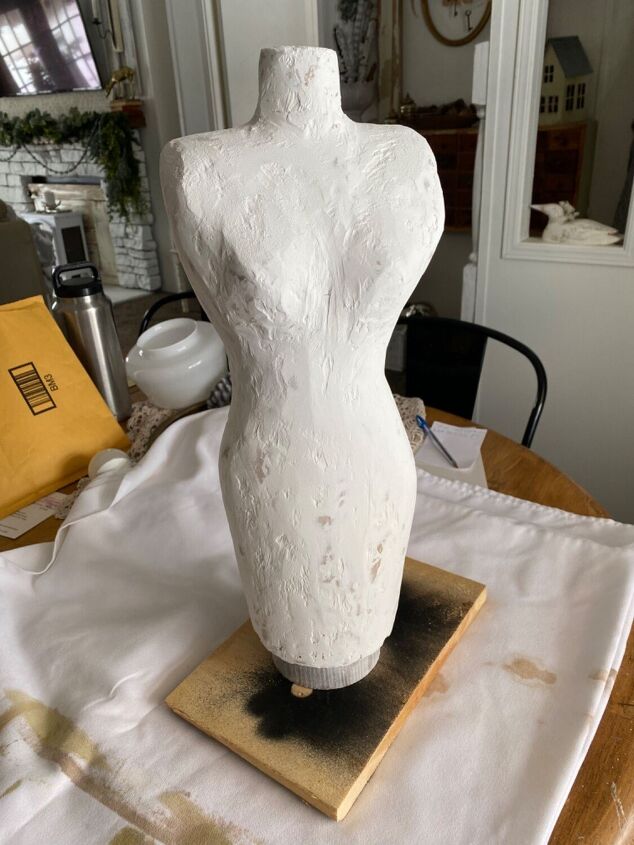
Now it’s time to stain your project. I used whatever stain I had on hand. It took two coats to achieve the weathered look I wanted.
I then gave it a couple Coats of clear coat and ta -da!!
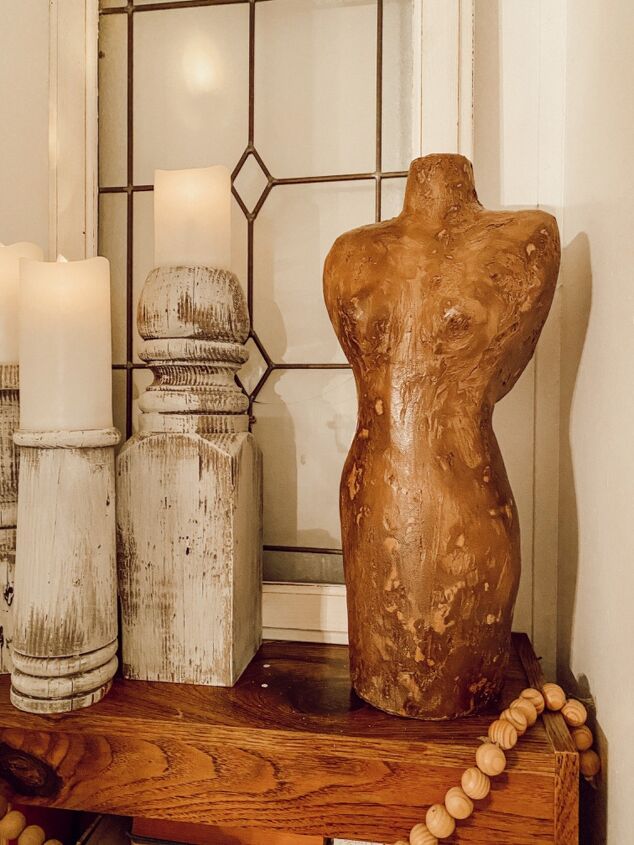
I’m loving this piece. I hope you do too! 😊
Comments
Join the conversation
-
This sure looks like it would be harder than it is. With your instructions it will be an awesome project to try. I’m a long time sewer and would love having this in my sewing room. Great job!
-
I'm impressed... and inspired! You could soooo sell these. Looks absolutely amazing!!! This just added to my want-to-do list!!


Frequently asked questions
Have a question about this project?