


How to Turn Dollar Tree Items Into a Cute Vintage Craft Scale

If you're a fan of vintage farmhouse style, you know that finding the perfect decor pieces can be a challenge - and an expensive one at that. But what if I told you that you could create an adorable vintage kitchen scale, made entirely from pieces from the Dollar Tree.
This post was transcribed by a member of the Hometalk editorial team from the original HometalkTV episode.
This project is easy, inexpensive, and perfect for anyone who loves a good vintage craft. So, let's get started and create a unique piece of old-world decor that will add charm and character to any room!
1. Gather Materials
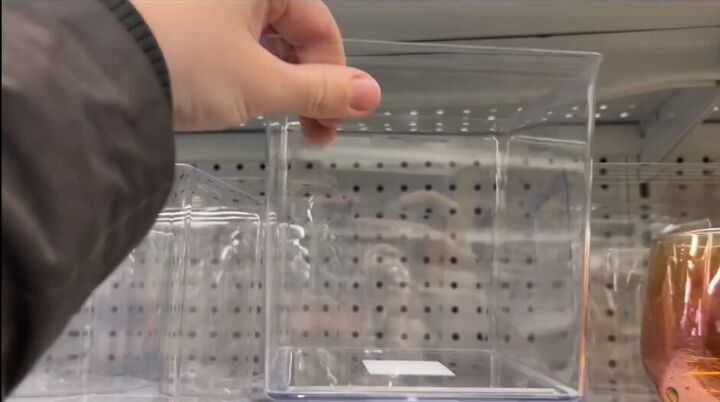
Next time you're at Dollar Tree, grab one of those square clear plastic containers.

Two wooden candle holders.
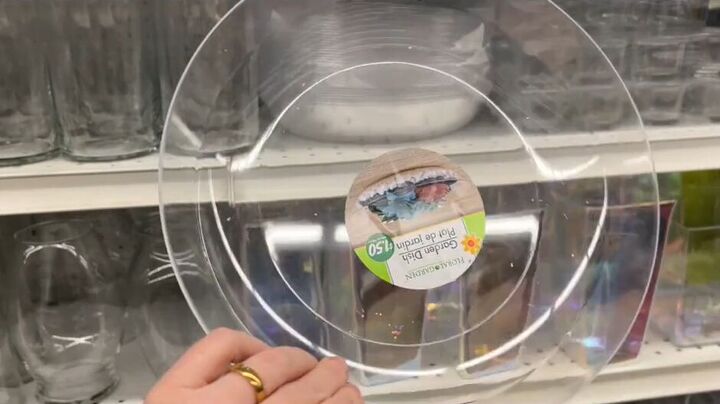
A round garden dish.
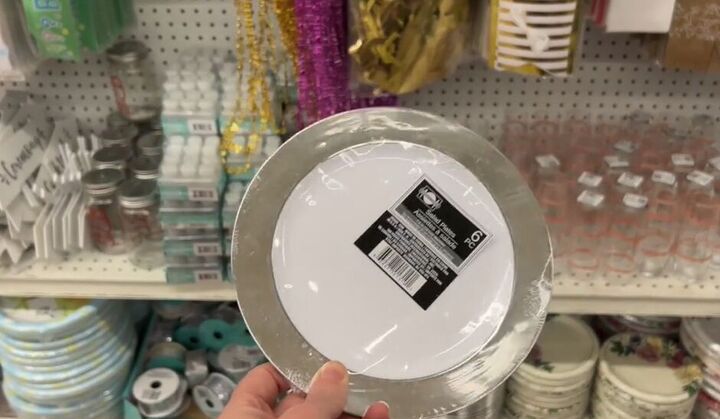
And some of these silver and white plates from the wedding aisle.
You will also need the following:
• Appliance epoxy spray paint
• Gray chalk paint
• Gray and black acrylic paint
• Metallic spray paint
• Dune grass paint
• Stencil pouncer
• Mod Podge, and
• A printed vintage scale face
These items are all easy to find at your local Dollar Tree or craft store and will cost you only a few dollars in total. With these supplies in hand, you'll be ready to create your very own vintage scale décor piece.
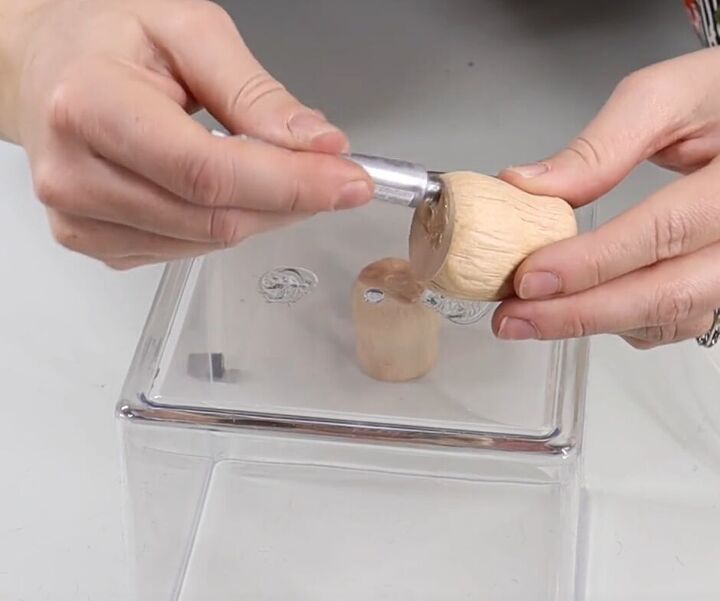
2. Building the Base of the Scale
To build the base of the scale, begin by placing the wooden Dollar Tree candle holders on top of the bottom of the clear square container. Use a bit of E6000 to secure them into place, then let them dry.
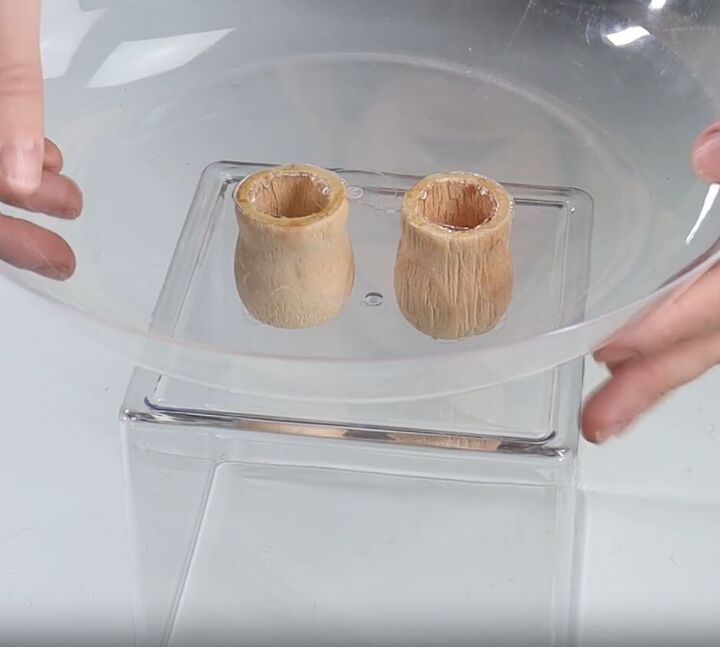
Next, glue the round garden dish with E6000 on top of the candle holders, and let it fully dry.

3. Painting the Scale
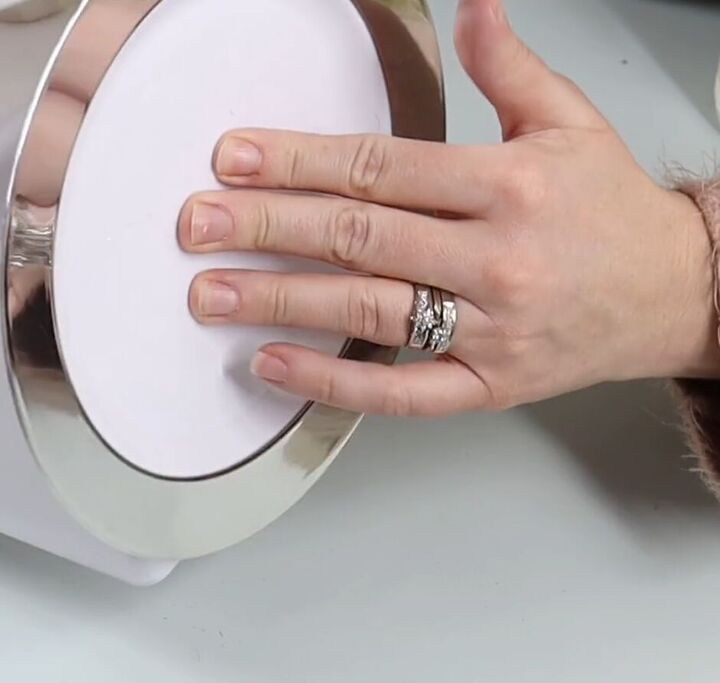
Once the base is dry, it's time to paint the scale. Begin by spray painting the entire scale with a coat of appliance epoxy spray paint.
4. Apply the faux scale face
The next step is to glue one of the wedding plates onto the front of the epoxy-covered scale using E6000 glue.
5. Adding the Faux Galvanized Look
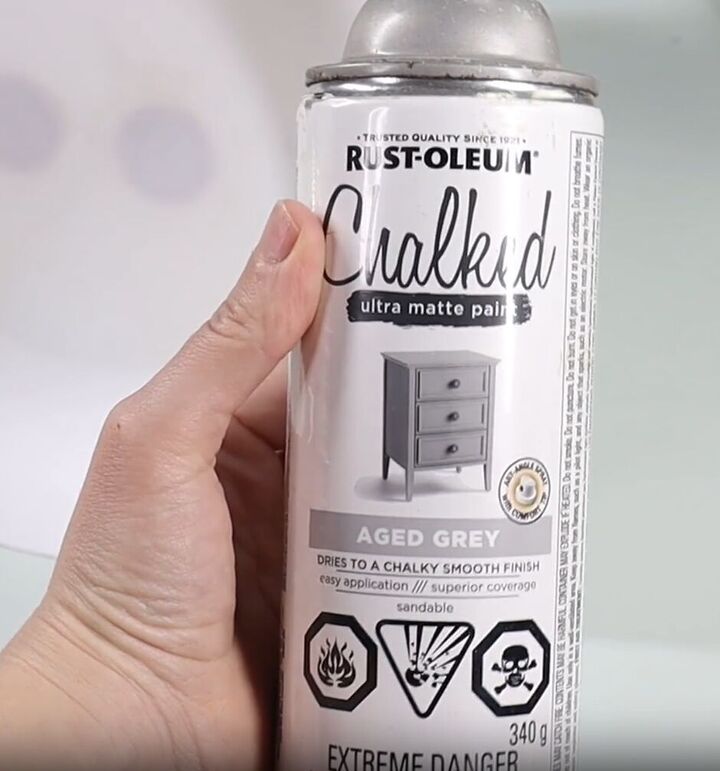
To give the look of galvanized metal, start by spraying the whole scale with gray chalk paint.
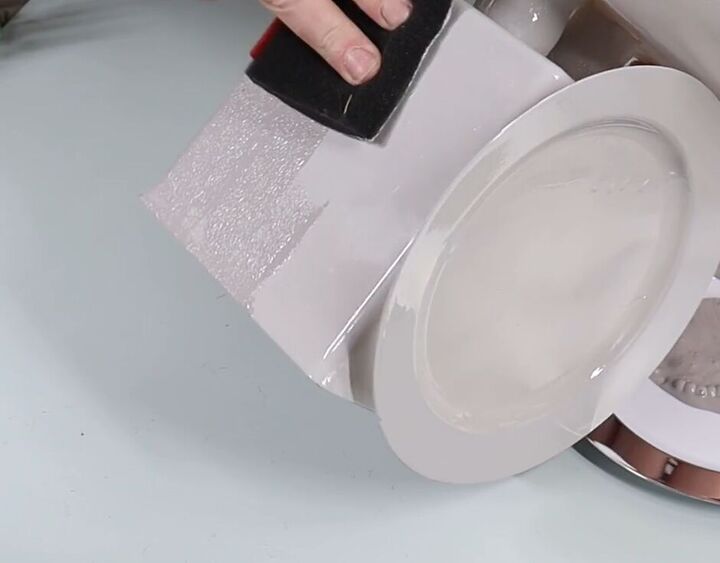
Now you need to come in with some gray acrylic paint and use a foam brush to give it texture on the sides.
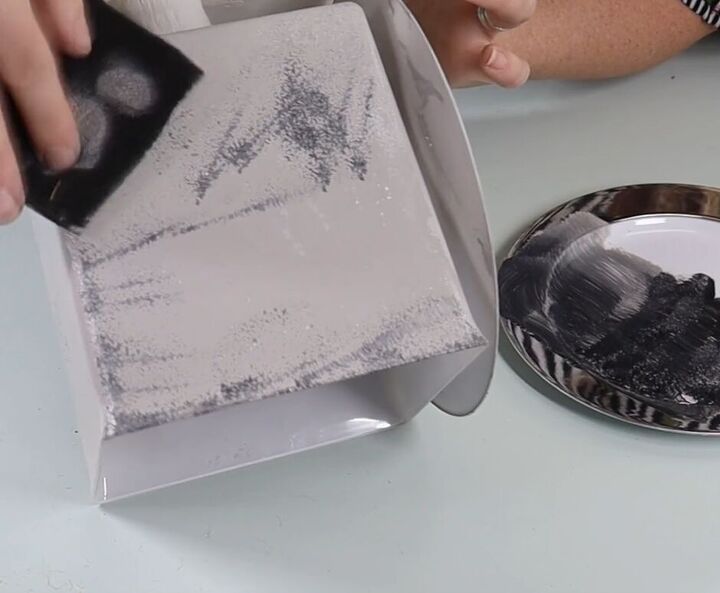
Also, work in some black for definition.
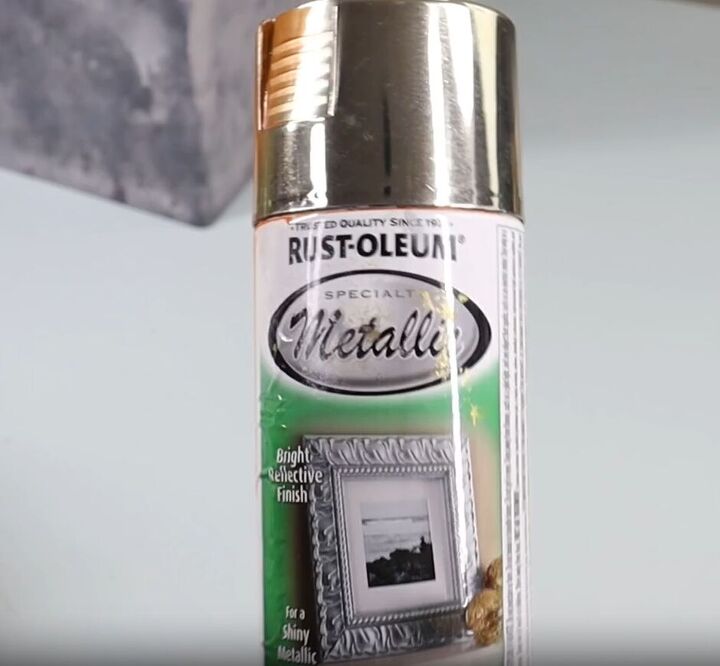
Now, add some metallic spray paint to the scale.
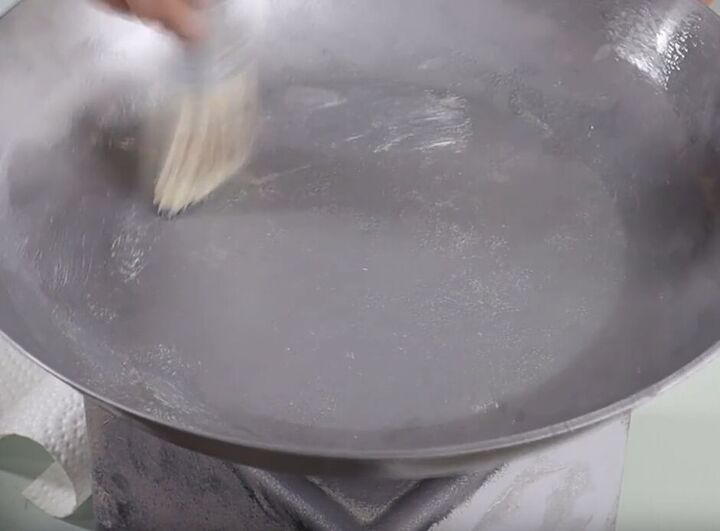
Dry brush the piece with white paint.
To brighten up the bottom of the scale, use muted green paint and a sponge to lightly pat a layer over the top of the base.
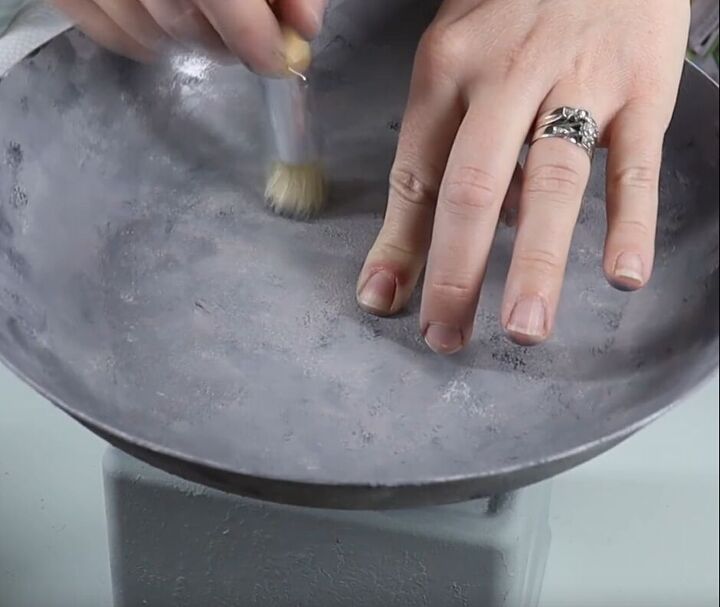
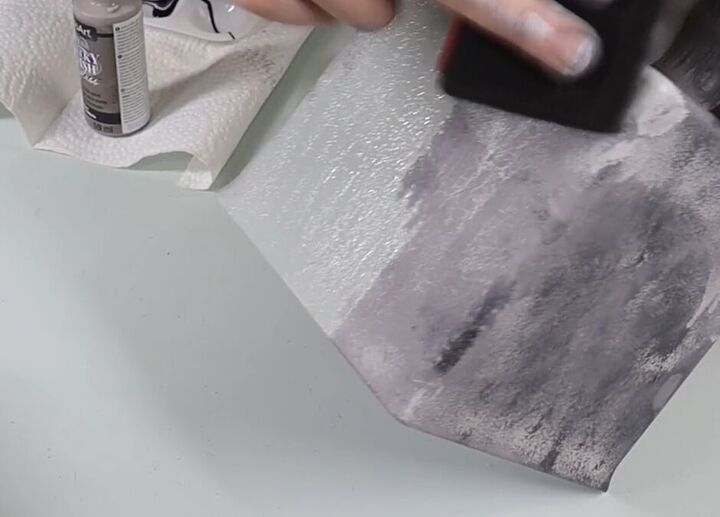
Next, grab a stencil brush and pounce on some shimmery silver metallic paint on the top garden dish.
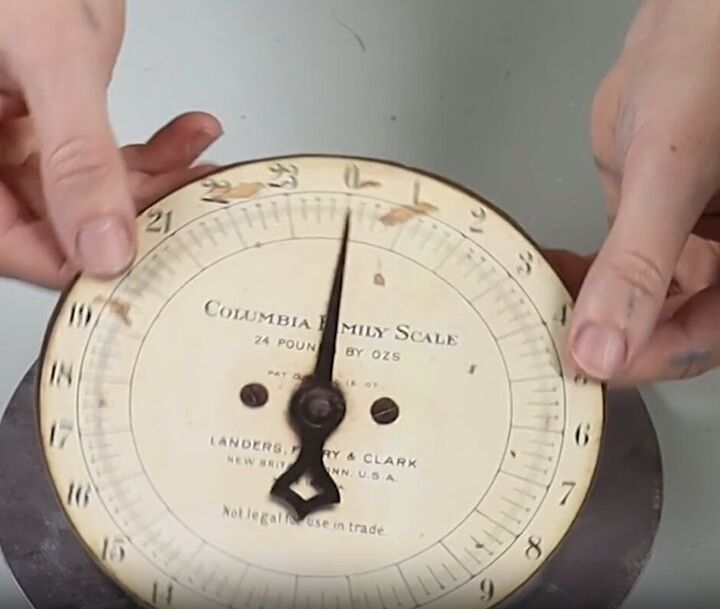
6. Adding the Scale Face
Print off a vintage scale face and cut it out.
More Vintage Upcycling
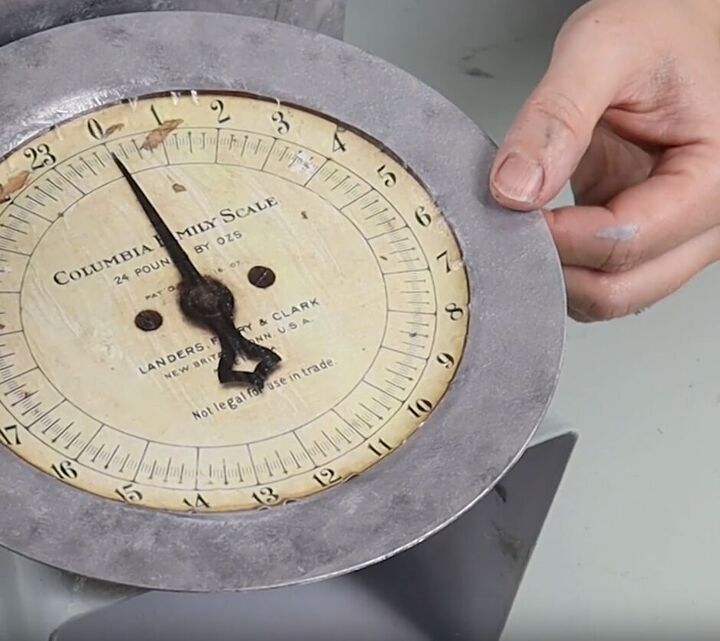
Use Mod Podge to glue the scale face to the front of the scale. Apply Mod Podge over the top to seal it in and ensure that there are no air bubbles.
Tip: For easier application of the print, you can remove the plate from the front of the scale, apply the print, and then glue the plate back to where it was originally placed.
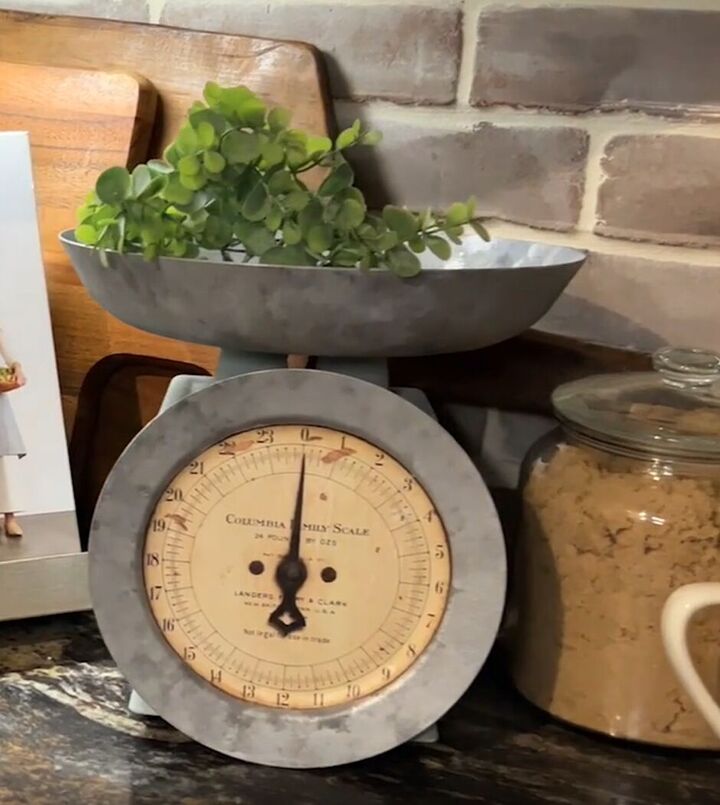
Vintage craft scale tutorial
And there you have it, a beautiful vintage scale that looks like it came straight out of an antique shop, all for just $5!
This is an affordable and fun DIY project that adds a touch of farmhouse charm to your kitchen decor.
I hope you enjoyed this tutorial and that it has inspired you to get creative with plastic pieces from Dollar Tree. Don’t forget to share your finished project with us in the comments below.
Thanks for reading, and happy crafting!
Resources for this project:
See all materials


Comments
Join the conversation
-
I will definitely try this project. It is amazing.
-
Now that is a GREAT diy! Really well done ! LOVE IT !


Frequently asked questions
Have a question about this project?