


How to DIY a Dollar Store Home Decor Item and Make It More Your Own.
Have you ever walked past something and thought, that's cute but it I wish it was a different color? Well next time that happens, go ahead and bring it home, I'll show you how to make it your own and work with your home decor!
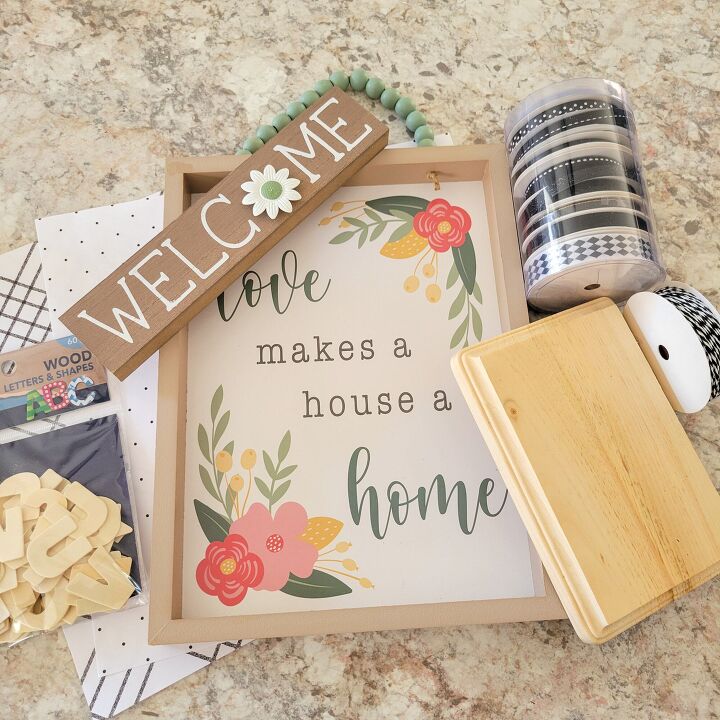
These 2 items I purchased are cute but needed a little makeover to match my style. I loved the size of the sign with the cute beads and the shape of that little welcome block. I could see the potential.
I started by painting a simple wood block I already had just waiting to be used with a beautiful green. I'm really into green this spring, I chose spearmint Anita's craft paint from Hobby Lobby. You know I love scrapbook paper, so my mission was to paint the outside of this block and then mod podge a simple black and white polka dot paper to the top of this block. This will create a 3 - dimensional accent as part of the sign.
I chose 2 ribbon to create a little design around the middle of the wood block I had just painted and mod podged the scrapbook paper. I finished by adding the little flower from the original welcome sign to the middle of the ribbon.

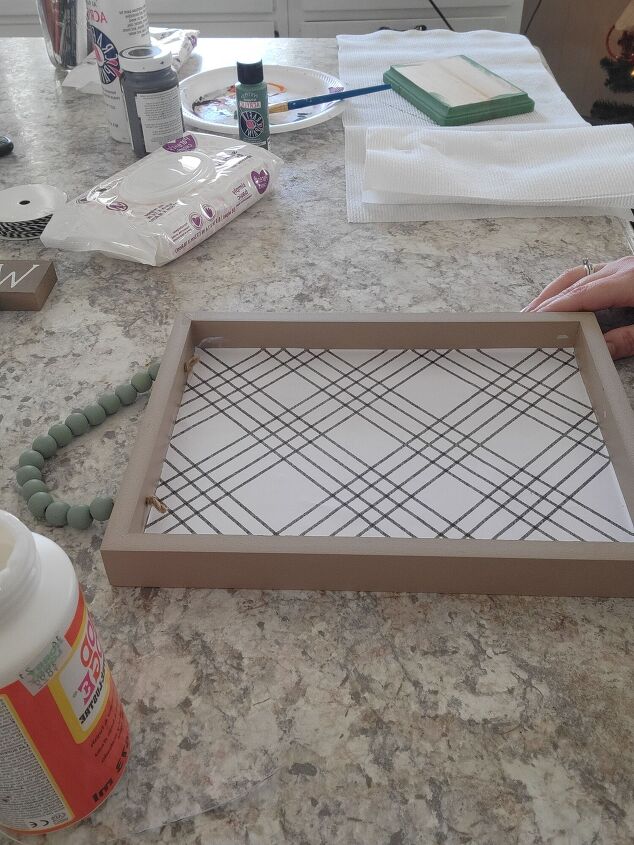
I took the large sign and sized a piece of black and white scrapbook paper to the inside using mod podge to attach. To do this, paint a thin coat of mod podge over the sign then place your paper over it smoothing it out as much as possible. You can finish my painting a thin coat of the mod podge over the top of the paper.
I used the same green to paint the outside of the little welcome sign. I removed the flower and re-used it on the first part of this project.
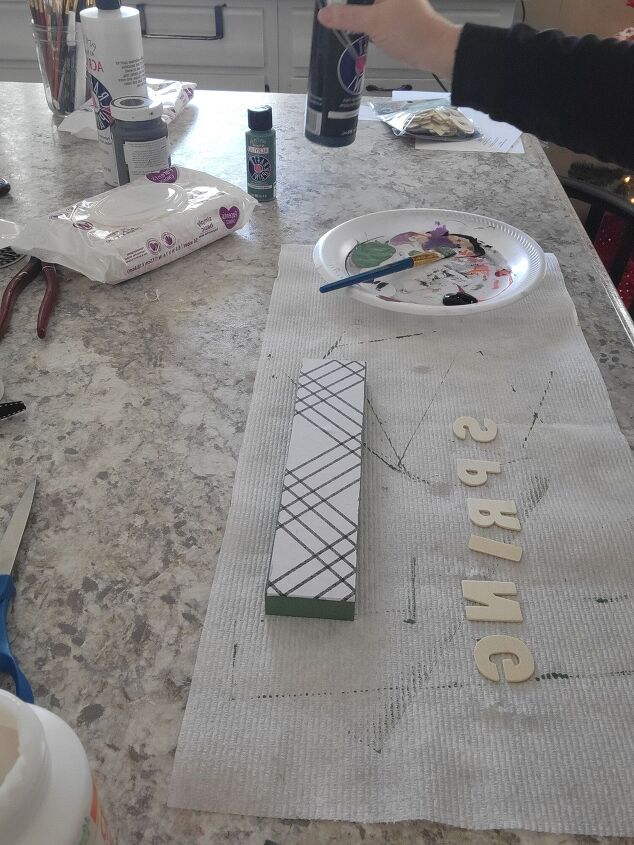
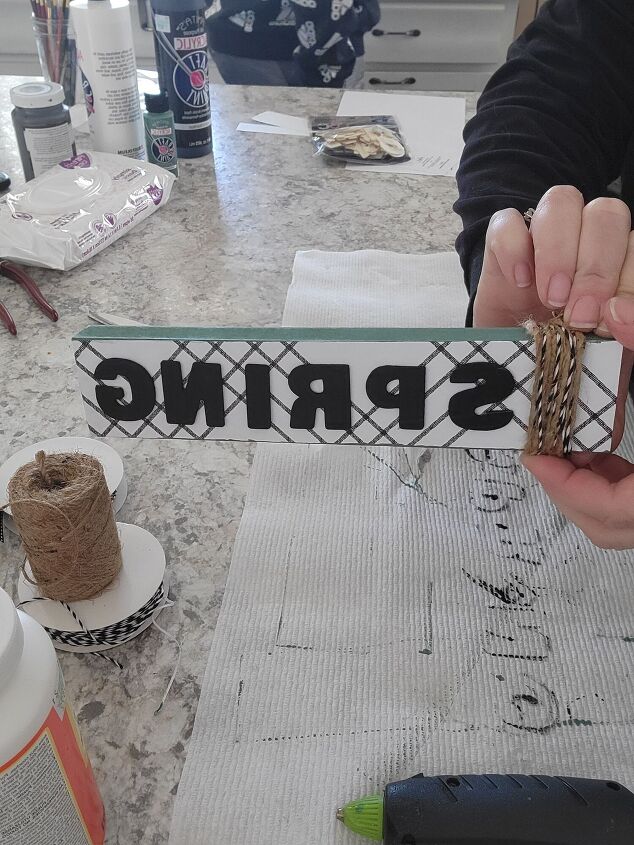
I used the same pattern of scrapbook paper that I used to line the inside of the large picture on this block. I had picked up these little letters from DG also. I choose the letters to spell spring to put on this piece. This green just makes me think of spring! I painted the letters black.
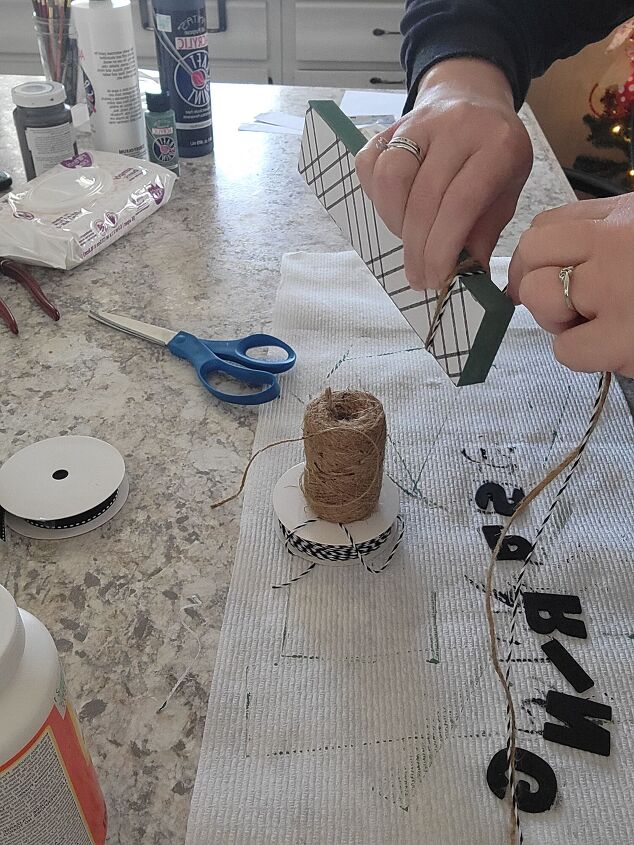
To add a little texture, I took 2 types of twine ribbon and wrapped around one end, leaving enough space for my letters.
To finish this project, I hot glued the letters to the block and then glued the small block into the middle of the large sign. After putting everything together I decided to paint the edge of the sign black.
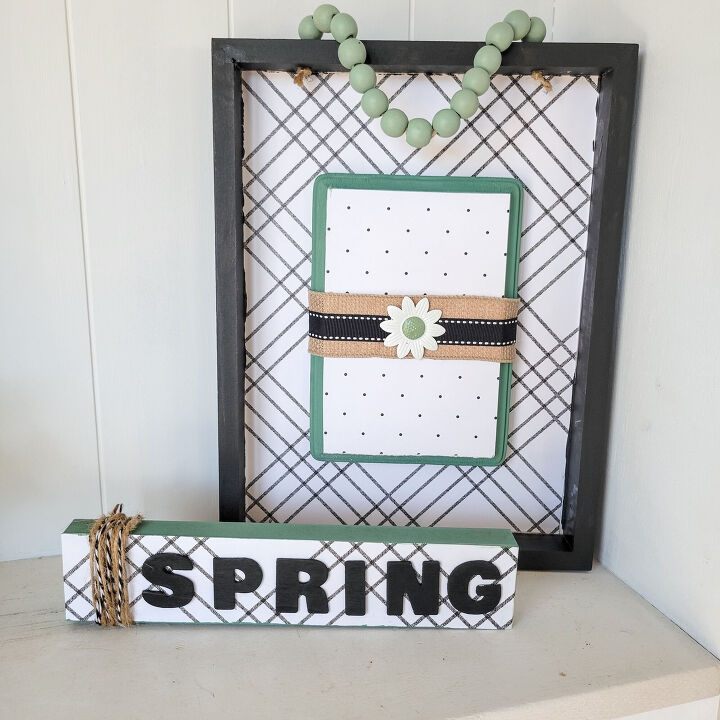
I absolutely Love how these 2 turned out, so different from the original but much more my style. I paired them with the 2 other spring items I DIY'd recently and it all looks so cute.
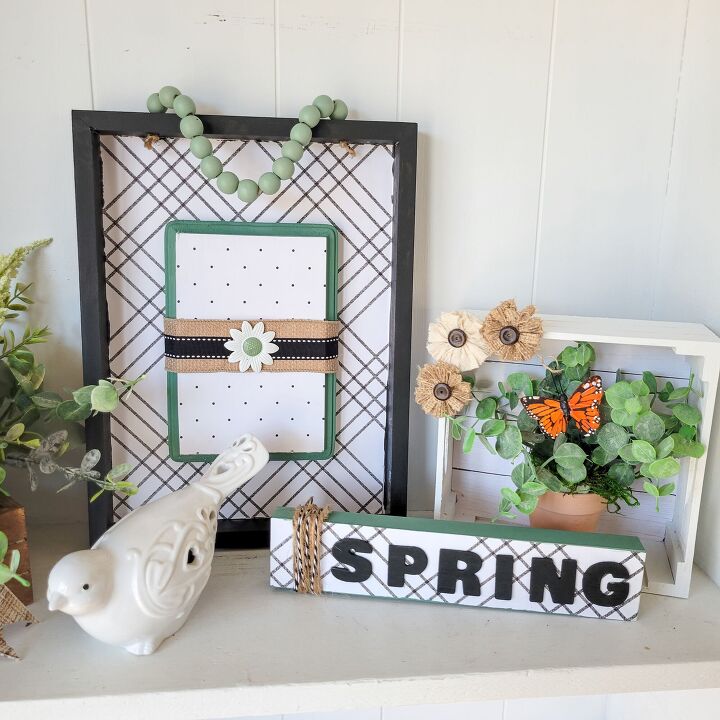
Check out this blog post to see how I created this little design with a couple nesting boxes. https://www.underacottonwood.com/post/nesting-crates-aren-t-just-for-storage
I'm so ready for spring and now I'm a little closer in my home decorating too!
Hope you enjoyed these fun little DIY Dollar General projects.
Jill


Frequently asked questions
Have a question about this project?