


How to Make a Beautiful Trivet From Wooden Clothespins
Making a trivet is a fantastic way to use up old wooden pegs. If you're always looking for wooden coasters and trivets to go underneath plant pots or hot dishes then this is definitely a craft for you! I love the natural wood look but you could paint or stain them to suite your home decor.
Please Note: This is an abbreviated tutorial. I think I've covered everything you need to know to replicate this project at home but the full tutorial is far to long for me to reproduce on Hometalk. You can read the detailed tutorial and see more photos by clicking the link to the blog at the bottom of this Hometalk post. Find it under the 'Decor' Category in my menu or just type the word 'trivet' into the search box. Thanks for understanding!
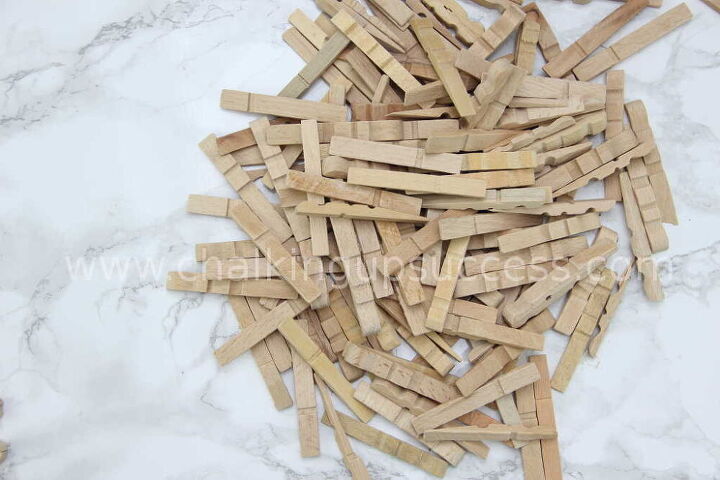
You can make this trivet with any type of wooden pegs, but you will first have to remove the metal clasp which holds the pieces together. To do this, just twist both sides of the peg until the metal clasp pops off on one side and then you can remove it altogether. The springs on my pegs were already removed so I could skip that stage.
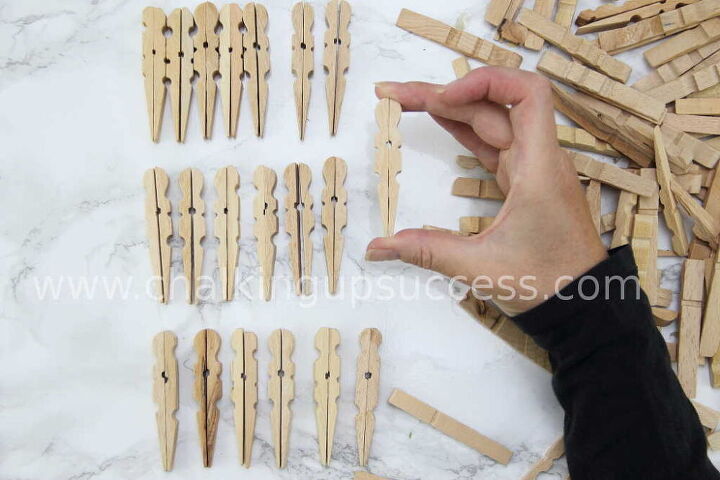
After removing the metal clasps, spread the pegs out onto a tabletop or crafting surface. My pegs were all mixed up in the bag and I found that they were of various thicknesses and lengths. If yours are like this too, the first thing you’ll need to do is to match up the pieces.
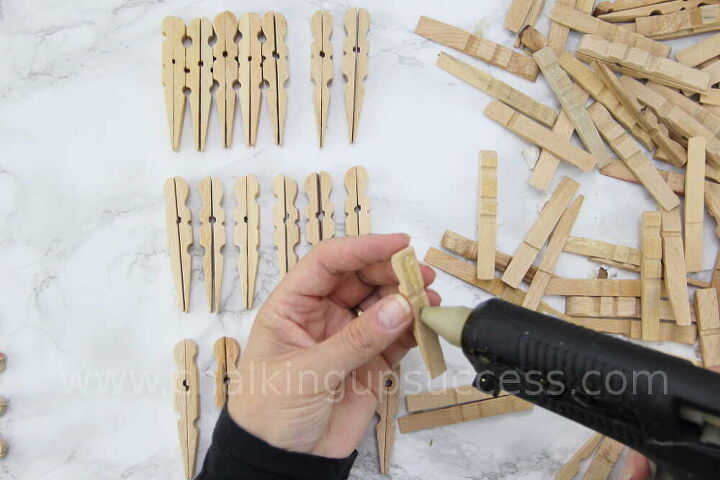
Once you have all your pieces matched up, you can start gluing them together. Carry on doing this until you have enough pieces for the size of trivet you want to make.
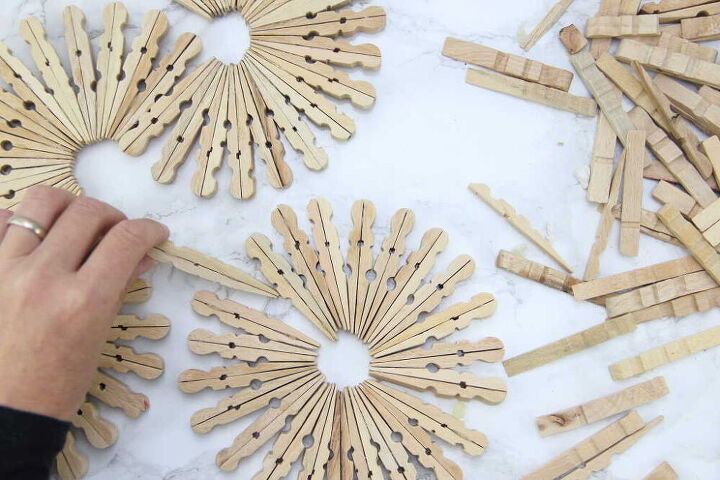
Next, set out all the pieces which you’ve glued together, into the shape of the trivet you want to build.
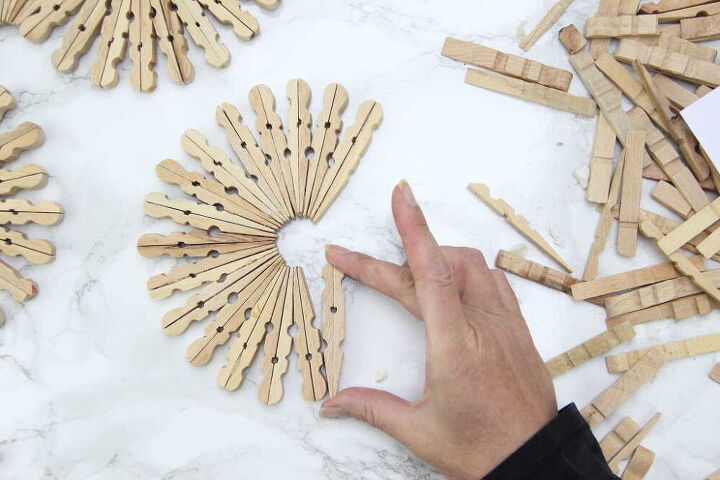
Glue each piece together in the shape you’ve decided to make. I made a half circle and then I changed the direction and made another half circle in the other direction to form a kind of ‘S’ shape.
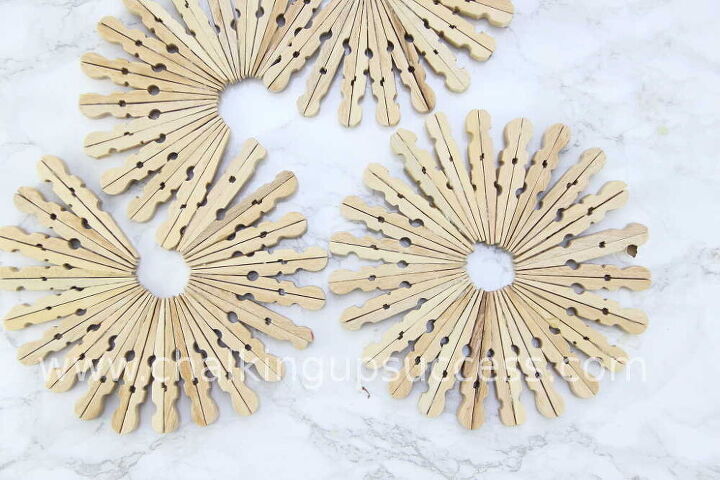
So there you have it! A really simple craft which in my opinion is a much prettier and more creative option to your average shop-bought trivet. In my case, not only did I find a great use for all those peg halves I was given but I’ve also gained an accessory for my table which is both beautiful to look at and extremely useful to boot.
I think I’m going to be buying more wooden pegs just so I can make more trivets!
WAIT!
Before you go, if you’re not part of our amazing creative community yet but would love to join us, I would love to have you stop by my blog Chalking Up Success for the full tutorial or to sign up for my latest posts, DIY, inspiring home decor, natural home recipes and more.
FREE RESOURCES
By signing up, you’ll also receive a copy of the free ‘Furniture Flip Checklist’ and gain access to all the other printables, e-books and labels in the VIP Resource Library.
CHALKING UP SUCCESS ON YOUTUBE
Subscribe to my YouTube channel to see more DIY, home decor and crafts - I can't wait to see you there! 

Comments
Join the conversation
-
I love clothes pin projects. I’m excited about doing this also. More projects like this would be great like rocking chairs
-
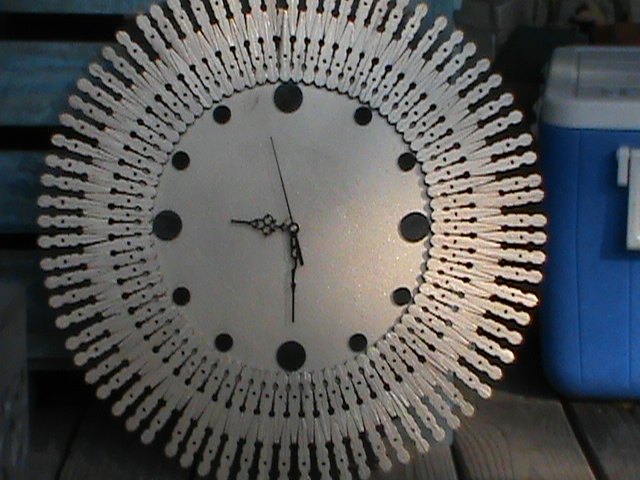
If you are looking for something different to do with your clothespins try a clock or mirror! I love your trivets and coasters are a really cool idea too!
 https://www.hometalk.com/diy/decorate/mirror/how-clothespins-help-pass-time-by-making-a-clock-44277388


Frequently asked questions
Have a question about this project?