


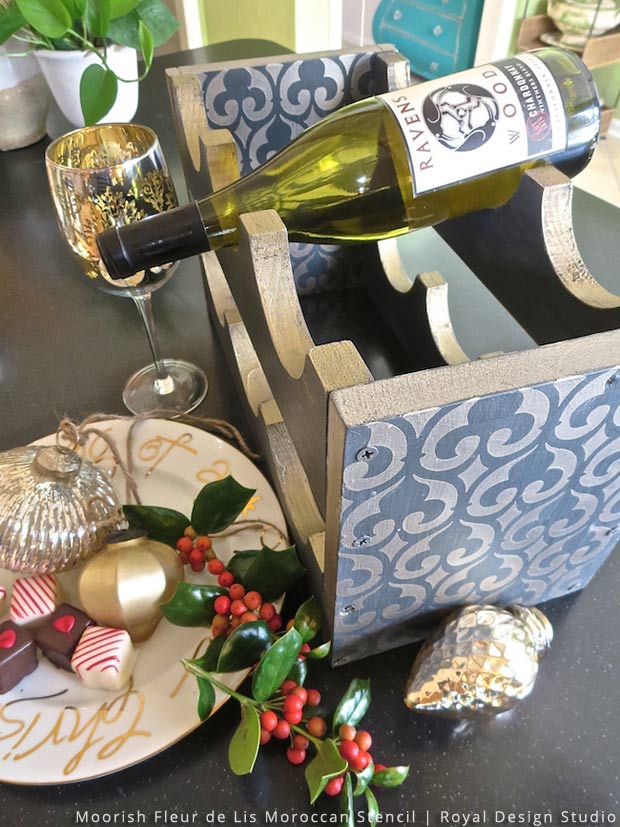
A Perfect Christmas Gift: Stenciled Wine Rack

December is here. What? When did that happen? This year, are you too madly creating gifts like me? I discovered this DIY wood wine rack at Home Depot back in late summer. It was inexpensive and a perfect, fun Christmas gift project for Paint + Pattern. If you belong to a ladies-night-out group this would be great fun to do together. Plus, you get to leave with a finished gift and enjoy a glass of wine while you paint and stencil!
This little project was quite simple, and because this wood is quite soft, it's a bit rustic. But, if you know my style by now, I stenciled the wine rack and turned it into an absolutely desirable work of art!
This little project was quite simple, and because this wood is quite soft, it's a bit rustic. But, if you know my style by now, I stenciled the wine rack and turned it into an absolutely desirable work of art!
SUPPLIES
STEP ONE
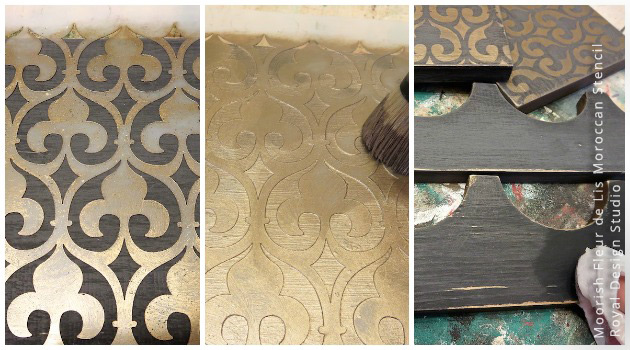
STEP THREE

STEP FOUR
Comments
Join the conversation
2 comments
-
What a great idea! Looks amazing. I have 2 kitty inspectors to oversee my processes as well!


Frequently asked questions
Have a question about this project?