


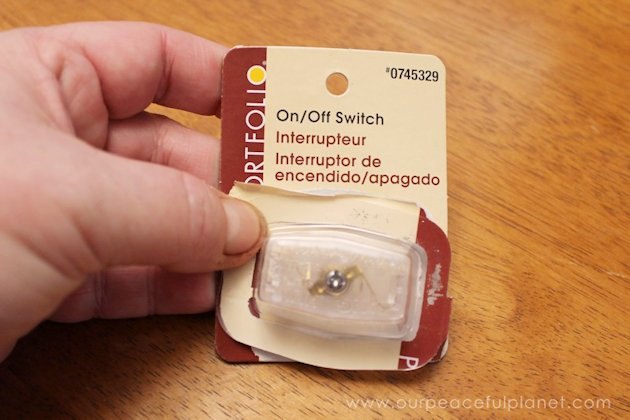
Install an On/Off Switch to Your Glue Gun in 10 Minutes!
For some reason it’s really hard to find a glue gun with an on off switch. I recently purchased a new large gun that I love (you can get the link for it on my post on my site) but as usual it didn't have an on off switch. So I added my own. It's super easy!
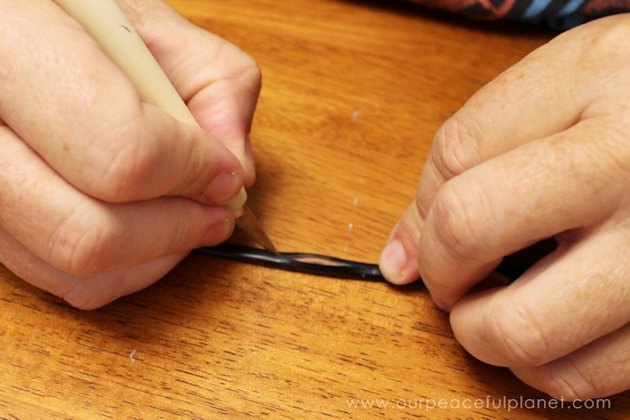
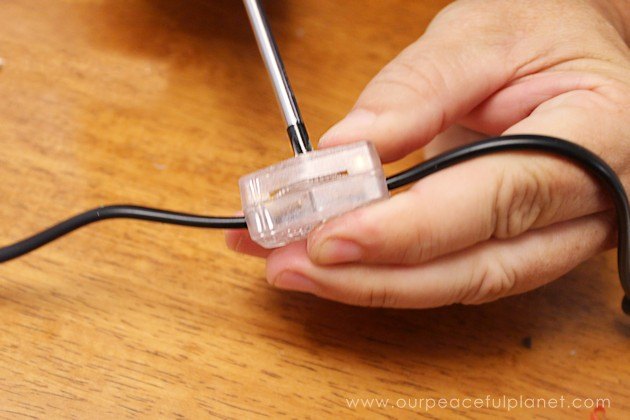
Using an X-acto type knife, carefully slice open the outer casing. Inside it holds two smaller casings. Remove the outer casing completely just within where it will set inside the switch. Just be careful to not cut the inner wires. Its not difficult at all.
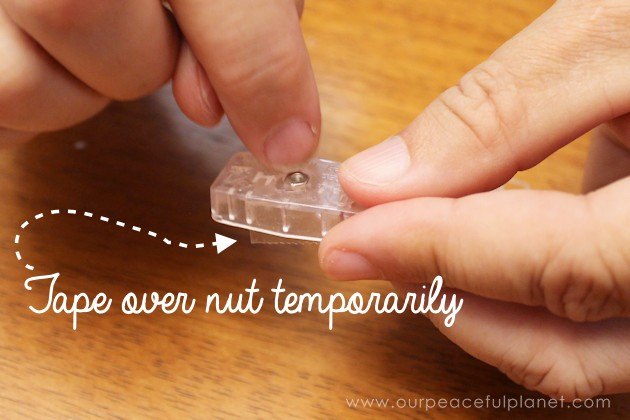
Our switch had a loose nut on the bottom so we temporarily taped it on using some scotch tape.
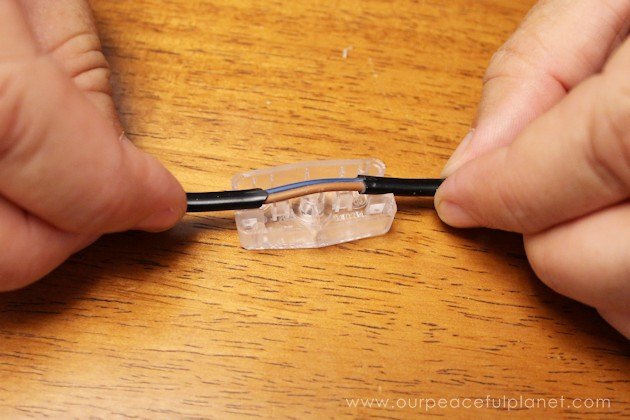
This shows how much we cut off the outer portion and how it will sit inside the switch.
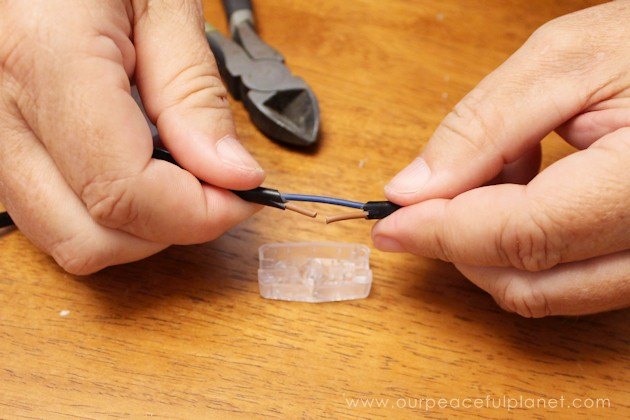
Taking wire cutters or even scissors cut one of the inner wires. It doesn’t matter which one you clip.
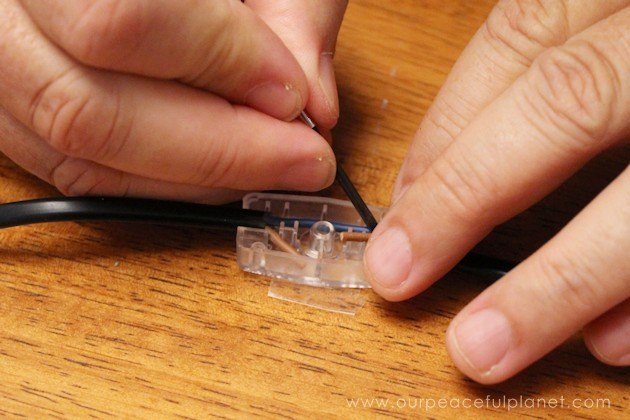
There are two channels you will feed your wires down into inside one half of the switch. We used a tiny screwdriver to help us push the wire that we did not cut into place. The other cut wires just lay on the other side.
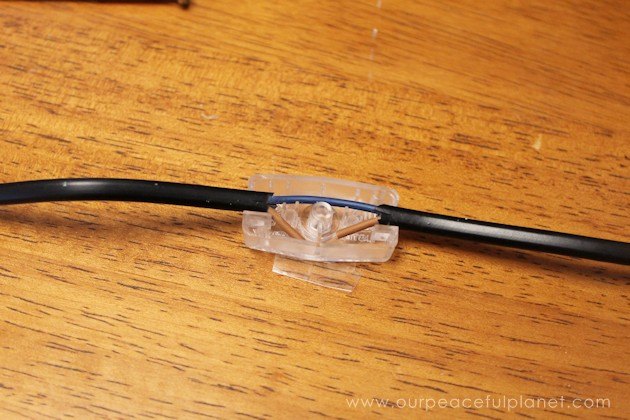
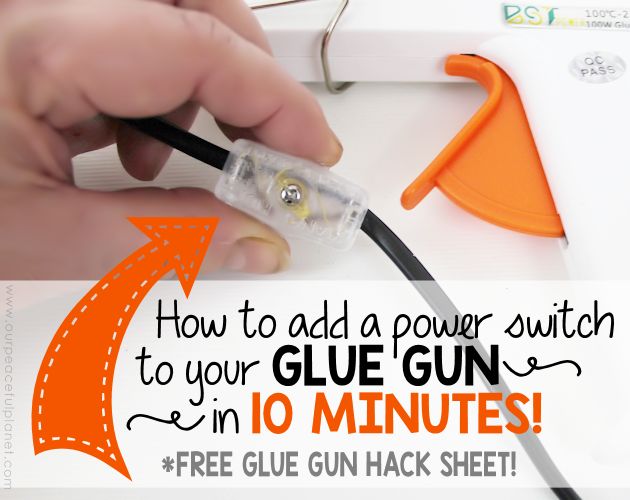
This is how it should look.
Put the top piece on and screw your switch together. That’s it!

After researching out glue guns for quite a while is this the new one I decided on with my newly added switch. (To see it on Amazon copy and past the url) http://amzn.to/2ecF5aJ

Want more details about this and other DIY projects? Check out my blog post!
Comments
Join the conversation
2 of 14 comments
-
I love this idea! You can place it exactly where it's convenient to use. Thanks for the idea!
-
You're very welcome Terri. ~Nancy, Our Peaceful Planet


Frequently asked questions
Have a question about this project?
Hi, I just wanted to know the brand of glue gun to use and which website to buy it from?