


Lighted Houses Room Decor Diy

Hi Friends! I made a great lighted house room decor in this video. I made illuminated houses for room decorating ideas.
.
.
.
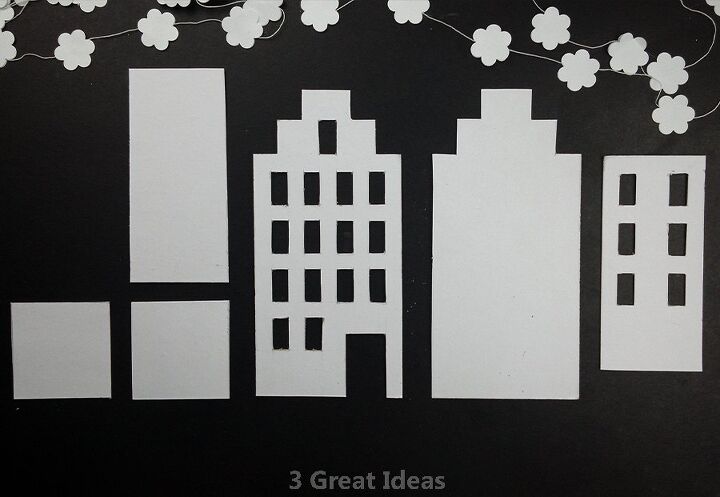
Cut the walls of the house (building) to the size we want with white cardboard. In this decor, you need 2 pieces for the front and rear of the building, 2 for the right and left side, and 2 for the roof. There will be 6 pieces of cardboard in total.
.
.
.
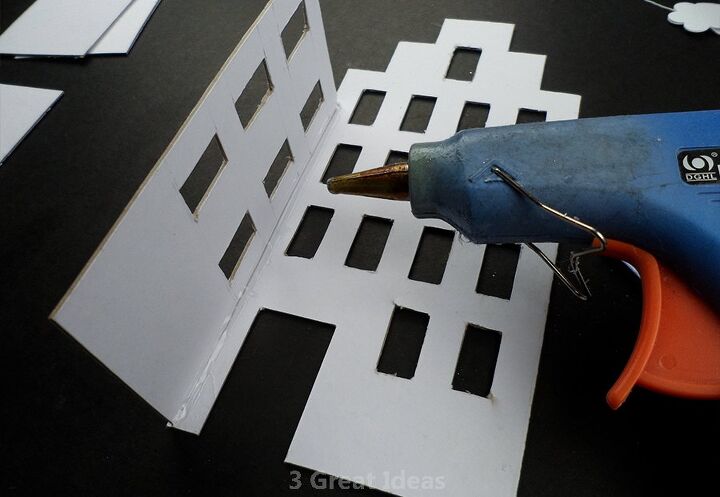
Let's build the walls of the building. I used a glue gun. You need a fast drying glue. Glue the sides of the building first.
.
.
.
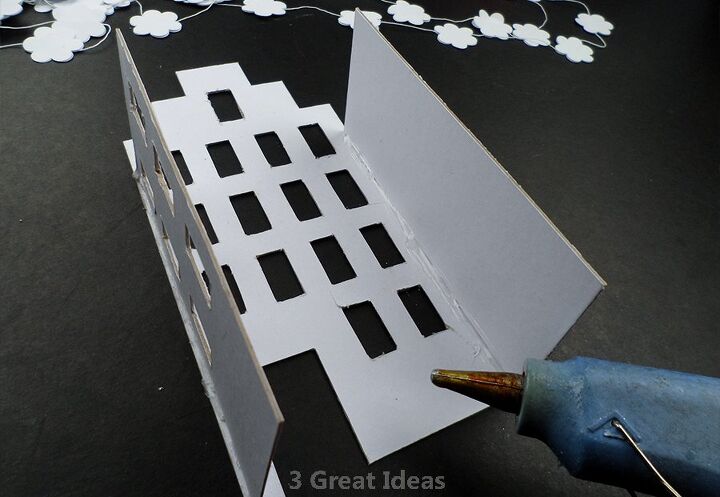
If you glue the sides of the building, it will be so easy to glue the other sides. After gluing each wall, wait for the glue to dry.
.
.
.
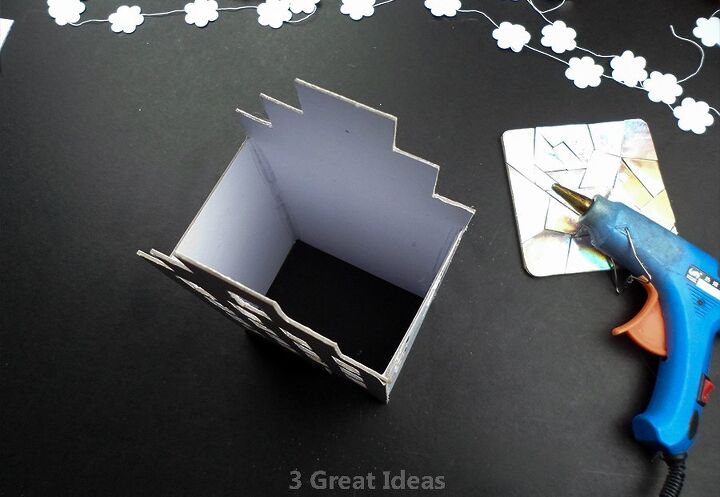
After gluing all the edges of the building, wait for the glue to dry. After the glue has dried, check that the building can stand on the flat floor without falling. If you made a mistake, correct it at this stage.
.
.
.
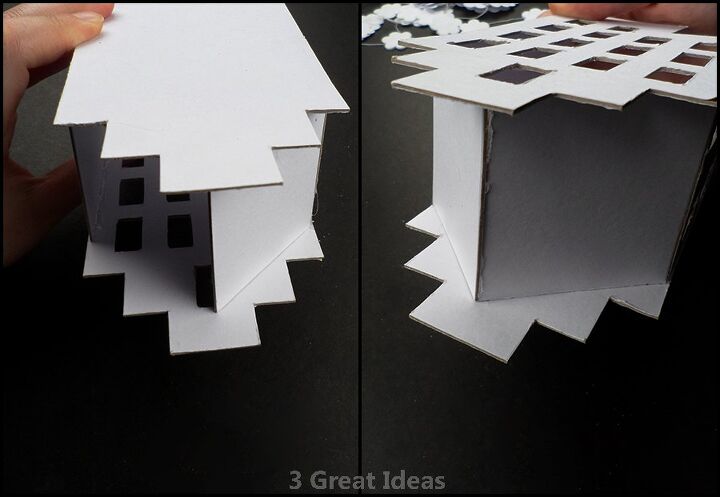
Glue the roof of the building. Take care to stick without leaving any gaps.
.
.
.
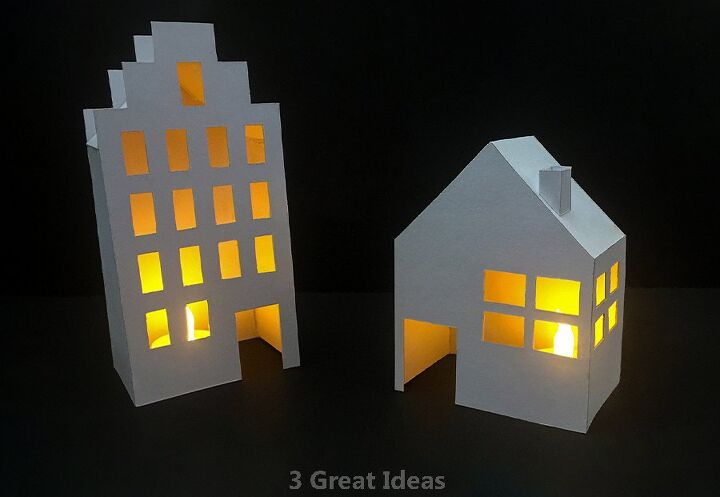
Your wonderful decor is ready. Do not use real candles! You can illuminate the inside of the building using battery powered candles or led lights. You can make different buildings and houses by cutting different patterns and sizes out of cardboard.
.
.
.
This is my video about this lighted houses decor. You can also see all details on my video.
.
.
.


Frequently asked questions
Have a question about this project?