


No Sew Ruffle Bed Skirt, Cottage Bedroom, Bleach Dropcloth
Learn how to easily create your own no sew bed skirt with drop cloth. This bleached drop cloth bed skirt is budget friendly and customizable!

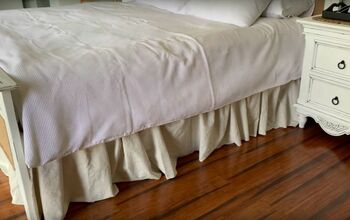
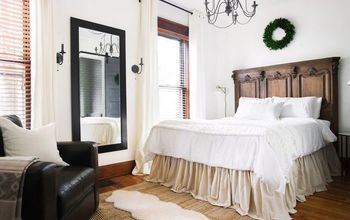
Hi friends! After my Cottage Style Bedroom Decor tour last week, I had a few of you asking where to purchase the white ruffle bed skirt. And I’m proud to say, that’s a no-sew, DIY project! I actually bleached drop cloth to make this no sew bed skirt.
I ended up deciding to make my own bed skirt after I purchased one that was see through and way too short! Our bed is pretty tall and it was so hard to find something long enough that was a good price and good quality. This no sew drop cloth bed skit was actually very simple to make, but it did take me some time!
How to bleach drop cloth
If you’ve seen my bedroom tour over on the blog, then you know I use a lot of light grey, cream, and white in my bedroom. With my white euro shams and duvet cover, I decided to bleach my drop cloth to lighten it up a bit.
You can bleach drop cloth a couple of ways.
- in the tub
- soaking in the washer
- in a plastic tub
Whichever method you choose, make sure you have some air flow! The bleach is very strong and you don’t want to be inhaling it.
To soak it in the washer, you need to have a top loading washer that you can pull the dial out to stop the washer and soak when the washer is full. Our washer has a soak option, but it isn’t near long enough. And when I turned off the washing machine when it was full, it would automatically drain after 30 minutes. We don’t have windows in our bathrooms, so I went with the third option and decided to bleach mine in a plastic tub outside.
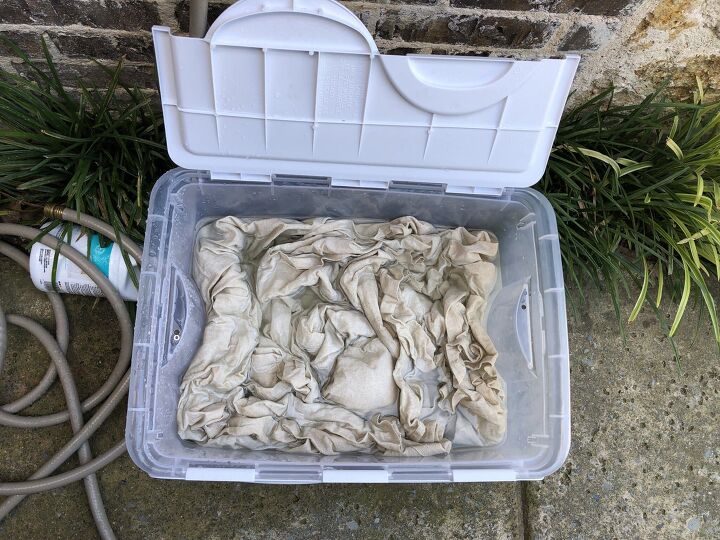
To bleach the drop cloth, fill your plastic bin about 2/3 of the way full with water and then pour in about 2/3 of your gallon of bleach. Unfold the canvas and the slowly submerge it into the bleach water. Use a stick or handle to push it down into the water. I sat my bucket out in the sun and stirred it every few hours. I let it soak for 6-8 hours before wringing it out. Use large rubber gloves to handle the bleached drop cloth and make sure it doesn’t touch your skin on the way to the washer.
Wash it on cold with light detergent. Remove and lay flat or hang to dry. Once it it good and dry, run over it with a warm iron.
no sew bed skirt DIY
You need a few things to create this no sew drop cloth bed skirt.
- Drop cloth 6 x 9
- Drop cloth 9 x 12
- Scissors
- Fabri-Tac Glue
- Tacks or T-pins
- Measuring Tape
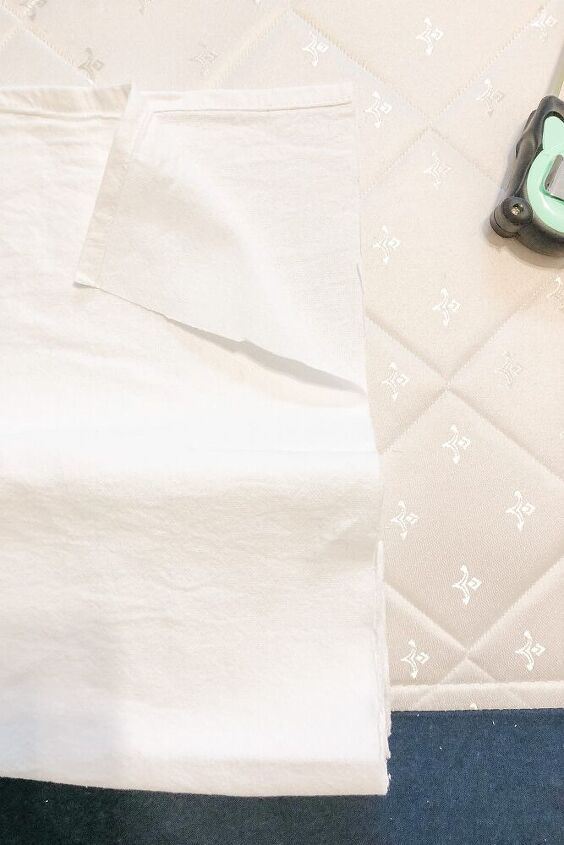
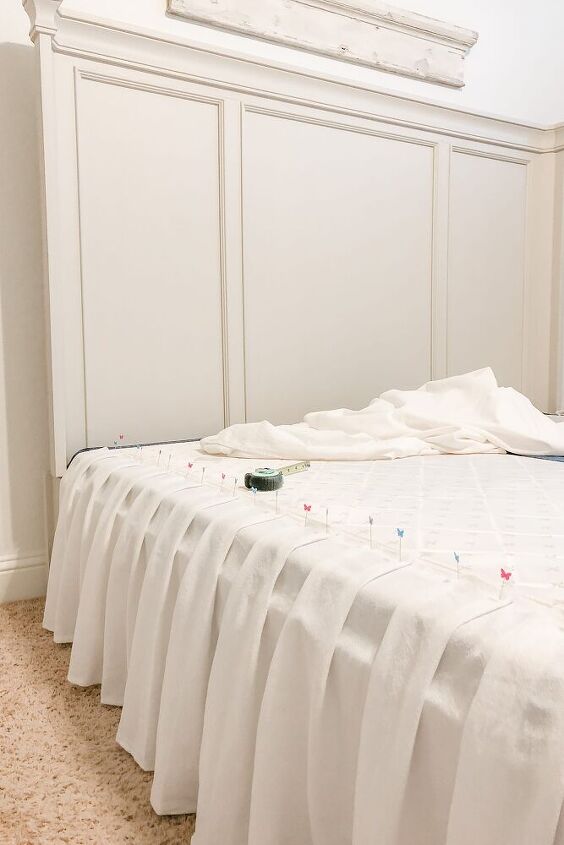
To get started on your bedskirt, decide how deep you want the skirt to be by measuring from the top of the box springs to the floor. I wanted ours to slightly rest on the floor so I added about an inch in length to that number. You also want to account for the fabric that will need to be attached to the box springs…you want it to sit in deep enough that it is tucked in when you place the mattress back on the box springs. Also, add about another inch to account for your hem.
Once you’ve determined your length, lay your drop cloth out flat, mark the width and make your long cuts. (I only made bed skirt for the sides and not the footboard.) We have a kind size bed, and I used a 96″ (6 x 9) length drop cloth. But because of my ruffle widths, i had to piece two sections together to span the length of our bed. So if you’re going for a similar look, go with the 144″ (9 x 12) drop cloth so you don’t have to piece sections together.
no sew bed skirt diy
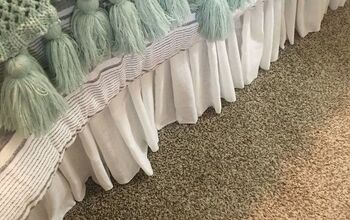
Once you’ve cut your two sections, grab your fabri-tac and your iron. I worked with one piece at a time. I folded the outer edge inward about a quarter to a half inch in, glueing it down with fabri-tac and then ironing it flat to press down the seam. Once that was cool and dry, I folded it in one more time and repeated the process. This way my hems looked nice and substantial. I did this process on both the top and bottom.
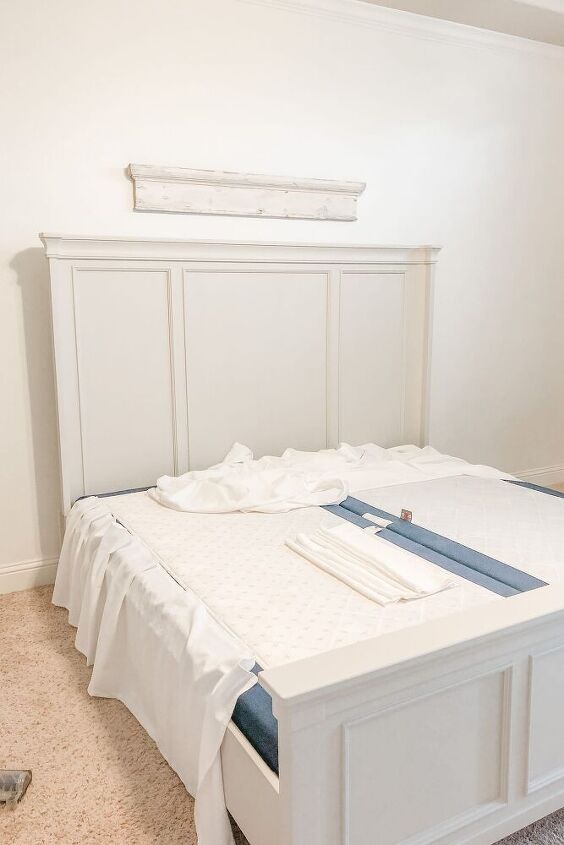
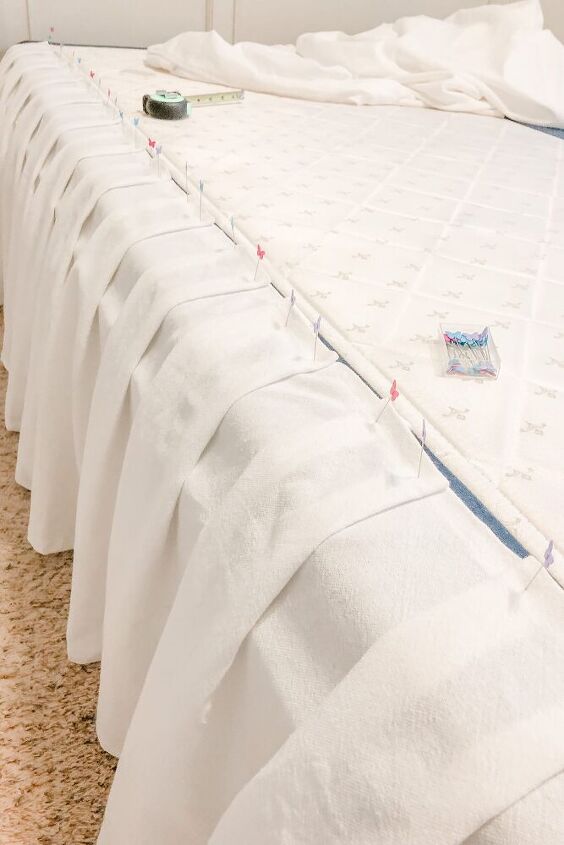
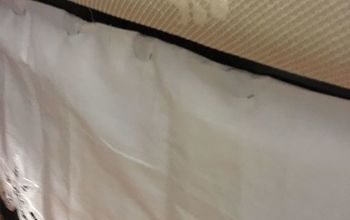
Once you have your hems glued, you can start placing the drop cloth onto the box spring. Grab some tacks or t-pins and a ruler or tape measure. I made my ruffles and the space in between each ruffle about 3 inches wide. I simply folded and secured with a tack as I went down the length of the bed.
How to attach the DIY bed skirt
There are a couple of options for attaching your bed skirt to the bed. You could use a nail gun or staple gun and nail it directly to the box spring. If you do this, you would have to spot clean the bed skirt since it would be semi-permanent. You could also use Fabri-tac to attach it but again, it wouldn’t remove easily. I chose to use t-pins to attach the bed skirt to the box springs. They slid in securely and are flat enough for the mattress to sit on top of. With that being said, I’ve had our bed skirt on for probably a year now, and have not had to remove it to wash it. I simply vacuum it with the vacuum hose!
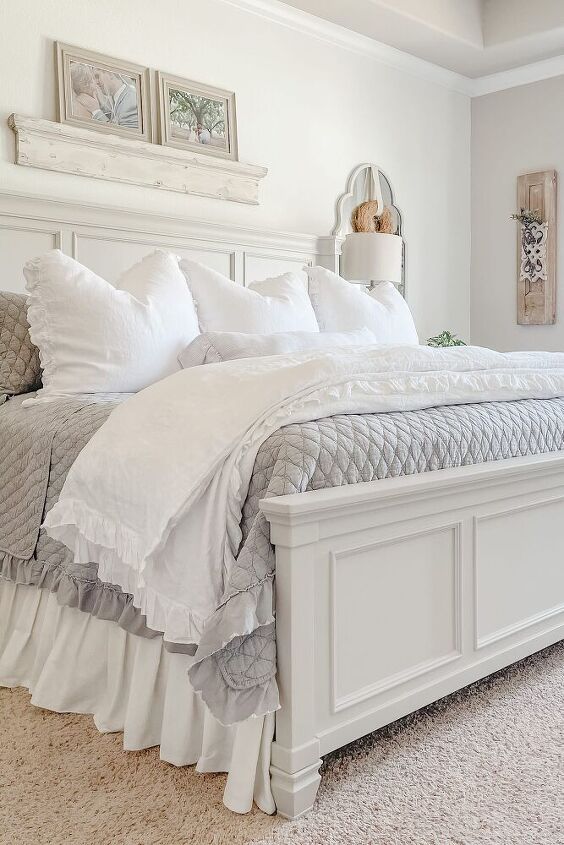
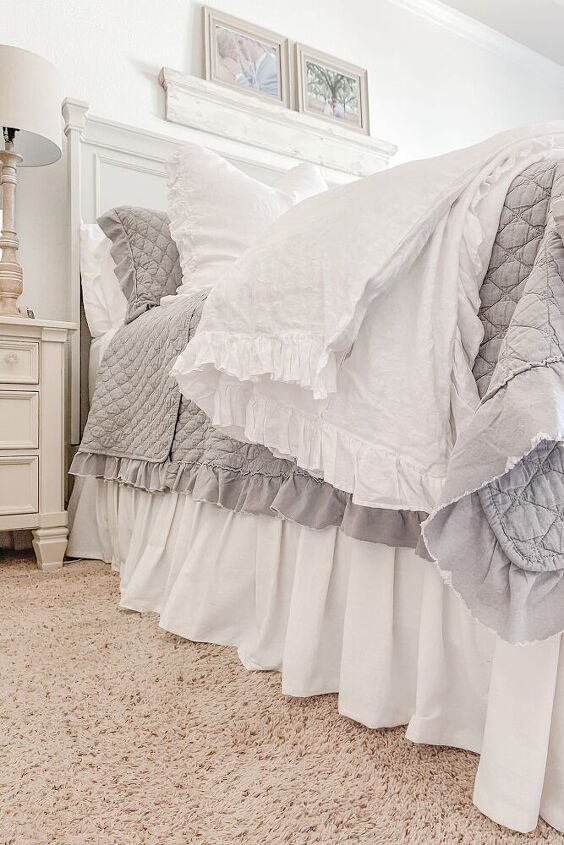
I was so impressed with how pretty my bleached drop cloth no sew bed skirt turned out! It goes perfectly with my ruffle euro shams and ruffle duvet cover. And it was also very inexpensive! The drop cloth I purchased was this one and it was under $15!
I’d love for you to say hello down below and let me know what you think! And it we’re not friends over on Facebook or Instagram, what are you waiting for! 😉
You can find me @liveoaknest on social media, and over on YouTube and Pinterest too!
Click here to see more of my simple DIYs and craft projects!
Blessings,
Kayla C.
Resources for this project:
See all materials


Comments
Join the conversation
-
Your bedroom is gorgeous
-
Your pictures are great in showing what you did. I might try this


Frequently asked questions
Have a question about this project?
How much bleach did you use?