


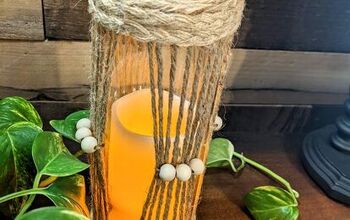
Glass Bead Vase / Candle Holder

This project was only around $6 for the supplies needed. I posted an inspiration picture in Discussions/Ask Question (A new feature at Hometalk, I highly recommend that you check it out!) It was of a vase or candle holder that was in a vacation rental that we were at 4 years ago. I have always intended to try to recreate a version of it but never got around to it. I really wanted to give it a try but wasn't sure how to go about it. It was simply made with beads but it was so pretty and unique. I loved it! I posted the picture for inspiration in that forum to the whole Hometalk community and the next thing I knew, I was super motivated to make it and I was being encouraged by other Hometalkers. If you want to see the post that led to this tutorial, you can find it here... http://www.hometalk.com/diy/e-seed-bead-and-sequin-vases-27511630?scid=3709125
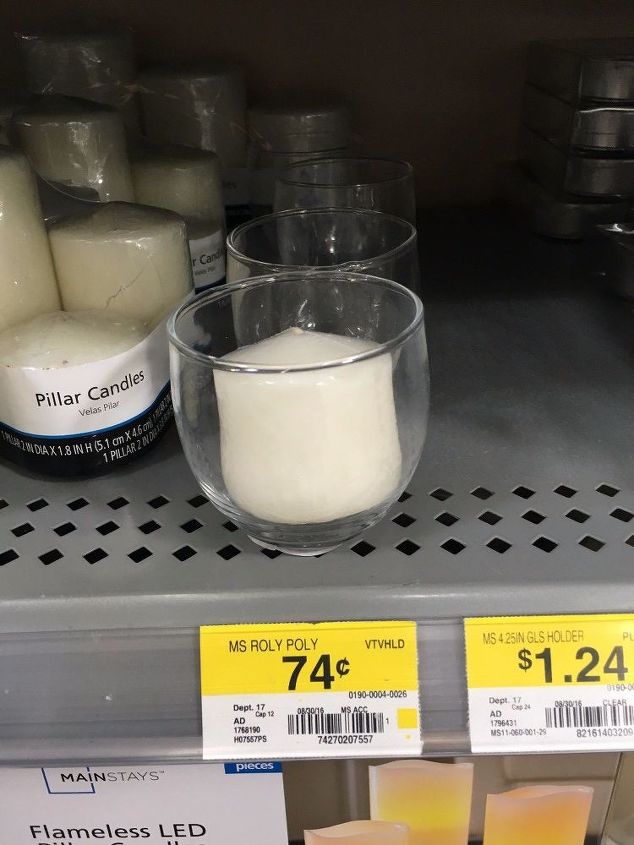
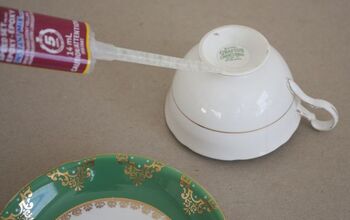
I went to Walmart to see if I could find something small and inexpensive to experiment on. If this turned out to be a total fail, I didn't want to have invested a lot of money. 74 cents... that seemed ok, even better than the Dollar Store.

I also bought some beads. I had some at home but wasn't sure if I could find them and these were very budget friendly. I bought 3 different colors.
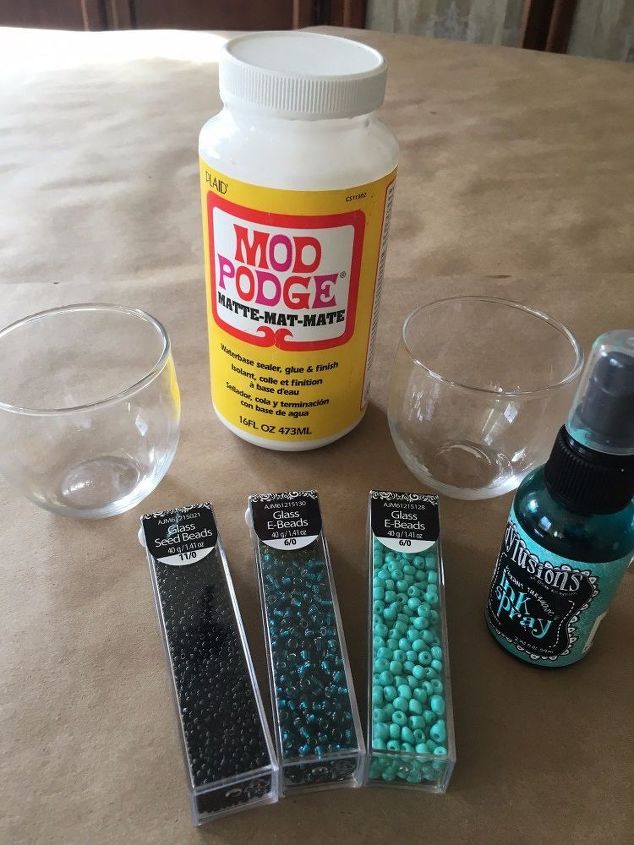
Here are the items that I started with
- Modge Podge (Matte)
- Dylusions Spray in Vibrant Turquoise
- my 3 types of beads
- candle holders
I ended up using Mod Podge Hard Coat because my Matte was old and gloppy. I tried to tell where the Matte had been and where the Hard Coat was and I couldn't tell, so I think you can use either successfully.
Here is a picture of one of the decor items that I wanted to recreate...
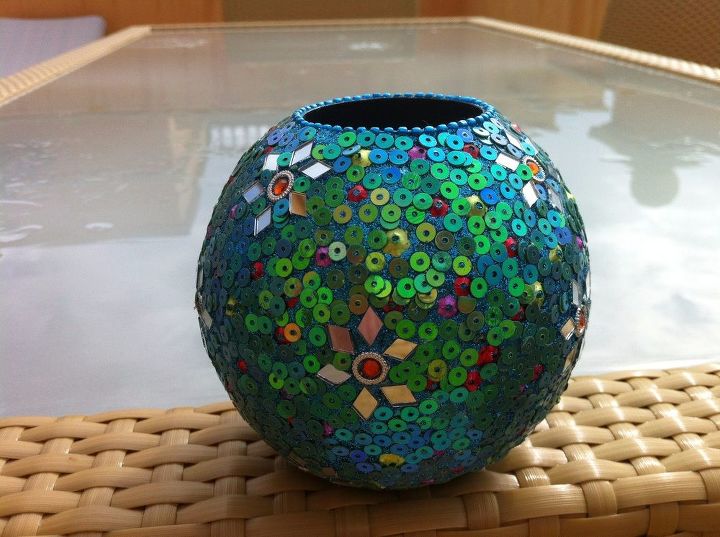
And this is the other...
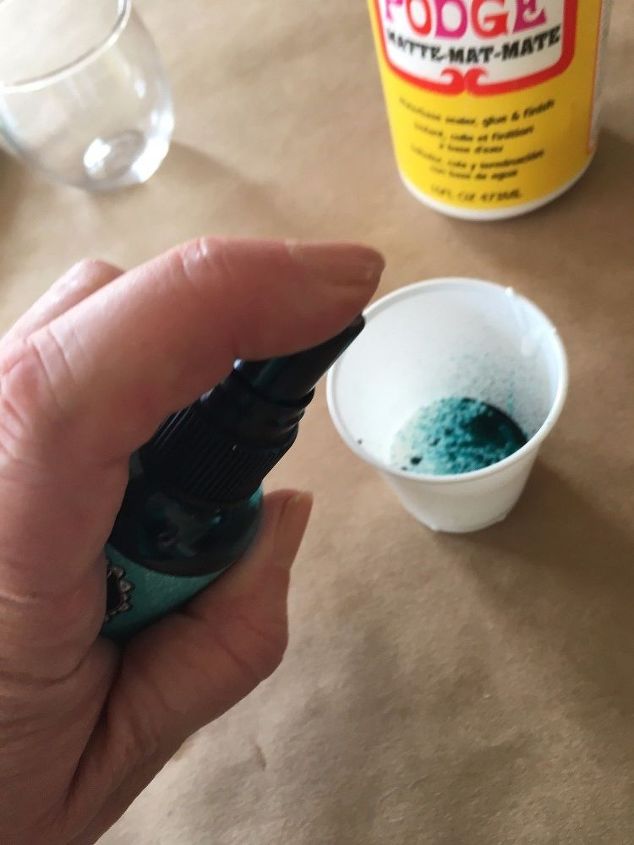
I poured some Mod Podge in a plastic cup and sprayed in some Dylusions Spray.
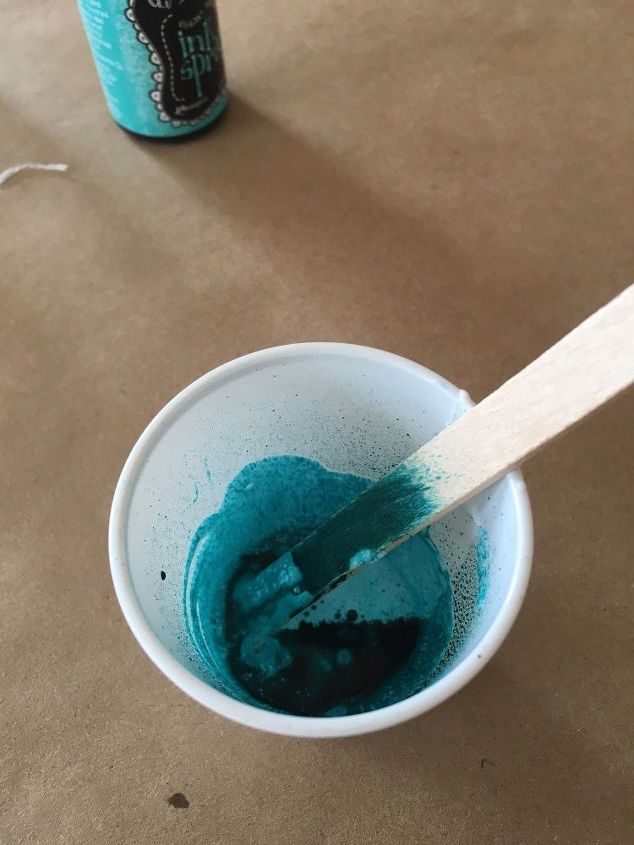
I stirred it with a Popsicle stick.
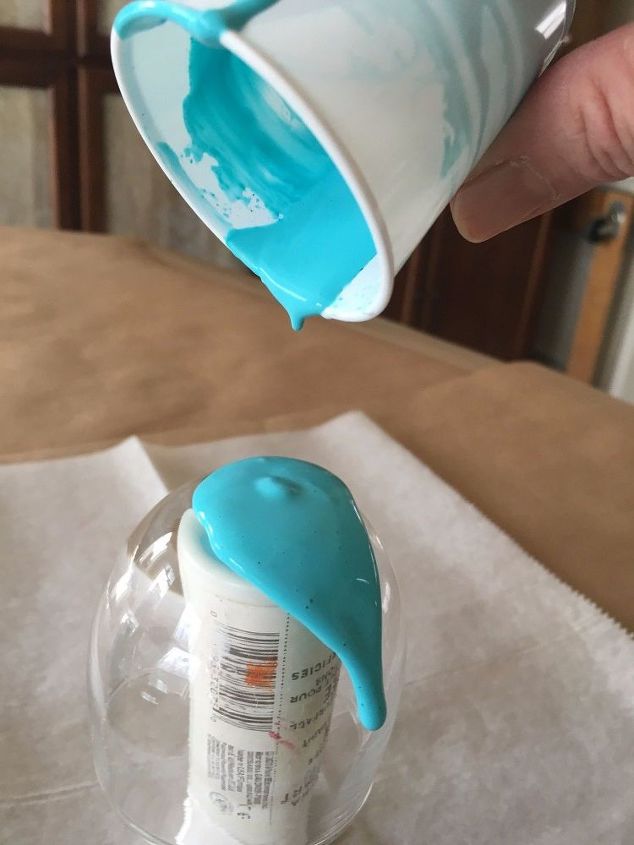
I began at the bottom with the candle holder inverted on a small craft paint container.
I used a paint brush to spread the paint down the glass. Since it was the bottom, I decided not to start with my newly purchased beads, just some that were hanging around the craft room. At this point, I wasn't sure it would work and I didn't want to waste my new beads. To my surprise, it worked!
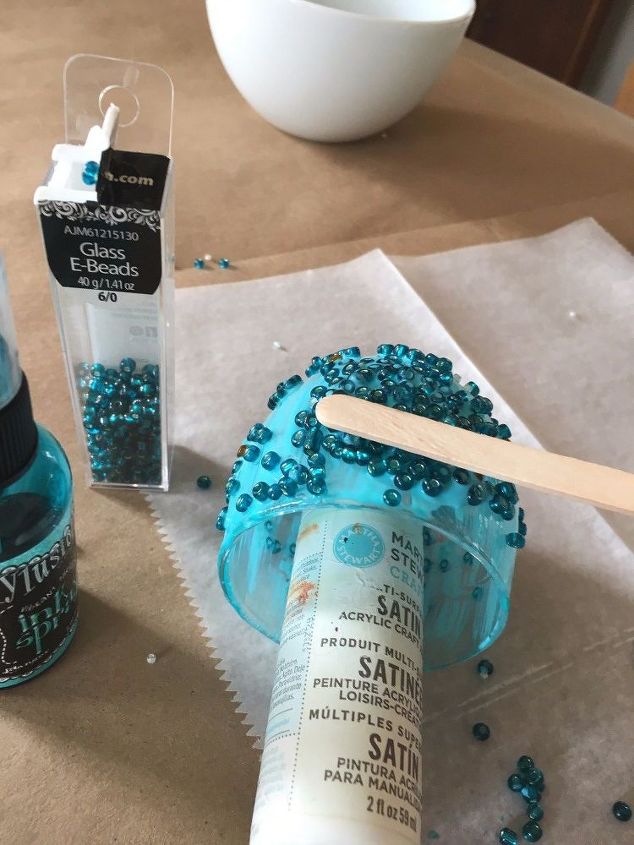
I found it helpful to lay it on its side with something inside to hold it and press the beads with a popsicle stick. Whenever I used my finger, they would stick to my finger and come off... every single time...
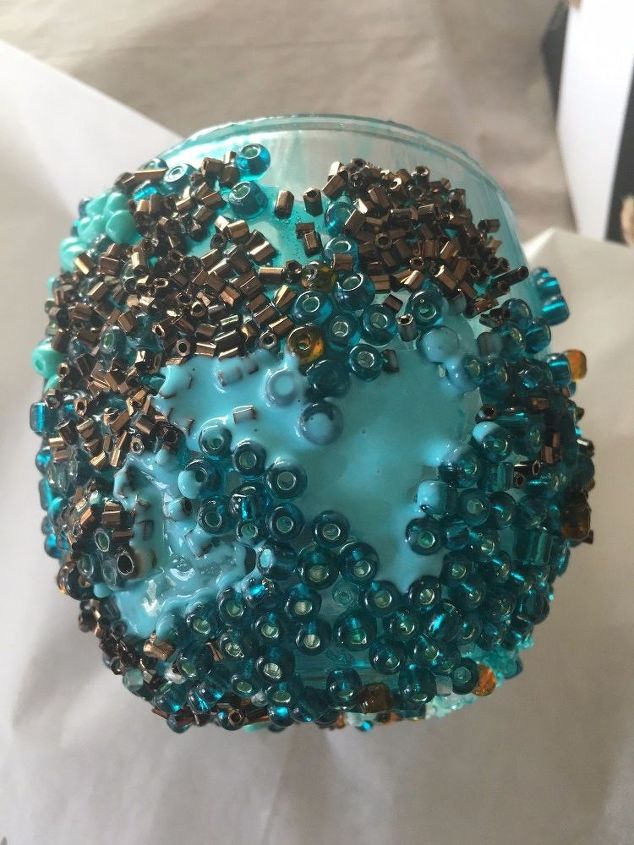
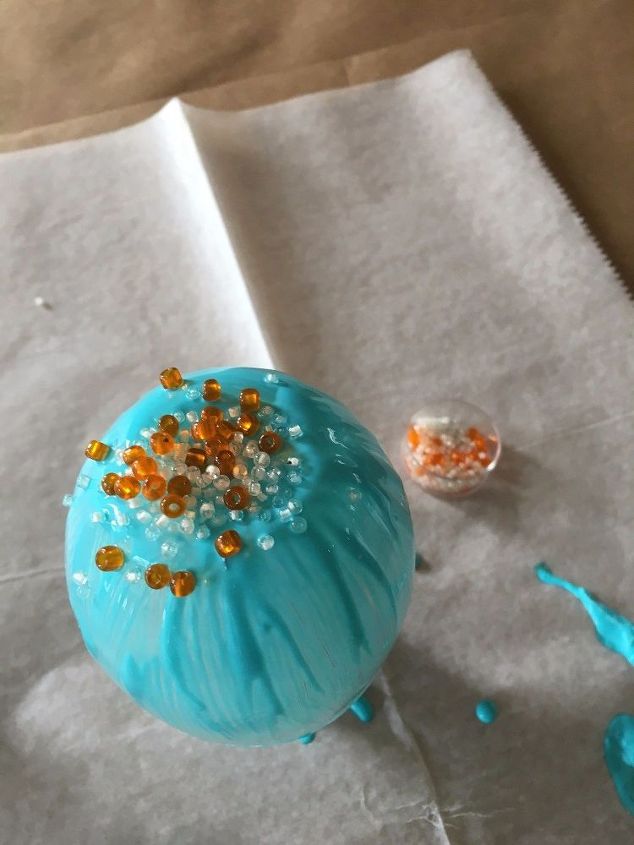
I tried to work in small areas and let it dry. Sometimes they needed some structure below and beside them to stay in place with the wet glue. In this picture, I added some tinted Mod Podge to some "holes"... Every thing around this area was dry and allowed structure for the new beads that I would sprinkle in.
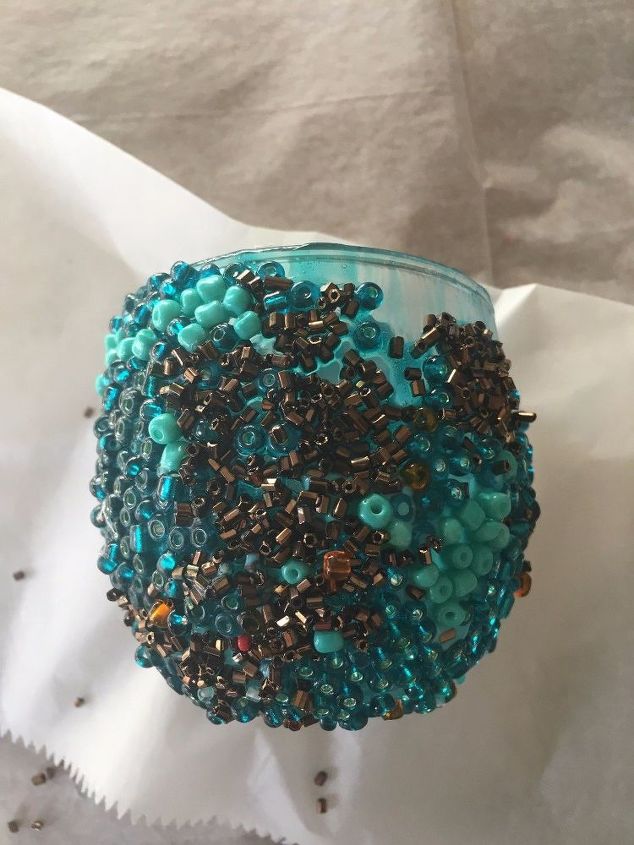
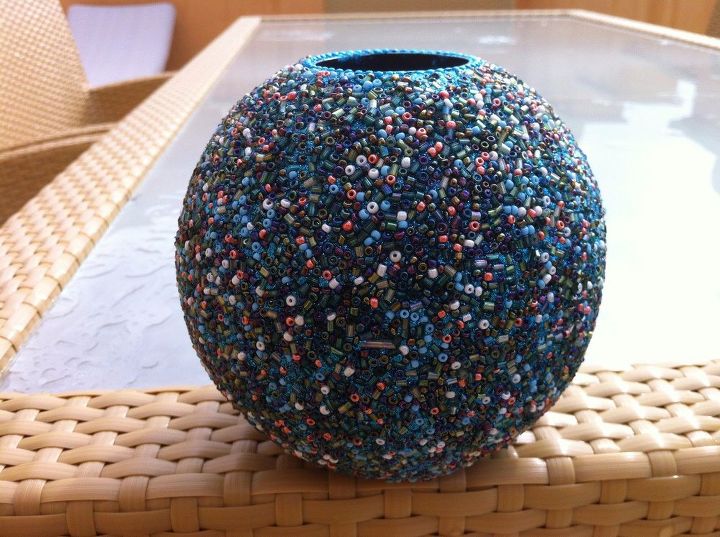
Here the beads have been added and the "holes" filled in. Once it is dry, I will rotate and fill in the next area until I have the look that I want. Rotating the glass candleholder as it drys. If you look very closely at the bottom of this picture there is a teeny tiny red seed bead that came from somewhere... it is there to stay, I CAN'T GET IT OFF. I didn't notice it until it was dried in place.
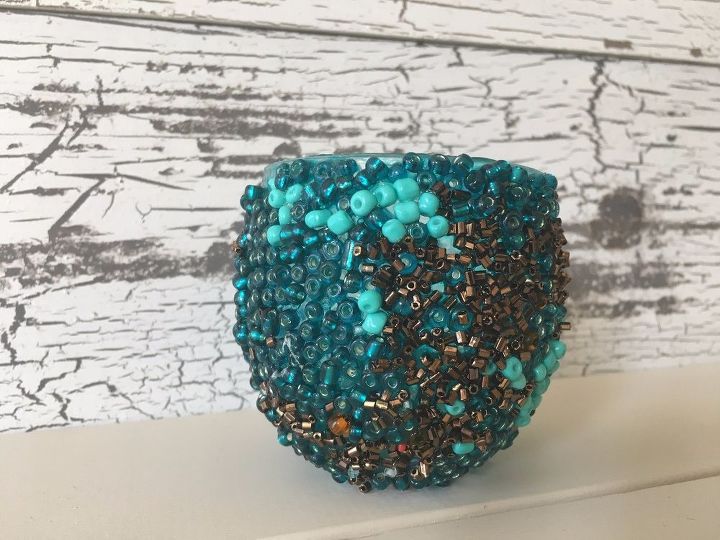
It didn't come out looking like my inspiration piece but I love it! I think all in, this project probably was around $6. And to me it is a priceless one-of-kind piece of art that I created.
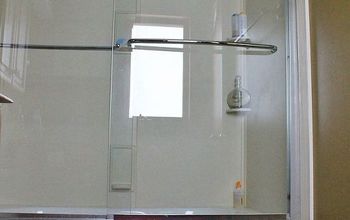
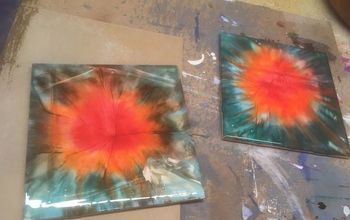
I also made the space saving (completely breaks down to fit in a small space) and convertible (floor can be the wall and visa versa) backdrop that you see in this last picture. If you think a portable backdrop tutorial would be of interest, just comment below and I will post one.
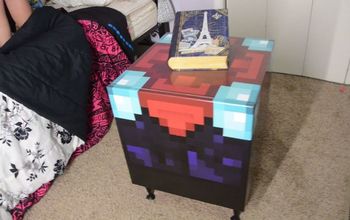
Here is a small snippet of my process...
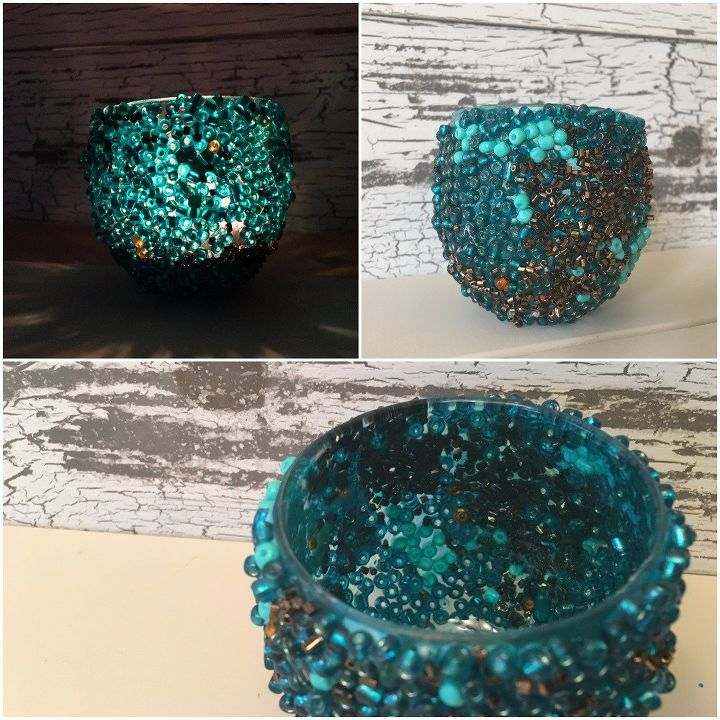
Here is a shot of a tea light candle inside in the top left picture... One container of beads came VERY close to covering the entire surface of the candle holder. I love peeking inside and seeing that the inside is as pretty as the outside.


Comments
Join the conversation
-
It is lovely, you did a great job. It would look nice on round repurposed light bulbs. It might also look nice on repurposed flood light bulbs. Just for decoration. Then use it in an artificial centre piece at Christmas or Thanksgiving, Easter etc. Colour to go with the season. Shirley from Canada
-
A back drop can be made of anything you can imagine. Forest, brick wall, painted wall, lace table cloth etc. Good luck and keep crafting it is good for the soul.
Shirley in Canada


Frequently asked questions
Have a question about this project?
Doesn’t the heat from the candle melt the mod podge?
How does Modge Podge work OVER beads? I have a beautiful cross I made of African trade beads and seed beads but I used Weldbond to attach them and some are falling off, so I would like to either epoxy or modge podge over it to hold all the beads in place for perpetuity. Would either work? Epoxy is so much hassle that if modge podge would work, I'd really prefer to use that.
Wondering why the first step of coating the entire glass first with modpodge. Why not work in small sections from the beginning? Just curious what the purpose of an overall coat first might be. Thanks