


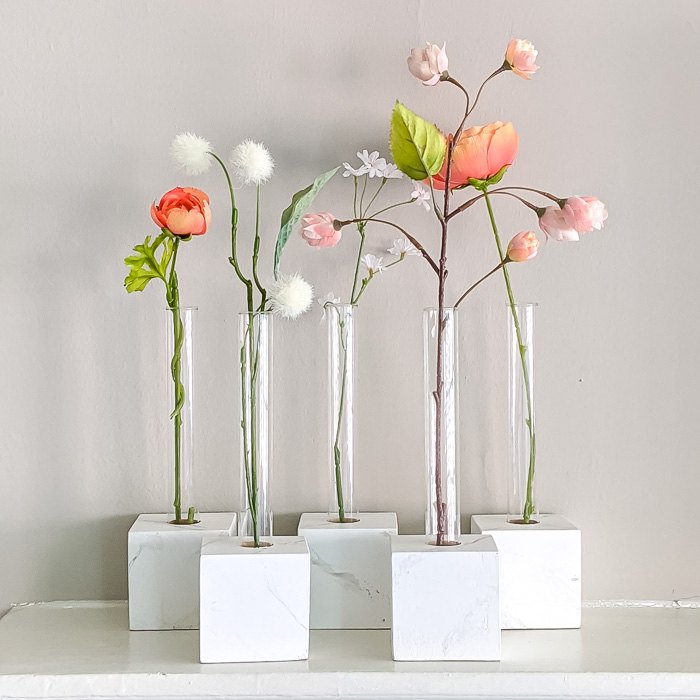
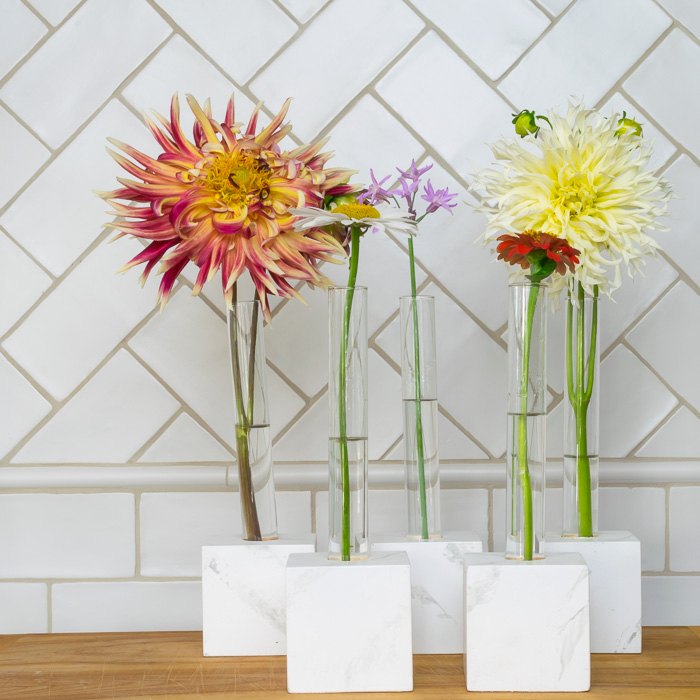
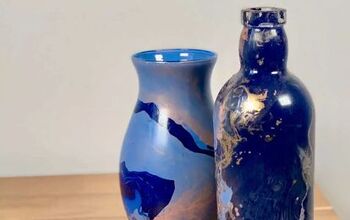
Test Tube Vases With Faux Marble Bases
16 Materials
$50
4 Hours
Medium
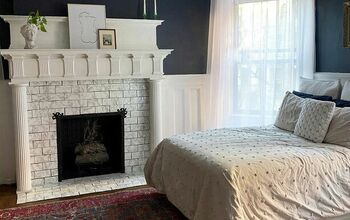
We made these Test Tube Vases for the mantel in our daugher's first apartment. She wanted a faux marble base for the vases, so we used the technique we've previously used for the faux technique. We rather made this up as we went along, having to improvise along the way. But we were all thrilled with the end result.
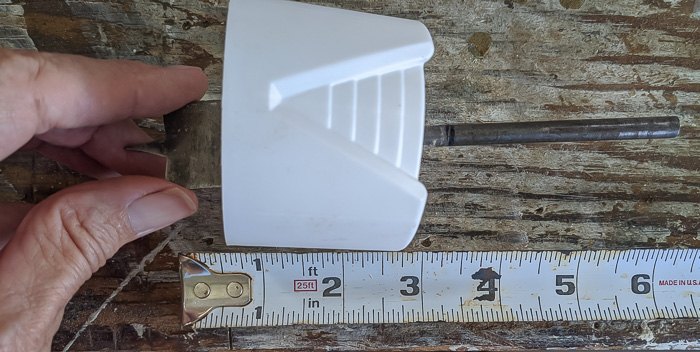
Here’s what we used to make the test tube vases: Test Tubes, 25mm by 200mm 3″ Wood BlocksWhat You’ll Need To Marbleize the BlocksAcrylic paint for the base color of the blocks and a second color for marble veining. We used white paint and primer spray paint for the white base and Liquitex Basics in Neutral Gray, mixed with a little white, for the veining. I used the same white to glaze the surface as well.Water in a fine mist spray bottleGlazing mediumLarge feather (like Turkey, Pheasant or Goose)PaintbrushContainer to mix and store paintStiff bristle round brushPaper TowelsLint-free ragHairdryerNon-Yellowing PolycrylicWhat You’ll Need to Make the Block Vase BasesDrill1″ Speedbor or 1″ Wood Flat Bit(or whatever the diameter of your test tube is)A Drill Press or Drill Guide (Instead of a drill press, we used my Dremel Workstation to drill a guide hole. Then, and don’t laugh, we drilled a hole just the width of the drill bit stem, through a spraypaint can cap. The theory was that if the hole was just the width of the 1″ drill bit shank and we held the cap firmly on the block, it would help us stay plumb. I think this was better than nothing, but it clearly isn’t a substitute for a drill guide or a drill press. But, like I said, we really only had one hole that was slightly not plumb.)

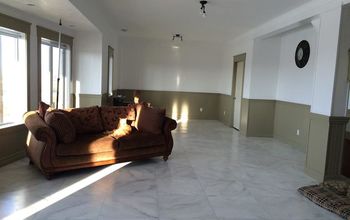
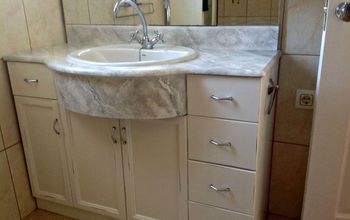
How to Make the Bases for Your Test Tube VasesThe First Step is MarbleizingIf you are new to marbleizing…lucky you! I really enjoy this quick faux finish and the only problem I have is knowing when to stop. Check out the video I made when I marbleized my console tabletop as I used the exact same process and material.
{
"id": "6511171",
"alt": "",
"title": "",
"video_library_id": "1456",
"thumbnail": "https://cdn-fastly.hometalk.com/media/2020/12/05/6511171/test-tube-vases-with-faux-marble-bases.jpg"
}
{
"width": 634,
"height": 357,
"showRelated": true,
"noautoplay": ""
}
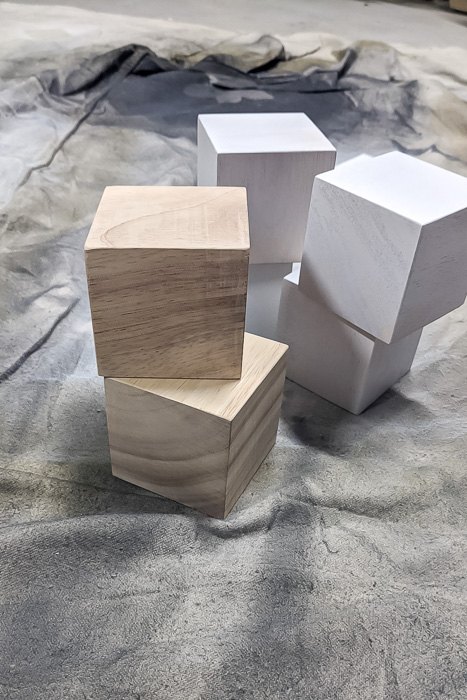
Paint your blocks the base color.We used spray paint that had paint and primer, so it was an easy process. The wood we used was not very grainy, so we didn’t need to fill the grain or to sand. We just applied 2-3 coats to fully cover the wood
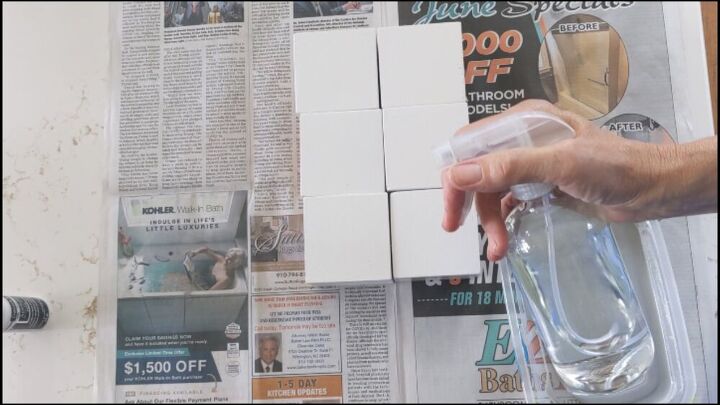
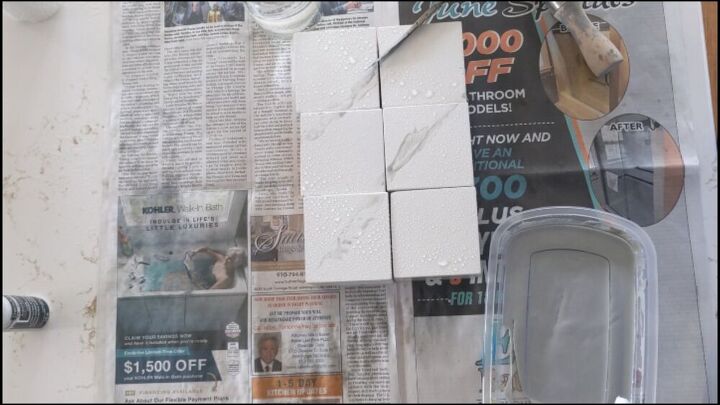
Mix equal parts of your gray paint, your glazing medium, and water in a container. (I did add a little white paint to the out-of-the-tube gray to lighten it, but that is a personal preference.) You don’t need very much of these 3 ingredients…probably the equivalent of 2 tablespoons of each.With your spray bottle filled with water, spray one side of the blocks. Don’t saturate, just a fine mist will do the trick.
Begin Marbleizing! Drag your feather through your paint mixture, dab off most of the paint on a paper towel, and slowly drag the feather diagonally across your blocks. Slowly rotate your feather from side to side…the last thing you want is a perfectly straight line!
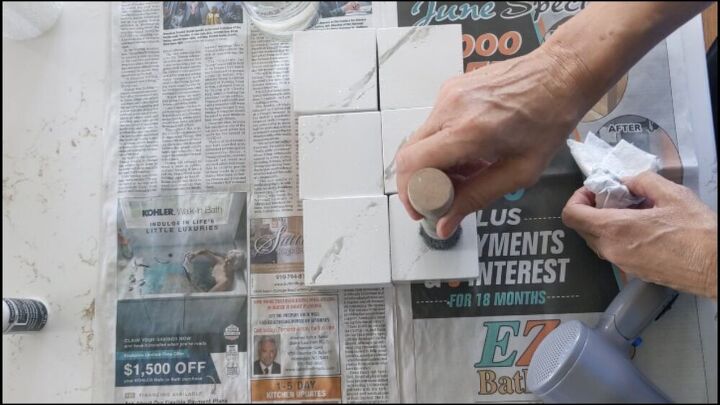
Thin out areas of heavy paint. Use your round bristle brush to tamp down on thicker areas of the paint
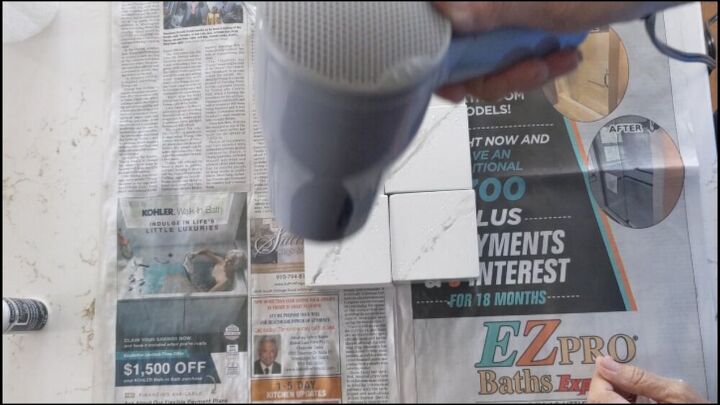
Dry the paint with the hairdryer and once dry, do another side. Repeat until all sides have been marbled. (pro tip…don’t get the hairdryer right up against the block…the heat may turn the paint yellow)
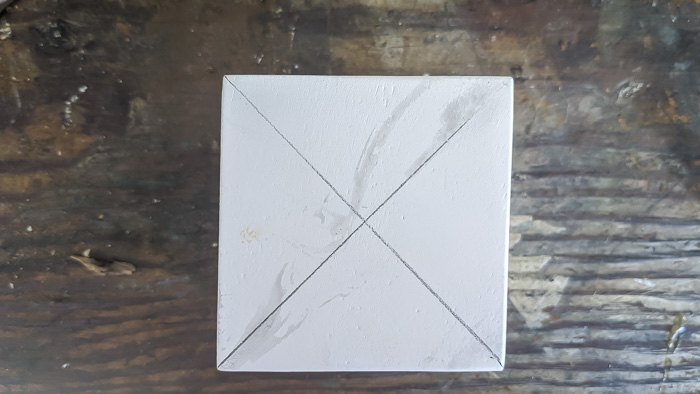
Once all the marbling is done, mix equal parts of white acrylic paint, glazing medium and water, and paint over the blocks. Wait about 1 minute and then gently, with a lint-free rag, dab the surface to pick up the paint. This just will soften the marbling and make it look more realistic.Now that you’ve marbled the blocks, it is time to make the bases for your DIY Test Tube vases…not quite haiku…but close!Once the paint on the cubes is thoroughly dry, mark the center. Lightly use a pencil to mark the center. After we did the one shown below, we realized that we didn’t need to draw the lines all the way across the block, we just focused on marking a smaller X in the center.
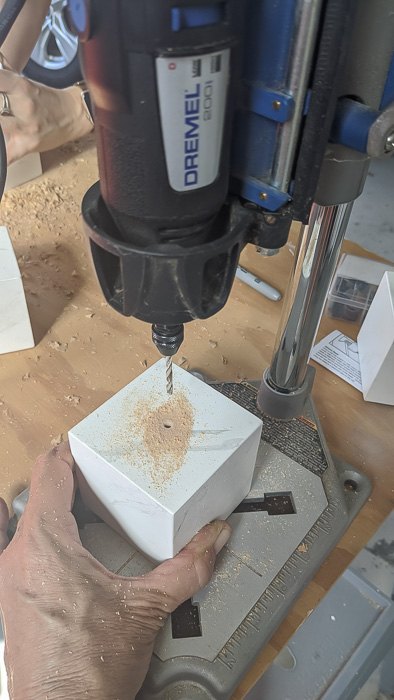
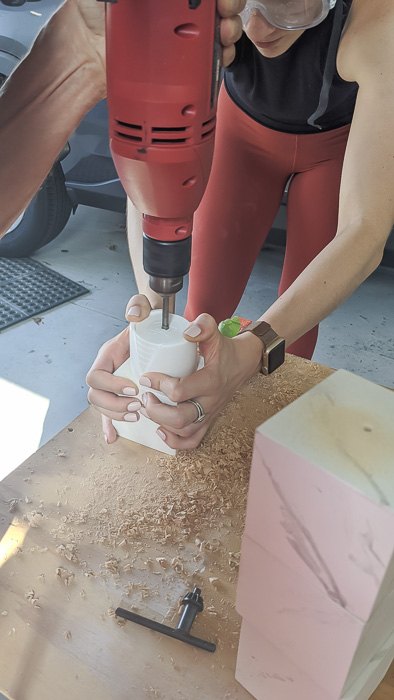
Drill the holes in your blocks. Once again, if you have a drill press or drill guide, then use it to drill holes in your blocks. With our 3″ blocks and 8″ tall tubes, we drilled holes 1.5″ deep into each block. Since we didn’t have a drill press or guide, I first used our Dremel Workstation for a guide hole.
Once again, here is my jury-rigged drill guide. It definitely helped us get close to plumb. We marked 3.5″ from the blade of the drill bit up the shank. The paint cap was 2″ and we wanted our holes to be 1.5″ deep, hence the 3.5″.
Drill the hole in each block
Spray each block with a non-yellowing polycrylic.We used candle adhesive at the bottom of each test tube to hold it in place, especially on the one that was slightly wonky.
Resources for this project:
See all materials


Any price and availability information displayed on [relevant Amazon Site(s), as applicable] at the time of purchase will apply to the purchase of this product.
Hometalk may collect a small share of sales from the links on this page.More info

Want more details about this and other DIY projects? Check out my blog post!
Comments
Join the conversation
4 comments
-
Really pretty, and from such simple materials. Well done!❤️
-
Covering with paper would have been faster and easier But this is a definite big old fat 10 plus !!!!! Elegant !


Frequently asked questions
Have a question about this project?
were did you buy the blocks