


Thrift Play Kitchen Makeover
This play kitchen makeover is incredible. The plastic kitchen went from well-loved and worn down to a modern update. Learn how I did it.
If you like this project, you can see more simple DIY projects ideas on my blog, A Crafted Passion.
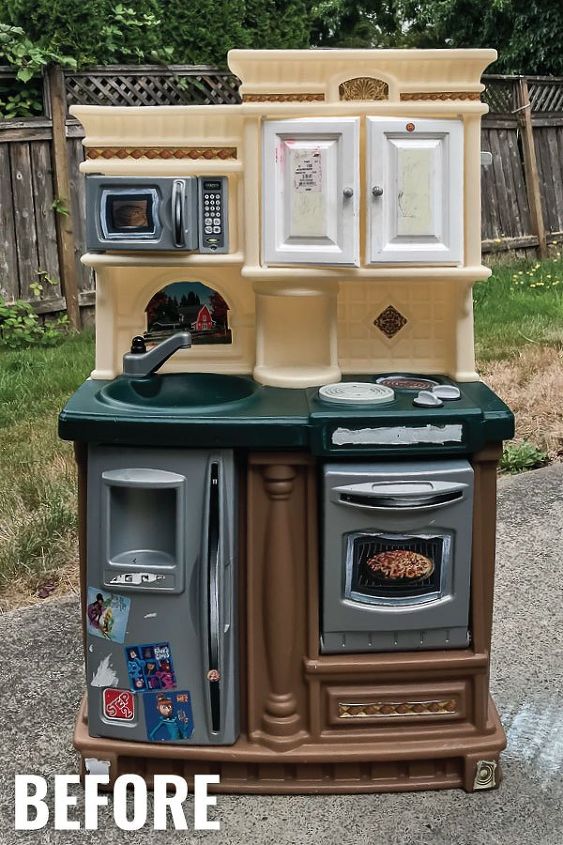
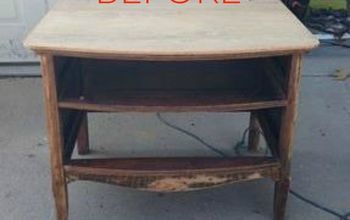
I found this play kitchen at our local Goodwill for only $1.99! Score! All it needed was a little TLC, a lot of goo gone, and some fresh paint!
So, here’s how it started…
The stickers took a lot of work to get off. I found it was easiest to spray with a little goo gone and then use a knife to scrape it away.
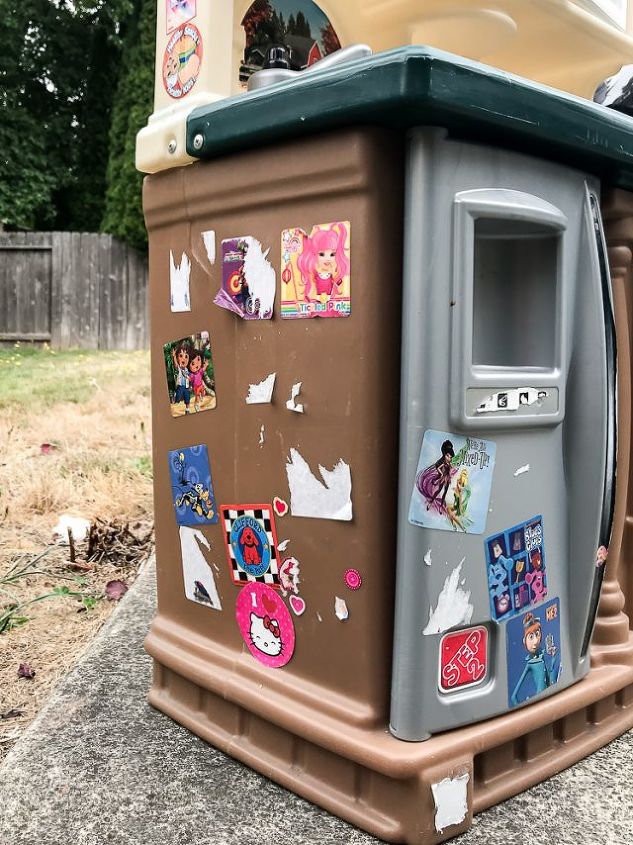
After getting off all the stickers and giving the play kitchen a good scrub, it was time to pull it all apart and paint it.
Here are all the paints I used for this project:
- Black semi-gloss for the bottom cabinet
- White semi-gloss for the counter
- Matte black for the top cabinet
- Black gloss for the oven and microwave (to mimic metal)
- Silver spray paint for the fridge
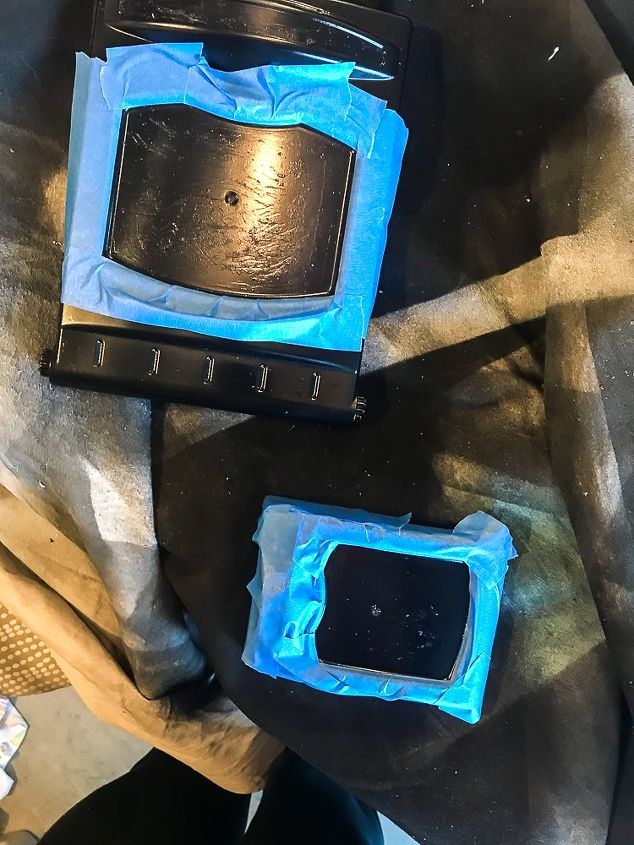
- Mirrored silver spray paint for the microwave and oven windows
- And of course painter’s tape to make painting a breeze!
After pulling everything apart, I just painted each piece of plastic like I imagined I would want my actual kitchen to look.
The great thing was that I already had all this paint in my garage from past projects, so this whole project literally cost $1.99!
I also spray painted the burners and knobs black and then taped them off before painting the counter area white.
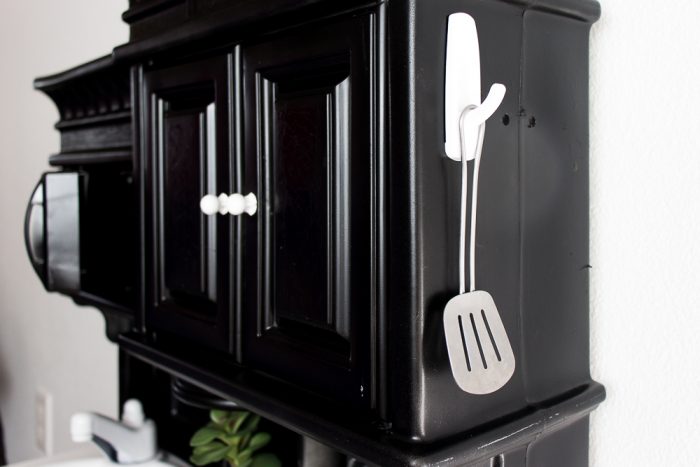
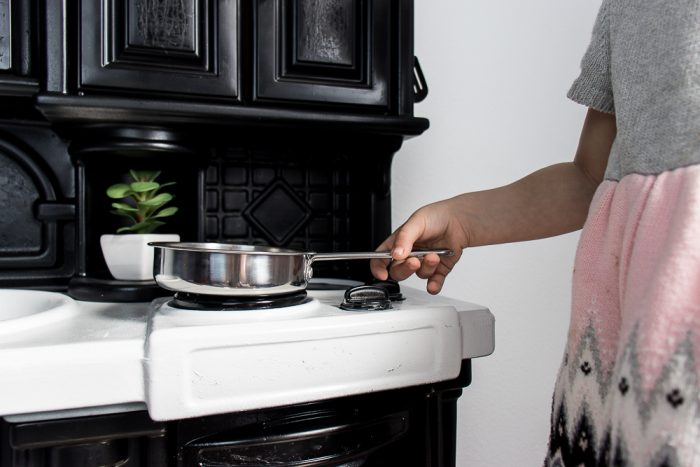
I also added two command hooks on the side to hang a pan and a spatula to clear off a little space for them to do more cooking.
I love how this turned out and my girls love it so much!
If you want another simple DIY project with paint, check out this Easy Abstract Painting on a Canvas.

Comments
Join the conversation
-
Amazing job! What a lucky baby to have such a beautiful kitchen.


Frequently asked questions
Have a question about this project?