


Upcycling Your Frames: Leopard Print
2 Materials
$15
30 Minutes
Easy
When your old picture frames just don't suit your taste any longer - it's time to transform them! With just a little bit of Foil Adhesive and Fabulous Foils you can completely change their look.
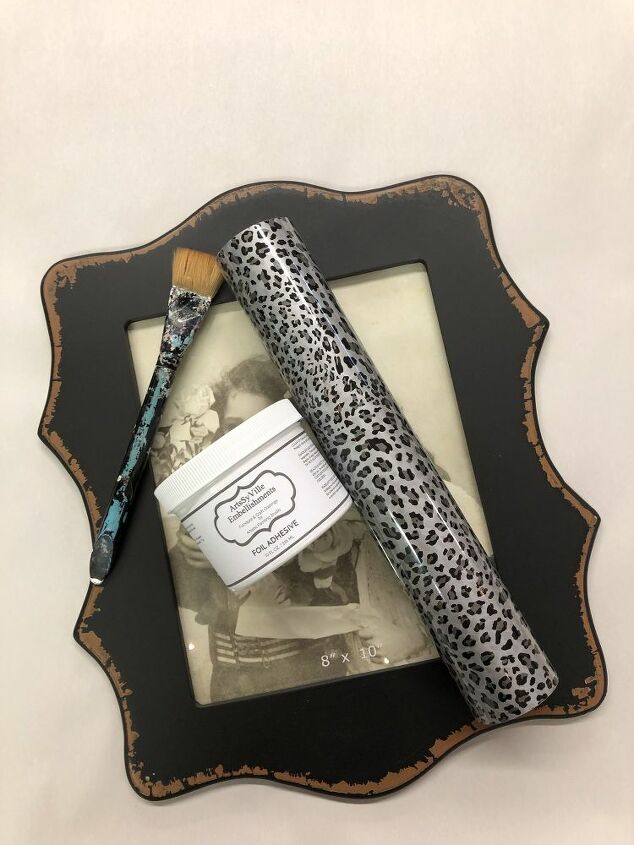
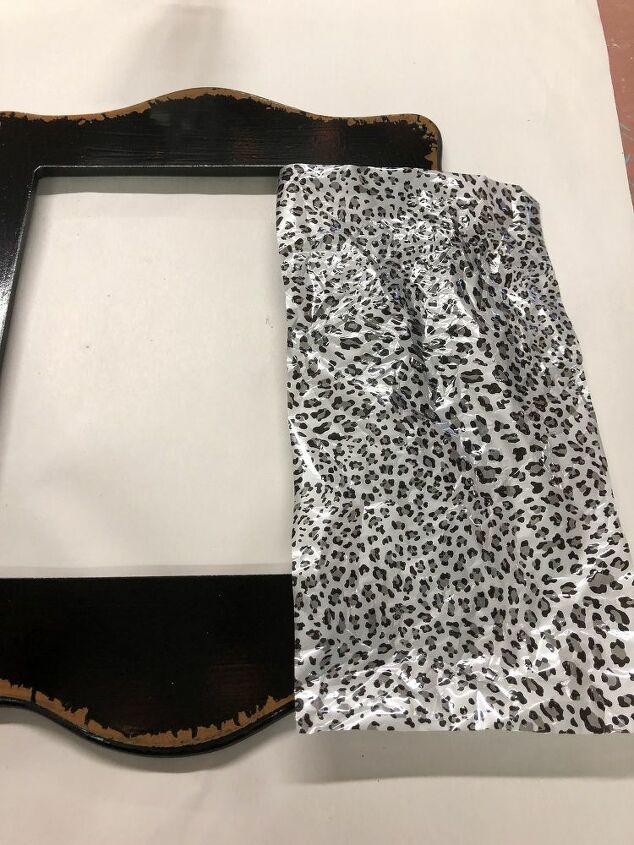
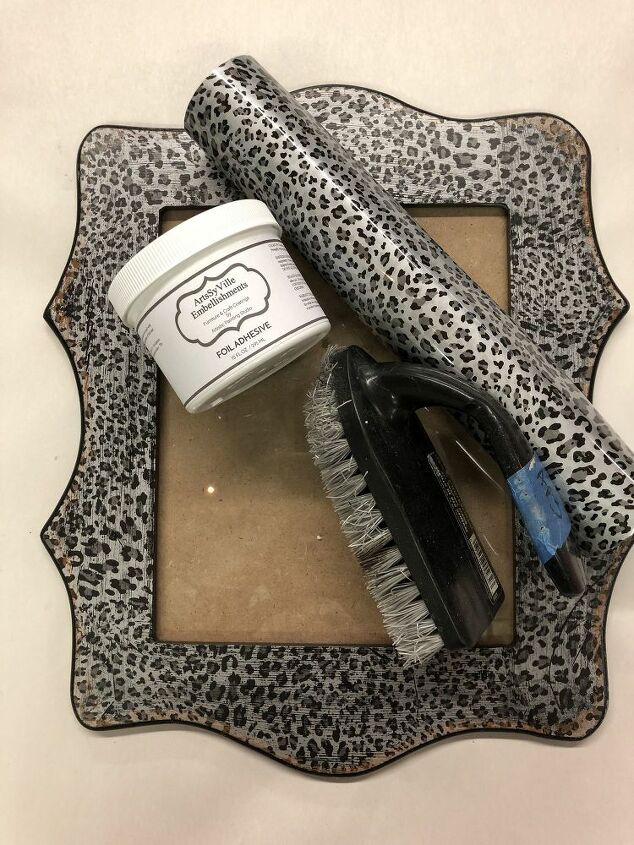
Gathering supplies
Gather your supplies and let's have some fun foiling. Old Frame, Foil Adhesive, Leopard Spots Foil and a brush - that's all you need for this great project.
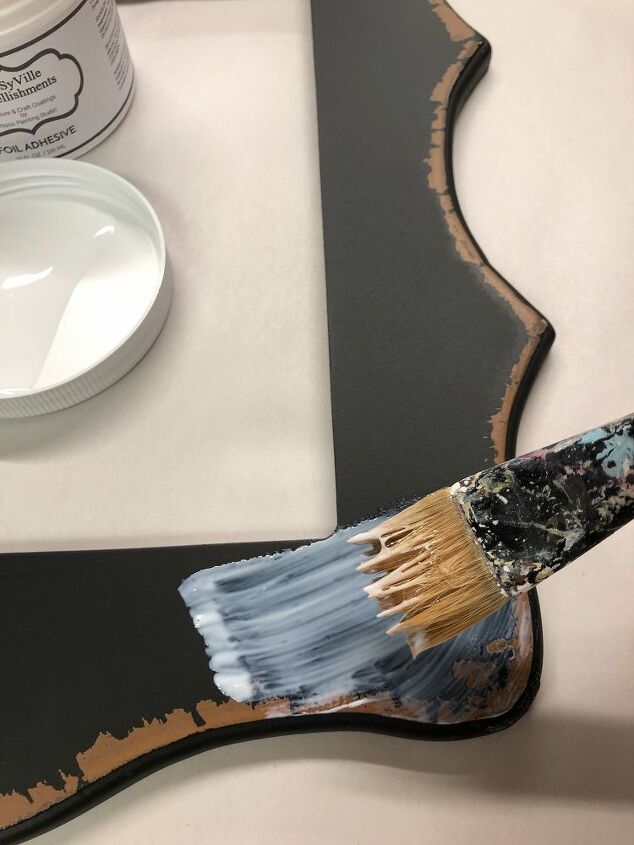
Applying Foil Adhesive
The foil adhesive looks milky white but will dry completely clear. Just brush on a thin even coat (if it seems a like thick just add a little water) and allow the foil adhesive to dry to a firm tack. Dry time is a minimum of 15 to 30 minutes BUT it can take longer during the cold winters!!!
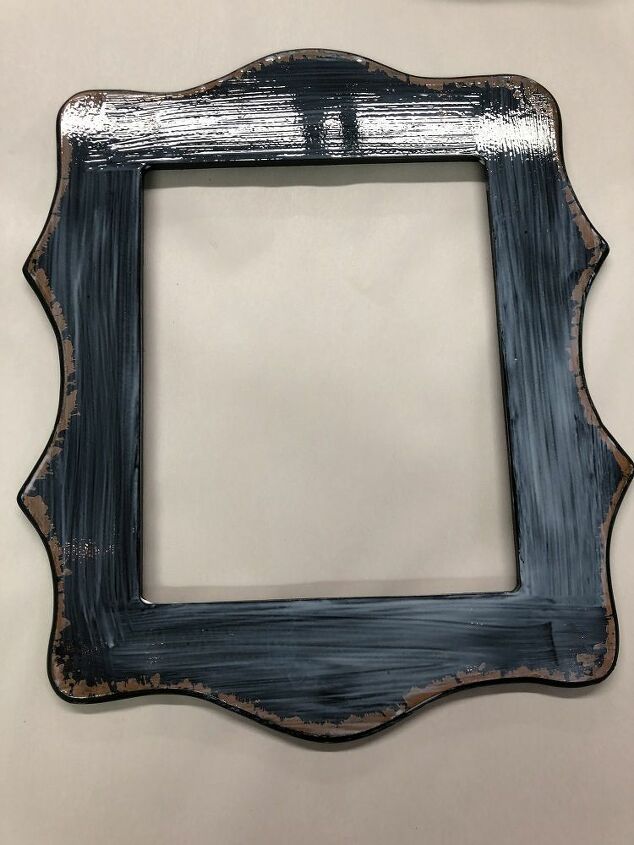
Foil adhesive drying to a firm tack
Make sure to allow the foil adhesive to dry completely to a firm tack - do not rush it! Minimum dry time is 15 to 30 minutes, but you can allow it to dry for hours, days, weeks, months.......it will never dry beyond a firm tack. Yes, it stays sticky forever!!!
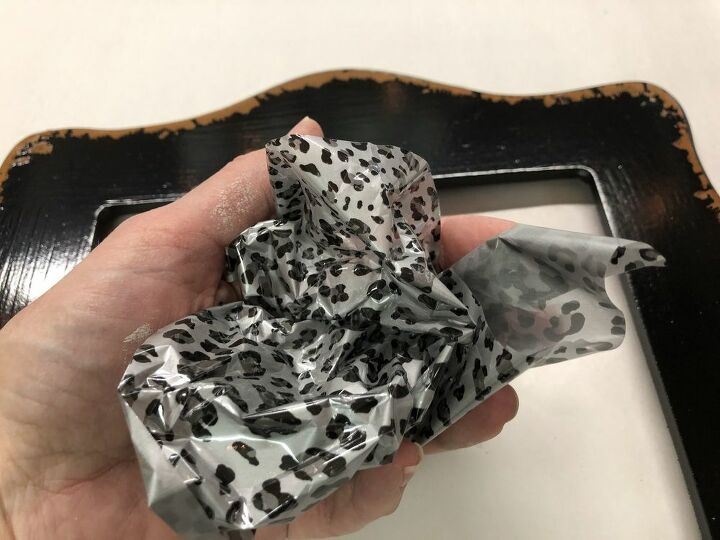
Crumpling our foil transfer paper
We have a fabulous collection of foils, even Leopard Print! I like to crumple my foils first - sometimes it helps the transfer but it always makes them easier to handle.
Lay your foils over the dry Foil Adhesive and use a soft rag to smooth them on - ALWAYS have the pattern or pretty color facing up!!!
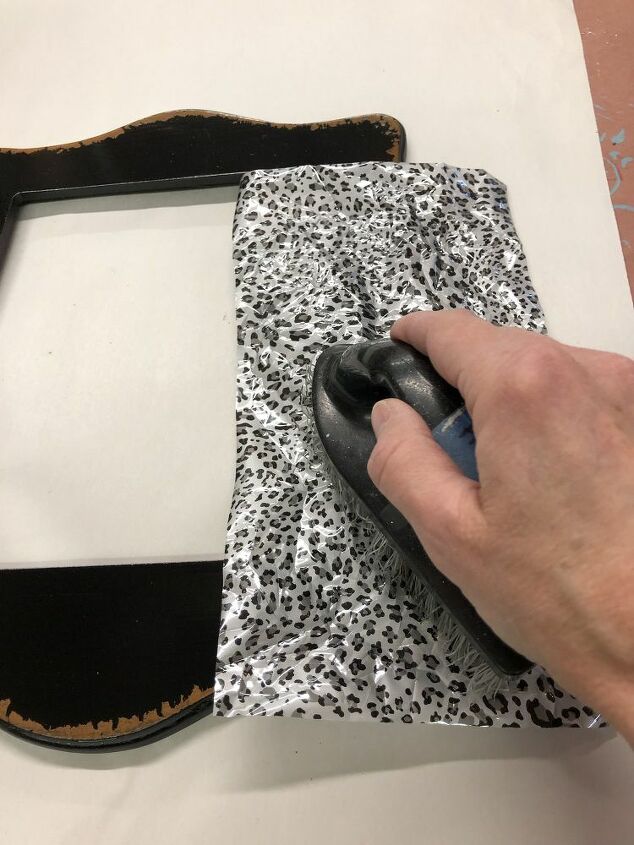
Use a soft rag to rub the foils and if not enough of the color or pattern transfer - grab yourself a scrubber brush (stiff plastic bristles) and scrub on the foil for the best release/transfer.
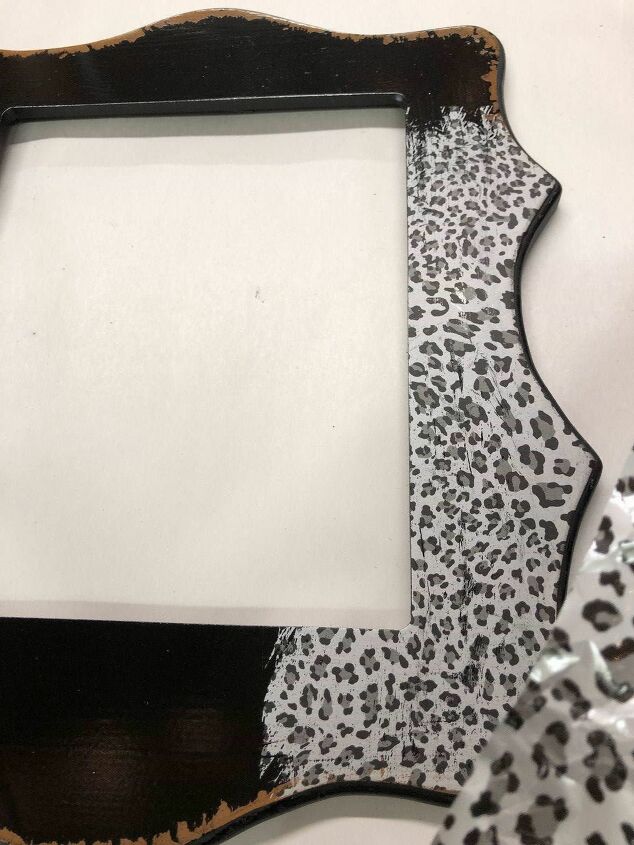
First section of foil has been transferred - just continue to place pieces of foil across your project and transfer one section at a time.
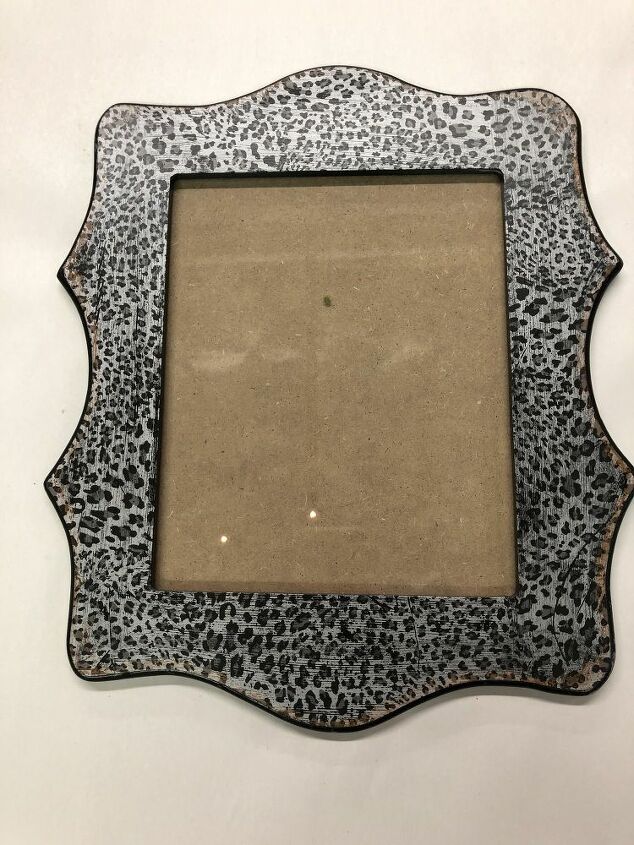
WooHoo - it was that easy to create this fabulous Leopard Print foil project!!!
Such a fun and easy project - you can add foils to just about anything! All you need is some Foil Adhesive and some fabulous Foil!
{
"id": "5397440",
"alt": "",
"title": "",
"video_link": "https://www.youtube.com/embed/RhNDsmHNfC8",
"youtube_video_id": "RhNDsmHNfC8"
}
{
"width": 634,
"height": 357,
"showRelated": true
}
If your a visual person - here is a short video on the process!!! You can also find more projects and techniques for apply foils!


Any price and availability information displayed on [relevant Amazon Site(s), as applicable] at the time of purchase will apply to the purchase of this product.
Hometalk may collect a small share of sales from the links on this page.More info

Want more details about this and other DIY projects? Check out my blog post!


Frequently asked questions
Have a question about this project?