


Seaglass Mosaics- Baby Beluga and Mommy

My neice loves Beluga whales therefore I promised to make her one out of driftwood, sea glass or something. It started off as one picture for her and it ballooned into three unique pairs of Belugas made with sea pottery, seaglass and mussel shells.
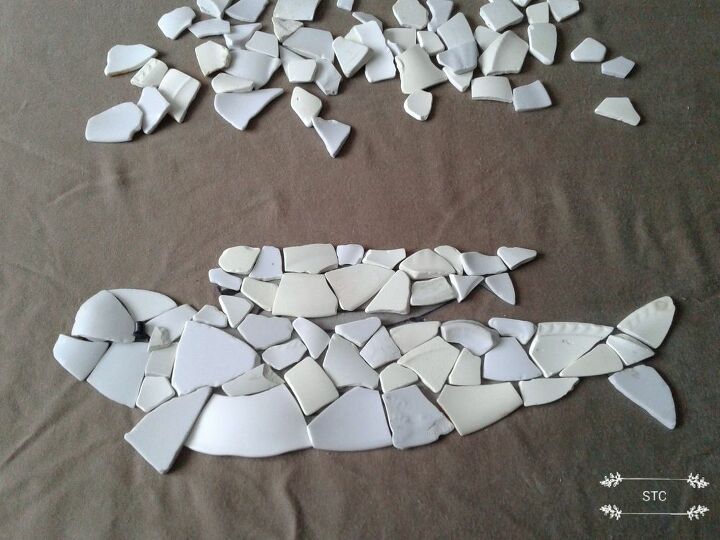
To get started I always look for a piece of artwork or a photo that gives me the look I want, in this case I wanted a momma beluga and her calf.
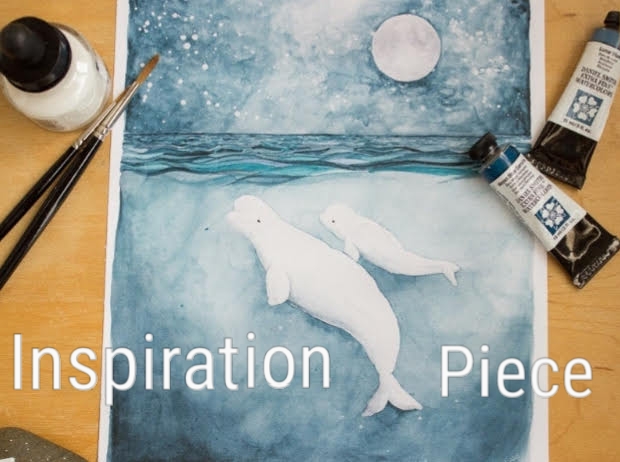
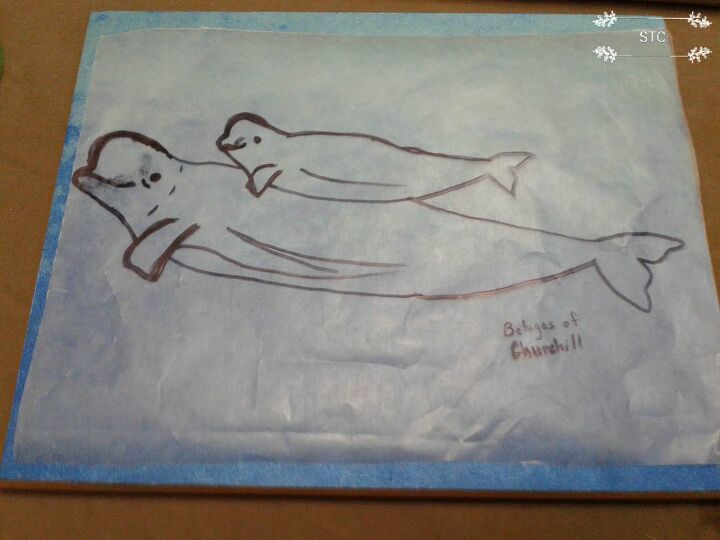
So this was my start off point but I looked some more and found a poster for the Belugas of Churchill that I liked better. I enlarged and traced a copy of it onto wax paper, my go to tracing item for these projects.
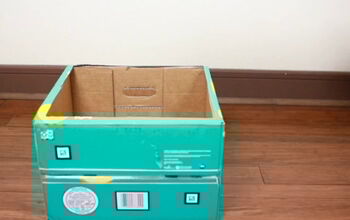
On to prepping my background that I'd be putting these onto, I'm always on the look out to repurpose items. This case was no different, I had a set of three inspiration plaque pictures that were basically atop a blank particle board. The bonus with these is that the hanger is already created there on the back for my artwork to hang from!
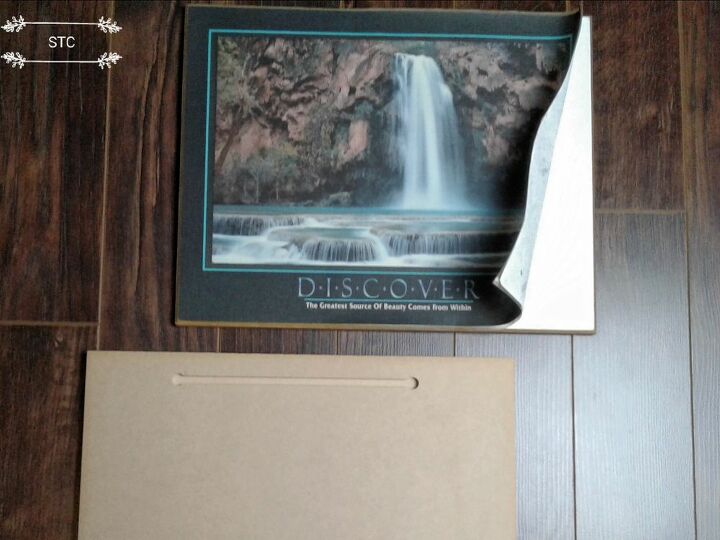
The vinyl picture peeled off easily, but the paper underlay would require a little more effort.

I saturated the paper backing and simply rubbed it off with my fingertips.
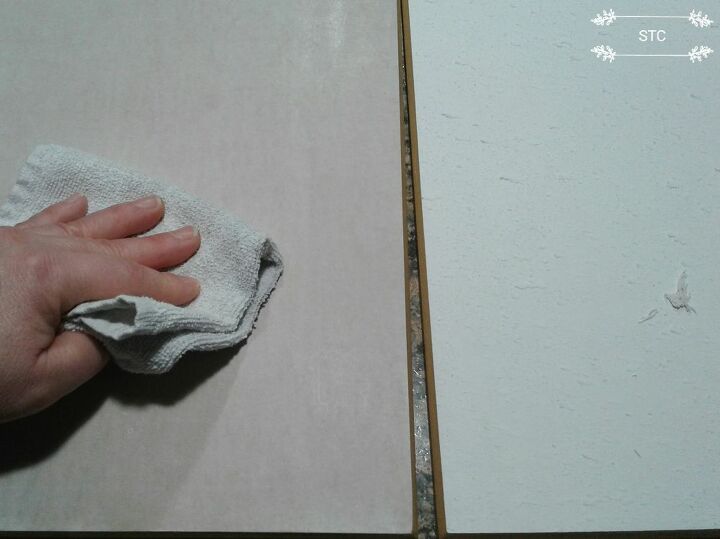
Afterwards I wiped all traces of paper away with a terry cloth, it was now smooth and ready to paint.
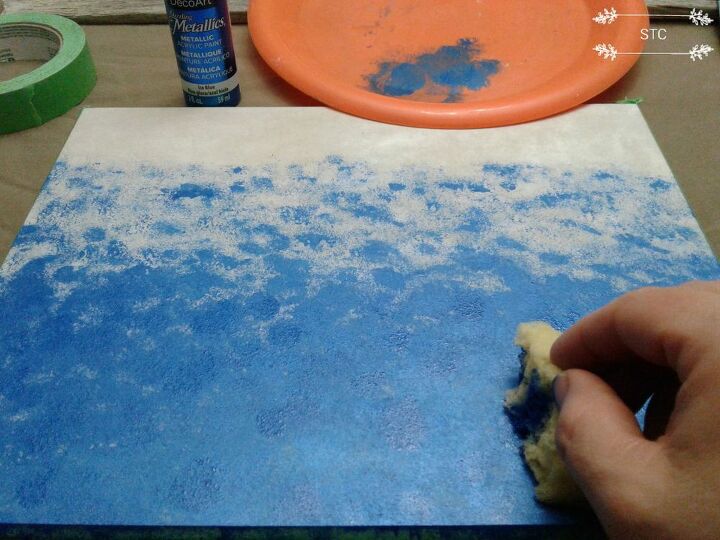
I've been using Decor Metallic paints to create my ocean backgrounds because of the glimmer they add as I try to simulate the ocean. You wouldn't believe how easy it is to apply these backgrounds! I used just a small piece of household sponge loaded with a light amount of paint and applied it in a blotting motion.
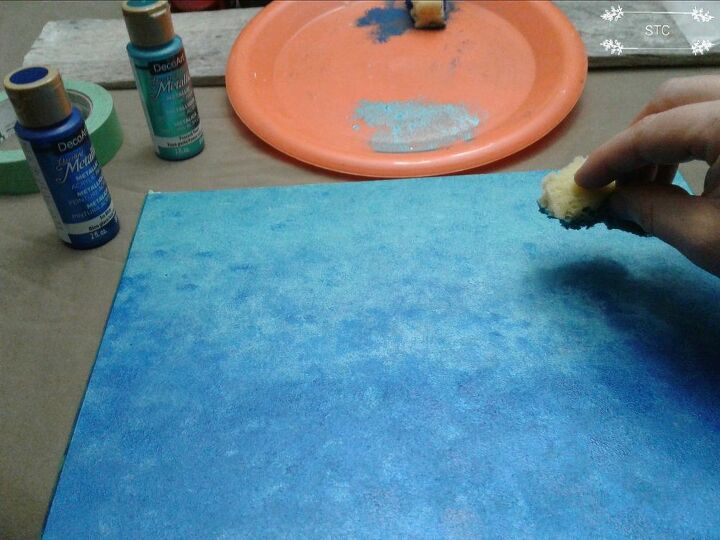
I started with the dark blue on the bottom because deeper water is darker and graduated up to a lighter blue towards the top. I blended the two colors as best as I could often overlapping the two shades of blue to create the ombre effect.
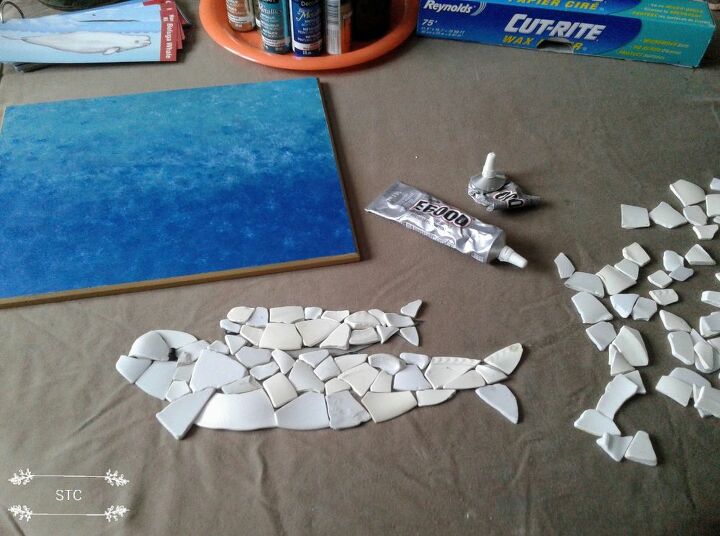
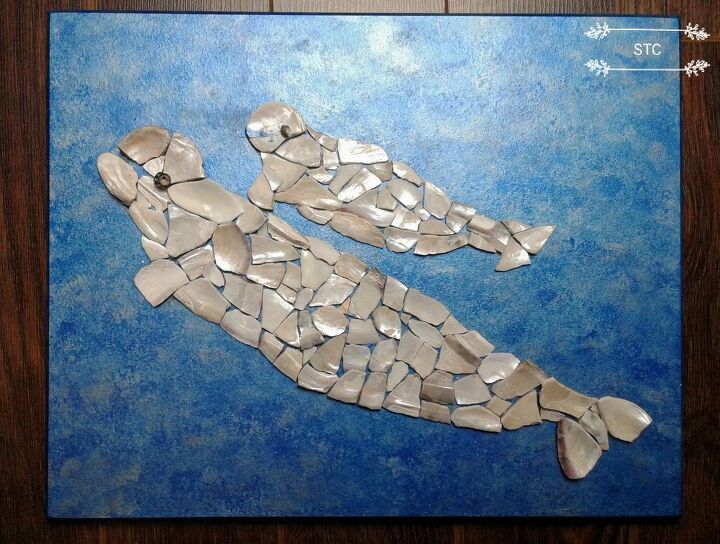
Using the white dinnerware shards collected from our shoreline I simply filled in the whale outline shown above.
For the eyes I used a tiny seashell that I snipped the pointed end off of so it would rest in place flat. I love how the curves and patterns add texture to the whale since Belugas have what appears to be very muscular shaped bodies.
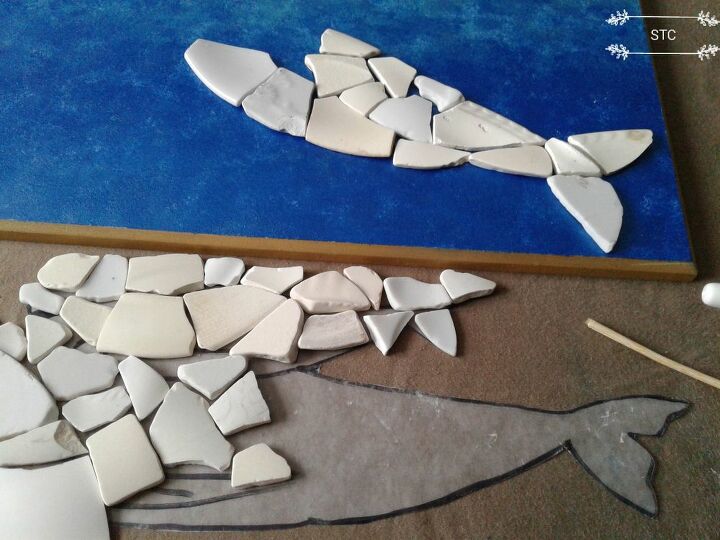
Next came the fun part... just kidding, it was the challenging part of taking one piece add a time from the outline and glueing it onto the background. I used E6000 glue because it works excellent with glass and it's a clear glue. If any excess oozed out underneath once it was pressed in place l used the skewer stick to tidy it up.
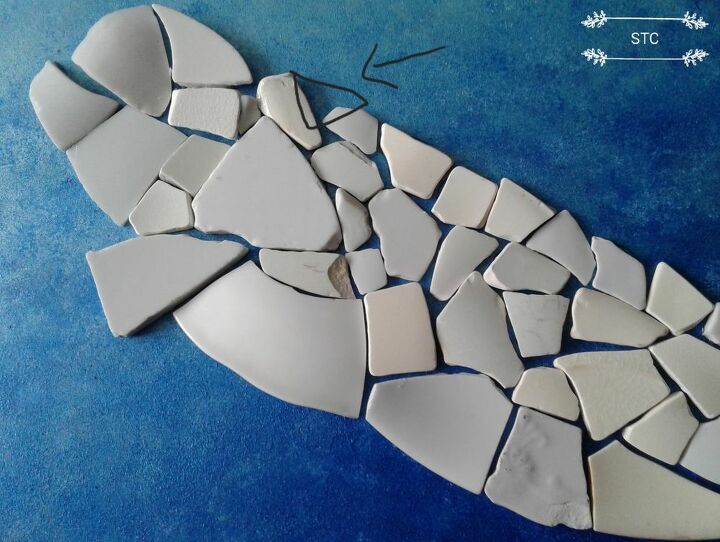
Once I got the momma finished I noticed she had what looked like two breathing holes, so even the tiniest detail can add or take away from the replica.
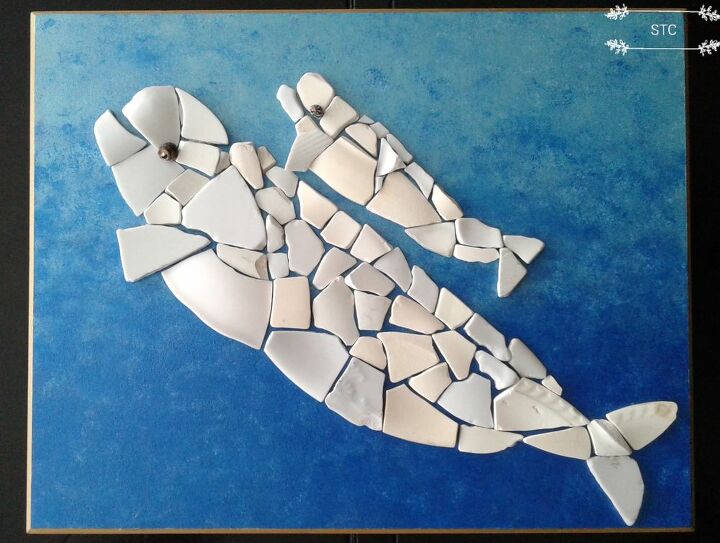
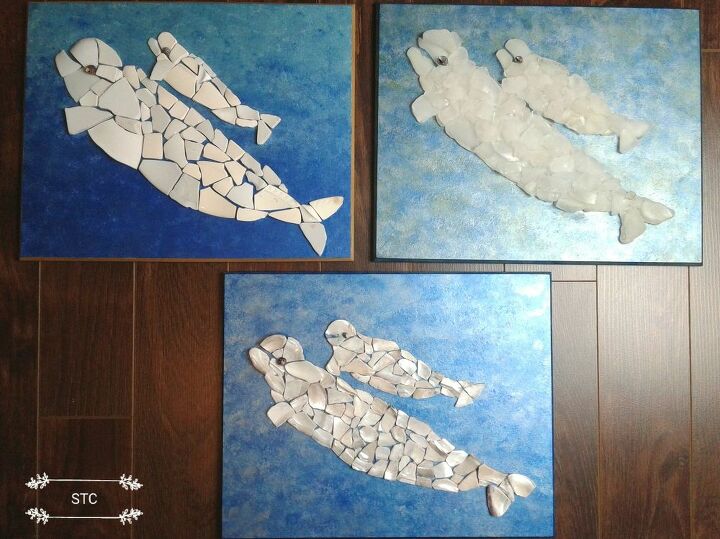
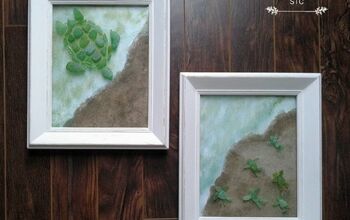
Here they are all finished, I decided to raise the baby a tiny bit away from the momma to make the distinction of the pair a little more clearer.
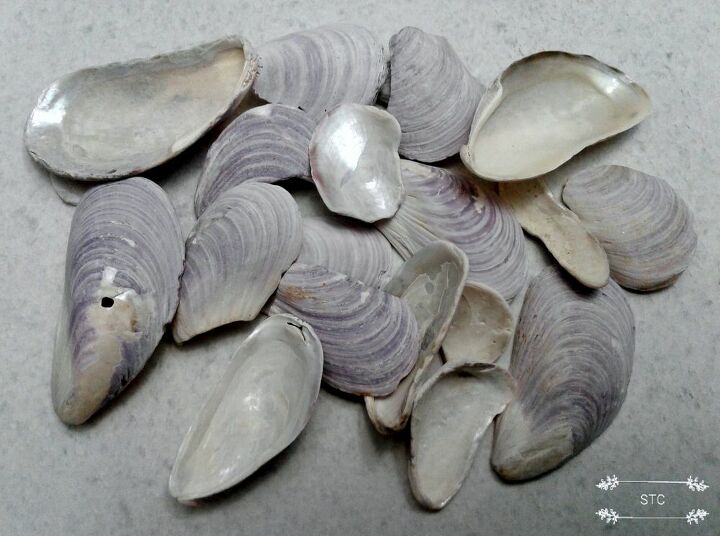
The first set were so cute that I wanted to try another set using another medium, this time I'd try to create them with mussel shells. Of course all of my ocean treasures are washed with a mild bleach and water solution to disinfect and dried them before using them in my crafts.
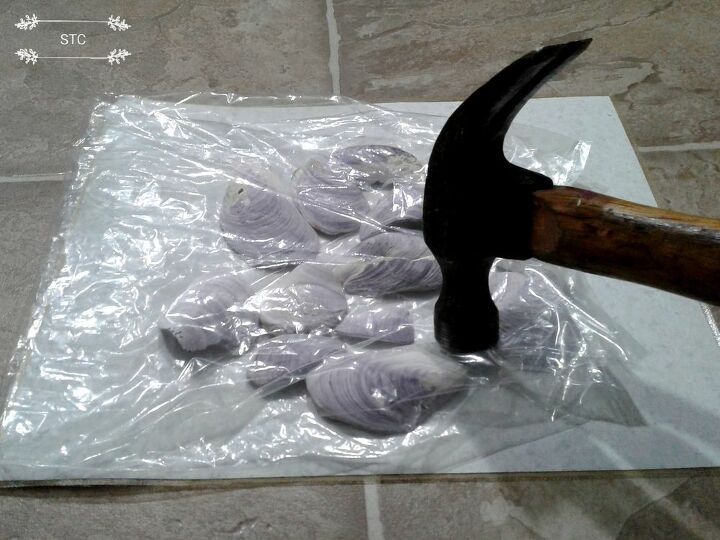
To create shards of these I had to use a hammer to break them up, it worked quite well especially since they were contained in the plastic bag.
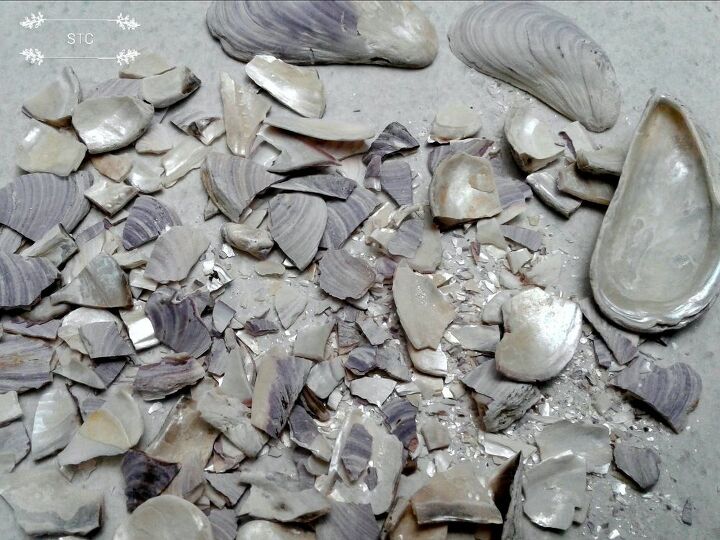
You'll notice the nice, mother-of-pearl shell interior, that's the part I'll be using to recreate the Belugas.
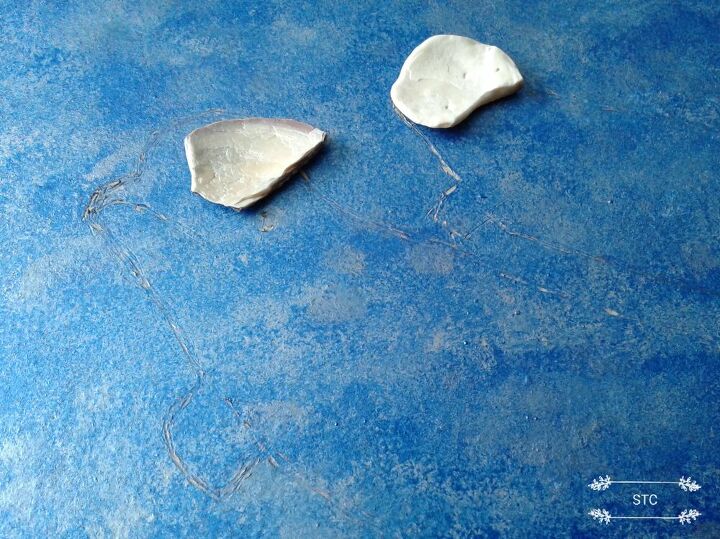
For this background I blotted the two colors evenly all over in a mottled look and I traced my beluga outline into the paint to be my guideline.
Since the babies head was all in one piece I painted on a mouth with blue paint so it would look similar to the mommy's open mouth. It's not perfection but it the option I took because the rounded shell pieces for their heads were hard to find amongst the shards.

Again E6000 was used as before and piece by piece I filled in the outlines with the shards, in a few cases I used my cutting pliers to snip pieces to make them fit in certain areas.
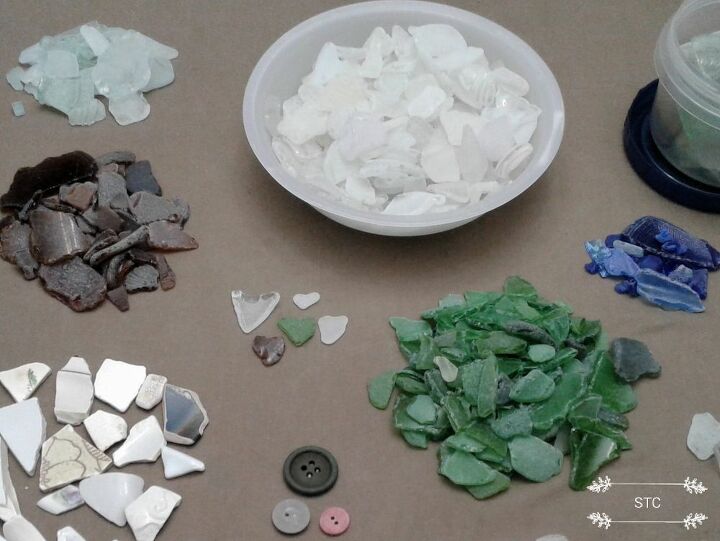
When I collect seaglass I'll often collect far more clear, white glass than any other color so for this reason I chose to use that for my third beluga pair.
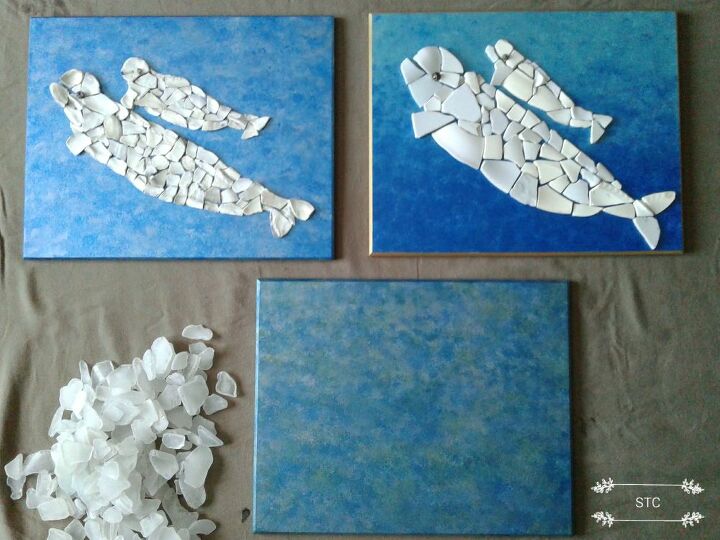
I created this one the same way as the mussel shell one, trace the outline first onto the prepared board as seen above. BUT with this one where the glass was see through I had to apply a couple of coats of white paint on the outline first. I noticed at the beginning the green and blue background was showing through my glass so I removed those, painted and then glued back in place again.
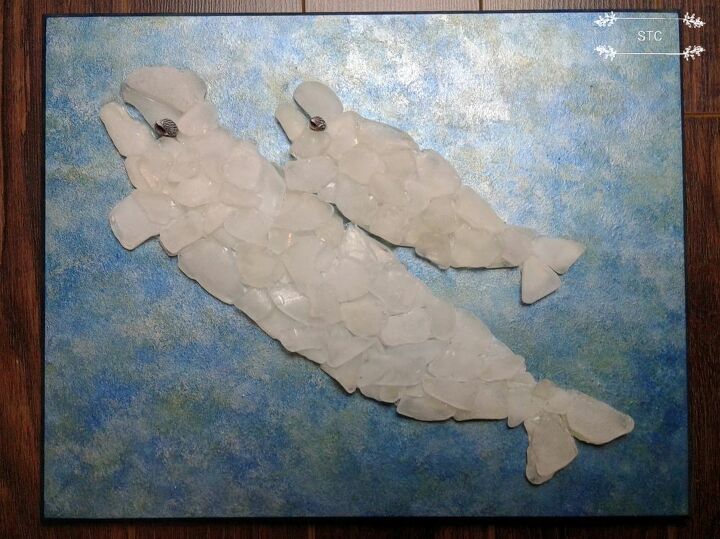
Too, with this one to give it more dimension and hide any bleed through from the ocean paint, adding multiple layers of glass made more sense to me. The eyes are also the tiny seashells with the pointed tip cut off and glued just behind the mouth.

My niece picked her favourite which was the dinnerware, my daughters favourite was the mother of pearl and coincidentally my favourite was the seaglass!! What's your favourite?
Resources for this project:
See all materials


Comments
Join the conversation
-
Excellent ! I will try this project , only with a shark for my Grandson ❤️
-
so pretty


Frequently asked questions
Have a question about this project?
You're so fortunate to live near the ocean. Which coast are you on?