


Creating a Gallery Wall: A Few Tips to Make It Easier!
I'm pretty sure gallery walls are a love it or hate it design choice in a home. I can see why. They can be annoying to hang up perfectly. They can look unbalanced. I’d love to provide you with some simple tips for making your gallery wall look great and also making it really easy to install.
Want to stay in the know when I have new home DIY projects to share with you? Sign up for my emails here!
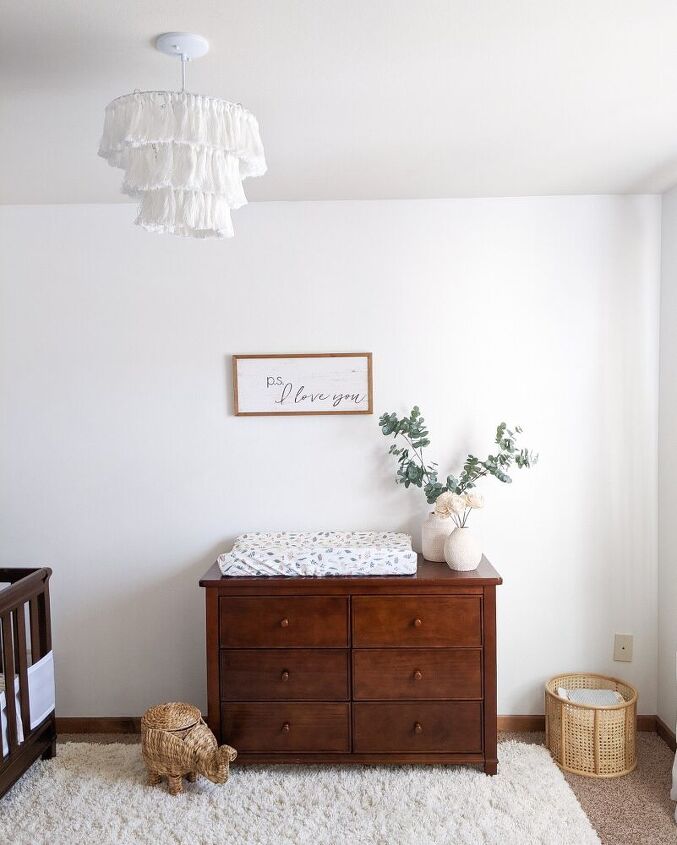
Here's what the wall looked like before I started creating a gallery wall. It was fine as is but I just wanted to add a bit more visual interest to it.
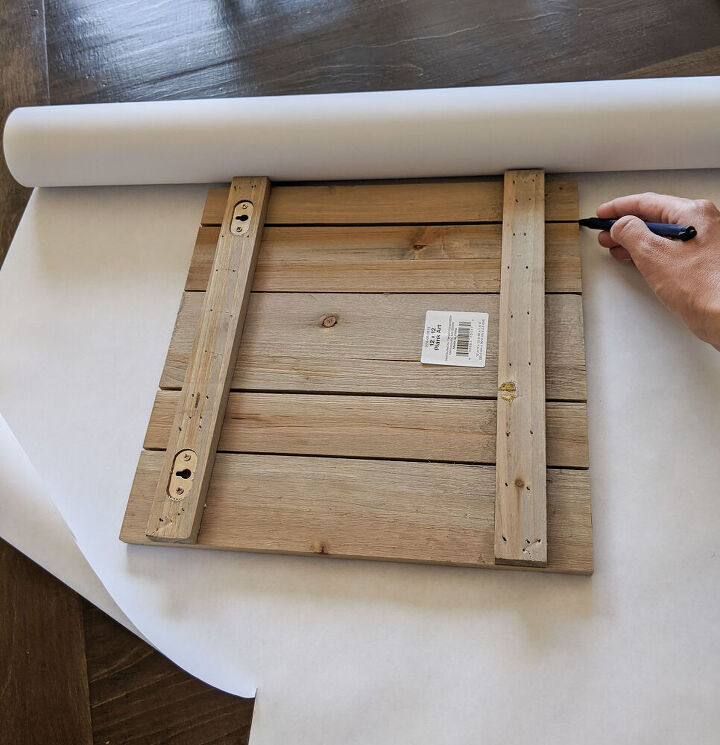
Create paper templates of your wall hangings so that you can play around with the layout
The gallery wall layout can be one of the trickiest parts of the gallery wall. To make it easier, use a large roll of paper and trace each wall hanging onto it. Cut them out.
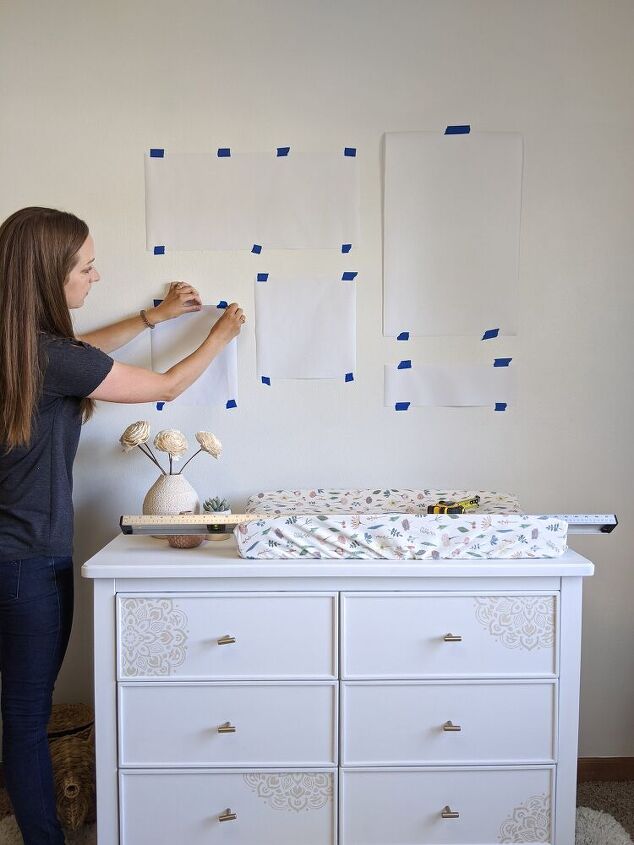
Then use painter’s tape to tape them up on the wall. You can easily move them around, step back and take multiple looks at it or even give it a few days to make sure that you love the layout.
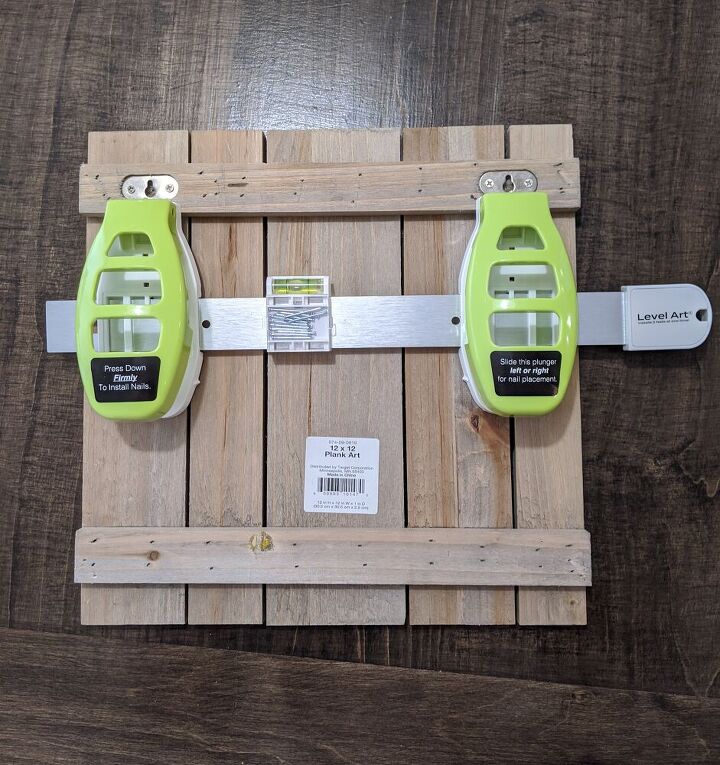
Hang up light-weight items using simple and handy tools
For items that are less than 5 lbs (or require two nails and are less than 10 lbs), there are many options for how you can hang them up. One option if this Level Art Tool. It’s basically a hammer, level, measuring tape and nails all is one. Seriously. It’s amazing. You don’t have run to find 7 items. You can just use this.
It's simple to use. First adjust the length to fit the size of the wall hanging.
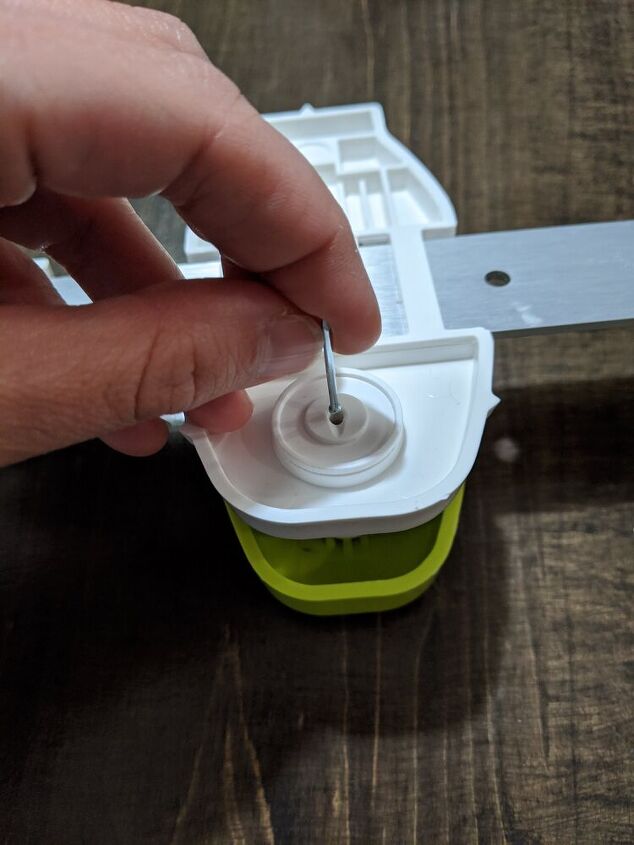
Put nails, head first, into the holes in the back of the tool
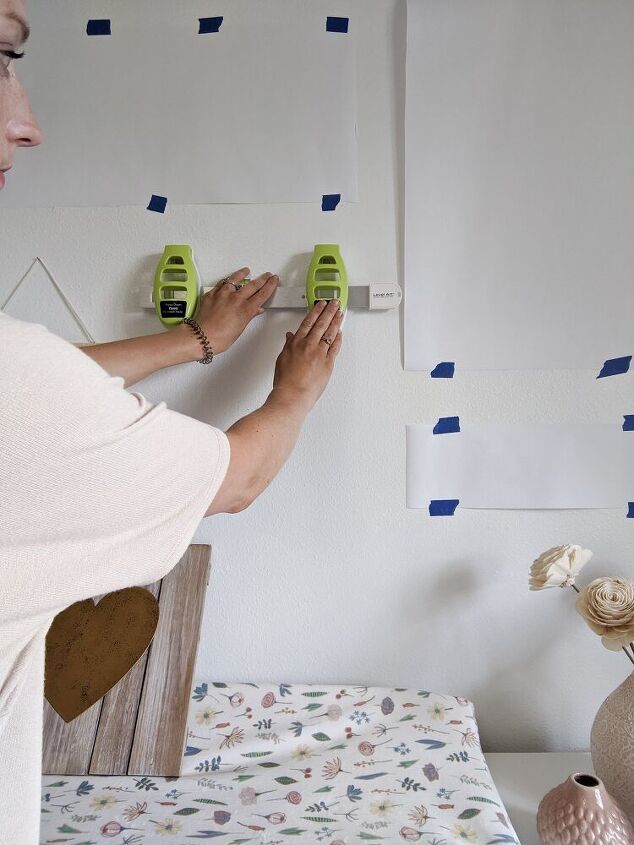
Place it on the wall, ensuring that it’s level and push down on the two green areas. Pushing down on those green levers pushes the nails into the walls.
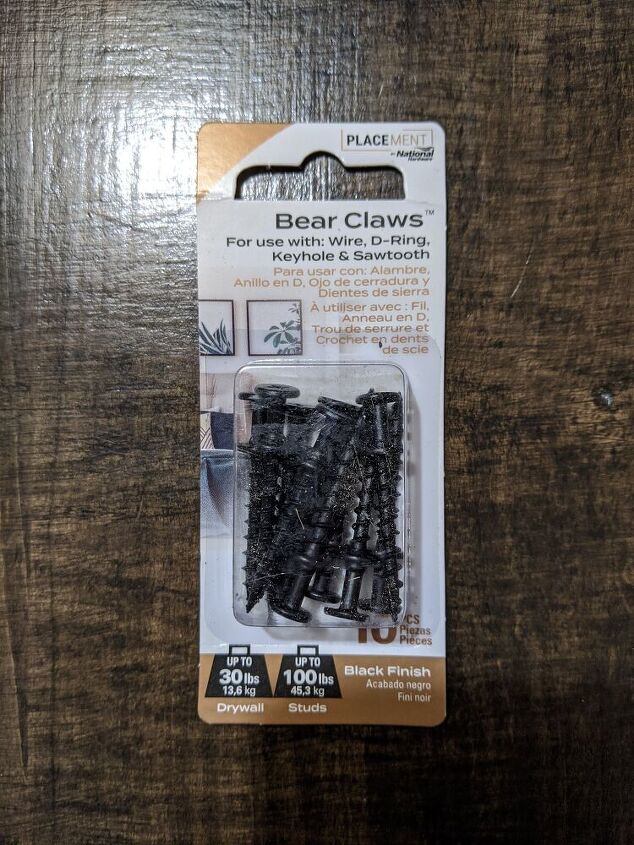
Hang up heavy items using screws, such as these Bear Claws, that are rated to hold heavy weight.
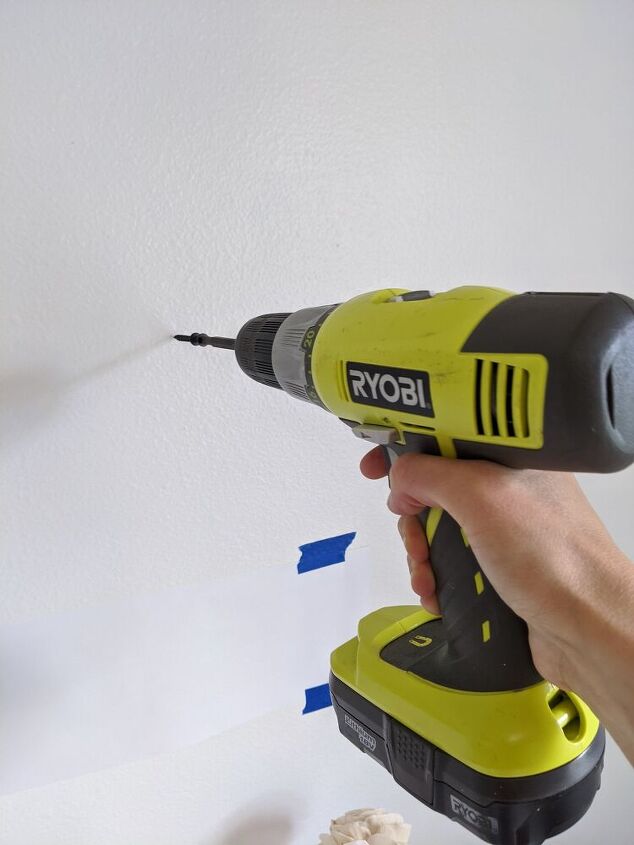
They hold up to 100 lbs if placed in studs and up to 30 lbs if placed in drywall! Plus, they are really easy to use. You only need a screwdriver or drill to install them. They don’t require pre-drilling or anchors. Simply screw them directly into the drywall to install them.
They have a little stop on them so the screws stick out of the wall just the perfect amount for hanging items on them.
Don't be afraid to break design rules along the way
You will probably read all sorts of rules about how to create a gallery wall. In the end, do what looks great to you. That’s what matters.
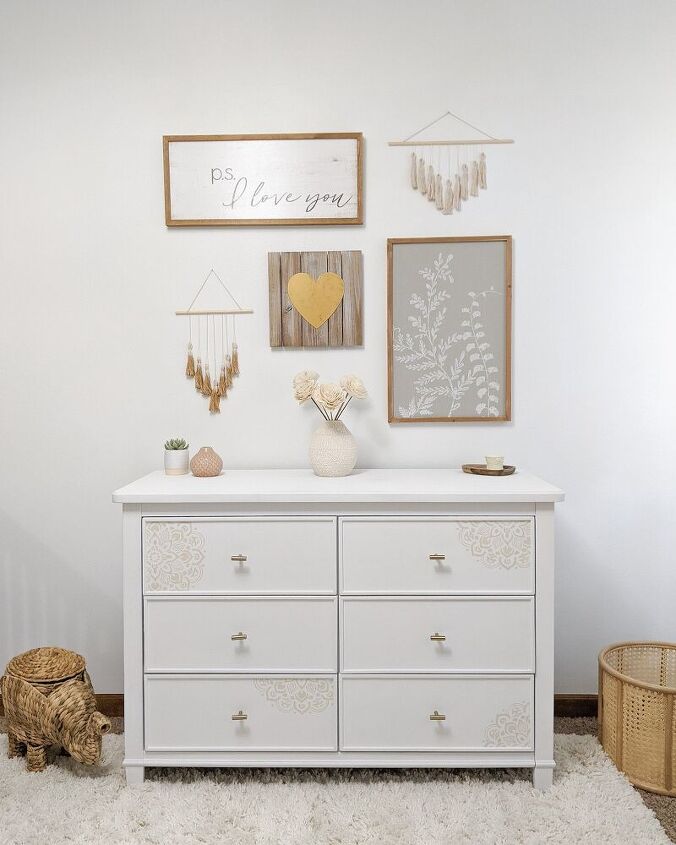
For me, I like to maintain similar distances between items. I like to have some straight lines horizontally and vertically across the gallery. I like to make sure that each item has one or two other items that match it in size, color and texture. These are my preferences. If they are helpful to you, wonderful! If you prefer to break these “rules,” go for it.
I hope that this makes your gallery wall creation a bit easier!
If you're looking for other DIY home projects, like how to make a $5 blanket ladder, head over to my website by clicking here.
Resources for this project:
See all materials


Comments
Join the conversation
-
Now thats a useful little gadget for a girl to have in her toolbox!! Love what you did, the items you chose and placement all look great!


Frequently asked questions
Have a question about this project?