


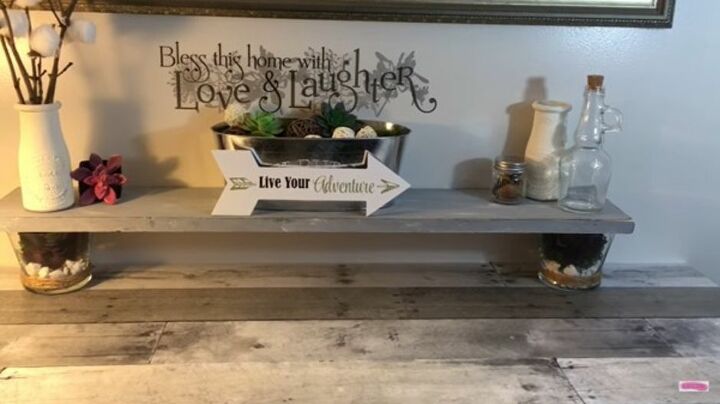
Transform Your Rustic Farmhouse Table With a Unique Tabletop Riser

There’s no better type of decoration than one you’ve made yourself that manages to seamlessly fit into the décor of its surroundings. For this DIY Dollar Tree rustic table riser, you’ll be able to create a bespoke and personalized tabletop centerpiece to enhance any table display. You can wow guests and add a touch of charm to your home with this simple and easy project. This project helps bring out your inner creativity to create something unique and tasteful to display front and center on your rustic console table.
Tools & Materials
- 1x3 wood board
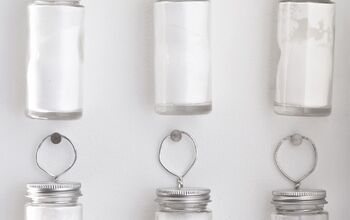
- 2 small vases
- 2 succulents
- 1 bag of white stones
- Moss
- Twine
- Chalk paint in both black and white, to be mixed for the grey color
- Sand paper
Step 1: Gather Your Materials
The first step to create this rustic farmhouse table centerpiece decoration was to gather up my materials. Depending on where you are and what you have access to, some of your materials may be slightly different. But that’s ok! That’s what makes the project so appealing, the fact that no two rustic tabletop risers will look the same.
For my materials, I gathered a piece of scrap 1x3 wood. The board needs to be big enough to act as a riser on your table, so you can choose a piece that works depending on the rustic farmhouse table you plan to place it on. To make the legs of the riser, I collected some vases, though jars could work too. I also needed some succulent plants, a bag of stones, some moss and twine to give it the aesthetic I wanted. You’ll need some chalk paint and sandpaper, too, in order to treat the wood before you begin using it as a riser. Most of the items to cover the top of the console table can be found at Dollar Tree, or could be completely customized depending on what you want to decorate your project with.
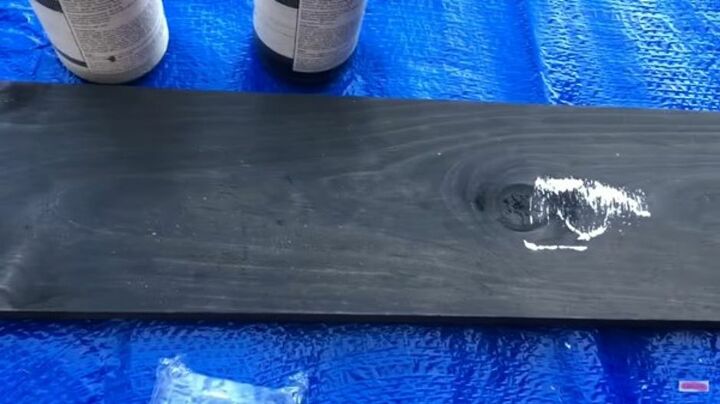
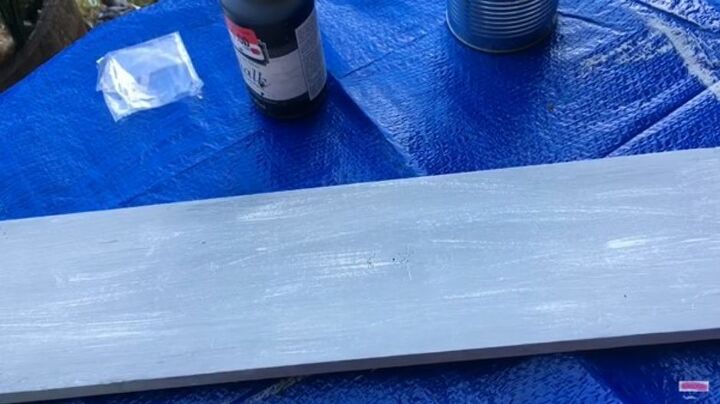
Step 2: Paint the Board
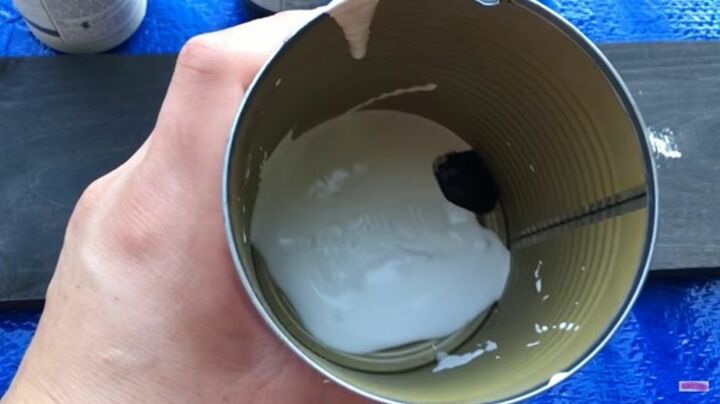
The next step for the rustic console table project is to mix the white and the black chalk paint to create a grey color. The color depends on your personal taste. I liked the grey and felt it fit into the surroundings in which I would eventually be placing the riser. But you can choose any color you feel works. Once the paint was mixed, I layered it onto the wood. Depending on the type of wood you have chosen, you might need to do a few different coats.
The chalk paint means that you can then use the surface to write on with chalk like you would a chalkboard. But it also gives it a nice matte texture that fits into the rustic theme of the farmhouse table on which the riser will be placed. I wasn’t planning on writing on mine, but found that the chalk paint gave the exact look I was going for. Other paints could work, depending on how you might want the board to look, but I find that chalk paint works best.
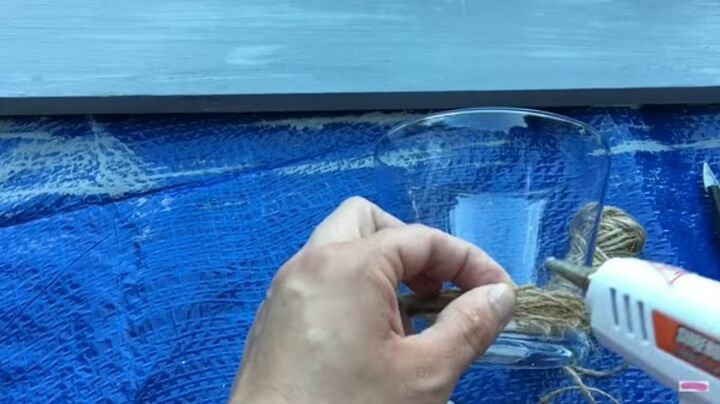
Step 3: Wrap Vases with Twine
Decorating the vases is the next step and can be done in a number of different ways. I chose to wrap my vases with twine to line the base of them externally. You can wrap the twine as high up the vase as you want or can even use a different material. Twine works because it goes with the homely feel and is simple to acquire.
I then began wrapping the twine around, careful to ensure there were no gaps where the twine was wrapped. Once I was sure the entire area I wanted to be covered with the twine was covered, I glued the end into place. The twine works well with the rustic colors of the paint to give it the right look and feel, though other materials could work just as well, such as hessian.
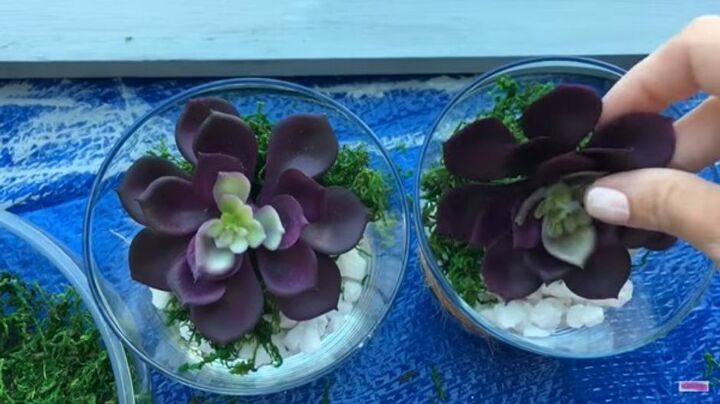
Step 4: Insert Fake Succulents
Once the twine was securely wrapped around the bases of the vases, it was time to fill them up. Again, you can choose anything you want to fill them to complete the look you are going for. To match the look I wanted, I chose some succulents and white stones. I feel this is perfect for the rustic feel. My succulents were fake so that the plants needed no upkeep, which would prove difficult, so using fake plants, whatever species you choose, is definitely advised for this.
I began by filling the vases around a quarter of the way up with white stones. Once I had enough stones, I placed moss on top, and then sat the succulents on top of the moss. This is the part of the project that is really open to personalization and can even be changed seasonally to reflect the time of year. The materials are easy enough to find and they can be easily changed around in the vases. You might find that Halloween colors such as orange and purple work in October, or fall colors work for Thanksgiving designs, and holly and mistletoe give the vases a Christmas feel.
Step 5: Dry Brush the Board
Next, it was time to go back to the board, which would have had time to dry. When you are dry brushing something, it’s important that you don’t use too much pressure and don’t apply too much paint. You want to create a light white paint effect and not actually paint over the grey chalk paint. So, I put a small amount of white chalk paint on my brush and then ran it over the board in order to give it a light covering.
This aspect is key to give the board the rustic look as it is supposed to look slightly faded. The two tones of chalk paint do this well. If you feel you need practice with the dry brushing so that you don’t apply too much of the paint, try on some scrap pieces of wood or newspaper until you feel you have the technique mastered.
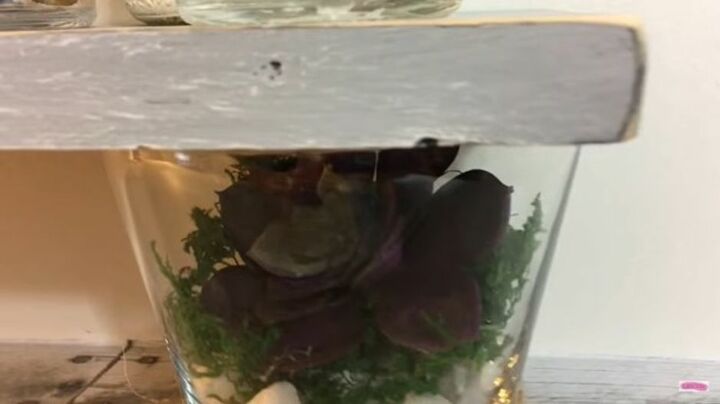
Step 6: Glue the Vases to the Board
The next stage, once the board has been thoroughly painted and the vases have been filled with stones and succulents, is to attach the two together. I glued my vases to the underside of the board to ensure that the whole piece didn’t come crashing down. If you wanted to change them, most glues aren’t strong enough to prevent this from being done. If you are confident you won’t ever be changing the vases, you can use a sturdy glue to ensure that the vases don’t ever come off.
Once I had glued the vases to the board, it was ready to be placed front and center on my rustic table to create the perfect riser. Not only does this look good and work towards the aesthetics of the rustic look, but it provides an extra level of storage space, which can be useful if you need more room on your dining table when the whole family is over for dinner.
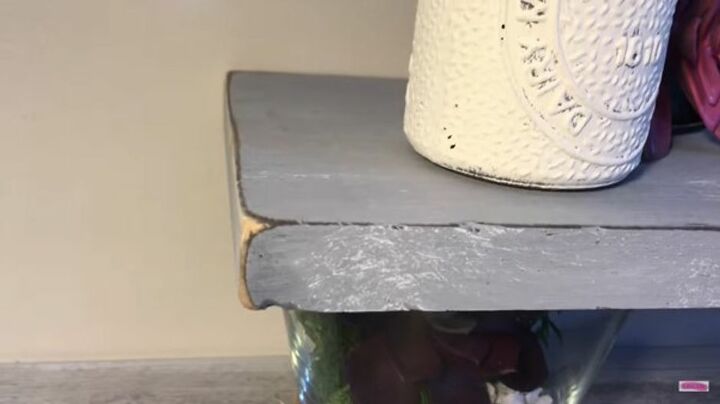
Step 7: Sand the Board
The final step – and one that you might not need to do, depending on how you feel the piece looks already – is to sand the board with sandpaper. This helps to smooth it down and ensure that there are no errant splinters that could cause problems. It also helps to give it a neater aesthetic and ensures it look as good as it can. This stage is simple, you just need to run the sandpaper over the edges of the board, which is mainly where the jagged bits might be.
On top of the riser are some more items from Dollar Tree - you can choose whatever you want for this. I have opted for some old bottles, some more succulents, and a quirky sign. This is where you can get creative and could place photographs on there, candles, Halloween or Christmas decorations, more plants, and even small coffee table books.
Follow these simple steps to create your very own personalized rustic table riser. Not only does the riser fit into most rooms and works for most tables, but it can be used as a centerpiece for many occasions. The project is quick and simple to do and can create a piece that will wow friends and have everyone talking. Plus, you can make it as customized as you want to truly bring out your artistic flair. Every rustic farmhouse table can be made to look even more stunning with a DIY Dollar Tree tabletop riser.

If you’ve had a go at making this yourself, don’t forget to share your creations, or share this project with a friend or fellow Hometalker who might be interested!
Comments
Join the conversation
-
So pretty!
-
It's so lovely, you did a great job, I want to make one. Thank you for sharing.


Frequently asked questions
Have a question about this project?