


How I Painted a Cement Birdbath

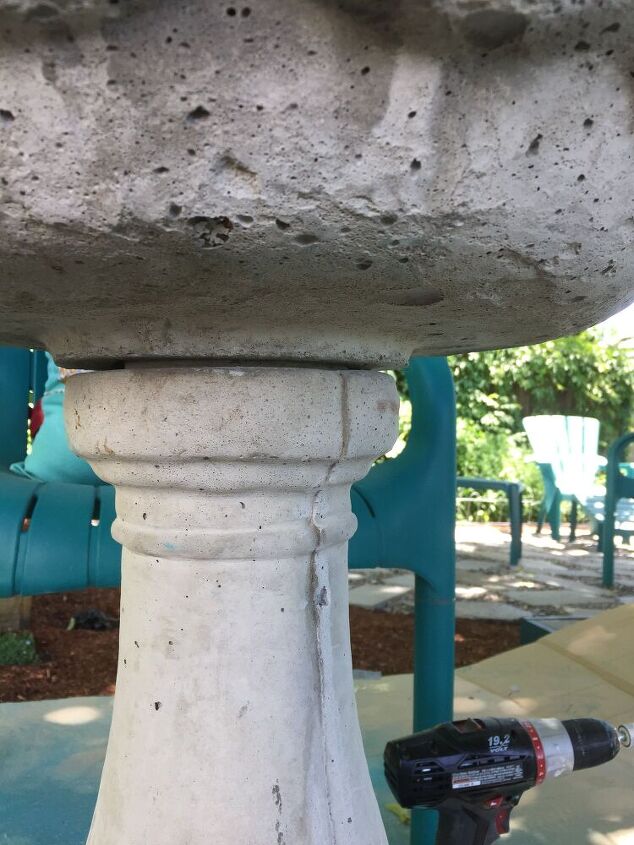
I bought a cement birdbath about a month ago from Walmart. I've always liked birdbaths, but have not owned one due to the cost. The ones I've seen in the past have always been over $100 and I just didn't feel like spending that kind of $$ on one. Then, when I was at Walmart one day, I thought I'd stroll through the garden statues they had in the parking lot. I asked one of the employees how much the birdbaths were and he said $24.99. $24.99????!!!! I must have one! So, I bought one and brought it home. My son was visiting, so he moved it from the car to the back yard. It's pretty heavy! After I had the spot ready for it, the son came over again for a visit, so, I asked if he could move it to the new location. He carried the base, I carried the top (which was pretty heavy on its own). He set the base down and I handed him the top. He placed the top on the base, or I should say he tried to place the top on the base because it didn't fit!! How can it not fit? Then I thought back on how it looked when I bought it and remembered that the top was slightly askew. I just figured it hadn't been set on the base evenly. Come to find out, the hole in the bottom of the basin was more oval than round.
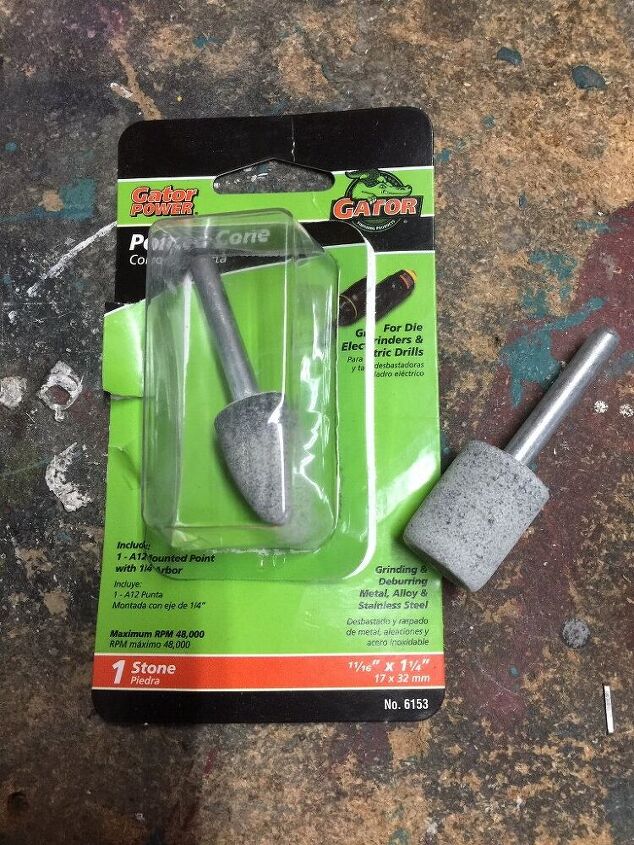
Do I take it back to Walmart and hope they have another birdbath I liked? I forgot to mention that this was the only one in this style..... or do I keep it and try to fix it? I chose to keep it and try to fix it. Hubby thought I should return it, but knowing I had made up my mind, he suggested I grind the hole to make it the right size. He even brought home two grinding bits that I could use with the drill. Even though the package didn't mention cement or concrete, I was so hoping they would work.
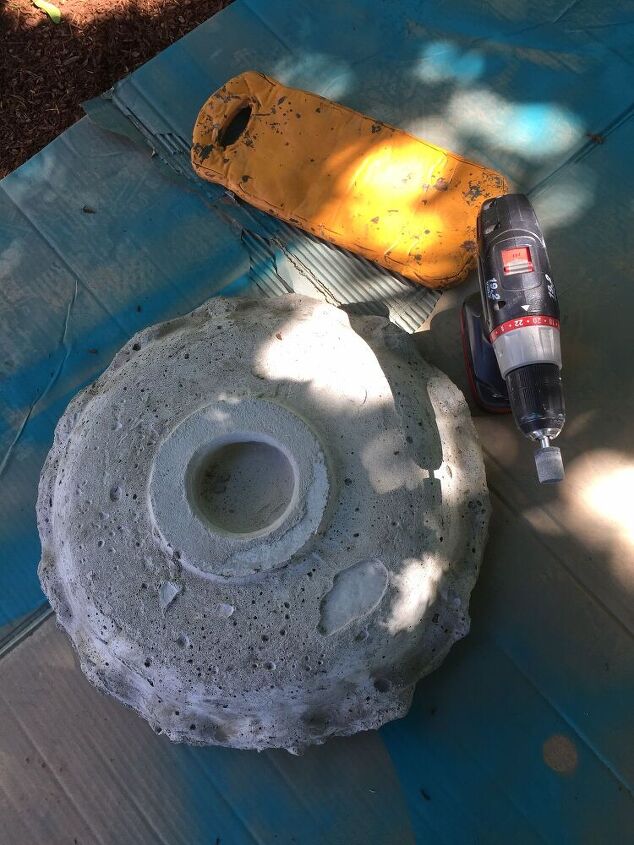
When it was time to work on the birdbath, to keep from having to lift the base of the birdbath, I laid down a large piece of cardboard that I use when painting as close to the birdbath as I could. I lifted the top and set it, face down, on the cardboard, and rolled the base to the cardboard.
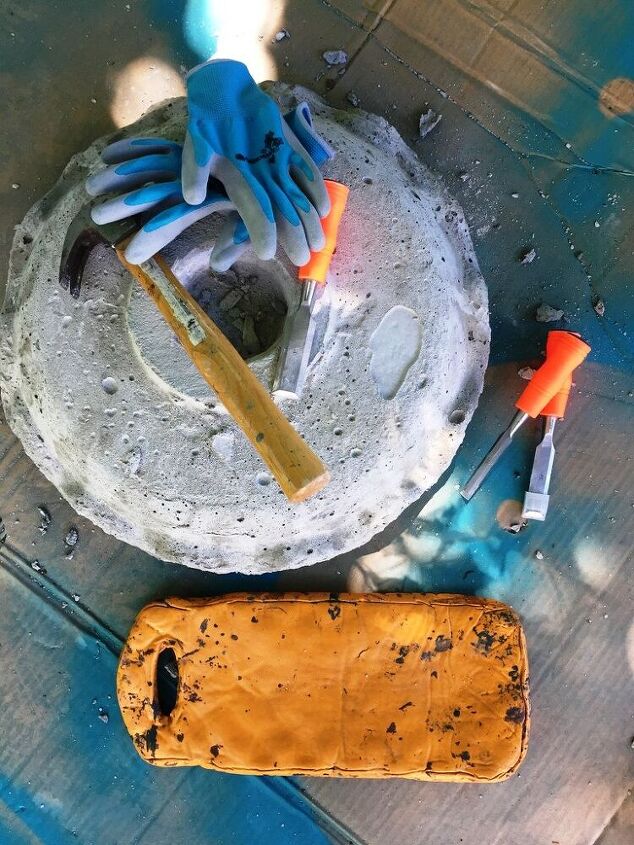
Using the square bit, I started grinding the oval, trying to change the shape. The grinding bit worked a bit but I could tell it was going to take a long time and probably several bits to actually get the basin to fit on the base.What else could I use? Then I remembered I had chisels! I grabbed my trio and a hammer and got to work.
The chiseling worked so much better!
It still took me a couple of hours. I chiseled both the hole in the basin and the top of the base and finally got the basin to fit pretty snugly on the base!
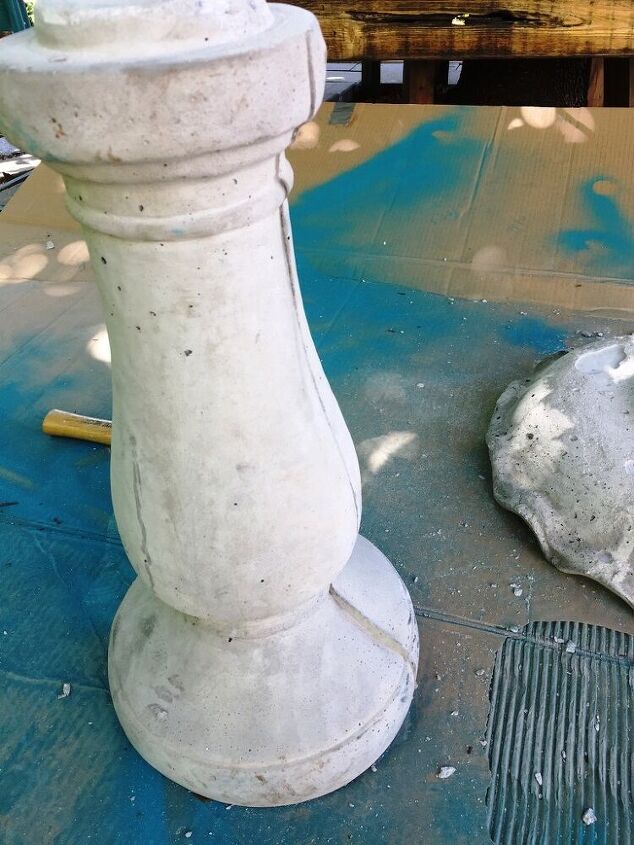
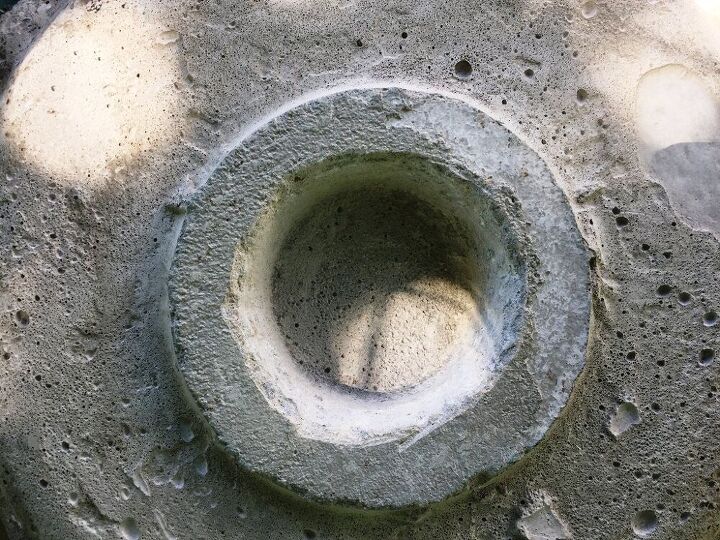
After the dry fit of the top & base, I took the basin off again and used the chisel & cone grinding bit to remove all the places where there the seam from the cement mold was showing.

As you can see in the pictures, the quality of the finish on this birdbath is not great which is probably why it was so inexpensive. To cover the imperfections, I decided to paint the birdbath!
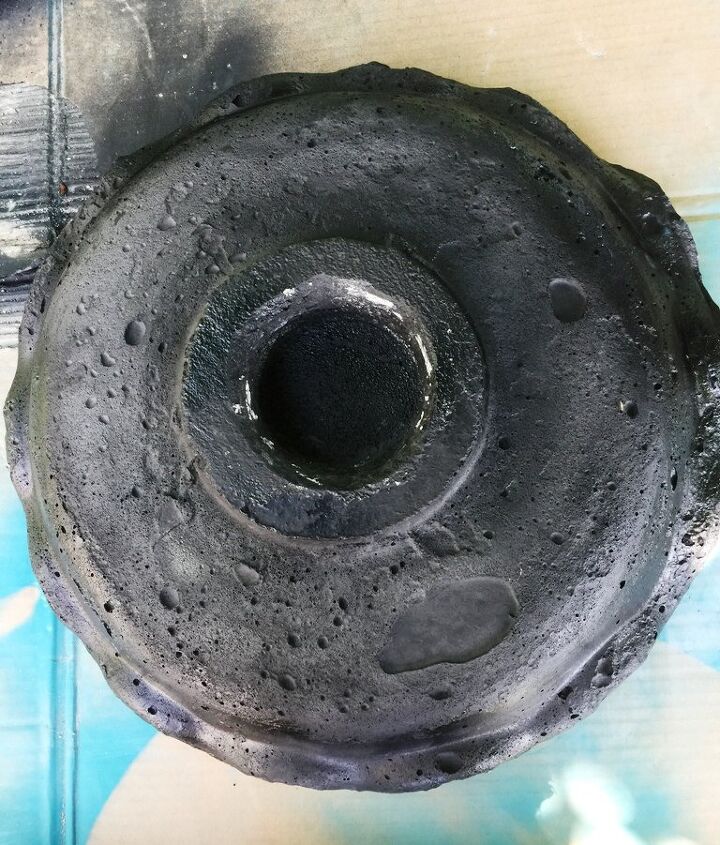
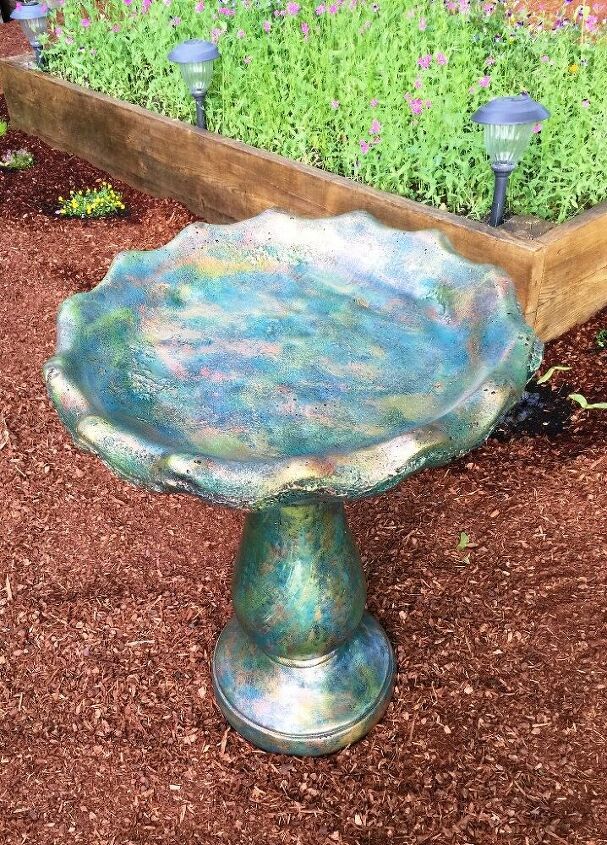
When I decided to paint the birdbath, the look I was going to try to create was Verdigris. I have used faux painting techniques several times in the past to get a marbled look. But since it's been a while, I did a little research. I also wanted to check to see what paints are safe to use on cement & especially, cement birdbaths. I read that acrylic/latex paint is safe. I also read that a good basecoat to use for a faux finish is matte black. I happened to have a can of Rustoleum in flat black.
The first step in this process was to spray the base & both sides of the top. Paint dries very fast on cement, so this step was quick.
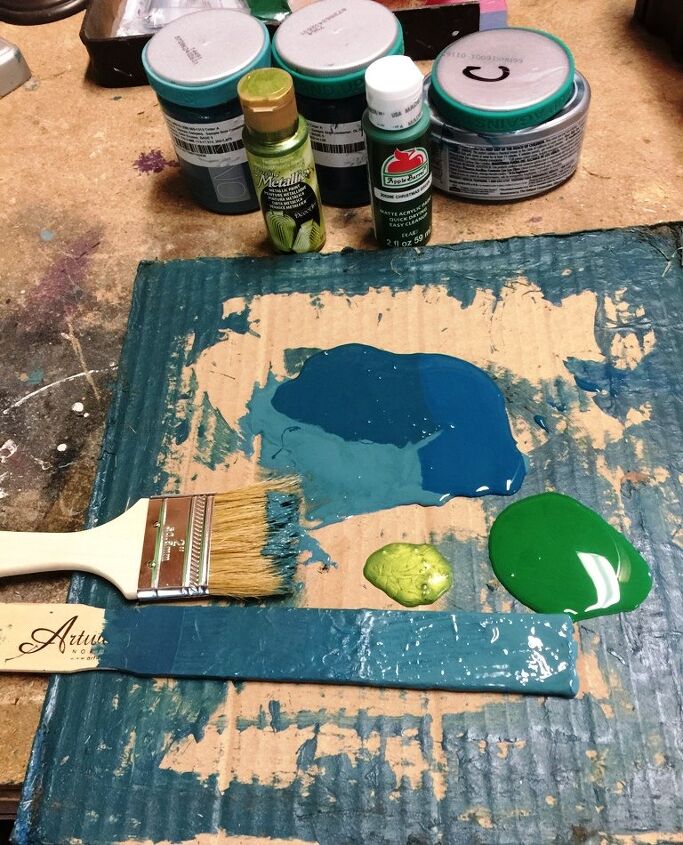
These are the colors I chose to use on the next coat. I had all these paints on hand - 3 were samples from Lowes, then I used Christmas green & a shimmery sage. It doesn't take a lot of paint for this technique - just a few ounces of each.
When the base coat was dry & I had my colors on a piece of cardboard, I turned the top upside down to begin painting. I started where it would be less noticeable since I wanted to get a rhythm to the technique before I moved onto the base and bowl of the birdbath.
Using a small paintbrush, I randomly swiped on a little of each color until I was happy with the look. I actually loved how it looked after this step and could easily have stopped here. But, I wanted to add some shine & shimmer.
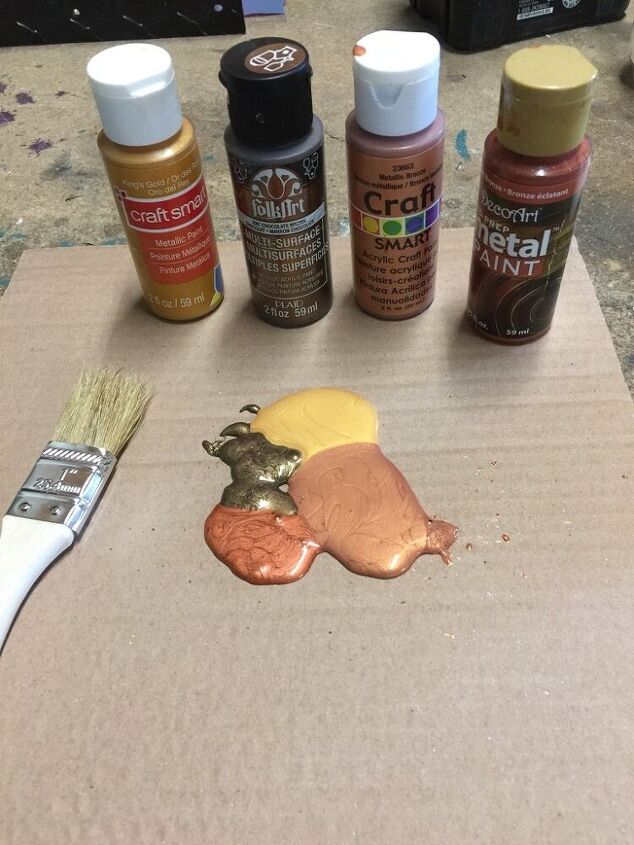
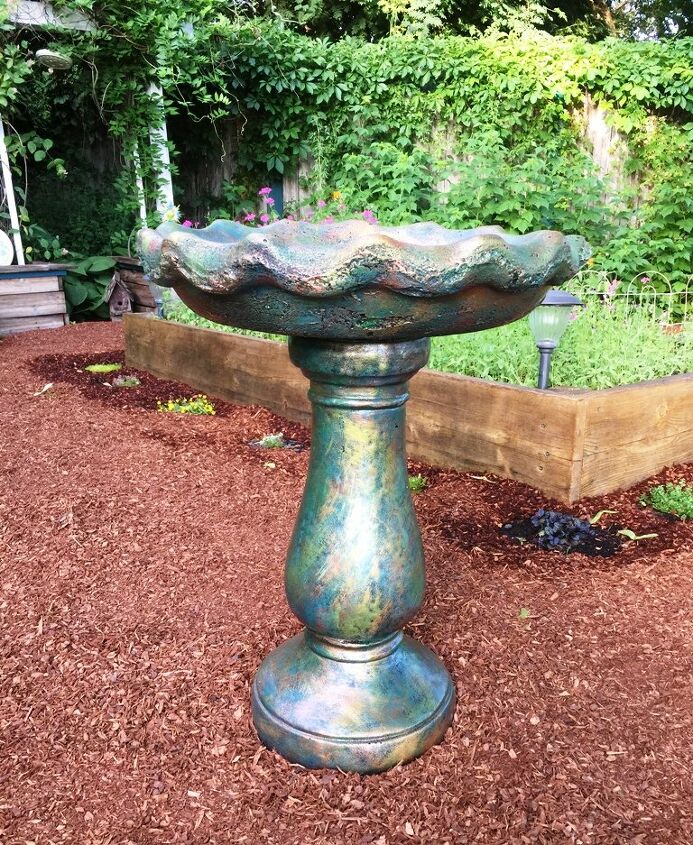
The next step was to add some shine & shimmer by using metallic paints. I also had these on hand and used bronze, two tones of copper & gold along with the sage green I had used on the 2nd coat.

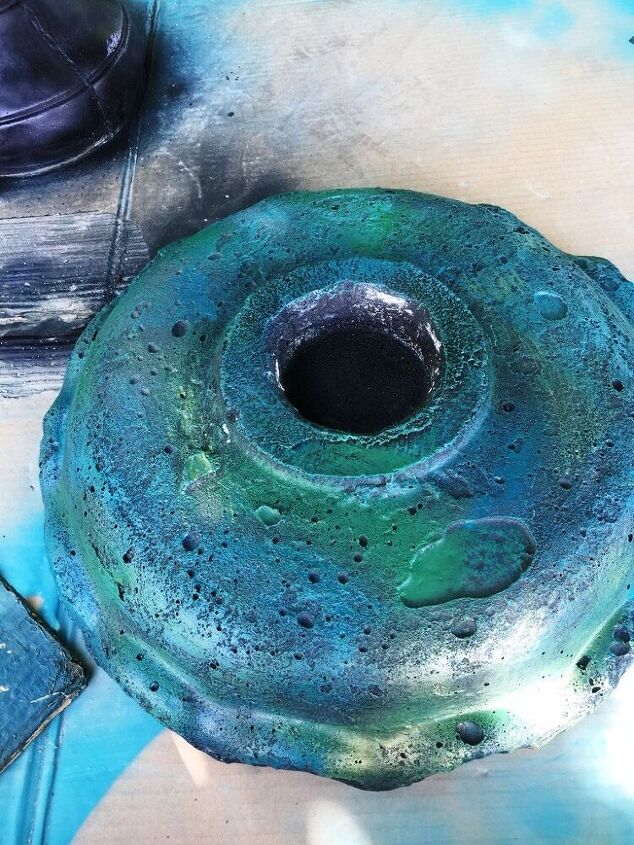
Using the same technique as above & starting with the underside of the basin, I added a bit of each metallic color until I felt I had enough shimmer!
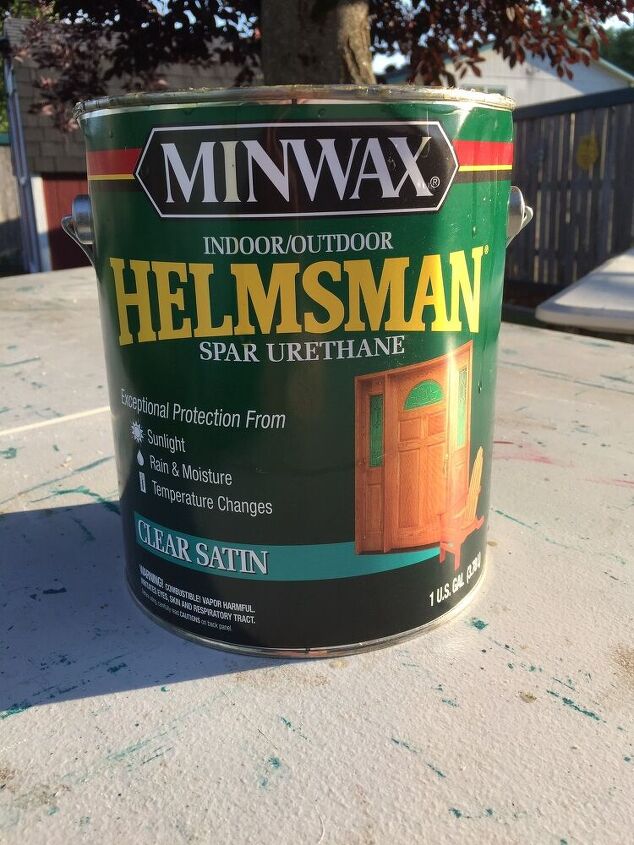
The last step was to seal the paint. On the base and underside of the basin, I used Minwax Helmsman oil-based topcoat. I had used it on another project and loved how it looked! I don't often use oil-based products because I'm not great at getting the brushes clean. For that reason, I used a disposable paintbrush.
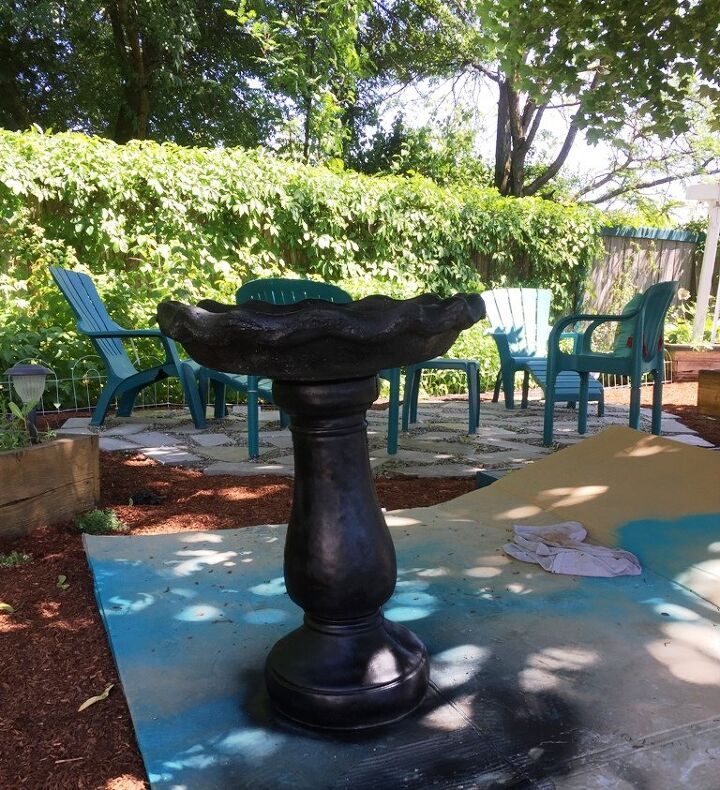
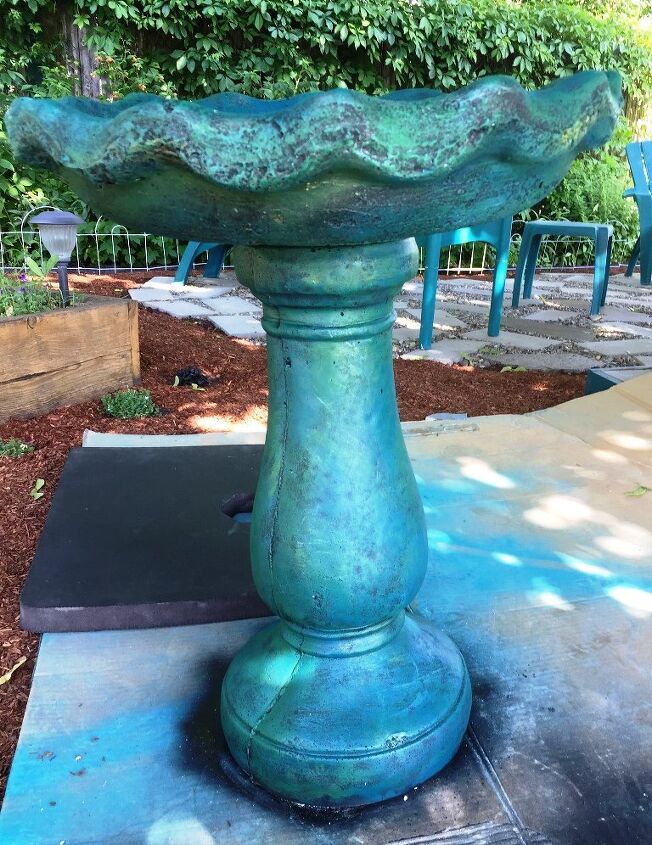
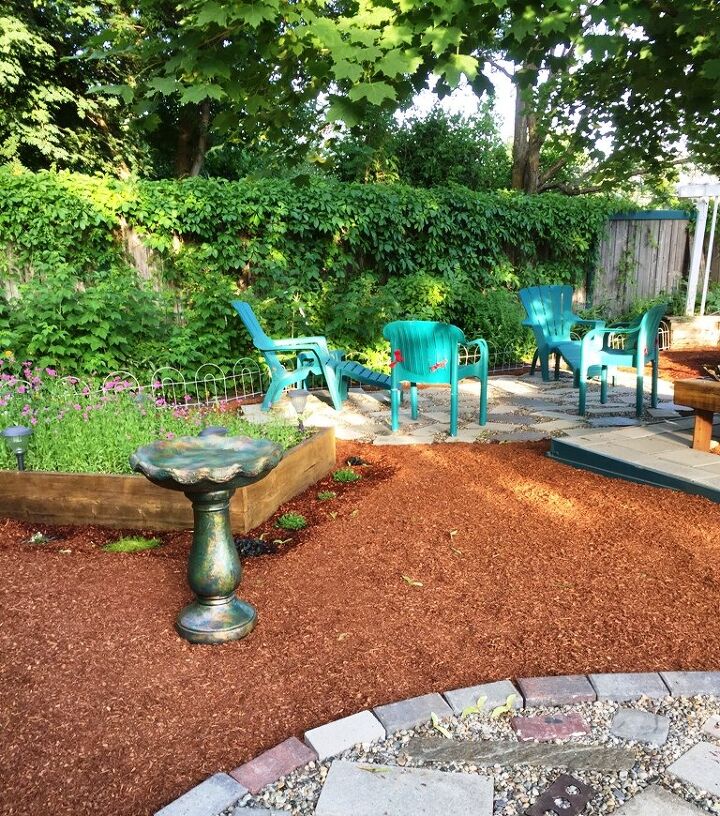
Once both pieces were dry, I rolled the base back to its spot in the yard and set the basin on top. I then used a water-based, acrylic spray in clear to seal the paint in the basin.
Since I had all the paint, paintbrushes & finish on hand, the cost to paint the birdbath was $0! I forget how much hubby spent on the grinding bits, but remember that they weren't expensive. So, my $24.99 birdbath probably ended up costing $30. Unless, of course, you count the cost of sweat-equity!
Supplies:
- Spray paint - Matte black
- Acrylic/Latex paints (just a few ounces of each)
- Metallics - Bronze, gold, copper, greenTurquoise or aqua, sage & dark green,
- Small paintbrushes
- Spray clear coat acrylic/varnish
- Oil-based varnish
Instructions: With spray paint, spray all surfaces
- Using a small paintbrush, add chosen colors in a random fashion to all surfaces
- Using a small paintbrush, add metallic colors in a random fashion to highlight the areas of your choice
- Seal birdbath with an acrylic/water based sealer
Resources for this project:
See all materials


Comments
Join the conversation
-
I have been a faux painter for years. You did a remarkable job 👍 It takes a special eye, & touch adding metallic highlights. I think I would add a small section of paving bricks, for the birdbath to stand on. And some potted flowers @ the base. Have you seen the solar powered bird fountain sprayer on qvc? Thinking out loud is all. You got me going 😉
-
I have been wanting to do this to my concrete BB and was looking for color inspiration and you nailed it!!! This is truly gorgeous!! When I first saw your work I thought it was just one fun paint color, though. Unfortunately for me, I'm not a visual artist type, I could do a performance of painting the bb and it would be hilarious, just as the bb would look when I'm done painting it... 😩 😆 Who knows, perhaps I'll be better at it than I think and the good news is that I live alone and am an introvert, so no one will see it if it looks bad. 🙌🏽


Frequently asked questions
Have a question about this project?
Why did you not seal the bowl with the spar urethane? Seems like the part that holds water would need the most waterproofing... loving that paint color combo
Beautiful!!
Do you think this would work for a plastic or resin bird bath?