


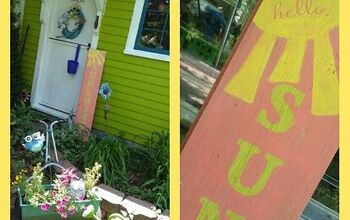
DIY Hello Sunshine Wood Sign For Spring & Summer
If you love this project, grab your quick start DIY guide & subscribe to our blog!
Did you know that a sunny day is proven to lead to more happiness? It’s a fact, the brain produces more of the mood-lifting chemical serotonin on sunny days than on darker days. As we sit right in the middle of Spring and stare down Summer as she fast approaches, hopefully you’re getting some beautiful rays of sunshine. Even if there is still snow where you are, this DIY hello sunshine wood sign will help you pretend of the warm weather up ahead.
Since I work from home, it’s really important that when the sun is out, I get out of the house even just for a few minutes a day. A breath of fresh air, a walk around the block, even a trip to the grocery store does wonder for my mind. I definitely have to get out and say “hello sunshine”.
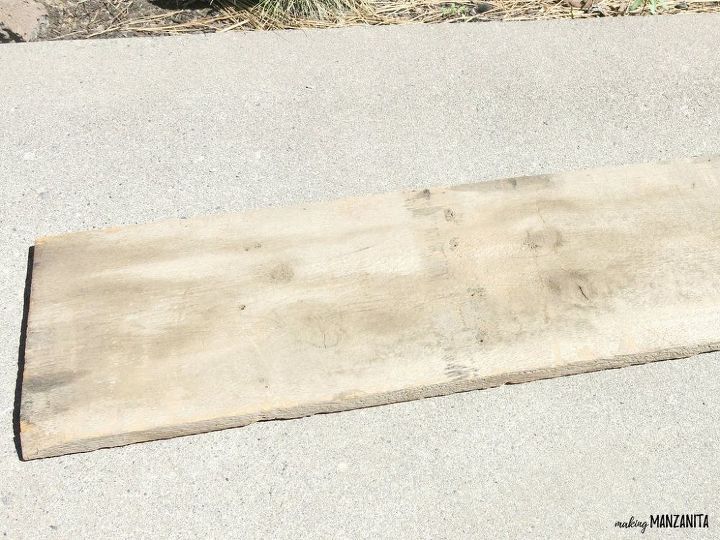
I’ve been sitting on this amazing reclaimed wood for a while now and to be honest, I don’t even know where my hubby picked it up. But I knew it would made a perfect large sign for the front of our house.
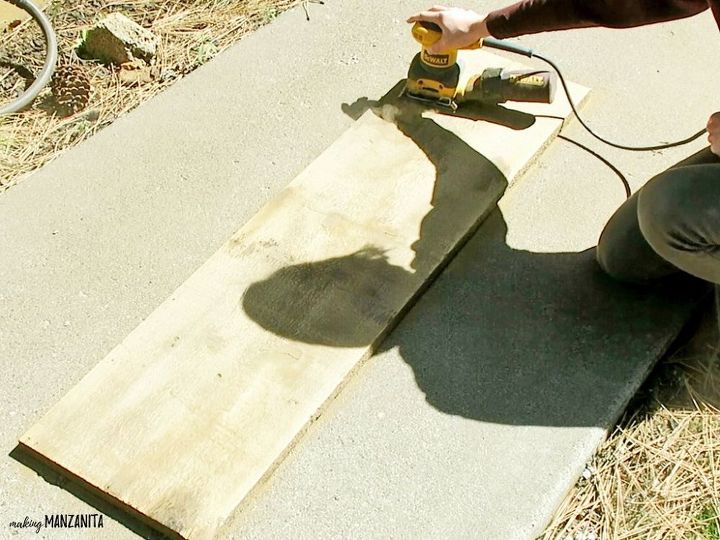
Step 1. Sand wood board.
If your wood board is as dingy as mine was you definitely want to give it a good sanding with a hand sander and a 100 grit sandpaper. I’m all for keeping wood rustic normally, but you’ll have a much easier time applying the stencil and painting on a sanded surface. Once sanded, wipe clean or blow off all of the sanding dust.
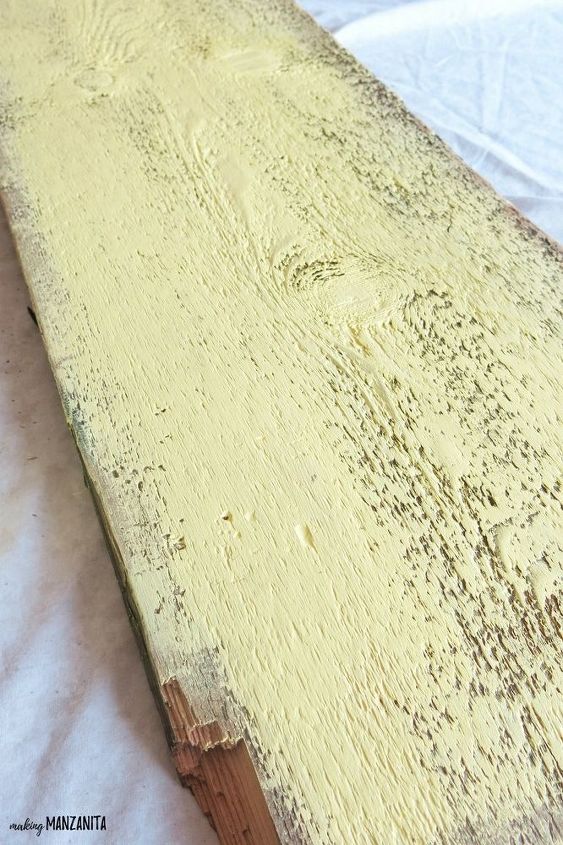
Step 2. Paint sign with 1st color.
This undercoat of paint will be the color of the letters. I chose to go with a fun shade of yellow.
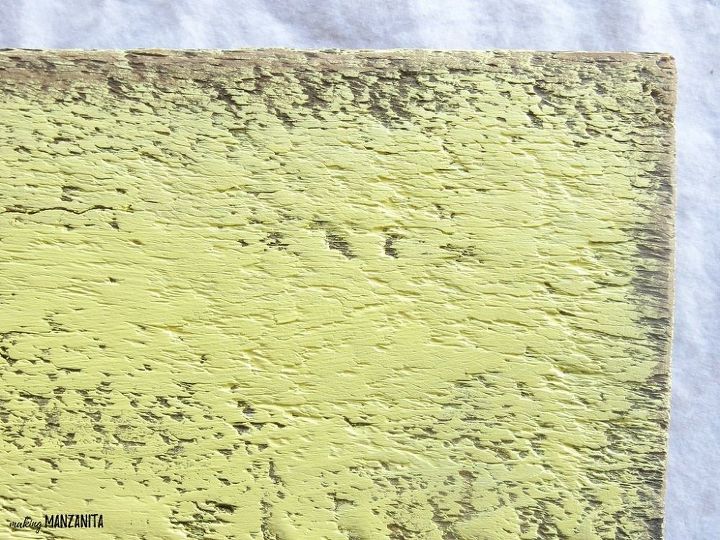
When I was painting the sign, I left a small border around the outside of the wood board. I think it makes it look a little more rustic. Once painted, let dry (approximately 1 hour).
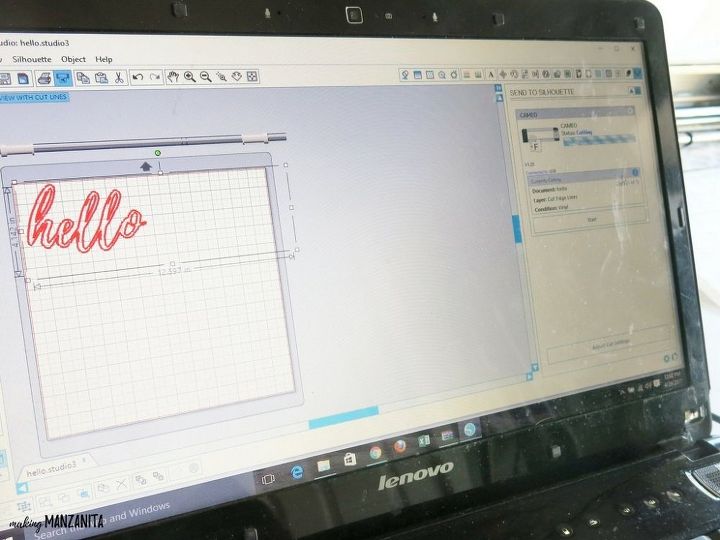
Step 3. Cut letters with Cameo
The design of the hello sunshine wood sign is to have a small sun in the top left corner of the sign with “hello” written in it and then have the letters “sunshine” coming down vertical in large block letters. I used shelf liner to make my stencil with my Silhouette Cameo.
Settings for “hello” letters
- Font: Playlist Script
- Font Size: 200
- Material Setting on Cameo: Vinyl
Settings for “sunshine” letters
- Font: Century Schoolbook
- Font Size: 350
- Material Setting on Cameo: Vinyl

You definitely want to adjust the size of the letters according to the size of the wood board you are using.
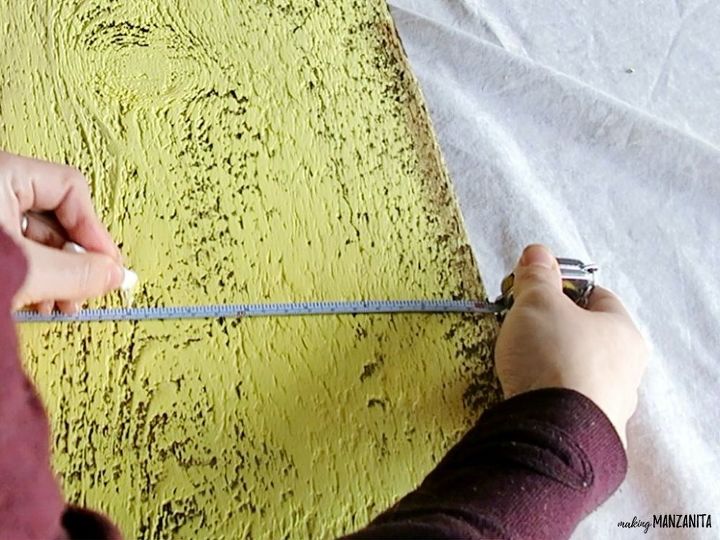
Step 4. Mark the middle of your sign.
I measured the width of the sign and made a few marks with chalk down the middle of the sign. This helped serve as my guide when I was applying the letters. Or you could just wing it, but winging in and paint never tends to work out for me. Hehe.
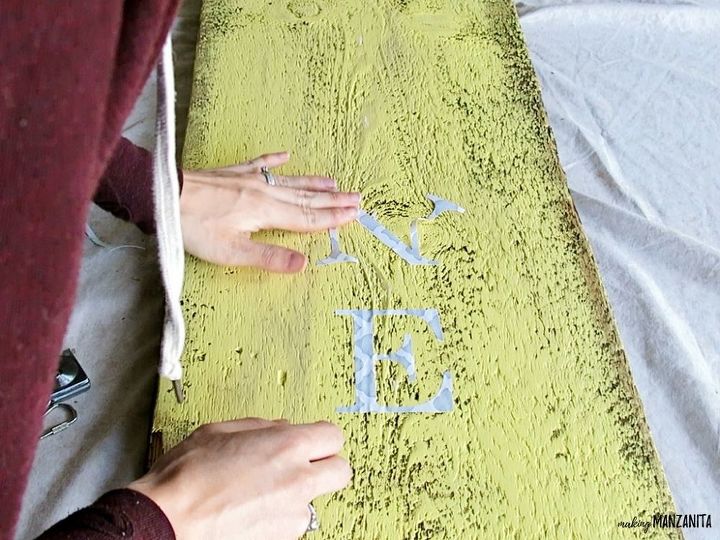
Step 5. Apply “sunshine” letters on wood sign.
Leaving about 7 inches at the top, you can apply your “sunshine” letters going vertically down the board spaced out evening. Yes, you may need to get the measuring tape out and do some math here. It won’t kill you, I promise.
Be sure to push the letters on to the sign hard. You’re going to be painting over them, so this helps prevent the paint from bleeding.
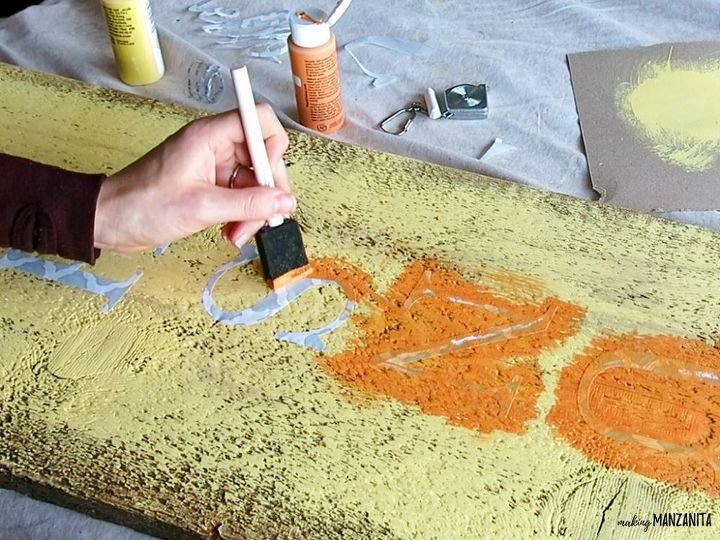
Step 6. Paint over letters with your 2nd shade.
You will paint the entire sign with the 2nd shade of acrylic craft paint. I used orange. When you’re painting over the stenciled letters, I try to paint away from the sticker using a foam brush and start with a light coat of paint. This (along with pushing the letters on hard when you apply) tends to help with the bleeding through the letter. But, it may bleed a little. Once painted, let dry.

Continue painting the rest of the wood sign with the 2nd paint shade. I left a small border around the outside so that you can see the lighter shade poking through. To paint the rest of the reclaimed wood sign, I used an old bristle paint brush rather than the foam brush.
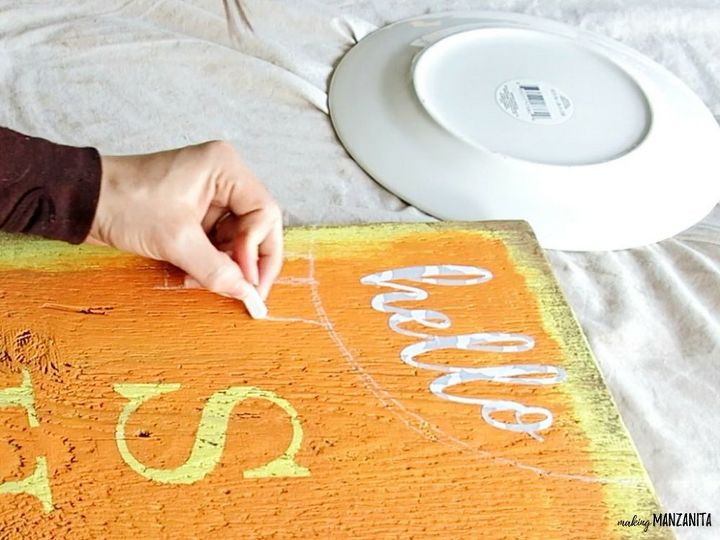
Step 7. Paint sun shape in top left corner.
I used chalk to make my guide lines for the sun in the top left corner of the sign. For the circle, I traced a dinner plate and then I drew the rays of the sun by hand.
Before you start painting the sun, be sure to put down your letters for “hello” in the middle of the sun. Again, press the letters down hard because you’re going to be painting over them.
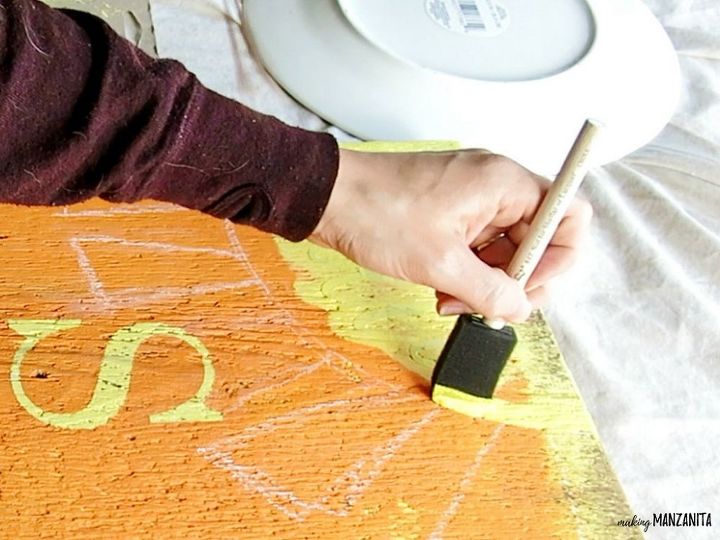
Use the 1st shade of paint (in my case, yellow) to paint the sun. You may need to do 2 coats. Once painted, let dry.
Curious how this turned out once the stickers are pulled away!? Hop on over to the blog post to see the final steps of this tutorial and the full reveal of this adorable outdoor sign.

Comments
Join the conversation
-
I made it!
-
YES you may! My IG @2shinyhappypeople (Tina Carter)
Thanks for the video/inspiration!


Frequently asked questions
Have a question about this project?