


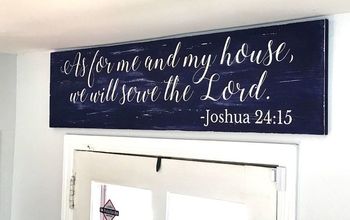
Easy Reverse Hand Painted Sign
Wish you had all those amazing hand painted signs you see in stores? Now you can...easily! Just a few common supplies and your good to go, no real painting skills required.
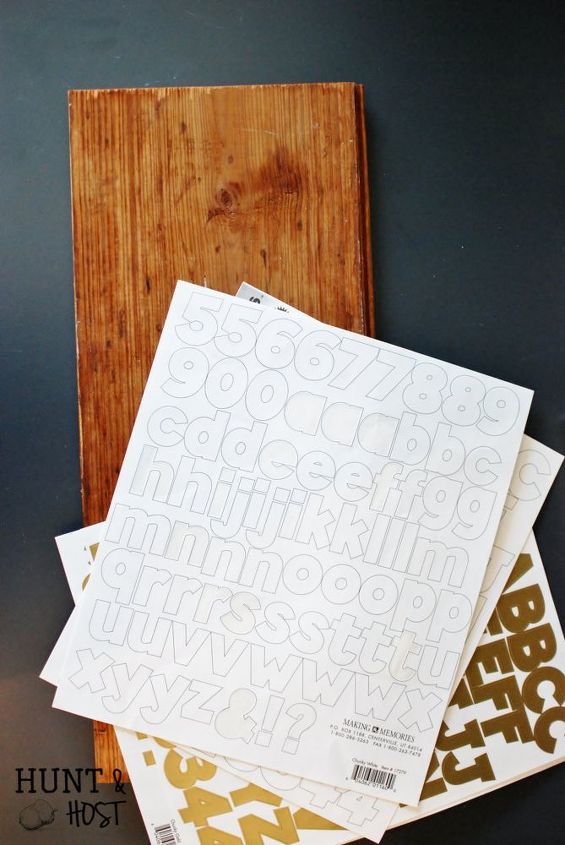
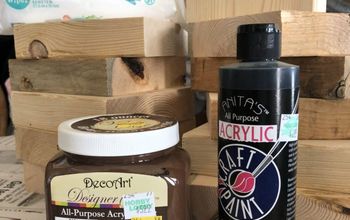
I used an old piece of wood that had a beautiful color. You could stain wood if you wanted a different shade of wood or do this on a canvas with a solid color background. Get some large scrapbook letters, a T square, chalk paint or regular acrylic paint and sandpaper.
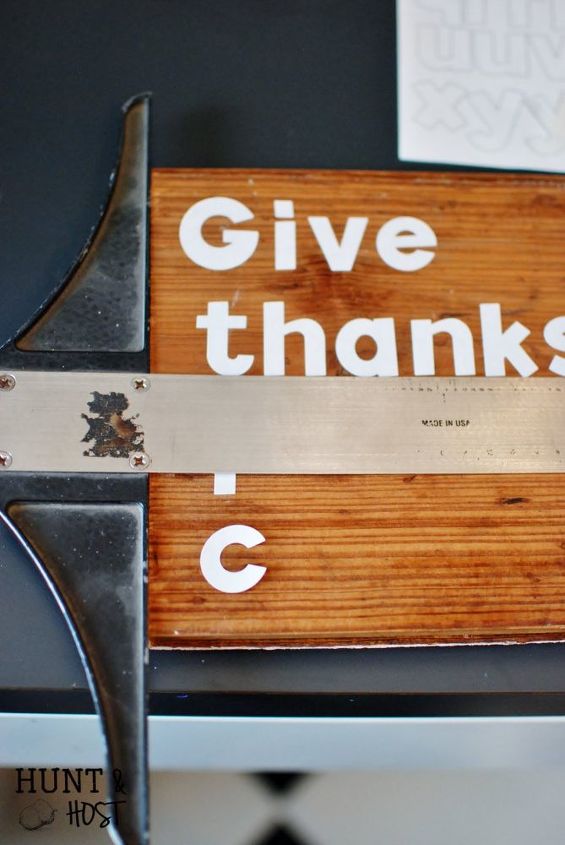
Use the T square to make sure your words are straight on your board or canvas. Spell out what ever you want to display. Make sure sticker letters are firmly pressed down.
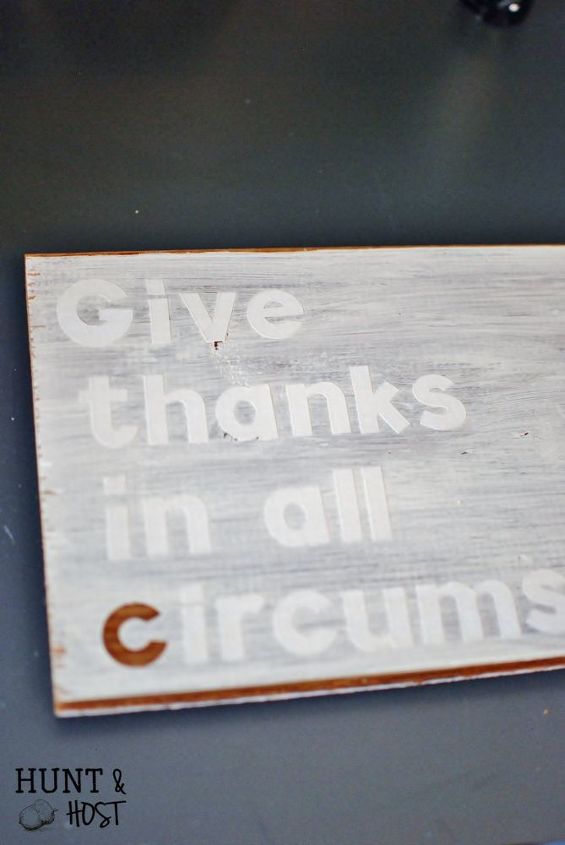
Paint over the entire board. Dab around letters, trying not to push the paint under the stickers. Once dry remove the stickers. I actually removed mine, very carefully, while the paint was slightly wet.
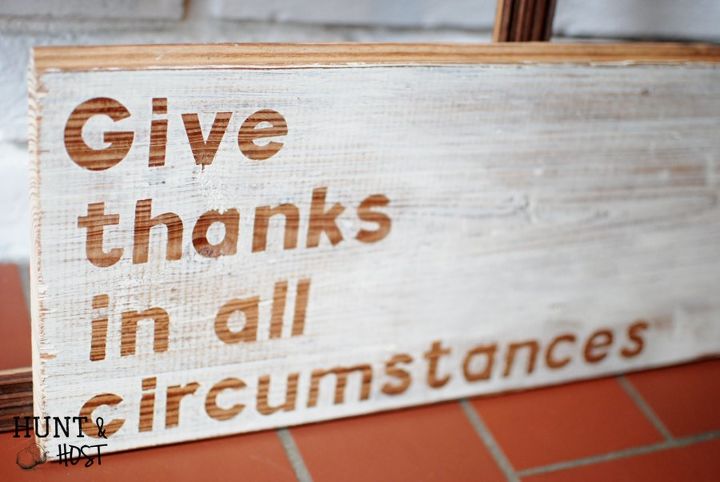
Sand and distress to your liking and there you go...reverse hand painted sign!
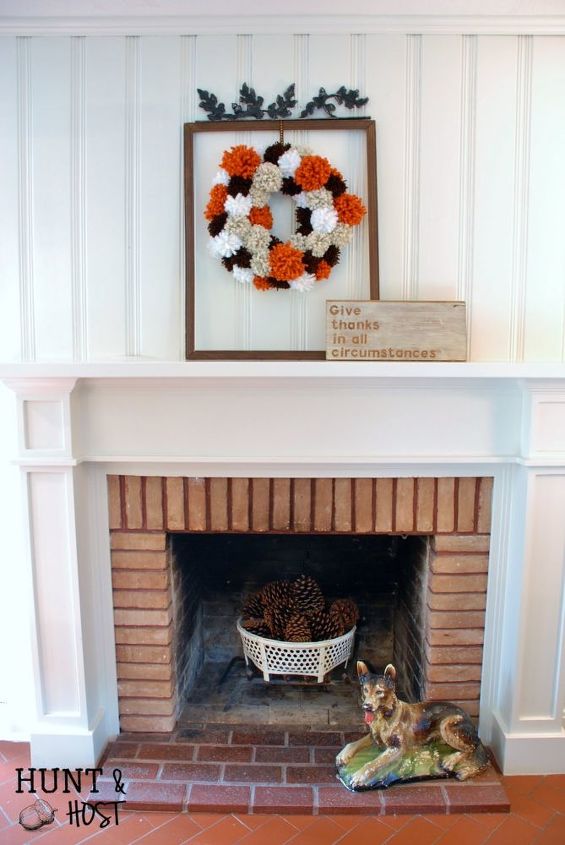
I hope you'll head over to my blog, Hunt & Host for some tips on giving thanks in the little things and some more pictures of my Thanksgiving mantel!

Want more details about this and other DIY projects? Check out my blog post!
Comments
Join the conversation
2 comments
-
This is so beautiful. I love it!
-
Looks great. I have found that when you use lettering like this, take a wallpaper seam roller and go over all the letters before painting. This ensures that all the letters are stuck securely and paint won't seep underneath. (I also enjoyed your blog post about all the things you are thankful for. We should thank God for all things and I don't do it enough!)


Frequently asked questions
Have a question about this project?