


Framed Seashell Burlap Wall Art

Summer time is a time for many to rest, recharge and relax while the weather is nicer and warmer. The heat gets to be too much for me so I have tried to find activities that don't include being under the hot, blazing sun. Sometimes those activities can be "craft" related projects that have a Summer spin on them. This is a craft I created for our Beach theme bathroom and I think it is something that anyone can easily make with a very limited amount of materials kicking around at home. If you have seashells laying around at home from a recent beach trip or maybe you found some at a local craft shop and haven't had a chance to use them, this will be a great project for you to partake in.
- First you will need to make sure you have all of the materials needed for this project. This will include the frame(s), you can of course opt in to creating one frame or multiple frames, burlap, seashells and a hot glue gun of course. The seashell I used in the project photos is actually an Easter egg shaped as a Seashell that was found at Dollar Tree. I knew I wanted to use the seashell shaped Easter egg in a future craft project and this was it.
- Next you will take the insert out of the picture frame and lay it down on top of the burlap to trace the size needed for the burlap. Or you can measure the piece of burlap based on the size of the frame. This frame is a 4"x6" frame so easy enough!
- After you have traced the burlap to the size needed, you will proceed with cutting the burlap. Carefully trim the burlap to the size needed. Burlap is a trickier material to work with and sheds a ton so just be prepared to clean up the mess from the burlap as you work
- Remove the glass or plastic from the picture frame. Insert the burlap into the picture frame and close of the back of the frame to secure it
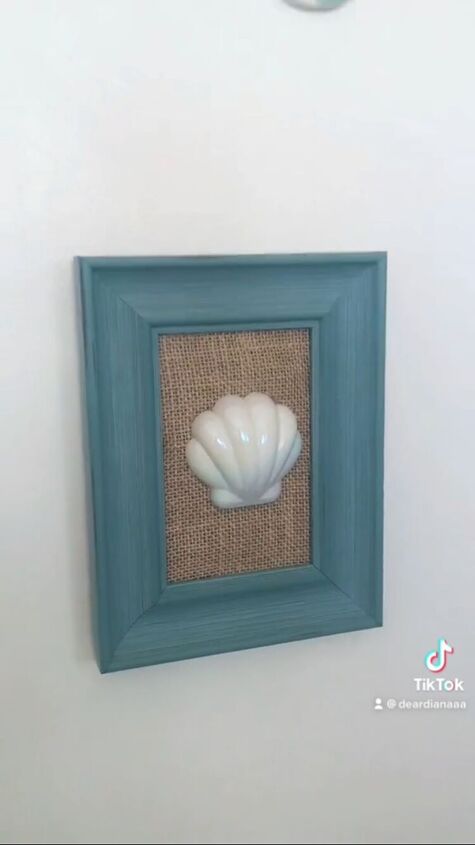
- The last step will be the most fun. (At least it is the most fun in my opinion hehehe) Hot gluing on the seashell onto the burlap, yay! You can do a lot here. if your shells are smaller you can hot glue gun several into one frame, it's really whatever look you want to achieve. I wanted the focus to be on one seashell, centered per frame so that is the route I followed.
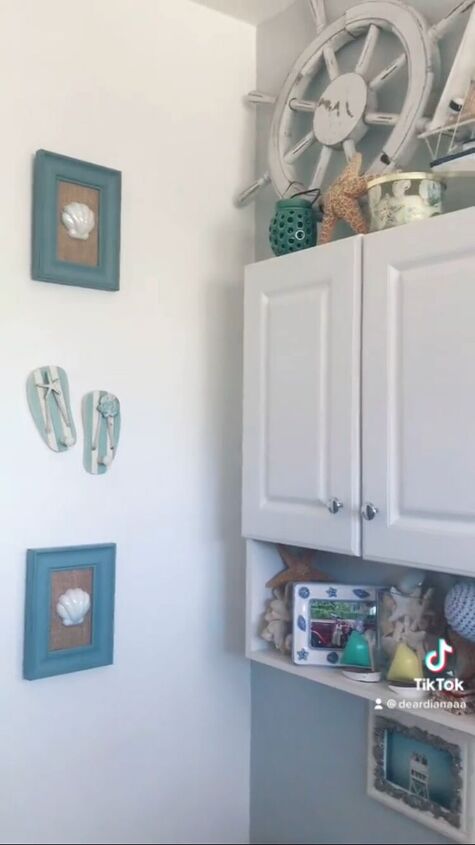
- Let the hot glue dry! Now you can pick a place to hang up your beautiful creations. These (2) pieces were meant for the Beach themed bathroom and I think they fit in just nicely.
What do you think? Will you give this one a shot? It's a fun little craft and rather inexpensive. Happy Crafting to you and your loved ones and I hope the rest of your Summer is enjoyable and relaxing.
What a great craft project to do solo, with a friend or family
member.
This looks so good! And what’s even better is ANYONE create this simple but effective nautical piece of decor.
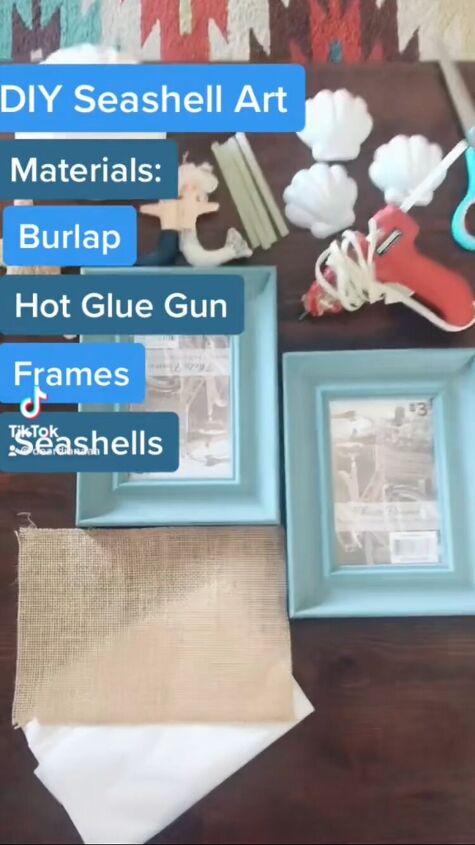
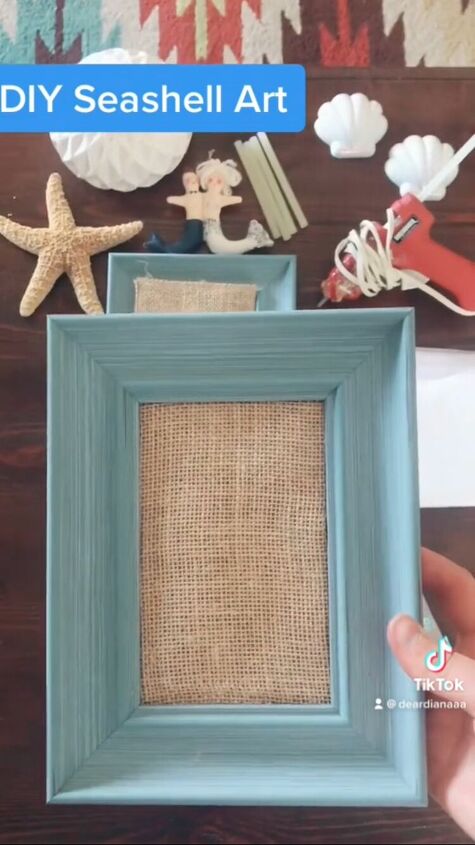
A shot of all the materials you will need for this project. This project certainly did not break the bank which made it nice. Picture frames, burlap, seashell, hot glue gun, scissors and as always, some patience.
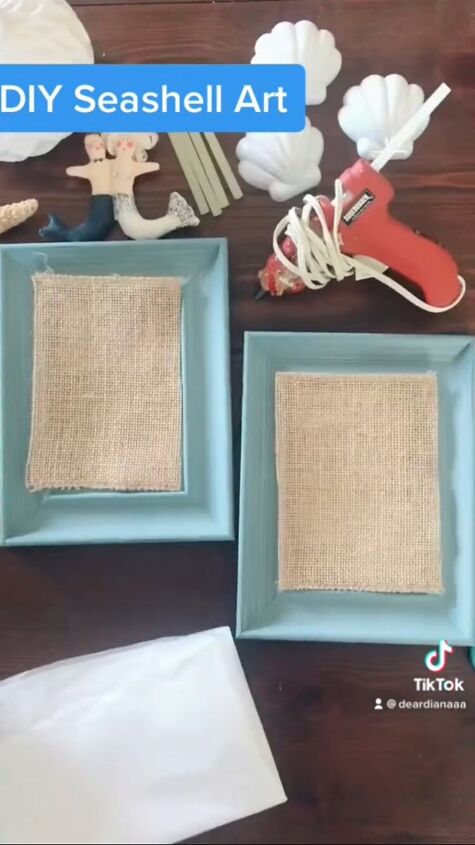
Make sure you are satisfied with the size of the burlap banner. It should fit nicely into the frame as If it were a regular picture. I would recommend taking the insert of the frame, laying it on top of the burlap and tracing it. Then it will be easier to cut out the exact size insert needed for the frame.
That burlap looks pretty nice and secure to me! You can find some burlap here for your project.

When you are ready, hot glue gun those shells and center them in the middle of the burlap. Remember no rules here, if you want to glue multiple shells you absolutely can. It's entirely up to you and how you want the final look to feel.

Looking good hanging on the wall. This is such a nice little nautical décor piece especially in a small space such as a bathroom.
A little process video for reference, sometimes a video is more helpful to watch!
Comments
Join the conversation
-
Great for a beach house. But I also like it for a bathroom theme. Great job.
-
These are so cute!


Frequently asked questions
Have a question about this project?