


How to Build a Wall Clock Using Only Recycled Materials

by
DIYfixman
2 Materials
$1
6 Hours
Medium
Anyone with a home workshop can probably relate to the constant feeling that it might be time to clear out a few things! It can be so hard to do that; both because I hate to see things end up in a dumpster, and because I know I can use all of the materials. I decided to use only items I had collected to create a clock and I am so proud of the result!
{
"id": "5846017",
"alt": "How to Build a Wall Clock Using Only Recycled Materials",
"title": "How to Build a Wall Clock Using Only Recycled Materials",
"video_link": "https://www.youtube.com/embed/jOOruMhK1Qo",
"youtube_video_id": "jOOruMhK1Qo"
}
{
"width": 634,
"height": 357,
"showRelated": true
}
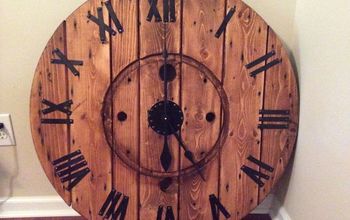
Using a wooden storage crate, plywood, the metal ring clamp from an old 55-gallon drum, the finials from a salvaged section of fence, and a clock motor I had on a shelf, I built a wood and metal industrial style wall clock. Why pay hundreds of dollars for a similar look when you can recycle materials you already have—or can save from the junkyard— to create your own for free?
You Will Need:
- Plywood for the clock back
- Scrap wood for the clock face
- 55-gallon drum locking-lever ring clamp
- Wrought iron fence finials
- Compound miter saw, jigsaw and grinder
- Clear spray sealant for wood
- Spray paint for clock motor and minute/hour markers
- Battery-operated clock motor movement mechanism
Step 1: Trace Clock Shape
I traced the outline of the ring clamp onto a sheet of plywood. The circle created by the ring was the size and shape of my clock and would serve as the frame for the wood plank design I wanted.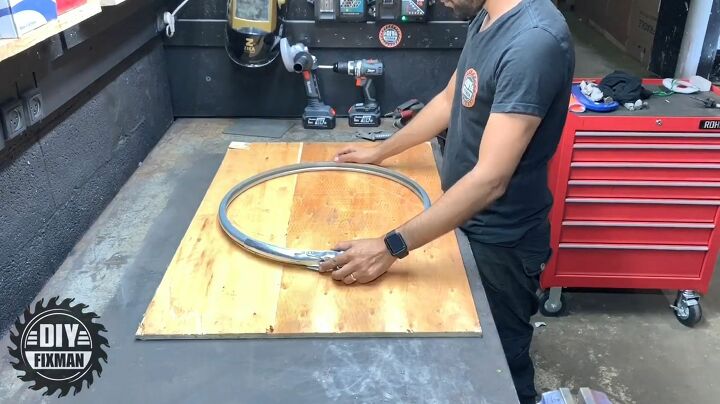
Step 2: Cut Wood Planks
I disassembled an old wooden storage crate and cut 12 planks from it into different lengths and widths and placed them over my circle in a design pattern I liked. They should overlap and completely cover the traced circle.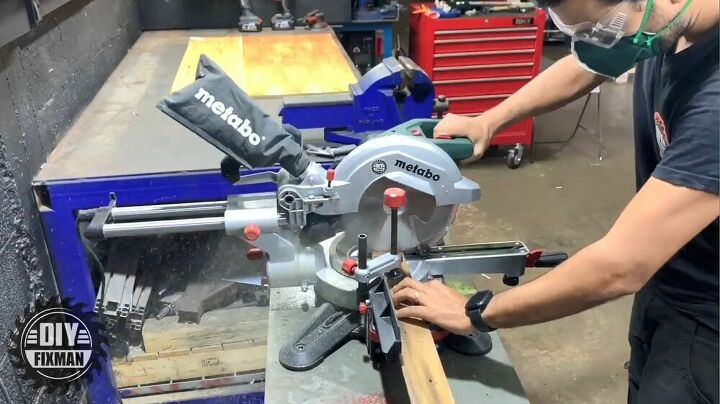
Cut Wood Planks
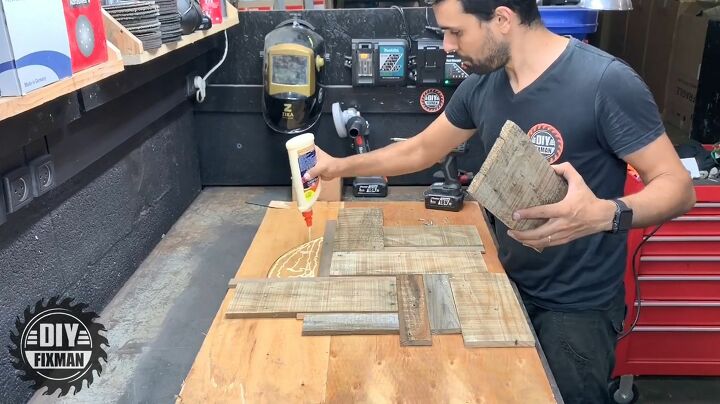
Step 3: Attach Planks to Plywood
Once I was happy with the look of the plank pattern for my clock face, I used wood glue to secure my planks to the plywood backer. I also secured some of the planks with screws but was cautious to mainly choose portions of the planks that would eventually be cut out and not end up prominently displayed inside the circle shape created next.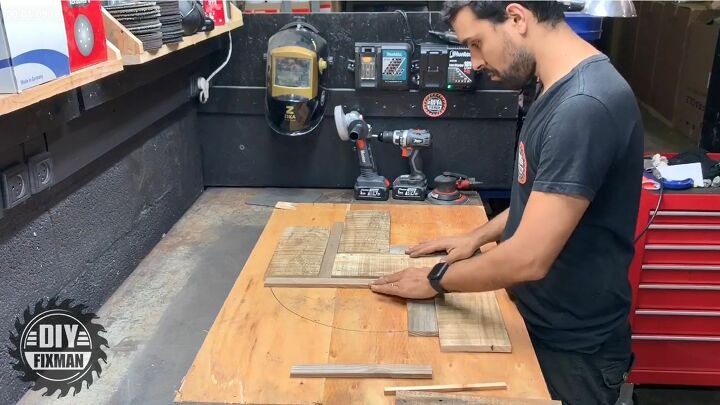
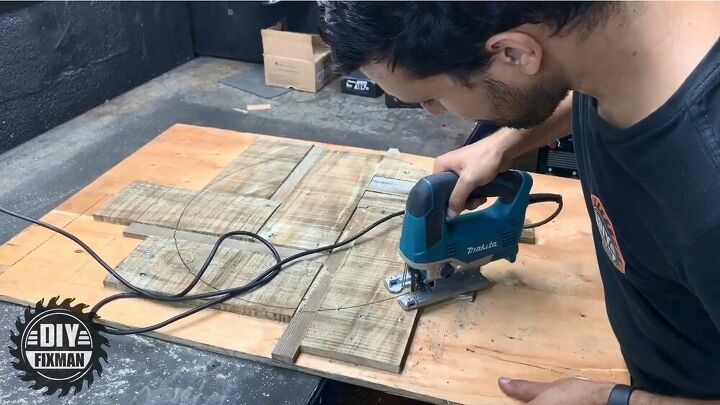
Step 4: Trace Clock Shape on Planks and Cut
Once my plank clock face was assembled, I traced the ring clamp once again to outline the shape to be cut. I used a jig saw to cut the planks and their plywood backing into the shape of my clock.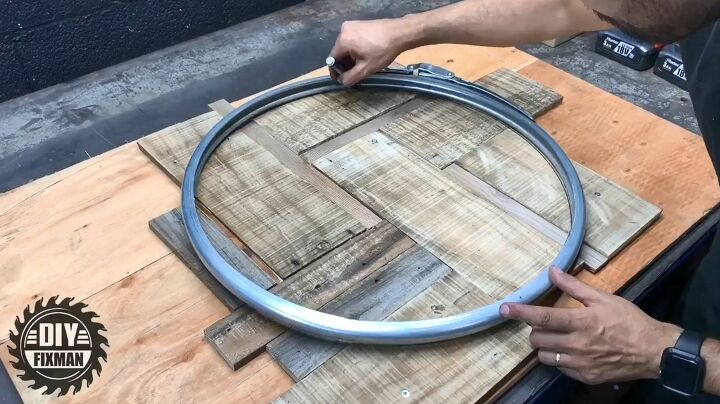
Trace Clock Shape on Planks
Step 5: Seal Wood Clock Face
Once my clock face shape was cut, I sprayed the wood with a clear coat spray sealant. I chose clear because I wanted a natural wood look but you could also use a shade of stain for a different finish.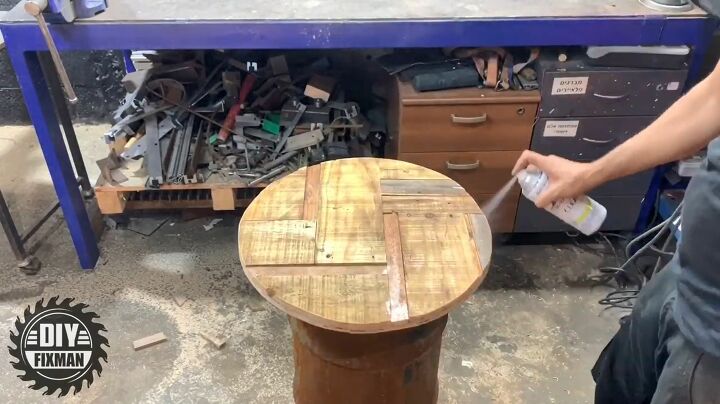
Step 6: Paint Ring Clamp
I propped and then spray painted the ring clamp with flat black spray paint designed for use on metals. I knew the other parts of my clock face were going to be black and wanted them to match the ring.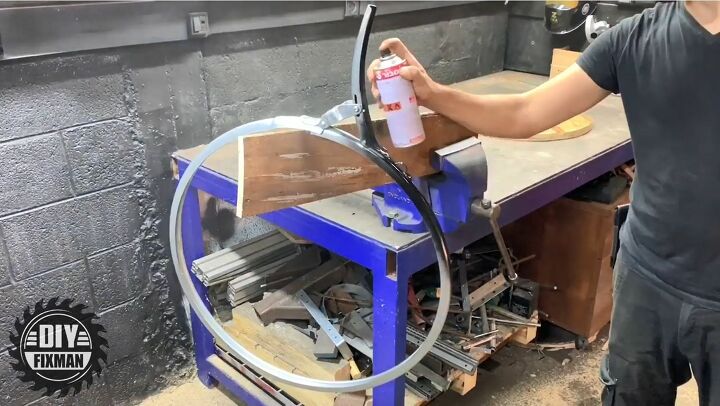
Paint Ring Clamp
Step 7: Fit Ring Over Wood Face
Once the paint was dry, I placed the ring clamp over the top of the wood circle face and then clamped it tightly in place around it.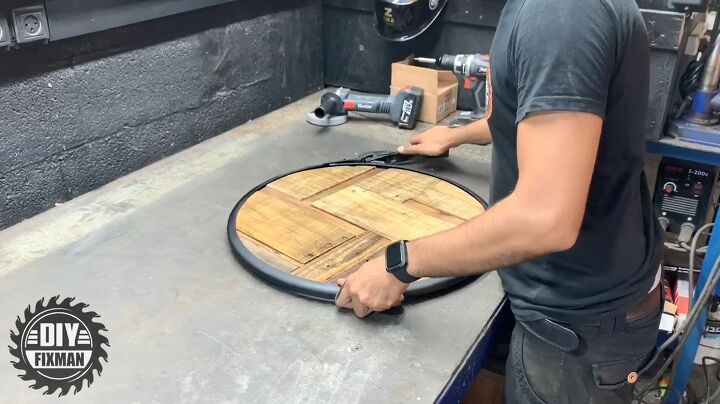
Fit Ring Over Wood Face
Step 8: Cut Finials and Wood Blocks
I happened to have a small section of a wrought iron fence and cut the finials off eight of its spikes to use for minute markers on my clock face. I also cut some more small planks to mark 12, 3, 6, and 9 o’clock. If you can’t find something similar to the finials, you can use small wood pieces and contrast them with larger pieces for the 15-minute marks.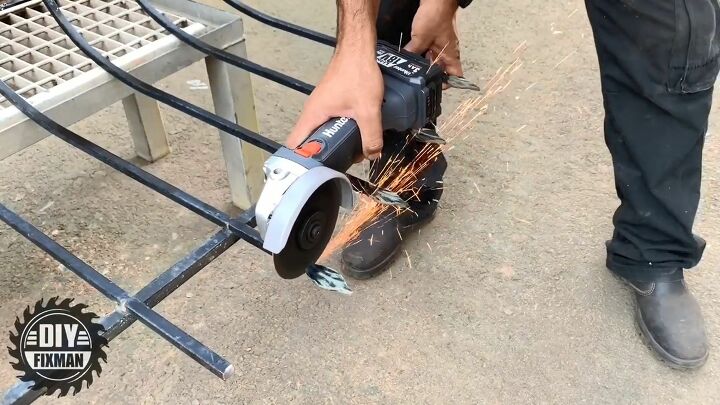
Cut Finials and Wood Blocks
Step 9: Spray Paint Wood and Metal Clock Face Pieces
I spray painted the wood blocks and metal finials the same matte black finish as my ring clamp and set them aside to let them dry completely.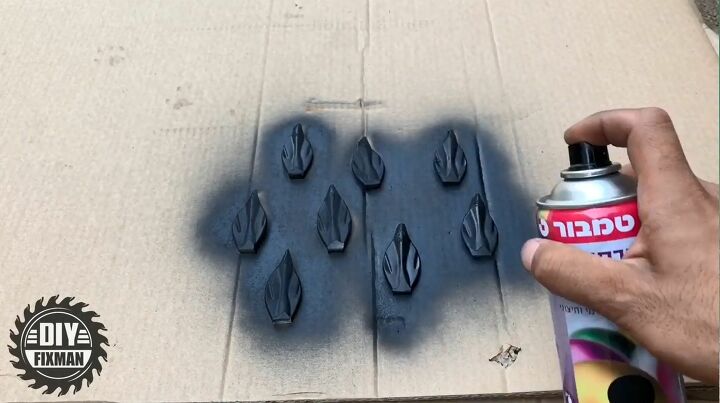
Spray Paint Wood and Metal Clock Face Pieces
Step 10: Arrange Hour and Minute Markers
I placed wood blocks at 12, 3, 6, and 9 o’clock and then placed two metal finials in between each of them. I mixed a fast-drying epoxy and applied to the back of the markers and let them dry.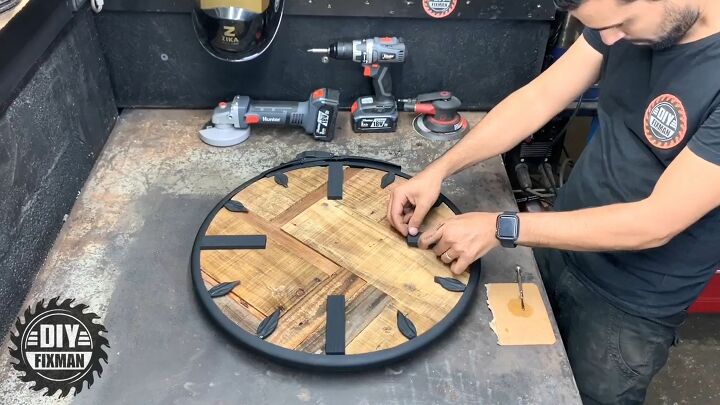
Arrange Hour and Minute Markers
Step 11: Spray and Seal Clock Face
I sprayed another coat of clear spray sealant over the entire surface of my clock and let it dry before installing the rest of the clock mechanism.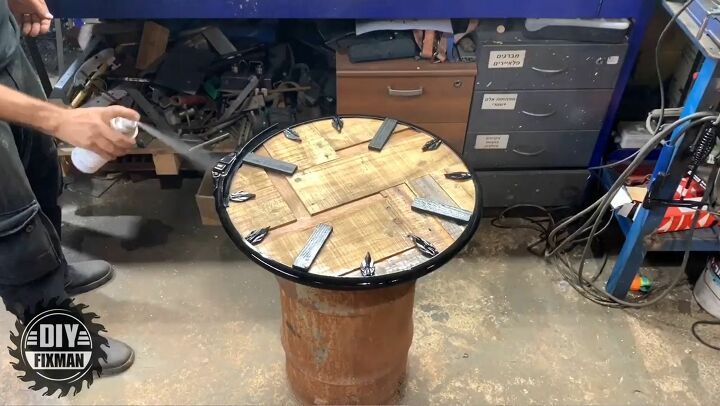
Step 12: Install Clock Mechanism
I had a battery-operated clock motor movement mechanism in my shop and I added new batteries and installed it on my clock face. I used self-tapping screws to attach the motor to the center of my clock, trimmed very thin sheet metal for the hands, and spray painted them the same black as the other metal pieces. If you make you own metal clock hands they must be extremely light; about the thickness of a soda can. Most clock mechanism kits will come with hands but I wanted to create large metal hands that would match my paint and style of the rest of the clock.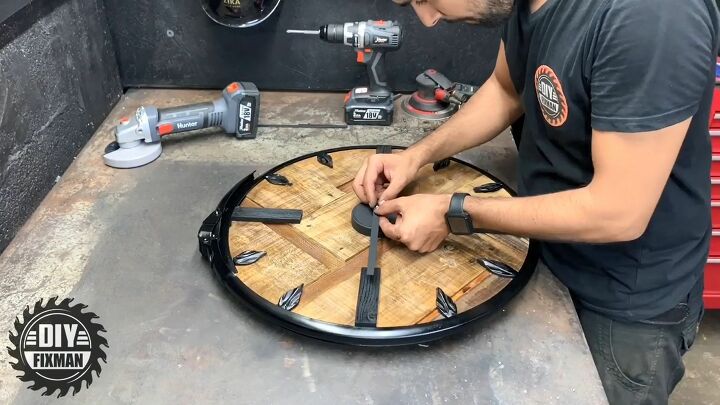
Install Clock Mechanism
Step 13: Attach Hanging Hardware
I added some picture hanging hardware to the back of my clock and hung it on the center of a large wall in my home.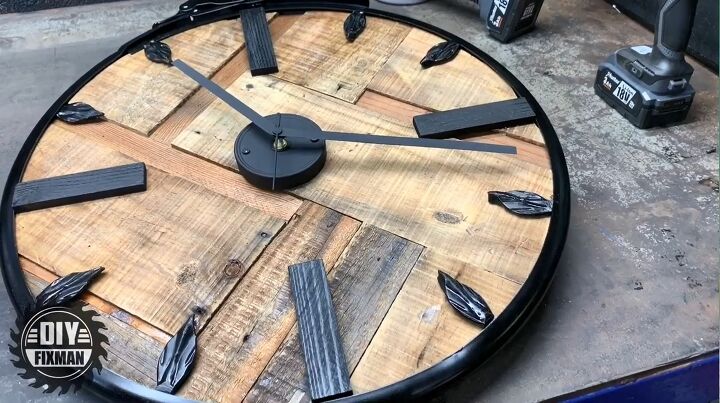


Frequently asked questions
Have a question about this project?
How do you change the battery . Have to unscrew all the time ??? Otherwise l love it .