


How To Display a Vintage Child’s Garment
Have you ever wanted to display a special garment from a loved one’s childhood? I found a simple way to display a child’s shirt. My mother was very sentimental and saved practically everything! When I was going through the family pictures, I found this picture of her as a child. I think she must be about 3 years old.
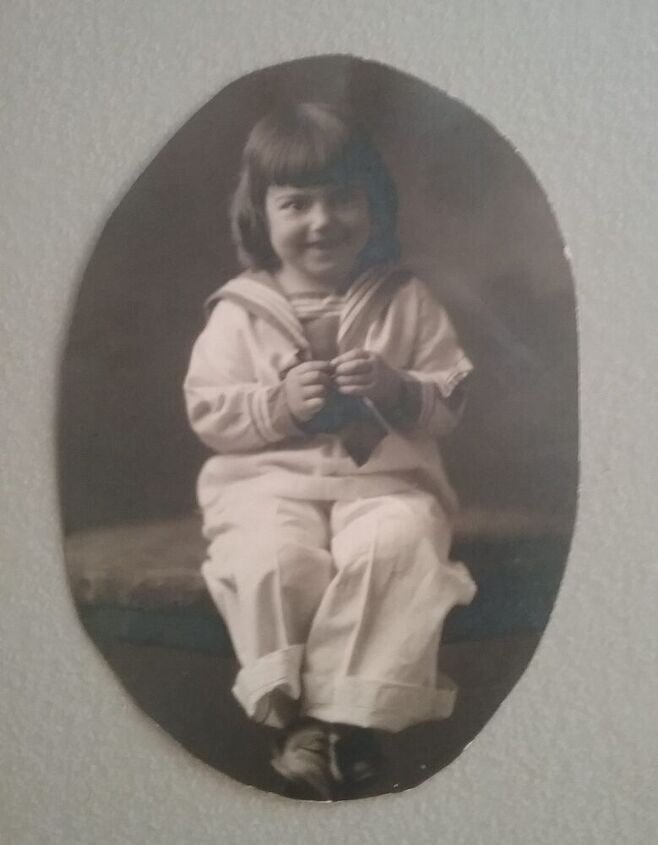
Doesn’t she look sweet in her sailor suit? The picture was probably taken in the early 1930s. A few days after I found the picture, I was going through a box of vintage baby clothes and I found the top to the sailor suit! I don’t think the pants survived as they weren’t with the rest of the vintage items.
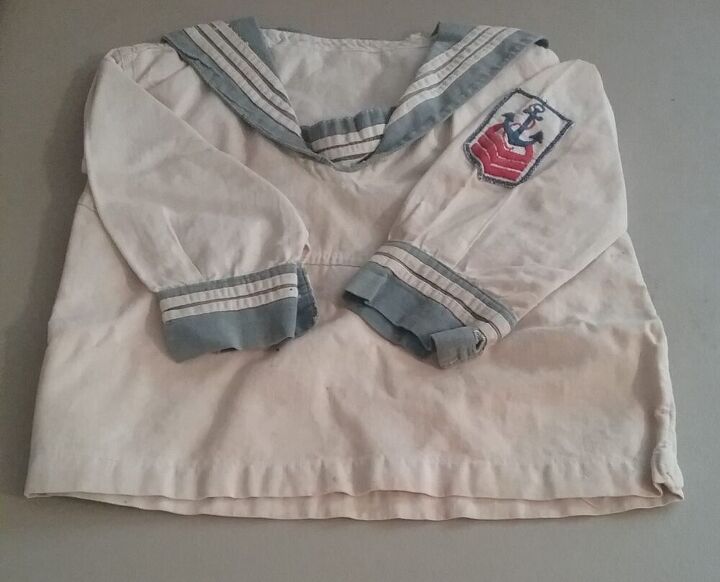
The shirt is made out of heavy cotton. I washed it on the gentle cycle and used non-chlorine bleach. I did dry it in the dryer on low. I am amazed how vibrant the Anchor insignia still is. The shirt had a few tears along the seams so I repaired them before continuing on .
Using a warm iron, I pressed the garment to remove most of the wrinkles before continuing on with my project.
The Supplies
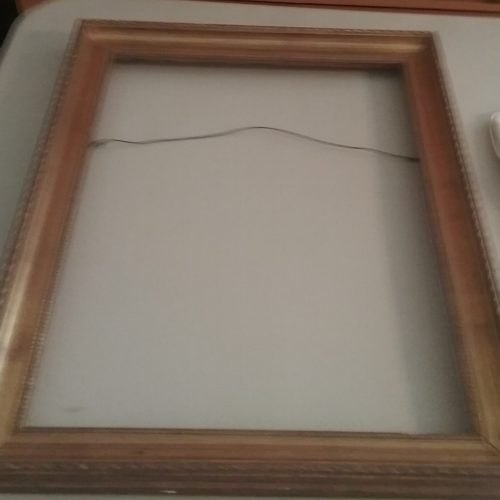
A wooden frame
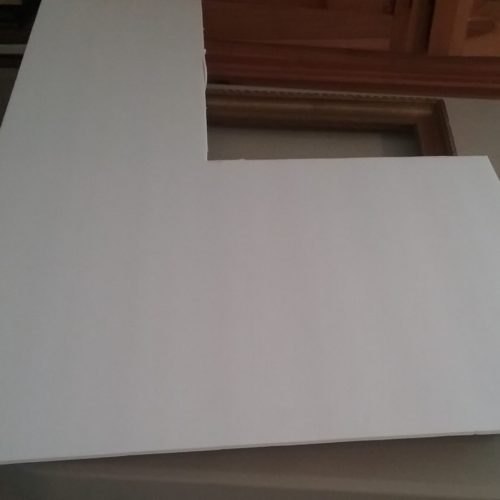
foam board
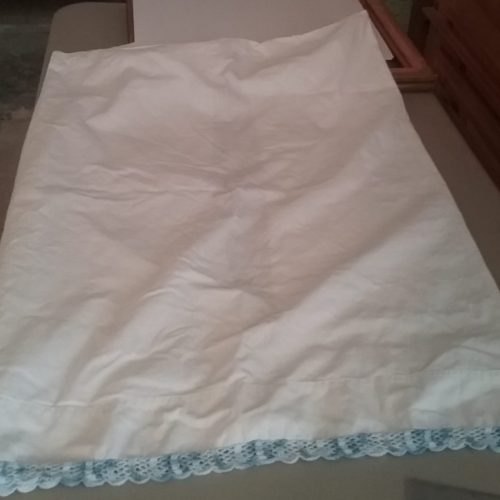
a vintage pillow case that had become too tattered to use on a pillow. Any type of fabric will do, I just happened to have this. I did cut off the crocheted part on the bottom and saved that for another project.
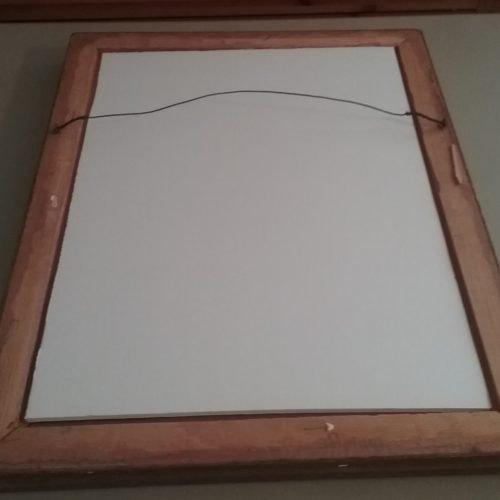
Foam board placed inside the frame.
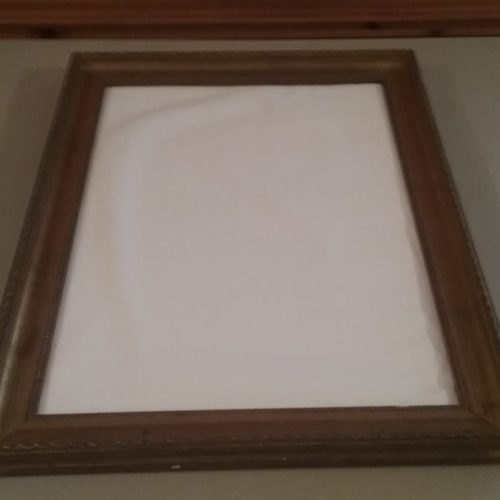
This is how the frame will look after the fabric wrapped foam board is in place.
The Process
After gathering a frame, a piece of foam board, an old pillow case, my trusty Velcro strips, scissors, a box cutter and some tape, I was ready to go to work. Using a ruler, I measured the inside of the frame and cut a piece of foam board to fit the area. After placing the foam board inside the frame, I removed it and wrapped the pillow case tightly around the foam board. I taped the foam board in place and then finished the back with a piece of brown paper.
Placing the shirt on the frame, I used strips of Velcro to attach the shirt to the frame. I used the round Velcro dots that were specifically designed for use with fabric. A word of advice: make sure that you have the right pieces of Velcro. One is ribbed and the other is more like cotton or smooth fabric. I found myself trying to get to pieces of ribbed or two pieces of smooth to affix to each other! Silly me! To help hold the sleeves in place, I did use straight pins.
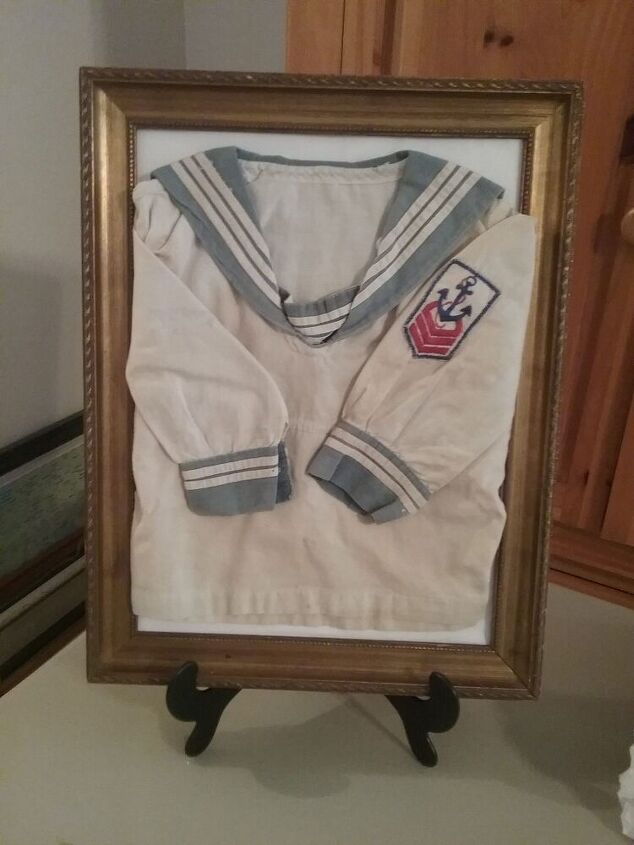
The Framed Sailor Shirt
To further protect the sailor shirt, I should have a piece of glass to cover it. This will work for a temporary display and I will get an actual frame with a piece of glass and re mount the shirt.
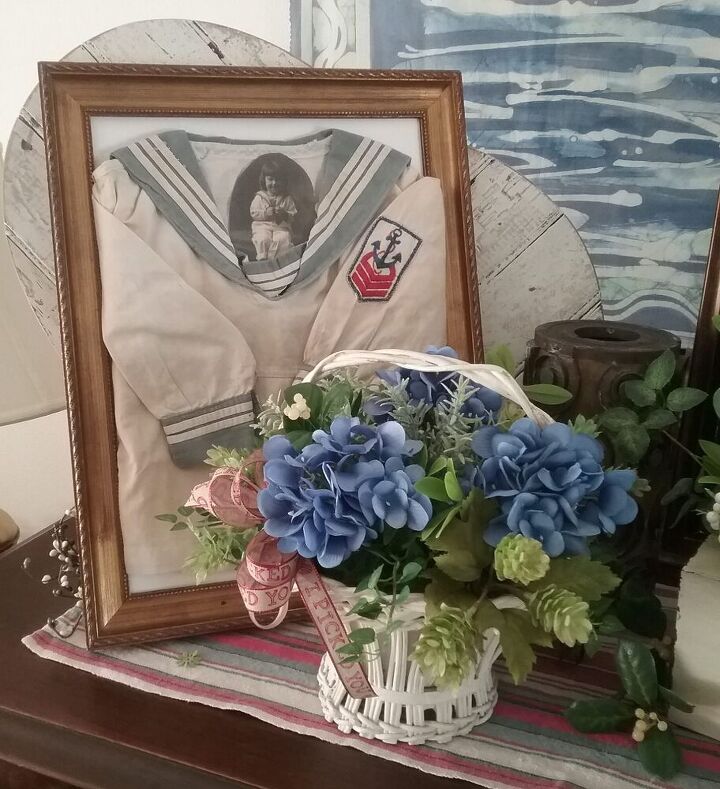
Vintage Child’s Sailor Shirt
I am pleased with how my project turned out. I have a piece of my Mom’s childhood with me. It even has a nautical motif to go with my Florida home!

Comments
Join the conversation
-
Thanks for sharing!
-
How sweet. You are lucky to have such a wonderful tangible memory. I love things like that. It looks so sweet in the frame. Something you’ll cherish and show your children, grandchildren and so on. That’s just wonderful. Thank you for sharing.
❤️💜💚


Frequently asked questions
Have a question about this project?