


How to Hang a Gallery Wall
6 Materials
$10
2 Hours
Easy
Create an artful statement with an eclectic gallery wall. It's an inexpensive, fun way to display a collection of things you love to your home!
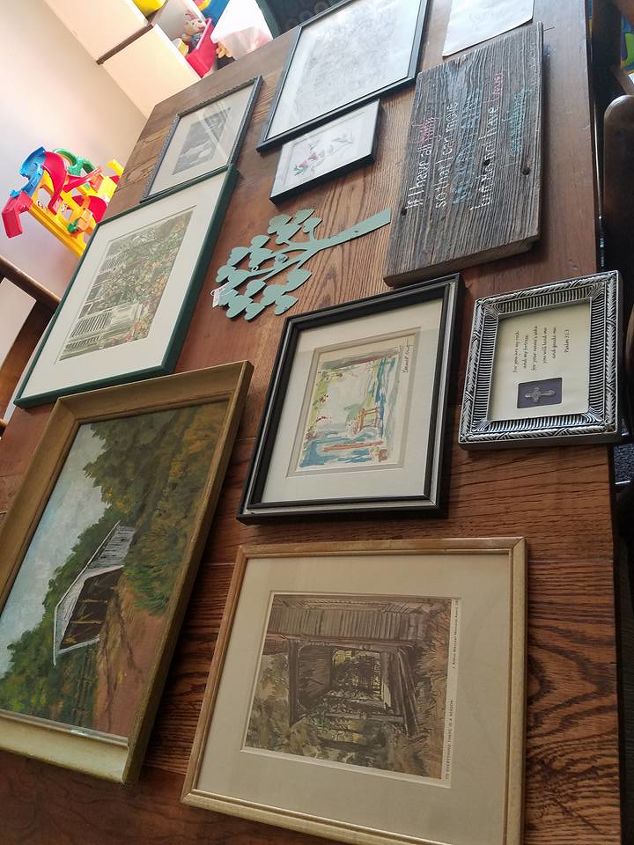
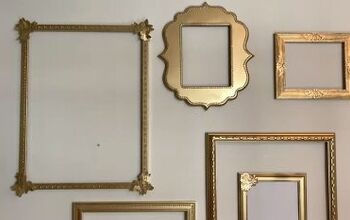
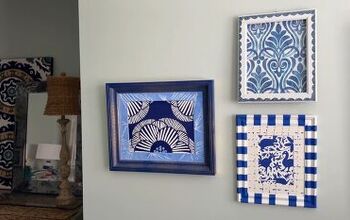
The first step of putting together a gallery wall is collecting things you love: metal art, photographs, vintage pieces, prints. If you need ideas, check out the prints available on my website! The best part of a gallery wall is that nothing has to match. The styles of art, the medium used, the frames, and the sizes can all be different as long as you enjoy an eclectic style.
Spread your ideas out on a surface that is larger than your gallery wall space. Begin arranging your pieces in an upside down e. Since this gallery wall is so large, there are 3 upside down e's.
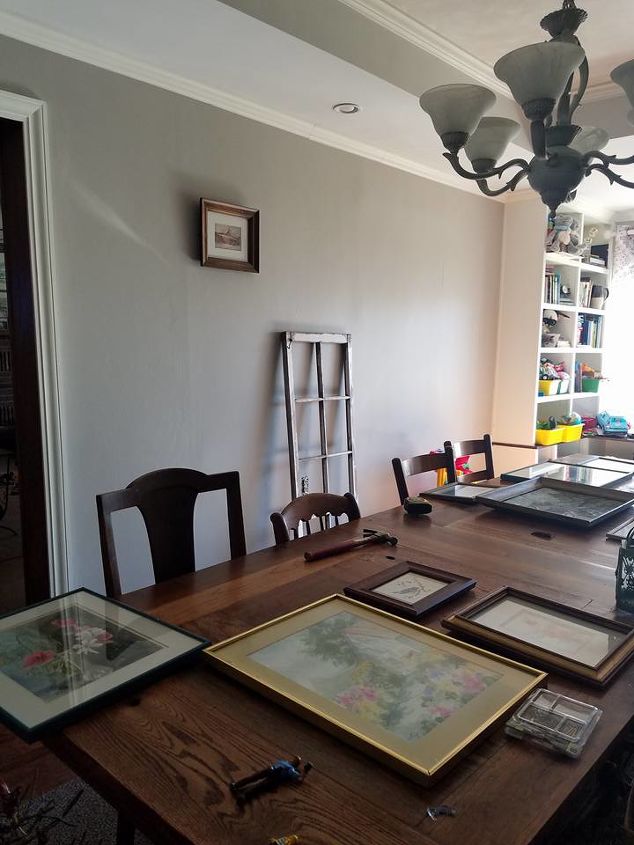
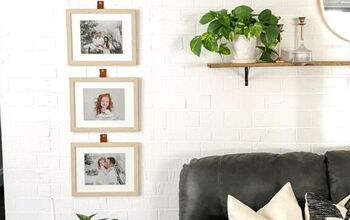
Once you are happy with your layout, measure your gallery grouping height and width and transfer those measurements to your wall. Starting with the highest piece, measure the distance it is hung from the left or right of your grouping. Hold the piece in place and put your finger behind it where the hanger is. Pull the piece away and place a nail in the wall. Hang your first piece. If you are nervous and unsure, you can use painter's tape to transfer your layout to the wall.
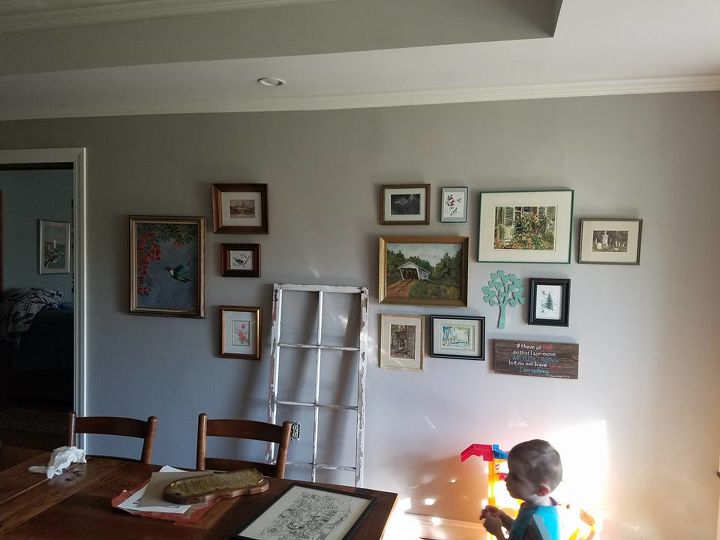
Begin hanging the rest of your pieces the same way in relation to the position of your first. Don't fret if you have to move anything. Chances are, your nail hole will be covered anyway.
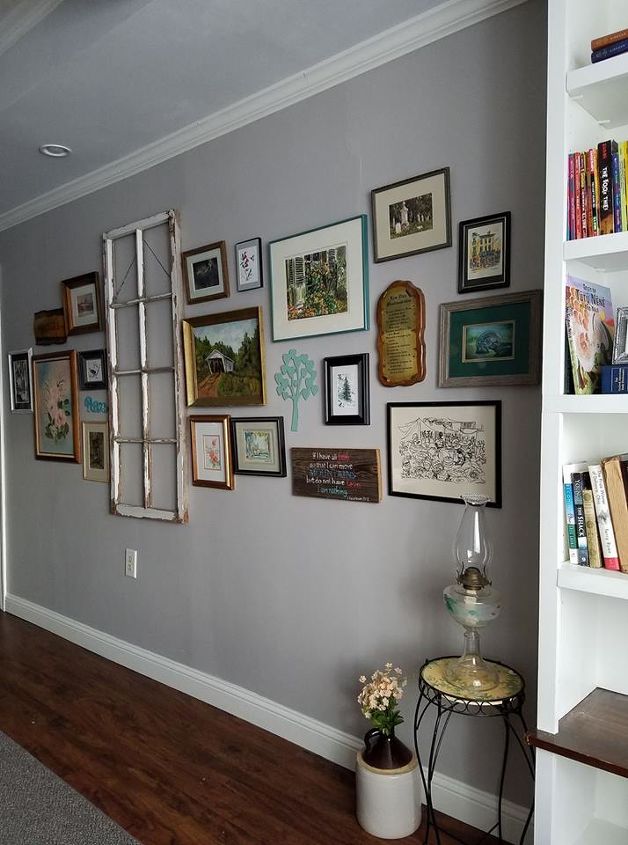
After you are finished, straighten all the photos, kick back, relax, and enjoy!
Resources for this project:
See all materials


Any price and availability information displayed on [relevant Amazon Site(s), as applicable] at the time of purchase will apply to the purchase of this product.
Hometalk may collect a small share of sales from the links on this page.More info

Want more details about this and other DIY projects? Check out my blog post!


Frequently asked questions
Have a question about this project?