


How to Hang an Eclectic Gallery Wall
Sharing an easy way how to hang an eclectic gallery wall.
What is the difference between an eclectic gallery wall and a symmetric gallery wall, you ask?
The symmetric gallery wall is even on all sides.
An eclectic gallery wall has various slants and angles. Not all sides are even.
In this post I will go through the different things you will need to know to create an eclectic gallery wall.
And then I will take you through the steps on how to hang an eclectic gallery wall.
The first step is to find some frames.
Not only are the ones I'm sharing below cheap.
But the layout is done for you.
That's a win.
Amazon has some gallery wall frame sets that can take the guesswork out of finding the right frames.
Here are links to some framesets, here and here.
Second idea for finding frames.
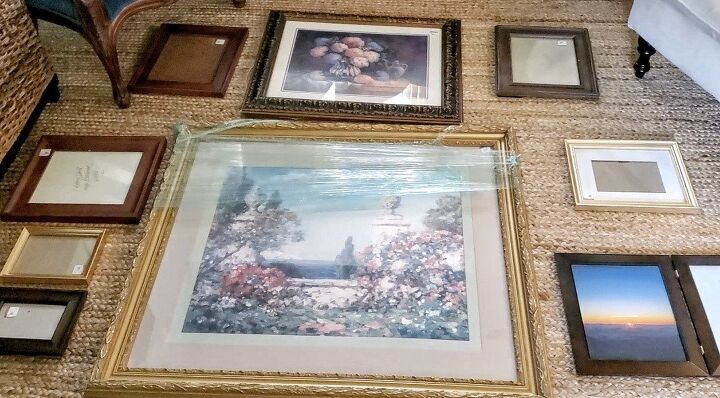
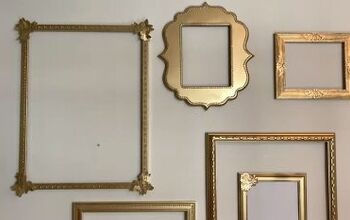
Another way to find frames is from Goodwill or a thrift store.
The above frames from Amazon are great.
But it is possible to walk away from Goodwill with a cart full of frames for under $50.
And we're not talking cheap-looking frames.
I mean some real wood, ornate kind of frames that are beautiful just on their own.
Like the ones in the photo above.
The most I've paid for an astounding vintage frame was $29.99.
For me, that was expensive when I'm used to paying $1.99 to $5.99 per frame at Goodwill.
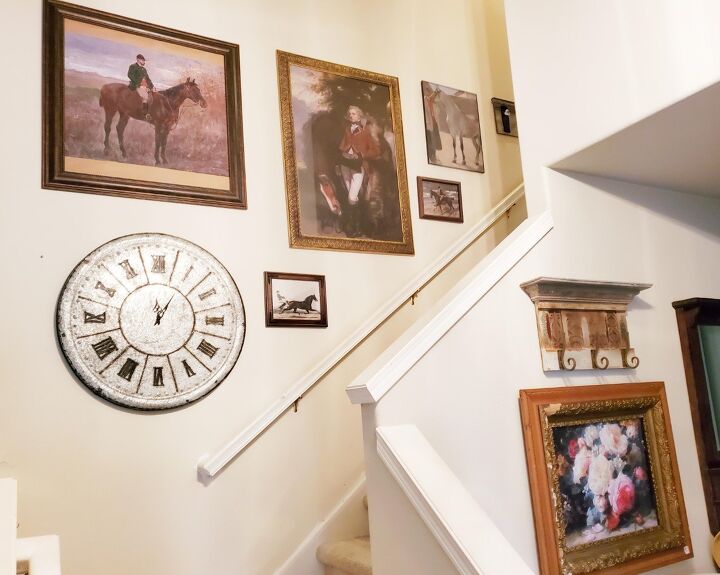
Here are some huge frames I found at Goodwill in the photo below. Aren't they amazing?
Eclectic prints and photos
This is where you can get creative and put up a one of a kind gallery wall.
For an eclectic gallery wall, the prints or photos do not have to be the same.
What makes them go together is by using similar colors.
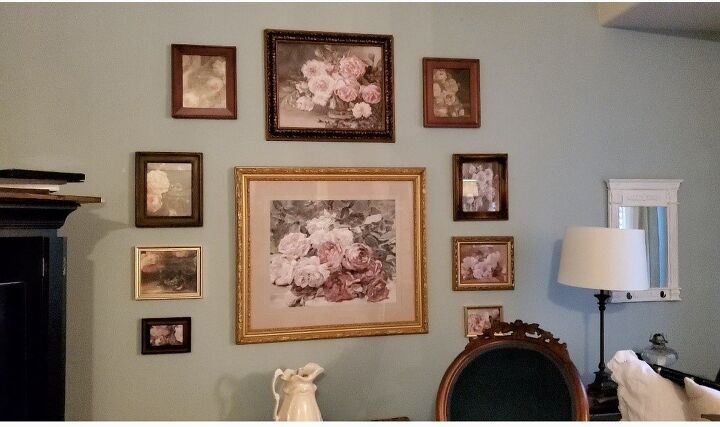
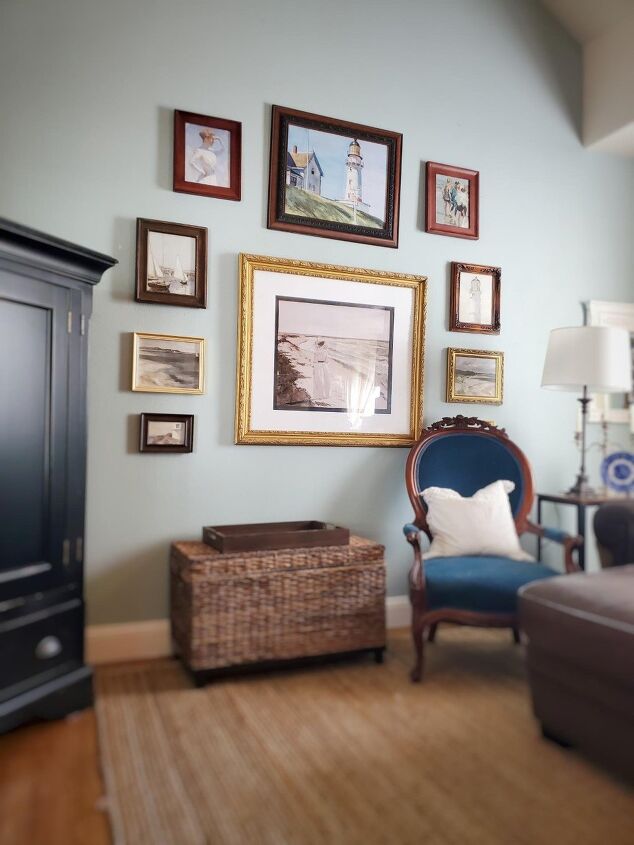
Here is an example of an eclectic gallery wall below.
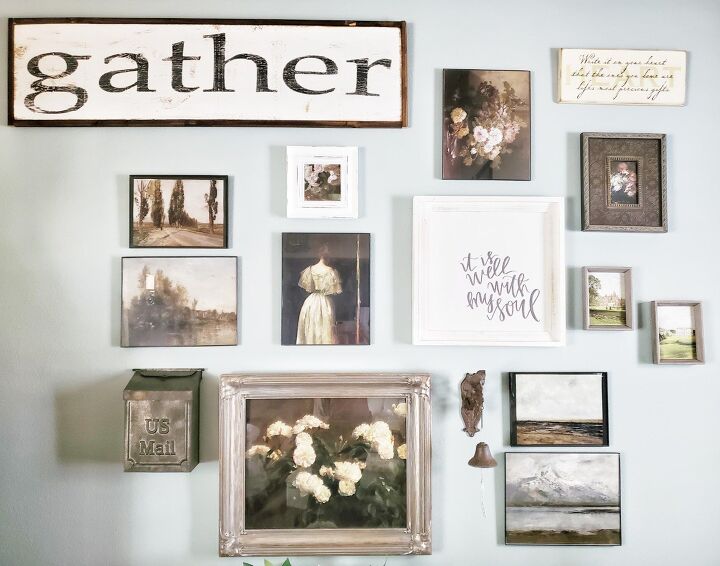
Do you see how the prints are not the same?
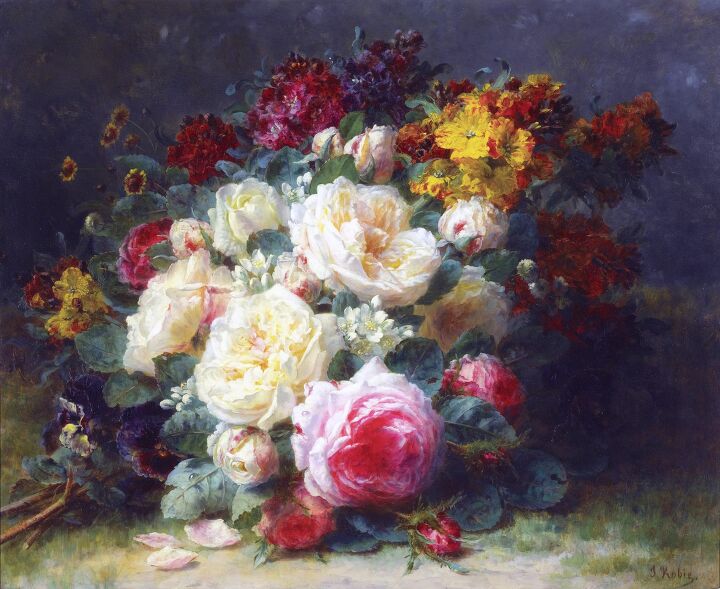
Some are floral.
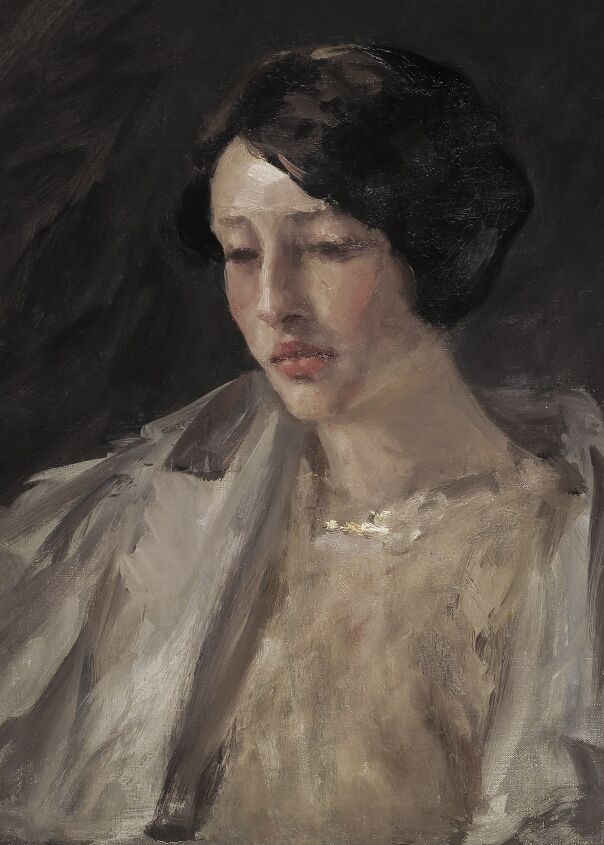
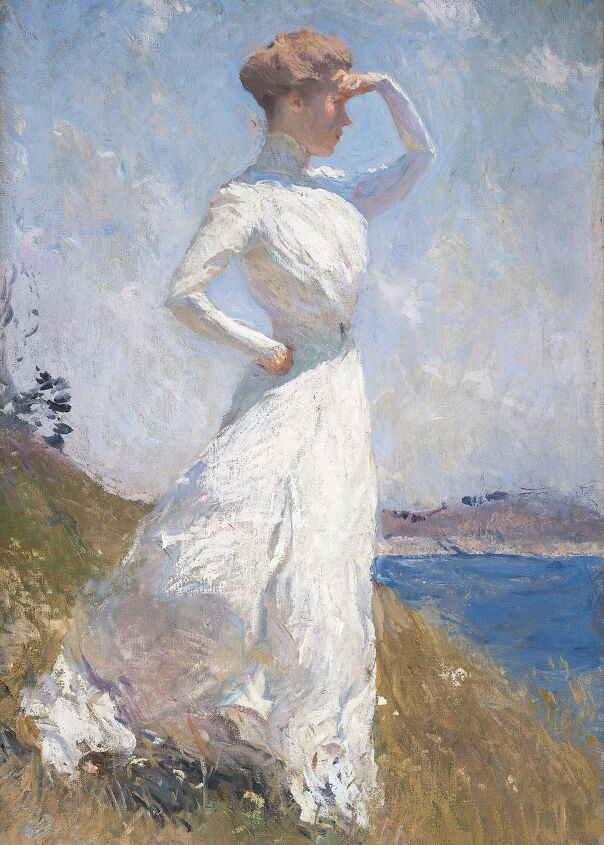
There’s a Victorian lady print in the middle.
There are landscape prints and a couple of 3D objects like the mailbox and dinner bell.
All of this goes together because of the color.
There are muted blues.
The color black is in the lettering, prints, and frames. This makes them all connected.
Here is another photo from when I changed it out for Christmas prints.
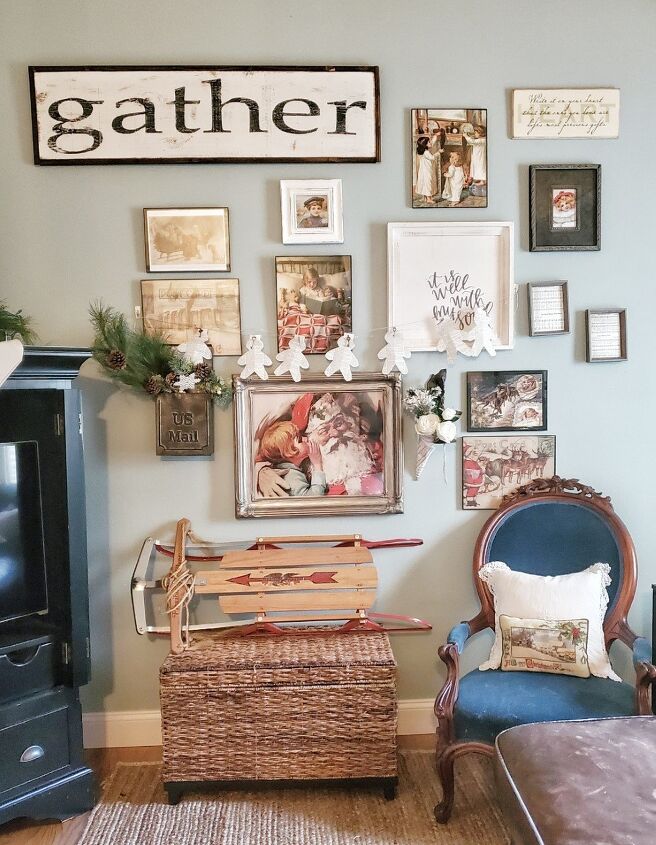
The layout is the same.
But the Santa Claus prints give it that classical Christmas vibe that was such a wonderful way to decorate for the season.
This is an example of how you can create a themed gallery wall.
Christmas Home Tour YouTube video with my Christmas themed gallery wall.
There are so many themes to put together.
Some theme ideas for your gallery wall:
- Floral
- Seasonal
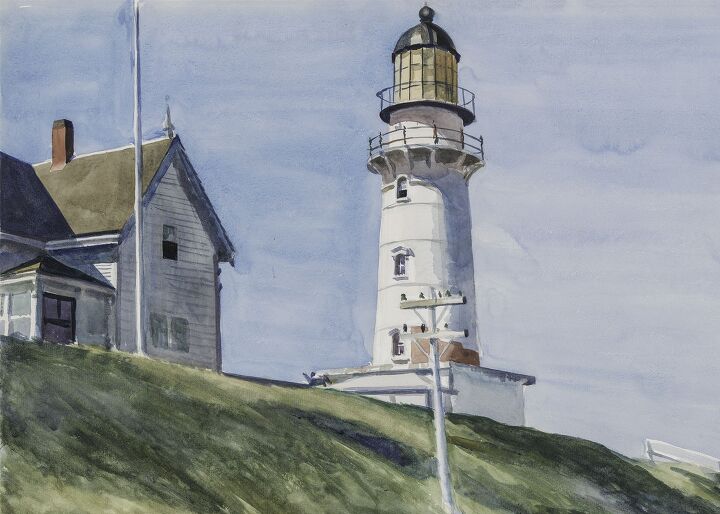
- Landscapes
- Farmhouses
- Beach
- Ocean
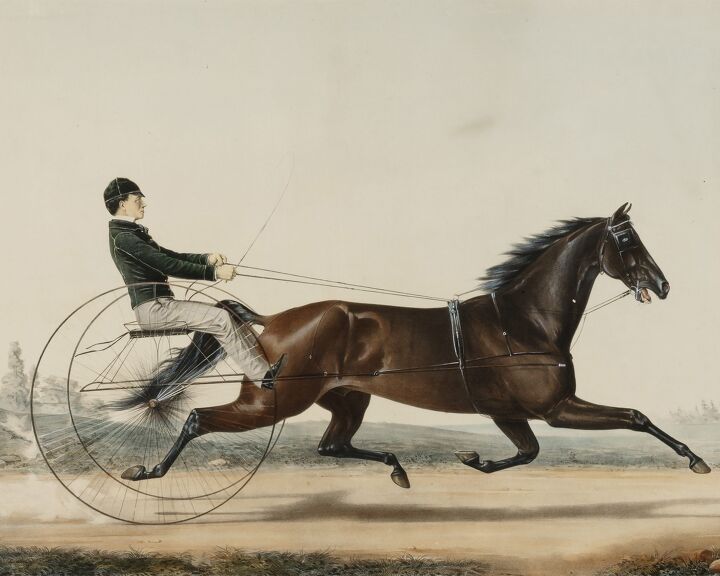
- Equestrian
- Portraits
- Old Oil Paintings
- Animal
- Wild life
- Geometric Shapes & Patterns
- Black and White photos
I know I just scratched the surface.
The truth is there is a gallery wall theme for everyone.
Tip: Get on Pinterest and look up gallery walls.
This will help you narrow down what you like.
Here are examples of prints from Etsy:

The downloadable prints cost anywhere from .99 to $6.99.
Print them at your local print shop or home printer.
Tip: Measure the inside of your frame to get the size of print you will need.
Now, let me take you through 5 simple steps to hang your gallery wall.
How to hang an eclectic gallery wall.
Things you will need to hang your gallery wall:
- Nails – linking the nails I used for this project
- Hammer – link to a hammer
- Prints
- Frames
- Measuring Tape
- Ladder
Step #1. Lay the frames on the floor.
Here, I’m laying the frames on the floor to see how it will look on my wall.
Once you figure out your layout you can go to the next step.
Step #2. Hang up the large frame first.
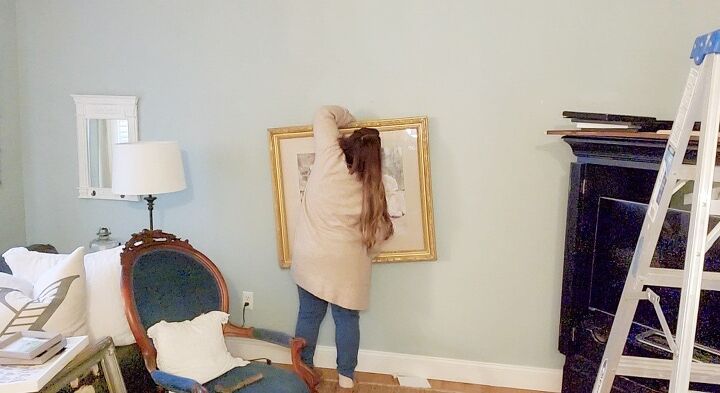
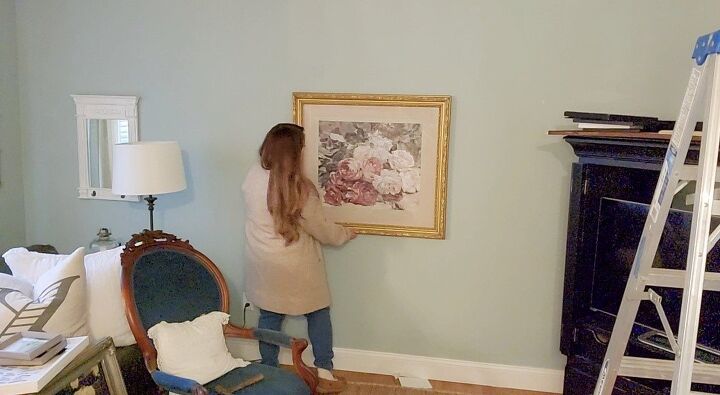
The largest frame is your focal point.
You will build the gallery wall around the largest frame.
All of your measurements will come from this frame.
This will make it easier to align them to look cohesive.
Your gallery wall will come together beautifully by doing it this way.
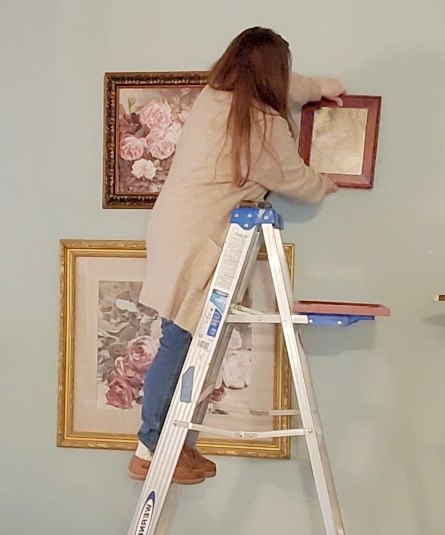
Step # 3. Hang the second frame on top.
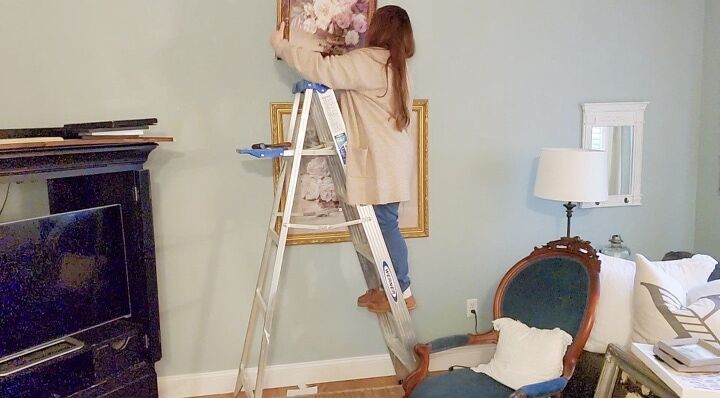
Climbing the ladder, I placed the second frame on top.
Placing it 6 inches apart.
You can have your frames between 1 to 6 inches apart depending on how you want them to look.
By laying them out on the floor in step one you can figure out how far apart you’d like your frames.
Step #4. Hang the side frames.
I placed the right frame onto the wall first.
Making sure that it is 6 inches apart.
I repeat this on the left side and hang it 6 inches apart as well.

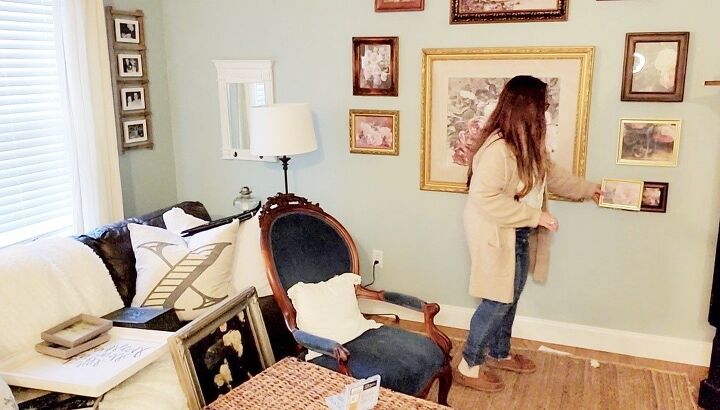
Step #5. Hang the three side frames.

These frames are measured different.
They are not all six inches apart.
That would look funny.
Instead, the above frame was hung six inches from the large middle frame.
But the lower ones underneath were placed 3 inches apart.
It looks more appealing to the eye to have them closer together. See photo below.
I repeat this for the left side.
A tip.
How I achieved to get these even on both sides is to take the frame and slide it over.
This helps to place it at the same height. Look at the photo below to see how I did that.
Below, I show you this gallery wall with different prints in the frames.
This is an example of how you can keep the layout of the frames the same but change only the prints.
The prints can have a theme like this one above.
It’s a beach theme since, at the moment of writing this post, it is Spring.
I share a YouTube video where I gave this gallery wall a final makeover for the Spring and Summer. (It is different than what I shared in this post.) See it below.
Thanks for reading my 5 simple steps on how to hang an eclectic gallery wall.
For more DIY inspirations, go here.
My favorite DIY is this beautiful vintage paper rose. Check out how to make it, here.
Thank you for coming by Victorian Lane Farms.
Where I share DIYs, home decorating, thrift store finds and natural living.
Bye for now!


Frequently asked questions
Have a question about this project?