


How to Paint a Cloudy Ombre Wall

Ombre wall Paint is the most beautiful and easiest way to dress up your Wall. It adds a personality, a definition to the room, sets the mood, and makes the place a lot cozier. If you are looking for an Easy Ombre wall Paint idea, you are at the right place. I am no expert, but I have always wanted to paint our walls, yet the thought of repainting them white before vacating the house seems like wasting time, money, and effort. However, this time I couldn’t resist myself from turning this huge canvas into an Ombre accent wall. It’s not as hard as it seems. If I can, you can too.
So, Let’s get started with these easy step by step instructions.
How to paint your Own Cloudy Ombre Wall
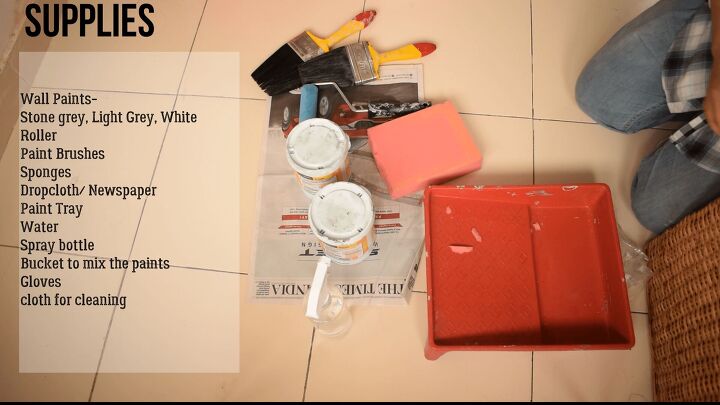
Supplies:
- Wall paints – Stone Grey, Light Grey, White
- Paintbrushes – 2-3
- Paint Roller
- Sponge
- Extra buckets
- Water
- Dropcloth/ newspaper
- Painter’s tape
- Cloth piece for cleaning
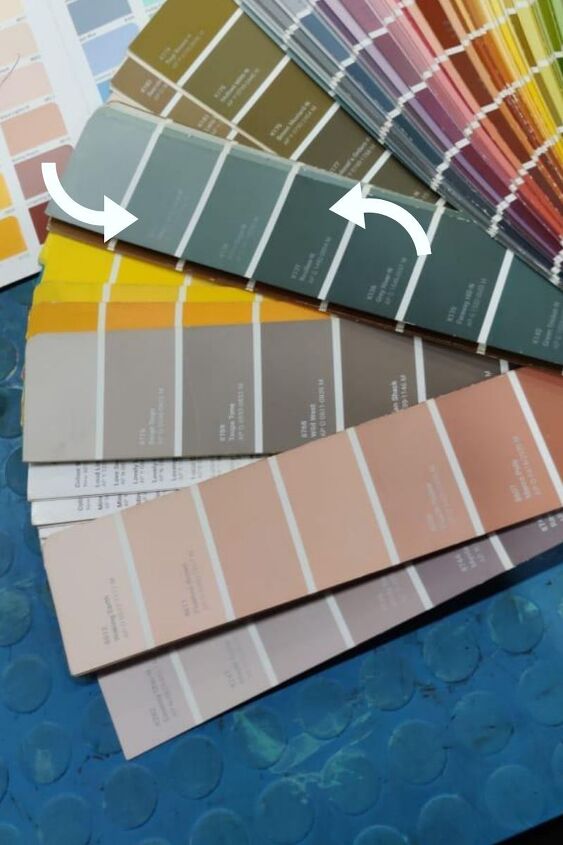
Step 1: Choosing the colors for an ombre effect
You can choose any color scheme to create an ombre wall. The very basic rule to create an ombre is Graduation. That means you start with the darkest shade at the bottom and gradually working up vertically to the lightest.
Selecting the ombre shades is not harder, as the paint palettes already come in an ombre pattern placing the darkest at the bottom and the lightest at the top. Always, choose colors from the same color family. For instance, I have selected these two shades from the palette.
Step 2: Prep the area
First of all, gather all your supplies and prepare the area you wish to paint. Prepping the area is always a good idea as it saves a lot of workloads later. So, start by moving all your furniture, removing or covering your electrical gadgets or wires, etc. I didn’t remove my TV since its a rented place, so I didn’t want to work all the way back there. Next tape off the sides, layout the drop cloth on the floor to avoid any paint drips and cleaning later.
Step 3: Prep the wall for ombre wall painting
I have created this look on a white wall, so if you want to create this look, the first thing you should do is clean the surface using a cloth or sponge dampened with water and a little mild dishwashing liquid. Wipe down the wall to be painted to remove dust and dirt. Rinse the walls with clean water to remove soap residue. Let Dry and patch any holes with white cement, lightly sand*. Prime the surface and make sure you paint the wall in white color as you need a clean canvas to start with.

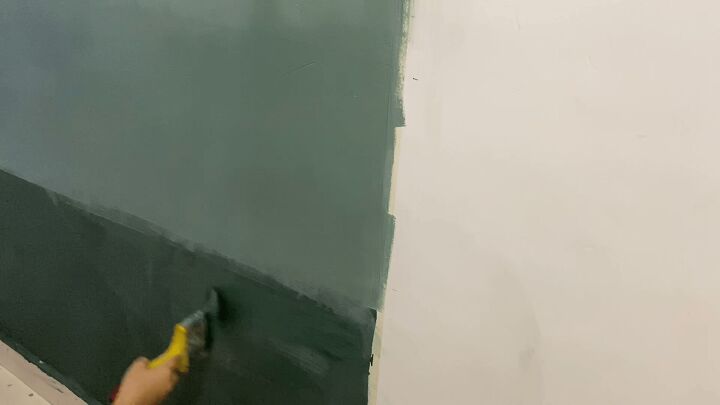
Step 4: Let’s start Painting an ombre wall
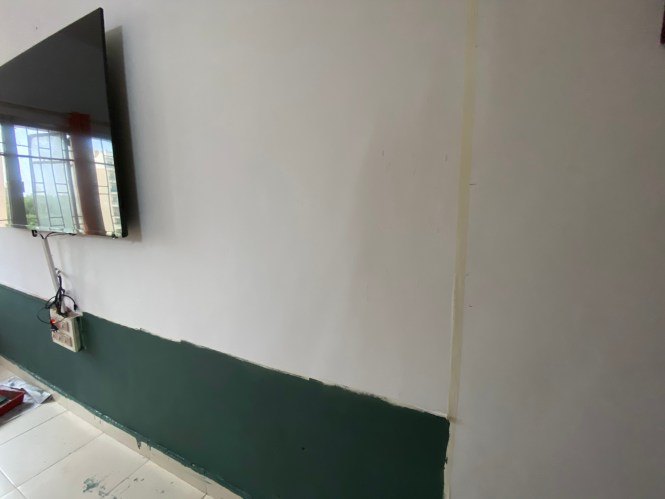
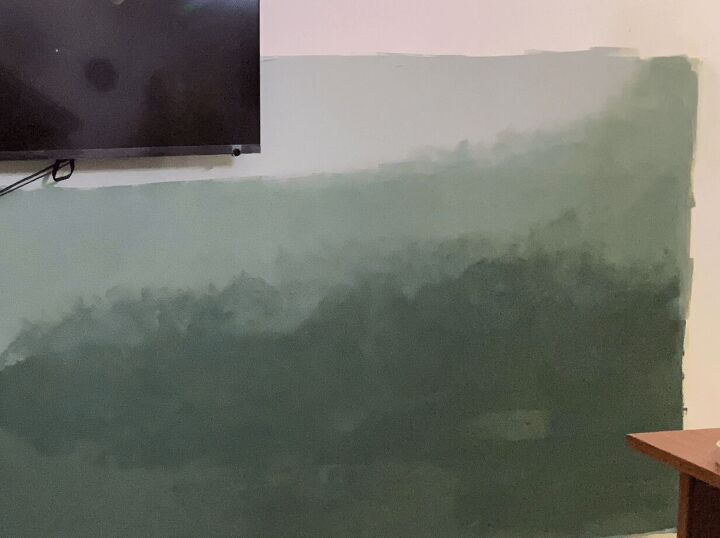
Okay, so you don’t have to be very specific here, but I didn’t want to go all the way up on the wall here, therefore I decided to paint the darkest part about 1/4 the way up the wall and the rest of the colors I did about 1/2 of the wall. Have a look at this picture and you will get the idea. You can measure three equal sections on your wall and mark lightly with a pencil.
https://thediyhustle.com/wp-content/uploads/2020/08/DIY-CLOUDY-OMBRE-WALL-1-1.mp4 Painting three Bands of colors
- Paint the 1/4th of the wall with the darkest color with the help of a roller. Here I have used stone grey. Leaving a section about 1/2 th, simultaneously paint the other section with a light grey color.
- Now mix equal parts of stone grey and light grey to make another shade of grey that would be lighter than the stone grey but darker than the light grey. Now, fill in the section that we just left between the first two layers. No need to be exact as we will be blending this layer with the first two layers.
Blending the colors
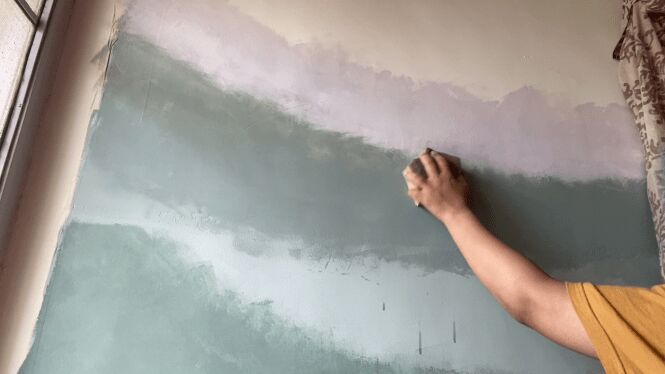
- Next up, we will work in small patches creating a wet edge. Take a 4” brush and repaint the top edge of the first layer i.e the darkest color. Take another brush and paint the bottom edge of the second layer. Hold your brush at a 45-degree angle to blend the colors evenly.
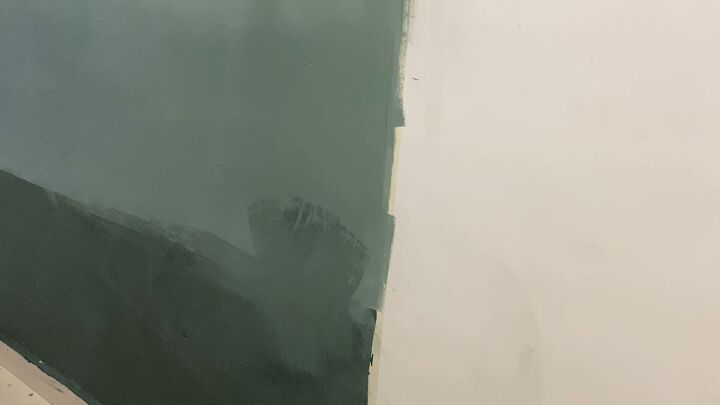
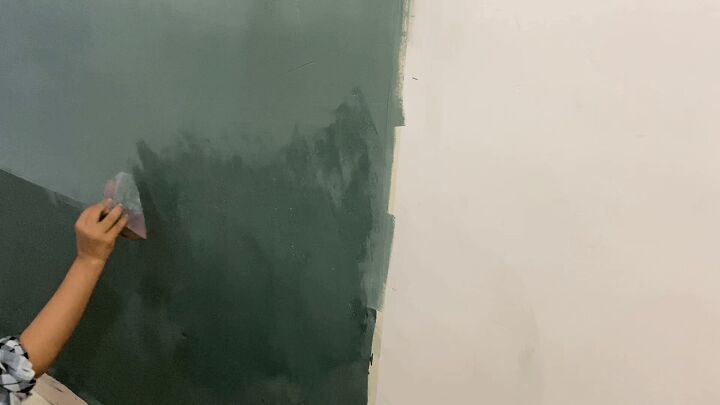
- Create an “X” with the paintbrush, blending the two colors. Sprinkle some water on a sponge, squeeze the extra water and then lightly dab the sponge on the area you just painted. This is when you want the colors to mix and blend, forming a gradient.
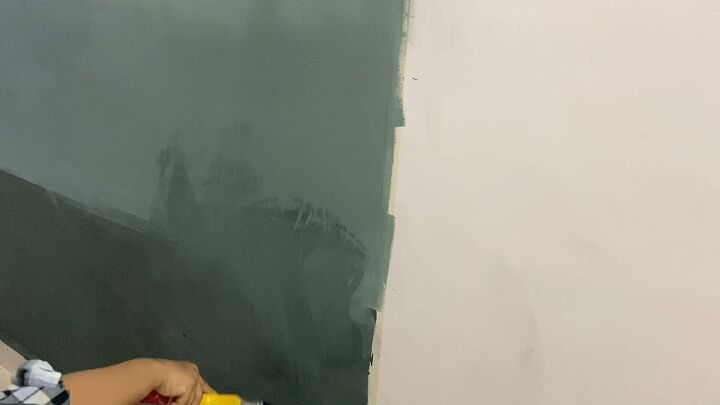
- Continue working in small sections to ensure you are consistently blending with wet paint.
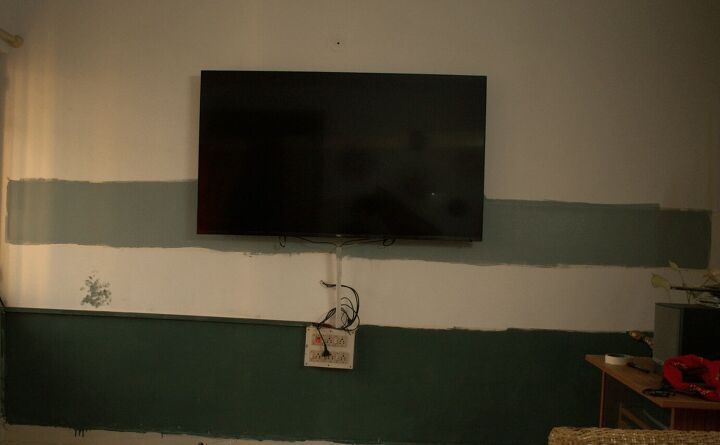
- Likewise, repeat the steps for the top layer, the only difference you will be blending with white color. Dabbing with a sponge gives it a cloudy kind of effect. Pull off the masking tape.
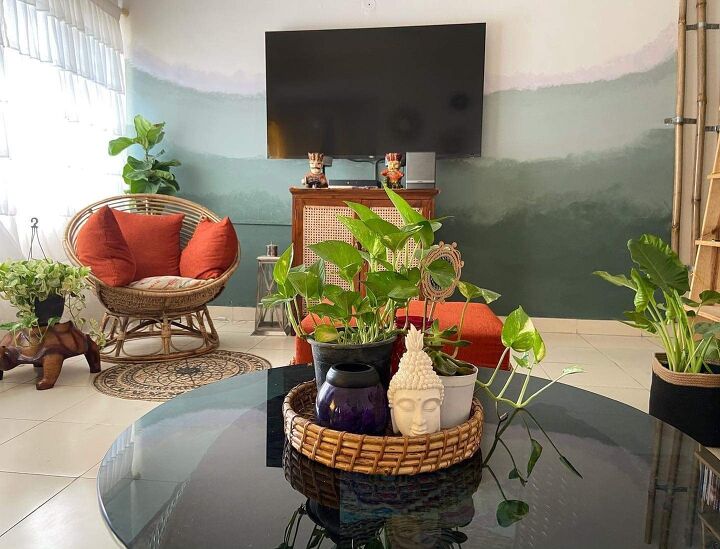
- Let the wall dry for 4-5 hrs. and there you have your Cloudy Ombre wall.
- Sit back and enjoy your masterpiece.
To sum up, there is no hard and fast rule to what you create, just remember the graduation and blending needs to be done on the wet paint. Do not wash the brushes in between blending. If the Paint seems thick just sprinkle some water on the brush itself before blending. Make sure the paint doesn’t drip off the brushes. Use a different brush and sponge for every color.
I hope I inspired you enough to create your own masterpiece. Do post your comments down below, share and tag me on Instagram. I would love to see your versions of Ombre wall creations.
Thank you so much for taking out your precious time to read.
XOXO

Comments
Join the conversation
-
Sooo beautiful! Great instructions too make this an entirely doable project 💕
-
If you are not used to doing this technique, practice first on a smaller format (maybe a cheap picture canvas). I had to totally repaint my wall after my first attempt. Then went and practiced on a left over piece of drywall before re-attempting a complete wall.


Frequently asked questions
Have a question about this project?