


How to Save & Hang a Jigsaw Puzzle (With No Glue or Frame)
If your family is like my mine, we are spending a lot more time at home! We have been looking for things to do and activities we can enjoy together.
One activity my twin teen daughters have been enjoying is putting together jigsaw puzzles! When they complete a jigsaw puzzle, they like to save it and hang it. In the past, I used to glue the puzzle with Mod Podge and hang the puzzle in a poster frame. But now that we are at home and supplies are low, I've had to find a way to hang a jigsaw puzzle with next to no Mod Podge and no picture frame.
Preserving a Jigsaw Puzzle
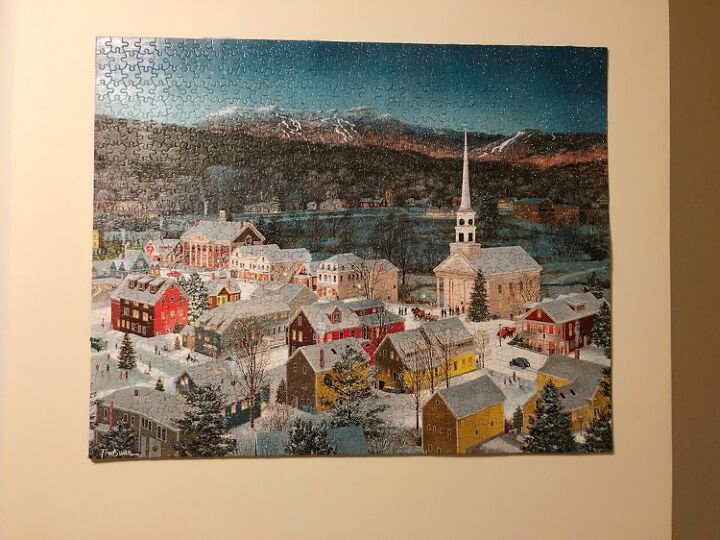
My daughters recently completed a jigsaw puzzle of Stowe, Vermont. We traveled to Stowe together last summer, and even though the puzzle is a winter scene, it's a sweet memory of our vacation together!
Since I had very little Mod Podge left and no picture frame, I was at a loss at how to preserve the jigsaw puzzle and hang it. It turns out that I had plenty of duct tape - I figured taping the back of the puzzle together with duct tape would work well, and it did!
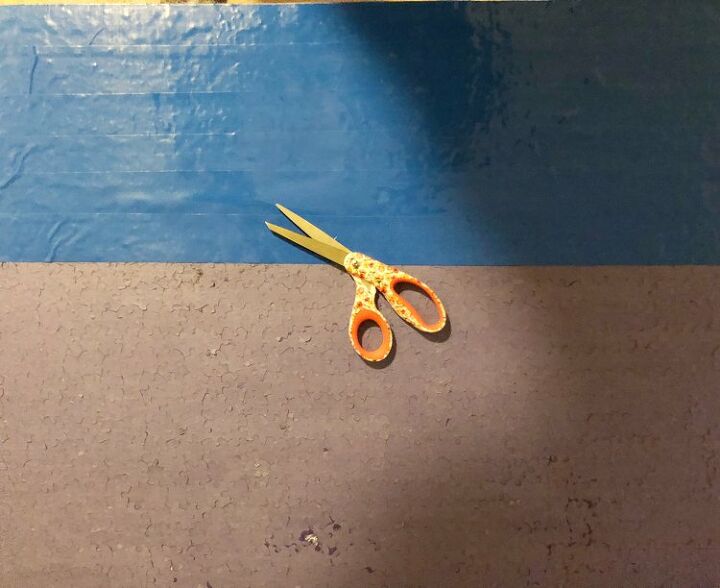
To start, I slipped some wax paper under the puzzle so I wouldn't glue the puzzle to anything underneath. I then simply spread what was left of the Mod Podge I had across the front of the puzzle. (I used a foam craft brush.) This step is totally optional - I really don't think the Mod Podge is needed with the duct tape. I removed the wax paper.
Then I simply sandwiched the puzzle between two flattened paper boxes so I could carefully flip the puzzle over. (To get the cardboard under the puzzle, I carefully lifted a corner of the puzzle and slid the flattened cardboard box underneath.)
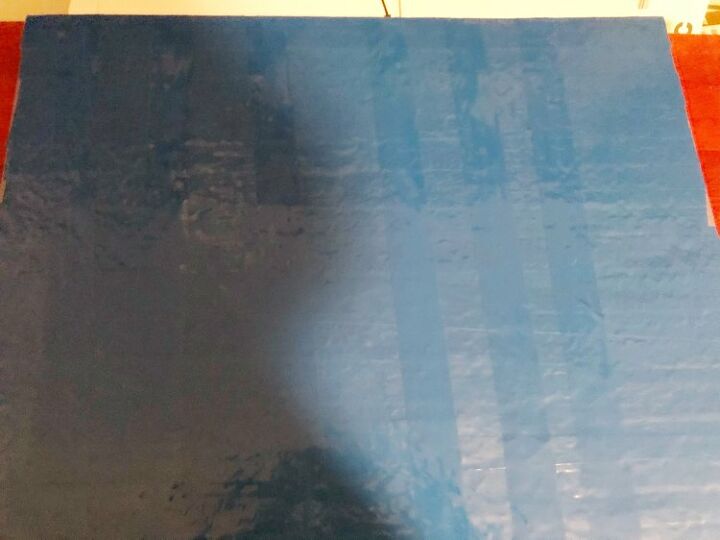
Once the puzzle was flipped, I covered the entire back of the puzzle with horizontal strips of duct tape that ran the length of the puzzle.
I added a few vertical strips of duct tape to reinforce the puzzle. I wound up using almost a full roll of duct tape in total to tape the puzzle.
Hanging a Jigsaw Puzzle
Once the back of the jigsaw puzzle was securely taped together, all that was left to do was hang it! I am a big fan of Command Picture Hanging Strips, so I had a package of them on hand.
All I did was secure 4 sets of the hanging strips to the back of the puzzle. I put a pair on either side of the puzzle on the top, and a pair on either side at the bottom of the puzzle.
Just two pairs of strips would probably have worked, but since my daughters spent so much time on the puzzle, I decided to be extra cautious.
Once the strips were securely adhered to the back of the jigsaw puzzle, I pulled off the tape that covered the adhesive on the wall side of the Command Picture Hanging Strips. I chose a spot on the wall to hang the puzzle.
I pressed the puzzle to the wall, making sure to press firmly on the hanging strips. After about 30 seconds of putting light pressure on each set of strips, the jigsaw puzzle was securely hung on the wall!
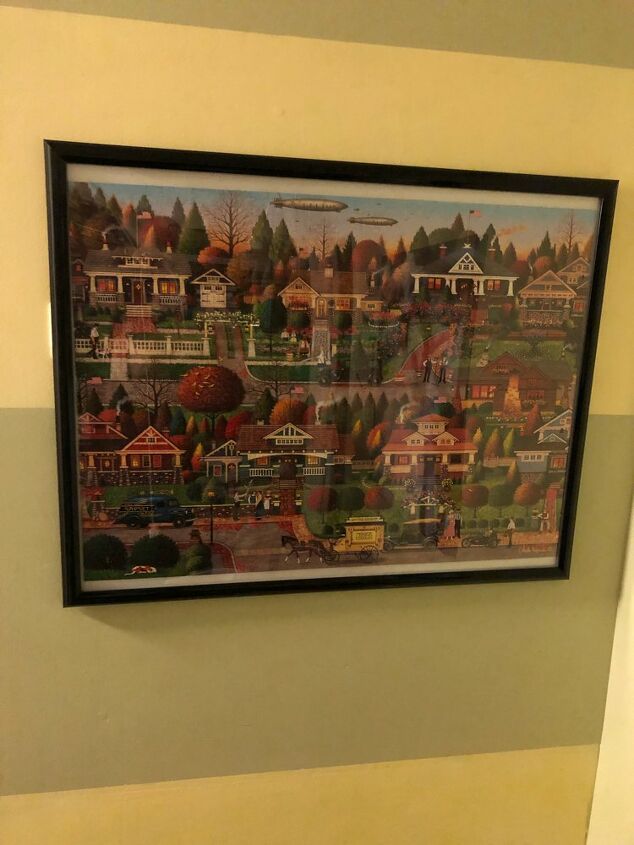
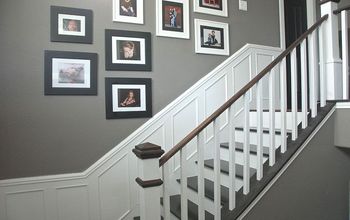
I hung the jigsaw puzzle at the top of the stairs in my home's upstairs hallway. I think it's a great spot for such a nice family memory.
*(My estimate below for the project includes the cost of the jigsaw puzzle and the amount of time it took my daughters to complete the puzzle.)


Comments
Join the conversation
-
You did not communicate that it was the start of the pandemic and you probably were not going to the store! I can see where that idea would work if that was the only materials you had to use! But I stand behind my method being easier - no fuss, just brushing on glue poured into a paper bowl. I always have 2" cheap throw away brushes on hand. Or you could wash the brush. Process takes 5 minutes! Its not messy either! Yes, it could be messy depending on the age of the child that is brushing. That aspect does not apply to me.
The wax paper and books are not necessary, but I think it helps dry as flat as possible. The glue holds the puzzle together firmly.
I just finished one from Christmas that I am glueing tomorrow - cant wait!
Note: I also dont like putting anything on the top of the puzzle. I want it to have the original finish.
Happy Puzzling!!
-
This is a great idea. My puzzle I just finished would take a custom frame because of it's large size (2000 piece) and not sure I wanted to invest that kind of money. Thank you I will be doing this process this weekend. Thanks for sharing!


Frequently asked questions
Have a question about this project?
How did you make the frame