


Kid Craft – Our Take on Rainbows

It’s finally Spring! Well, of course as I write this it’s back to the high 40s and rainy, but I’ll take it because it means we’re inching out of winter. In our house, two little girls are eager to get outside and enjoy their sandbox. I’m eager to get on with bigger projects that require the use of the garage! But for now, we’re shifting our daily crafts from coloring snowmen and Christmas trees to now making rainbows and flowers.
EVERYONE seems to have a craft idea about rainbows right now, so maybe my/our take on this fad will be nothing new to you. But it’s one small DIY decoration that my 3-year-old could be a part of, so if you’ve got little kids to entertain, this works great! And she loves it hanging on her wall now, so that’s a bonus – not like so many colored snowmen that are now in the garbage. PLUS, this is a great way to use up some of that fluffy fake snow that you too might have lying around from winter decorations.
Supplies:
(As an advertising affiliate and Amazon Associate, I earn a small commission from qualifying purchases. But it doesn’t cost you anything extra and helps me keep up my site!)
- Wooden beads (I used the biggest of this set)
- Lamp ring sets (one 12″ and one 16″)
- Fake snow fluff
- Kids’ paint
- Packing tape
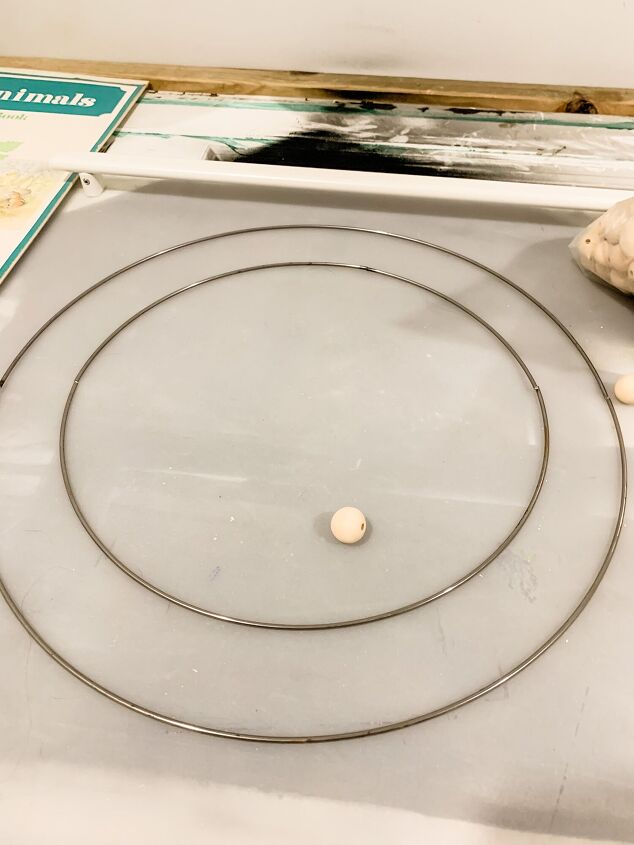
Step 1: Cut the metal rings. I used a wire cutter and snapped the 12″ lampshade plain ring so I had 2 sections that were equal half-circles. Then I cut the 16″ ring, also creating 2 half-circles. (I used the lampshade fitter rings of each set for a hanging chandelier project I’ll post about another day – nothing gets wasted around here!) One note here is, be sure to make the first cut where the metal naturally is welded together, since the ring is weakest here anyway and you don’t want a weak spot in the half-circles of your rainbow sections.
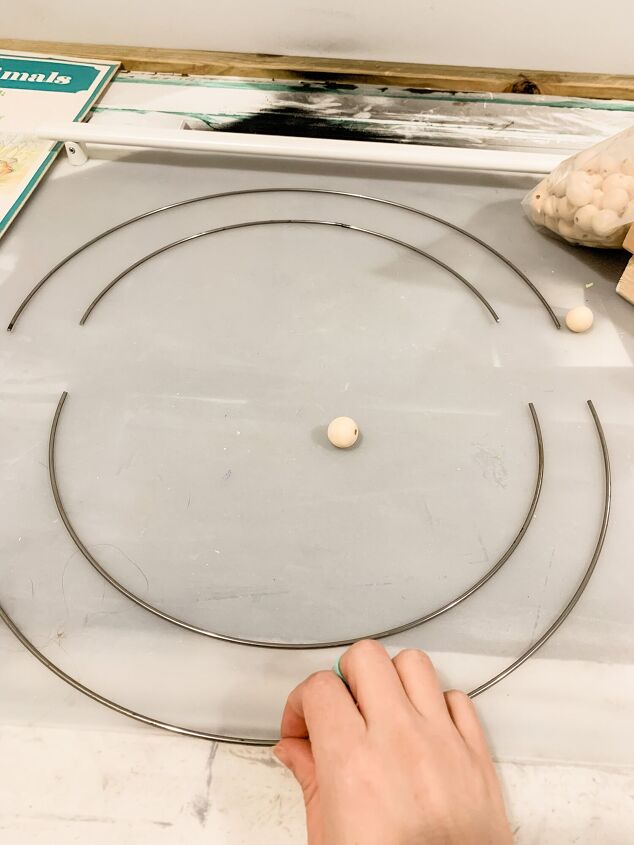
Once I had the half-circles, I played around with how I wanted them spaced and decided I wanted to use just 3, so I took one of the 12″ ring’s halves and bent it to make my smallest/inner/bottom rainbow section, cutting off a bit from one end to make it the right size.
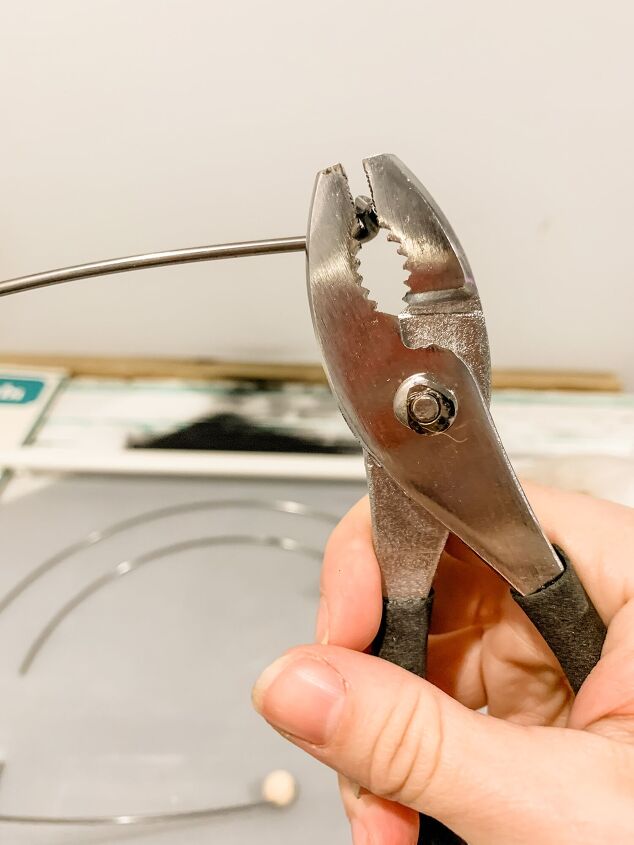
Step 2: Bend one end of each rainbow section. To keep the beads from sliding right off the rainbow as we put them on, I used pliers and bent one end of each rainbow section. I did this at a 90-ish degree angle, and it worked great without having to secure the beads any other way.
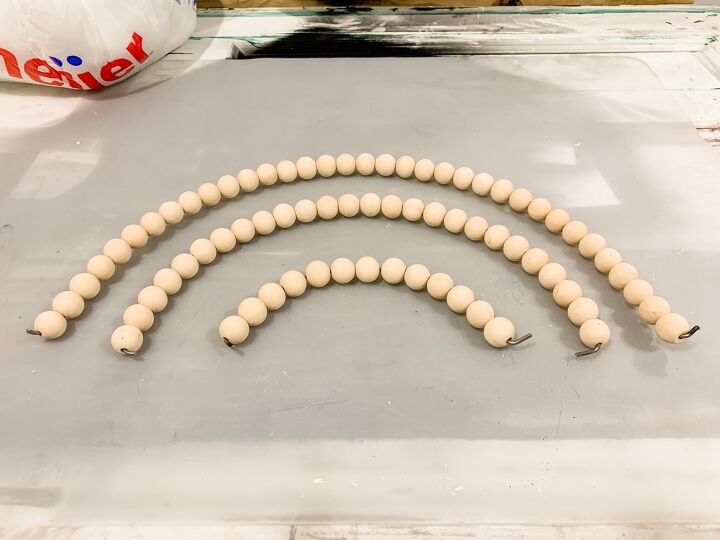
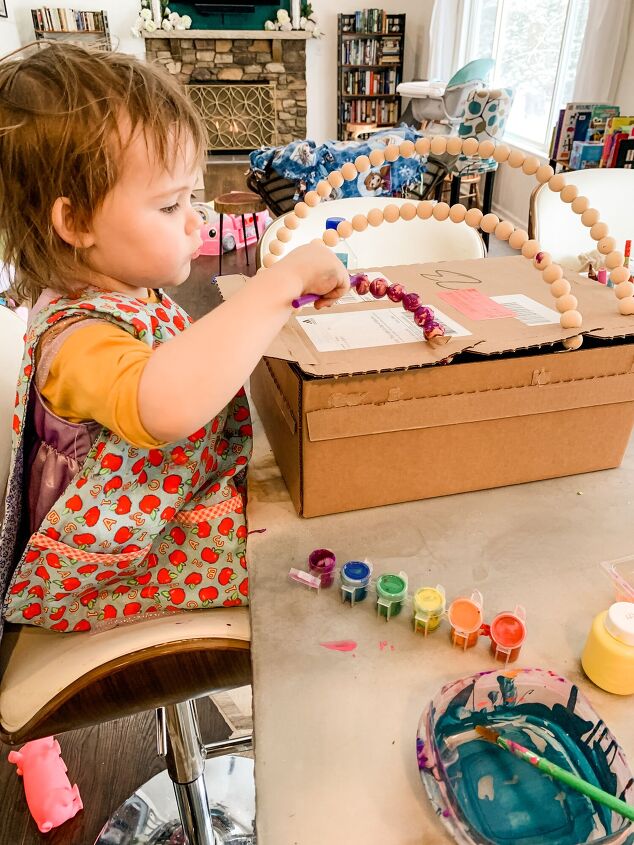
Step 3: Pop on the beads. My little helper enjoyed this part, sliding the beads onto the metal half-ring and hearing them clack together as they built up.
Step 4: Bend the other end. Once all the beads were on, I made sure a little wiggle room was available to bend the other end of the rainbow section. This held the beads on nicely.
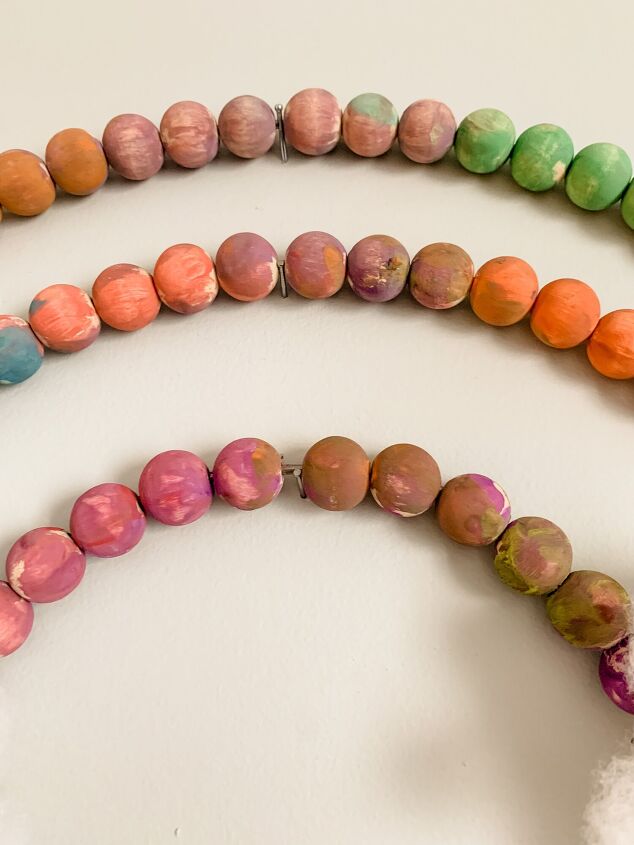
Step 5: Paint the beads! I’m a bit of a control freak, but I managed to let my daughter paint the beads all on her own. We tried to get the idea of the colors of the rainbow… but that devolved quickly into just painting them however she wanted. Sigh. But she loved how it turned out, so who am I to judge? To make sure she could paint all the sides of the round beads, I stuck the ends in a spare cardboard box so the rainbow sections stayed upright and she could use the brush to spin the beads and get every side.
Step 6: Hang the rainbow sections. I used 3 small nails and spaced them evenly in a vertical row, then hung the rainbow sections by wiggling the beads out of the way so the nail rested on the metal ring and the whole thing hung evenly.
Step 7: Attach the fake snow like clouds. I used packing tape and looped it so the sticky side was out. I made sure to use enough tape to loop wide enough to cover the full width of all 3 rainbows to hide the bent metal ends. Then I stuck the looped tape at the very bottom of the rainbow ends. (You could also hot glue the snow ONTO the rainbow ends, but I liked how the tape stuck out and added a 3D effect. Plus this was less messy and more befitting the patience level of a particular 3-year-old.) Once each end of the rainbow had tape ready, I simple tore off 2 sections of fake snow and fluffed them out a bit until they looked cloud-like. Then I pressed the snow onto the tape, rubbing a bit to make sure it stuck. Once the snow was on, I fluffed the snow-turned-cloud by tugging here and there. This also helped to make sure all the tape was covered. In the end, I really liked how the cloud stuck out from the wall.
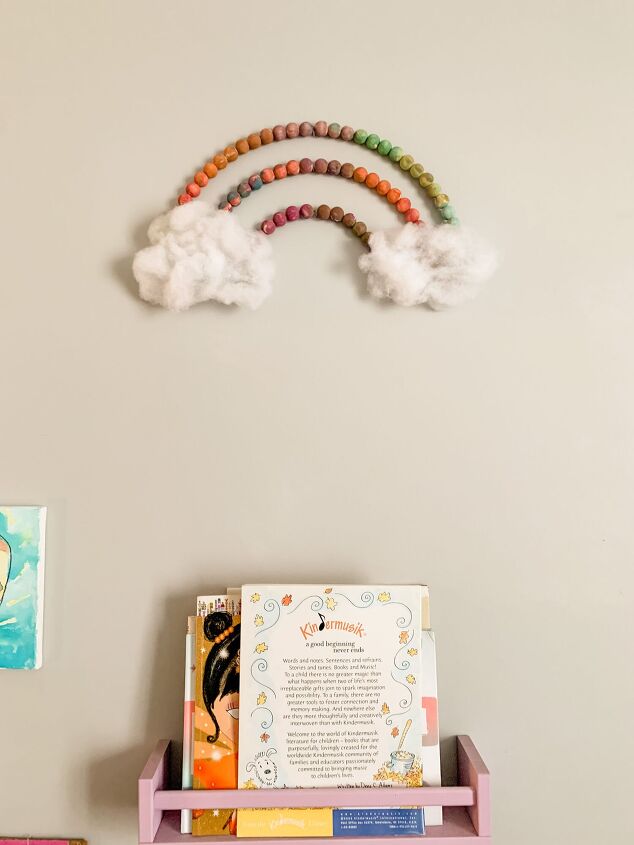
And that was it! Again, everyone has rainbow décor ideas these days, but this was easy enough for a 3-year-old to master, and it made for a good afternoon activity. And it’s STILL on her wall and makes her happy, so this one’s a win in my book.
Resources for this project:
See all materials


Comments
Join the conversation
-
Cute and frankly nit very far from adult rainbow crafts
-
I wonder if it could be hung lower, at a height that she could see it more easily, or better.


Frequently asked questions
Have a question about this project?