


Paper Mache & Washi Cafe Sign
4 Materials
This is a fun way to customize some cheap, versatile paper mache letters to create unique signage for a coffee nook -- or have it say whatever else you want!
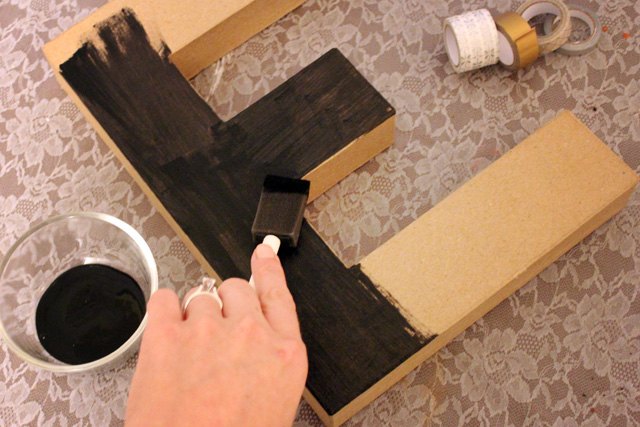
Squeeze some black acrylic paint into a dish. Dip a foam brush into the paint, and cover the front and sides of the letter. Don’t worry about the back, since it won’t show anyway. Repeat with each letter, and set them aside to dry for about ten minutes. Add another thin coat of paint to each letter. Let them dry again. They should look really solidly black now. Touch up any spots that aren’t totally opaque.
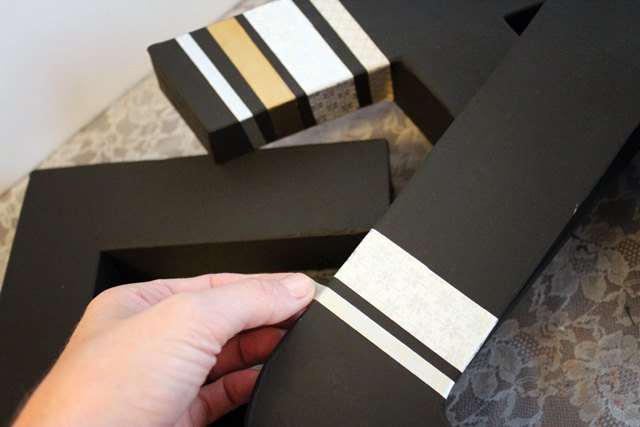
Apply the paper tape in a fun pattern to each letter. You could do even stripes, or you could just go wild. The tape comes in different widths. Use the different sizes to add some visual interest to your letters.
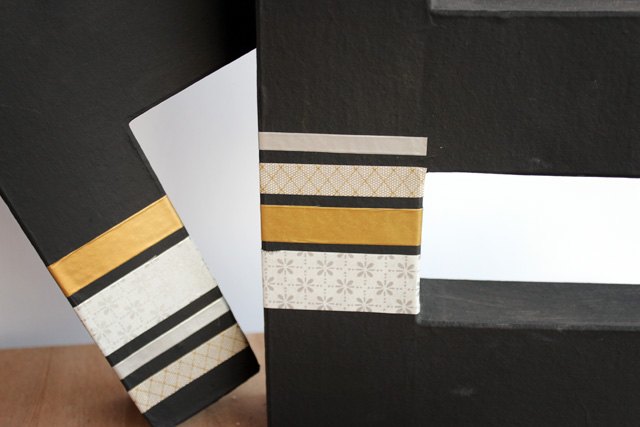
Make sure all the tape is pressed down really well, with no edges peeling up. Using a clean, dry foam brush, apply a thin coat of Mod Podge over the entire painted surface of each letter. You can use the matte formula like I did, or you could use the glossy for a shiny finish.
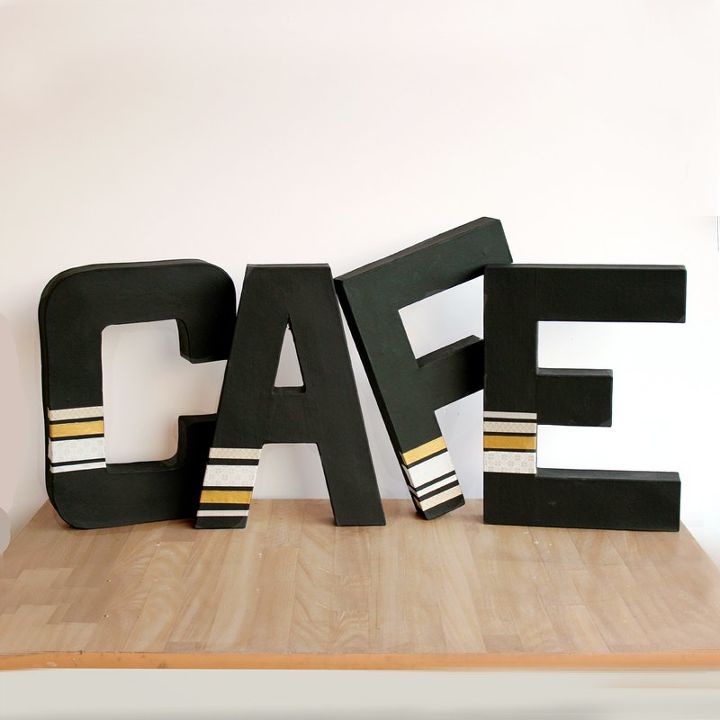
Display your letters! You can set them on a table or shelf, or hang them up using a removable adhesive. They’re super lightweight, so they should hold up without anything heavy duty.

Want more details about this and other DIY projects? Check out my blog post!


Frequently asked questions
Have a question about this project?