


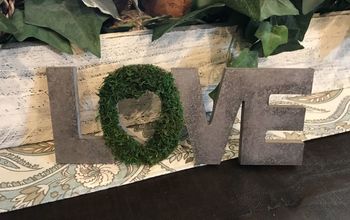
Share the Love With This Adorable DIY Mini Sign
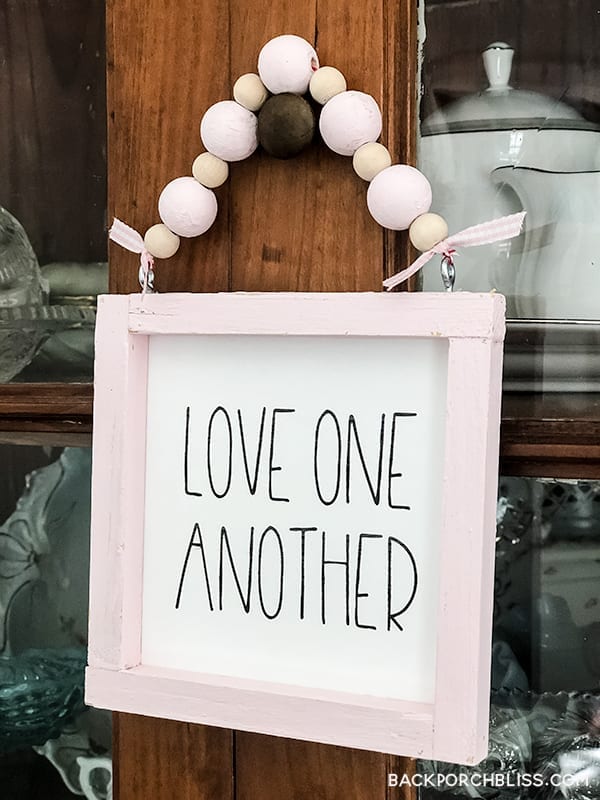
Three simple words that say so much: love one another. Make this adorable DIY mini sign in just a few simple steps to gift or as a sweet reminder that love is always the answer.
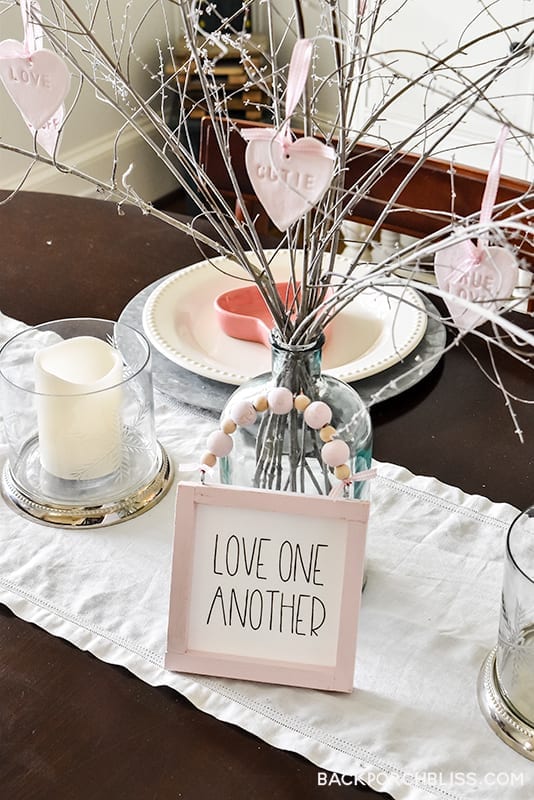
Today, I’m sharing this simple DIY with a free printable, that can be made with an inexpensive dowel, wood beads, paint, and a handful of other supplies you may already have around the house. I thought it looked cute propped on the table next to my easy-to-make c enterpiece.
Disclosure: Some of the links on this site are affiliate links, meaning, at no additional cost to you, I will earn a commission if you click through and make a purchase.
Here’s what you’ll need:
- (1) 1/2 Square Woodgrain wooden dowel
- Aleene’s craft glue pen
- Pink chalk paint
- Hammer & small nails
- Drill & small bit (optional)
- (2) Small eye screws
- Wooden beads, I used (5) 20 mm and (6) 12 mm
- Pink baker’s twine
- One piece of cardstock
- Pink gingham ribbon
- Large needle
- Love One Another printable (pdf)
Prep + Assemble Your Frame
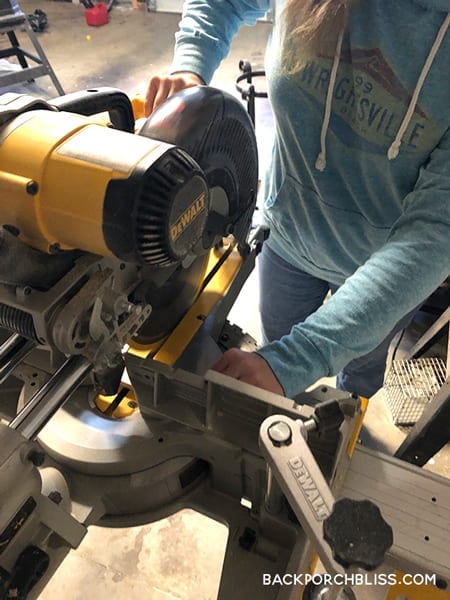
First, cut your dowel into (4) 5″ pieces. If you don’t have a saw, ask the hardware store to do this for you or use a handsaw.
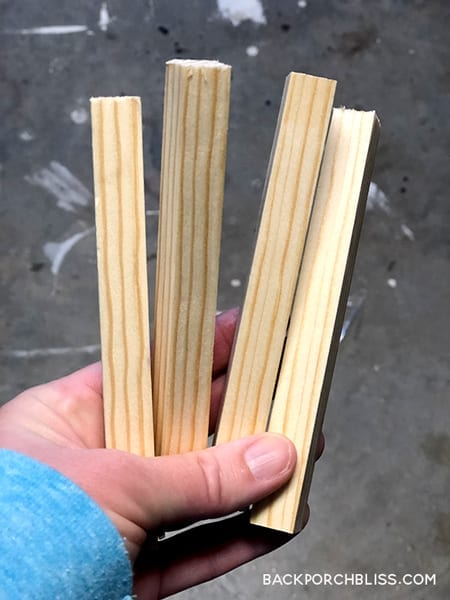
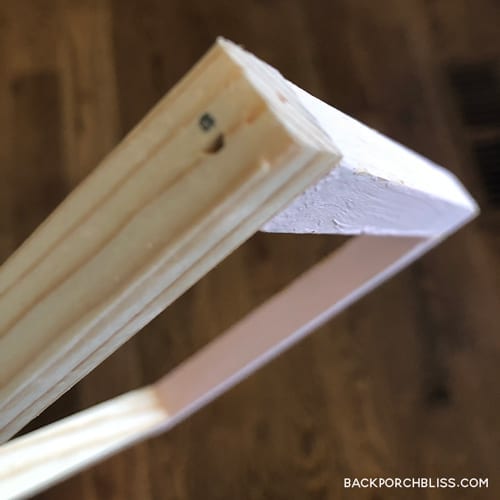
Next, assemble dowel pieces into a square with the end of each piece nesting into the next, as shown below. (Note: half of my square is painted- ignore this, you’re going to paint after you assemble.).
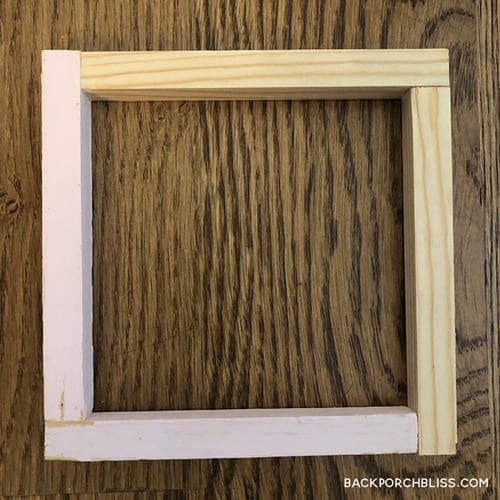
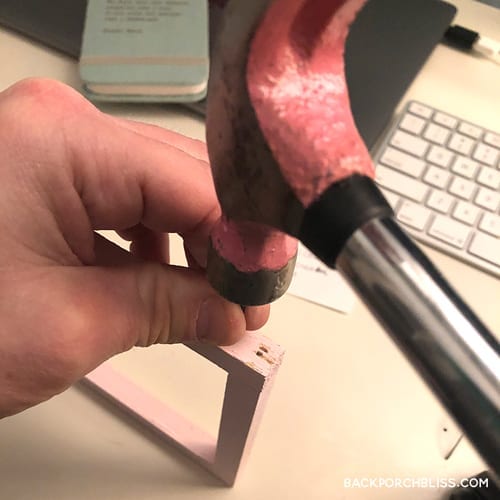
Use a fine drill bit to start nail holes, if needed, then carefully tap them in on all four corners. This will help prevent the dowel from splitting.
Paint Your Frame + Large Beads
Once you assemble, paint your completed square and the large wooden beads. You can use any paint, I opted for the chalky finish.

Make the Beaded Handle
When the paint dries, tap a small nail (just enough to start a hole, or use a small drill bit) in the top of the frame where each screw eye will sit on the frame, about an inch from either side. Twist the screw eyes into the frame.
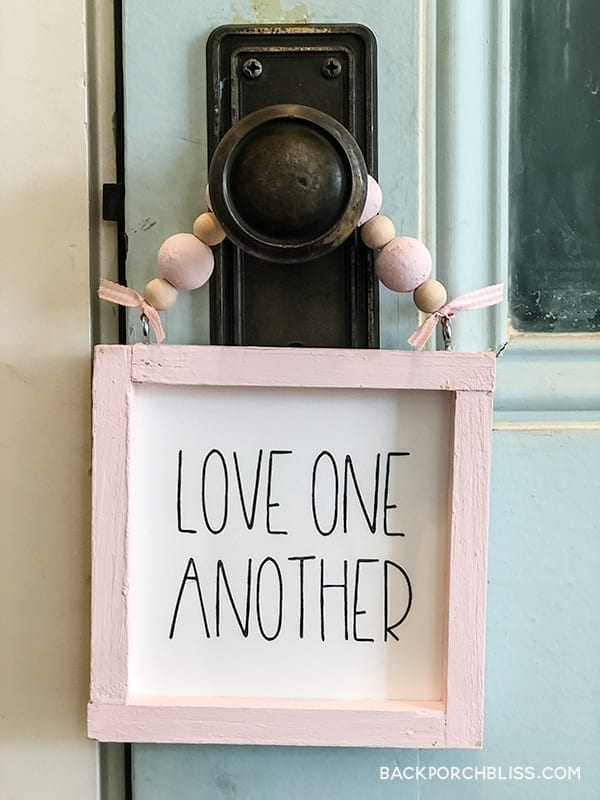
Next, thread your beads, alternating sizes (I left the smaller ones natural) using bakers twine. You’ll see mine doesn’t match, but I was using what I had, and in the end, it doesn’t show. Tie each knot tightly to the screw eyes to create your handle.
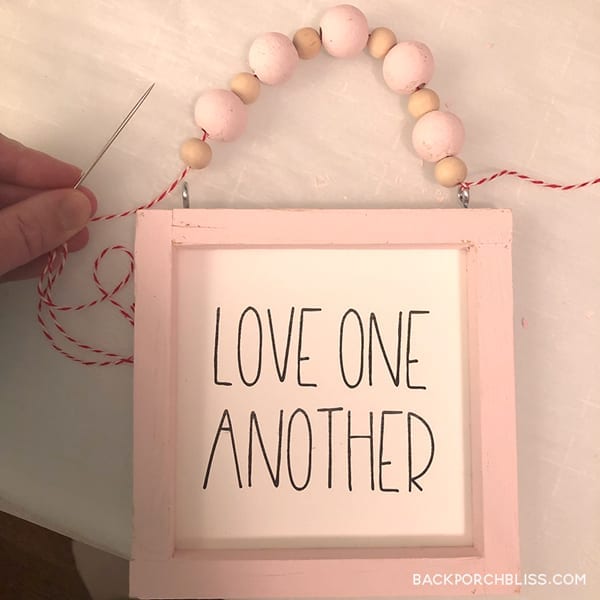
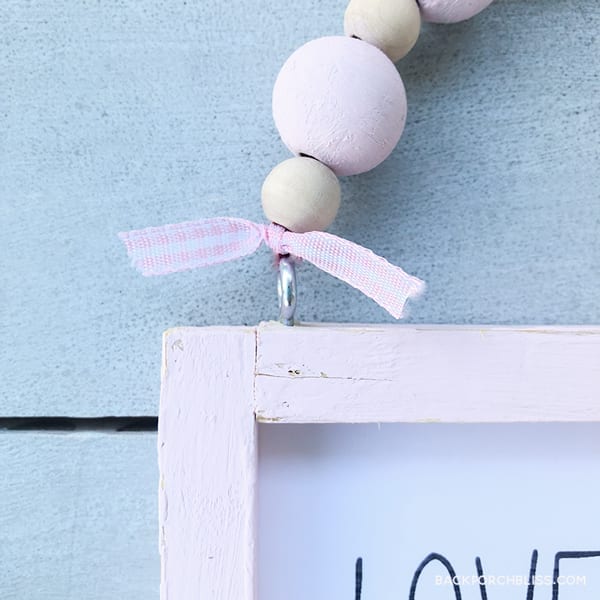
Knot a small piece of ribbon between the bead and the eye screws.
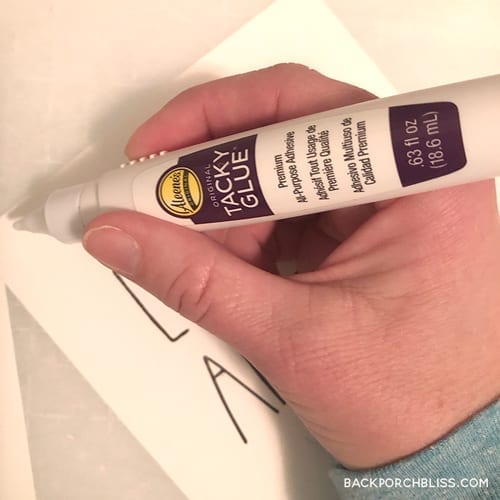
Print + Glue Your Message
Next, print the Love One Another pdf on heavy cardstock, center your frame over it and trace the edges. Cut on the link you traced and use a glue pen along the edges of the paper.
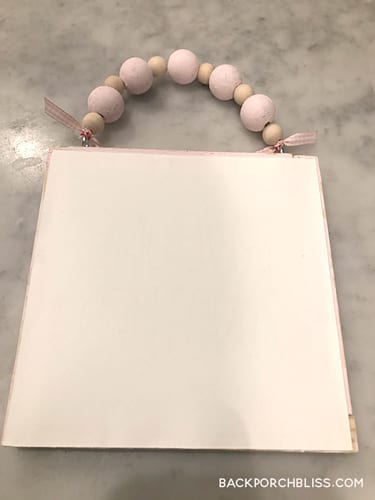
I placed a heavy book on mine so the glue would dry without ripples.
Once the glue dries, you’re ready to find the perfect spot for your frame. You could hang it on the wall, on a doorknob, or cupboard handle. Or, make it a part of your table and prop it up. Tip: you could also use wire instead of baker’s twine if you want the handle to hold its shape.
Resources for this project:
See all materials


Comments
Join the conversation
-
This will be perfect for my summer visit with great granddaughter. For ease I think we will glue wood directly to the picture or message . She will love the beaded part. Covid is over visits are back👏👏
-
It’s like something I would have made! Right down to the pink. So of course I love your sign!


Frequently asked questions
Have a question about this project?