


DIY Mudroom Drop Zone

Have you always wanted a beautiful mudroom drop zone area but couldn’t justify the custom millwork price tag?? 🙋🏻♀️ Ummm…yep! I wasn’t about to give up on my vision for the room but also was definitely not prepared to shell out thousands to hire it out. Cue handy hubby.
Let's see where we started...
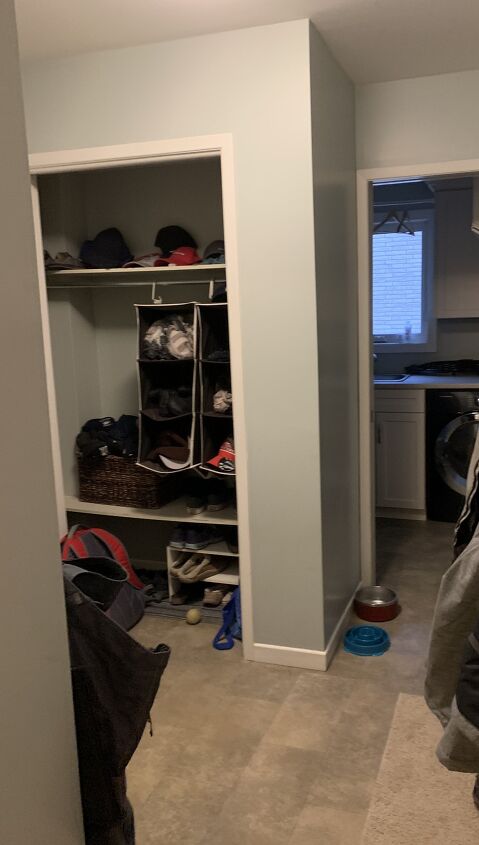
This is it! Just a regular mudroom off the garage entry with a closet. First of all let me say, I was THRILLED to move into this house and gain a mudroom, period! Our previous home did not have one and no matter how much I wracked my brain for a way to incorporate a pretty and functional drop zone area, there just was no possible space for it in our split-entry house.
But even though I was super happy to gain this extra feature, I definitely wanted to change the look and function of the space.
The closet felt like it closed off the room when you first walked in and the shiny, minty green paint had to go!
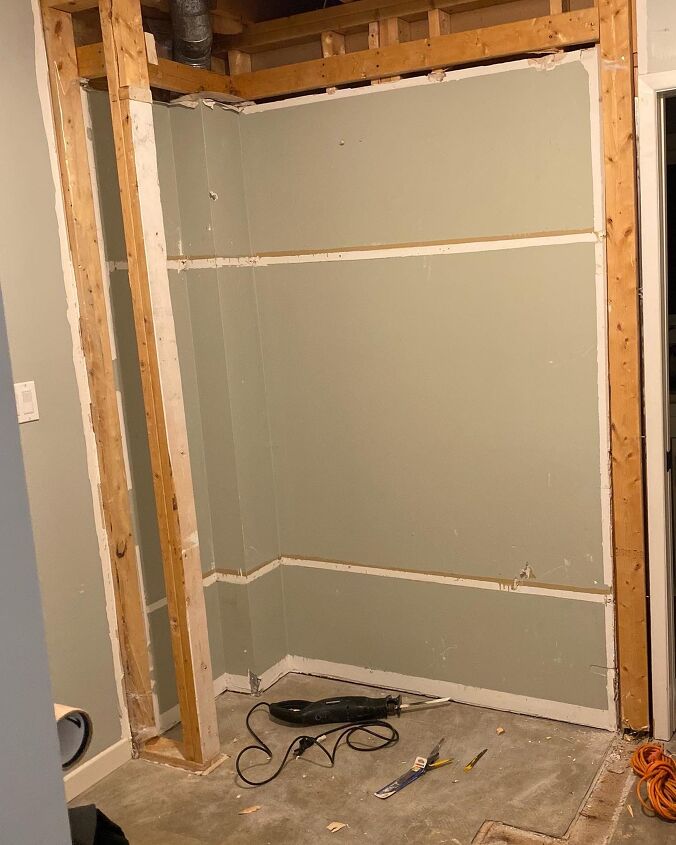
We started by tearing out the closet. Turns out, that is a gigantic pain! We did a lot of projects in our previous home but since we were working on upgrading a newer build home, it was more focused on adding to the home and didn't require much demo! This closet took some serious time and muscle to get completely removed!
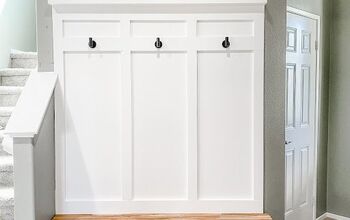
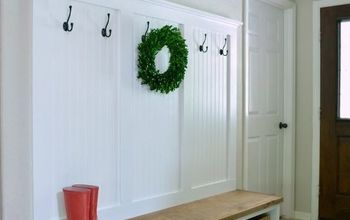
Once the drywall had been repaired, it was time to start creating our bench drop zone area! Of course I had zero concrete plans for the build and basically just showed my husband a couple of inspiration photos from Pinterest to get the general look and feel of what I wanted. Thank goodness he could see the vision!
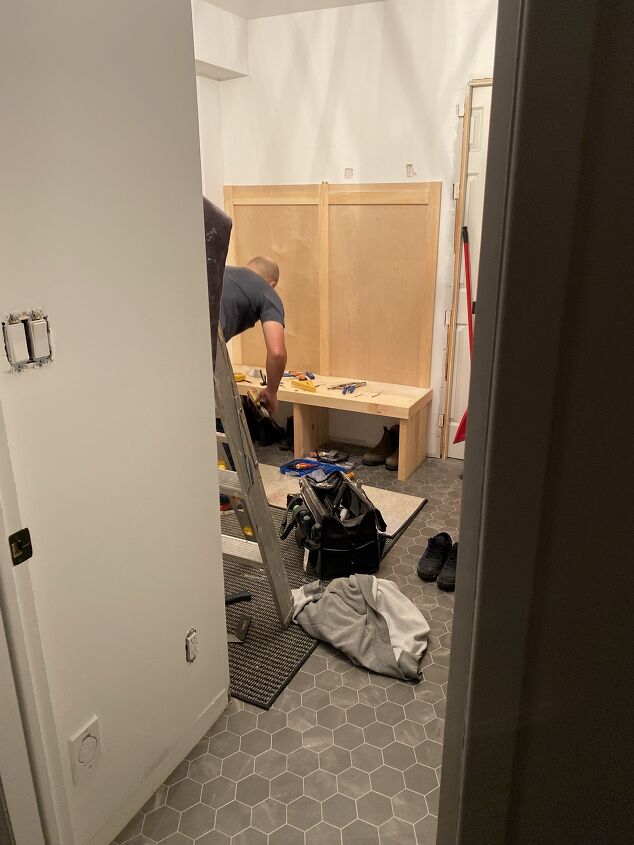
We created the bench and shelf using 3/4in thick pine project panels. Since we wanted a substantial thickness for both the look of the project and stability for day to day use, we doubled up the panels for both the bench and the shelf using construction adhesive to glue them together.
Both parts of the drop zone are about 5ft long. The bench is 16in deep and the shelf is 10in deep to accommodate some baskets for storage but not stick out so far that you hit your head!
All trim pieces and backing boards were secured with construction adhesive and a brad nailer.
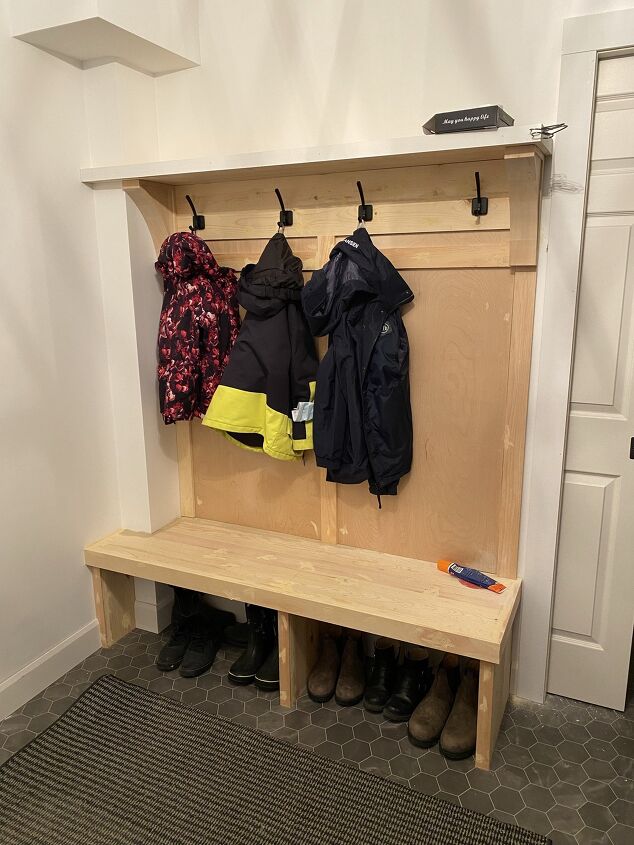
The bench and shelf were trimmed out for a finished look. We added 2.5in trim to the bench face to make it appear even more substantial.
The corbels were purchased from Home Depot and are both for looks and function to support the shelf.
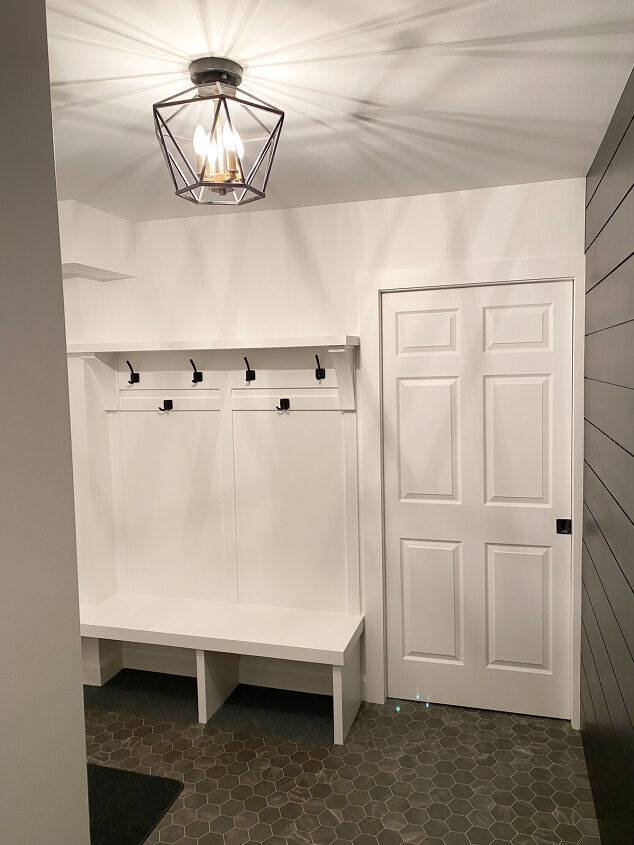
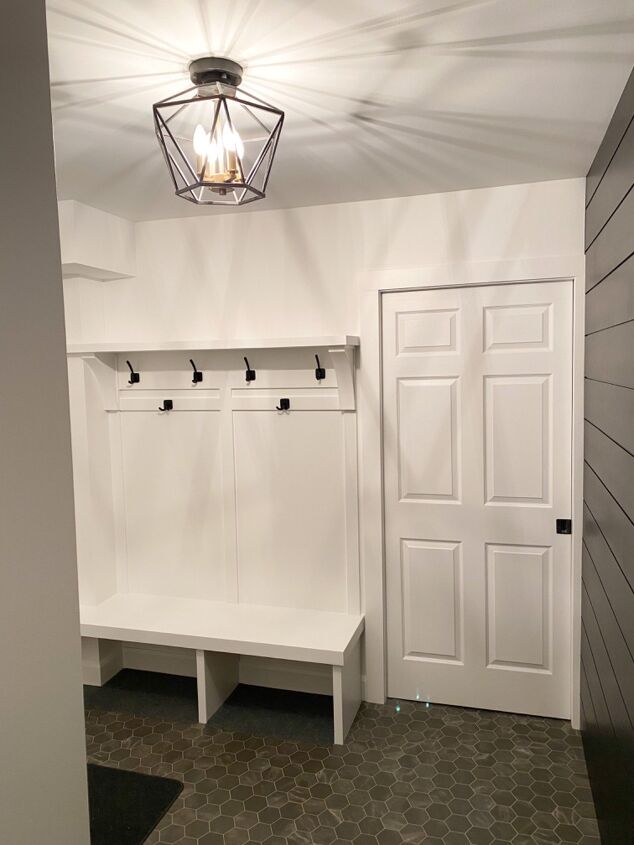
It's amazing what some wood filler, caulking and paint can do to transform the final project! The area was primed and then painted with Benjamin Moore Ben paint in a satin finish in Chantilly Lace. For extra durability, we finished it off with a couple of coats of Varathane Diamond Wood Finish in satin clear.
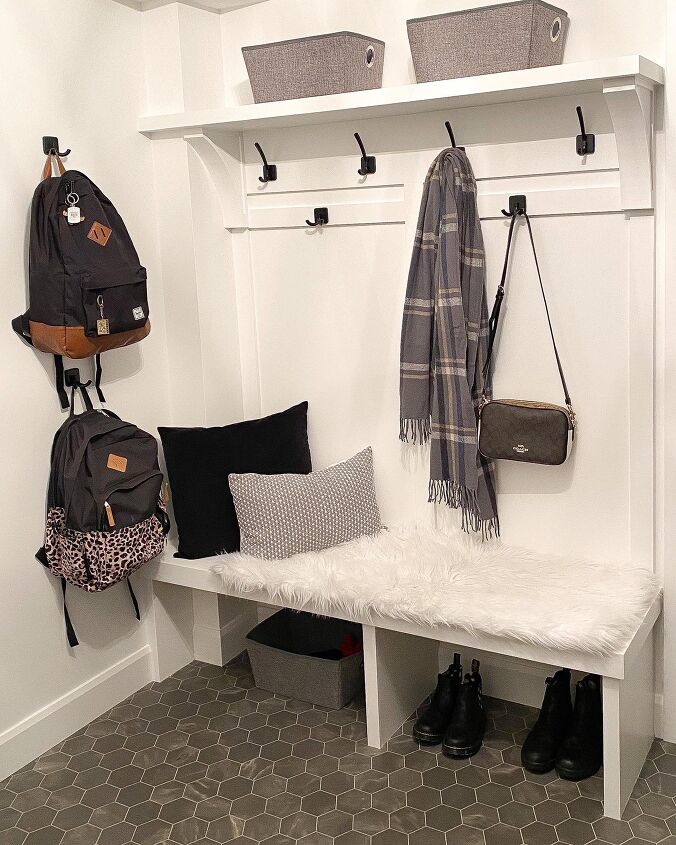
We are so happy with the finished project! If only it looked like this all the time!
Will you give it a try and create your own custom drop zone?
Resources for this project:
See all materials


Comments
Join the conversation
-
And of course, whenever you remove a closet, you have missing pieces of flooring where the closet walls stood, i.e. be prepared to replace all the flooring in the room.


Frequently asked questions
Have a question about this project?