


DIY Cedar Planked Ceiling
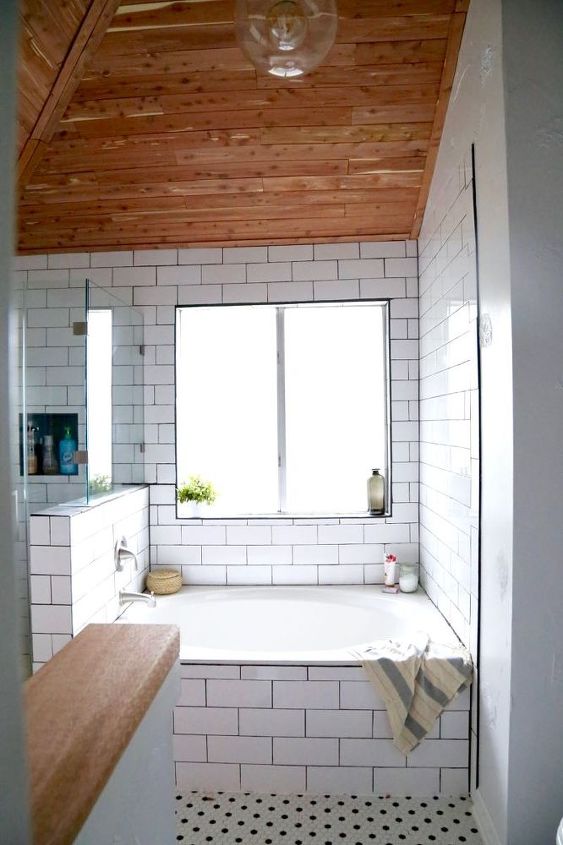
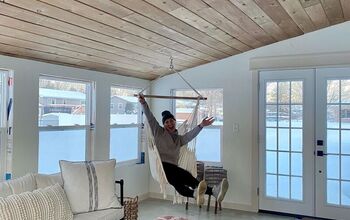
We just recently finished a MAJOR bathroom renovation and I wanted to share a quick (and incredibly simple) tutorial for one of my very favorite parts of the room - our cedar-planked ceiling!
This project makes a huge impact but it's beyond easy to do and I swear anyone can do it! You can see the full reveal of this bathroom (with way more photos and details) on my blog post.
This project makes a huge impact but it's beyond easy to do and I swear anyone can do it! You can see the full reveal of this bathroom (with way more photos and details) on my blog post.
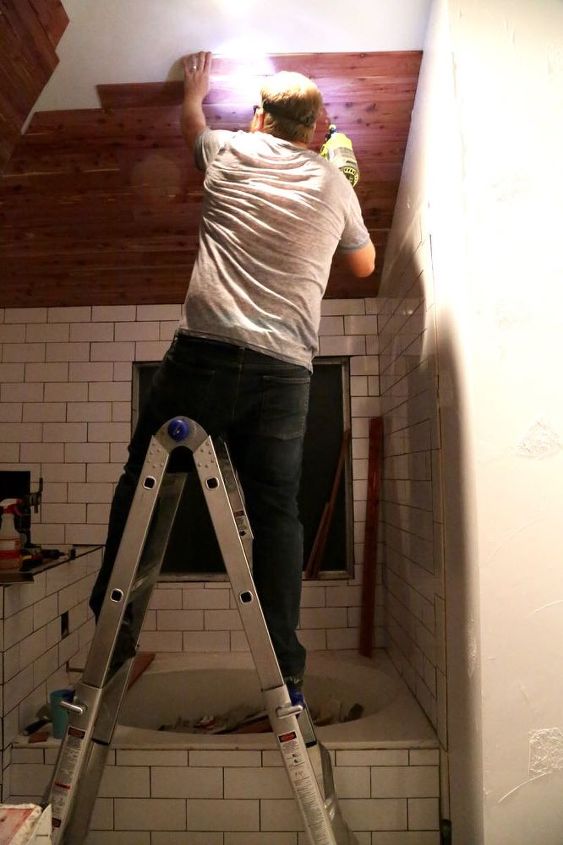
We got our cedar planks for this room from Cedar Safe. We have a vaulted ceiling in this room, which makes it a little more complicated, but this would be incredibly straightforward on a normal ceiling. Choose the corner you want to start in, push your first board up against the corner, and use a nail gun to nail it in.
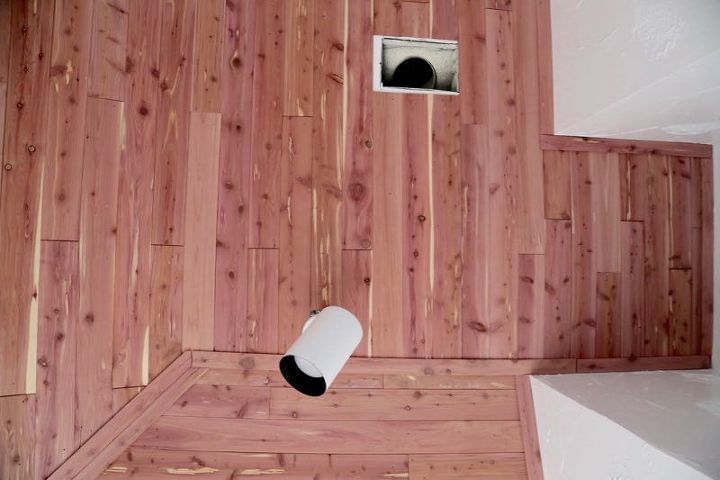
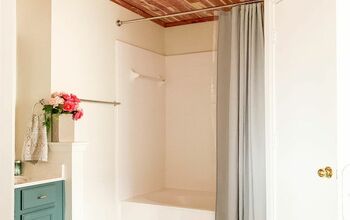
Here you can see what it looks like from the ground looking up (we replaced the light and the vent cover before all was said and done). To get those trim pieces, we just cut one of the cedar boards in half lengthwise and nailed them into place. They were perfect to cover up any places where two boards met going in different directions, and places right up against the wall where the ceiling was wavy (which happened a lot) and there was a gap. With the trim pieces, it all looks nice and finished.
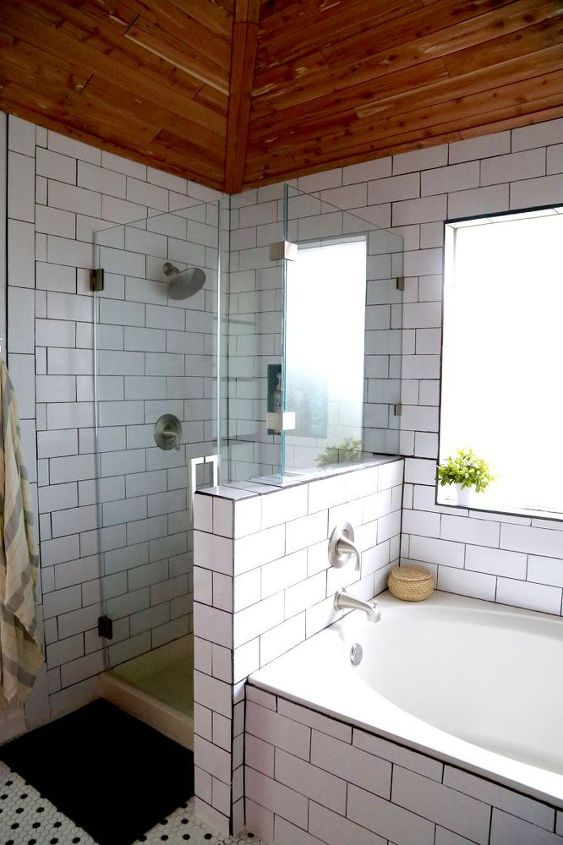
And really, that's all there is to it! Many people recommend sealing cedar if it's going to be in a high-moisture room, but we haven't sealed ours yet. This room has really good ventilation and so steam and moisture don't really collect much in here, and we wanted to keep the cedar raw so we could preserve the beautiful smell. We may go back eventually and add in a sealant, though...we're keeping a close eye on it!
And that's all there is to it! It really is a very beginner-level project as long as you're at all comfortable with using a nail gun and a table saw, and it makes a giant statement in the room! You can see way more photos of this bathroom and the other projects that we did in this room on my blog.

Want more details about this and other DIY projects? Check out my blog post!
Comments
Join the conversation
2 comments
-
Wow....great job
-
Amazing job! Looks great against the subway tile!


Frequently asked questions
Have a question about this project?