


How I Created a Secret Garden Area - Part 4

This is the last installment of the Secret Garden project - finishing touches! I so love when the time comes for a project to wrap things up! If you haven't had a chance to read parts 1-3, the links are below.
Part 1 Removing the grass and gave it to a neighbor. I then bought a focal point for the Secret Garden - a 3-tiered, 60" tall water fountain and created a garden area around it with edging bricks.
Part 2 Adding a walkway between the existing gardens and planting the new garden around the water fountain - the focal point of the whole area!
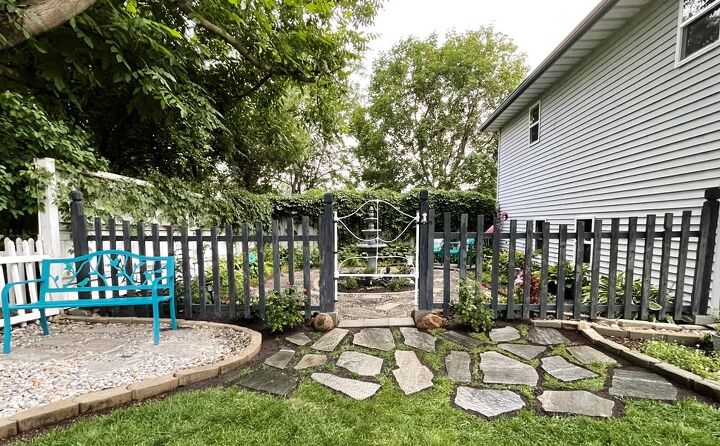
Part 3 Building a picket fence! This is the first time I have attempted to build a fence so I was not positive that it would work out. The wood I used is reclaimed from when we had to replace our decking last year. I am so pleased that the fence actually came together!
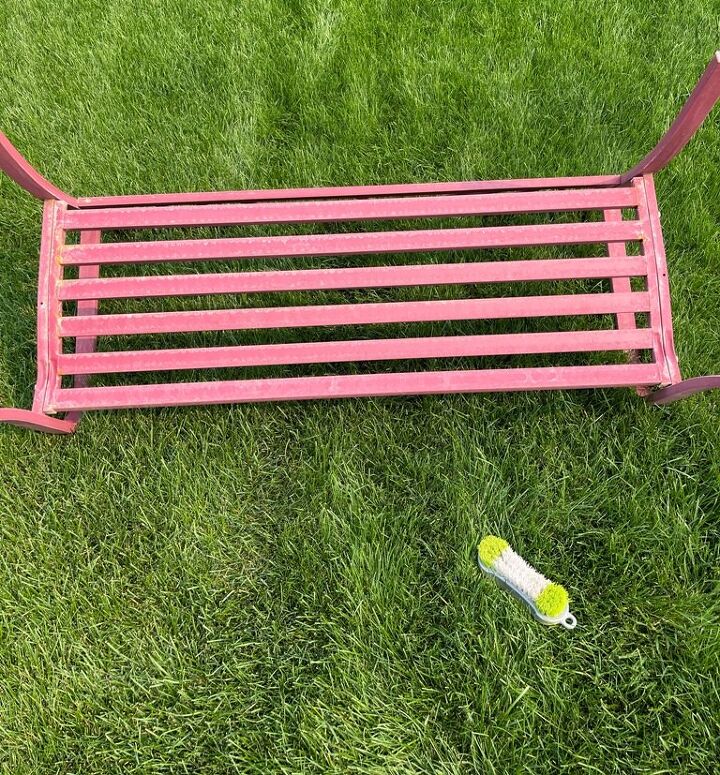
The first finishing touch was to paint the bench that sat outside the new picket fence. We’ve had it for a few years & it had faded. I decided to change the color to a tealish blue. Before painting, I washed it down & scrubbed it with a brush.
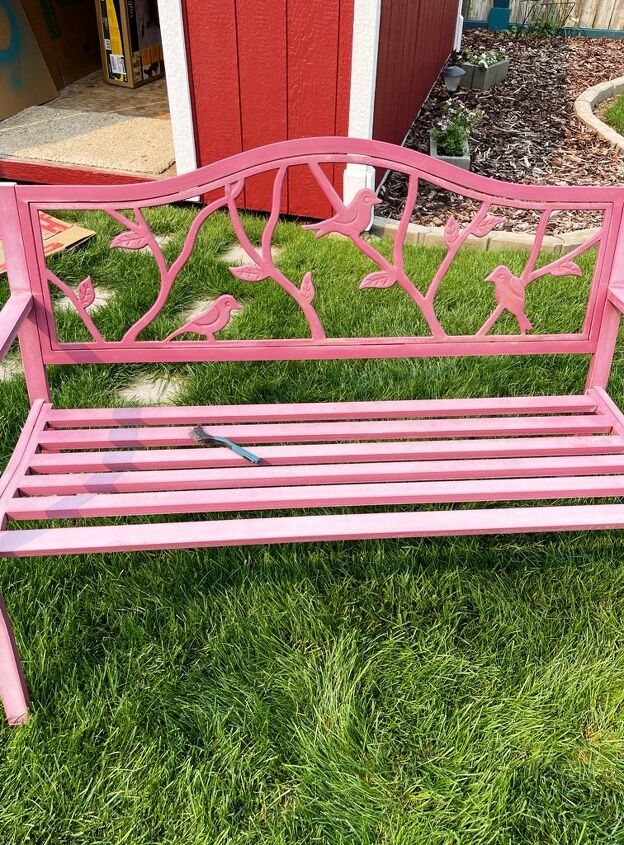
Some of the metal had begun to rust so I used a wire brush to scrape off as much as I could.

Before scraping with wire brush
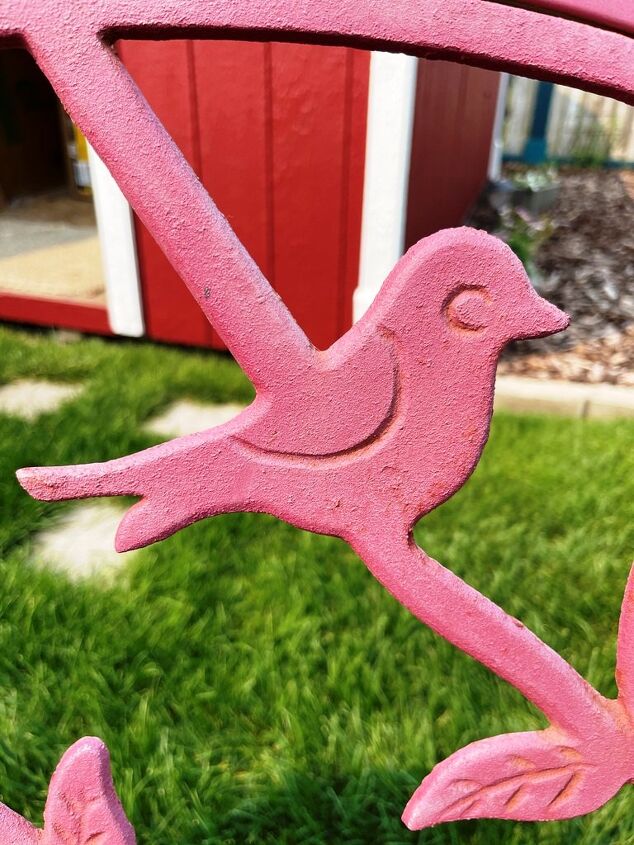
After scraping with wire brush
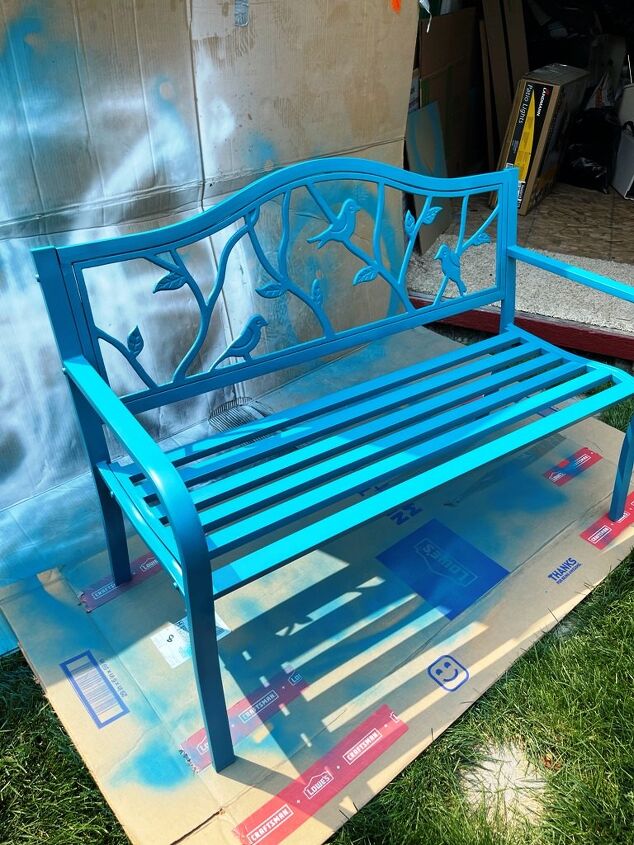
I bought two cans of Rustoleum spray paint and ended up using about ½ of the 2nd can. Using cardboard to protect the grass, I started spraying the bottom of the bench. Once the bottom was dry, I turned the bench upright and sprayed the rest of the metal.
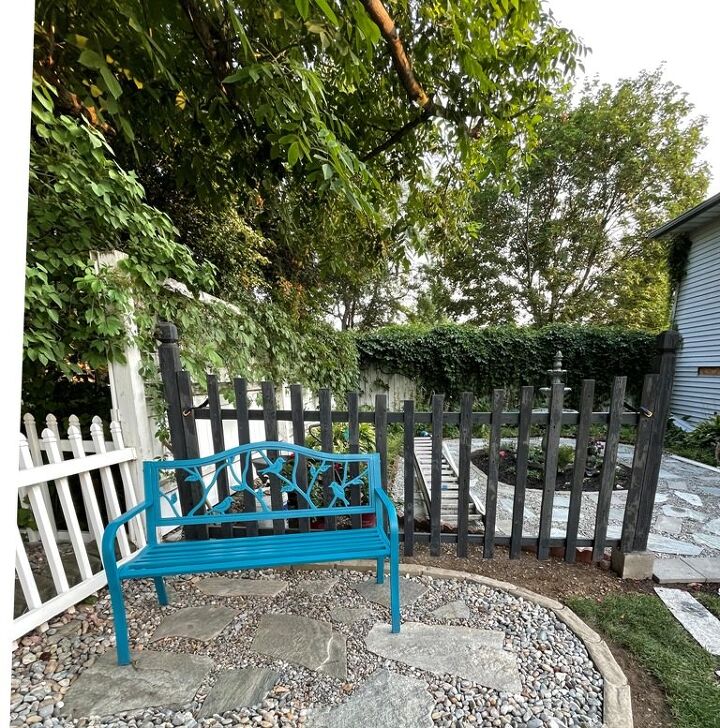
The new color is perfect with the color of the fence!
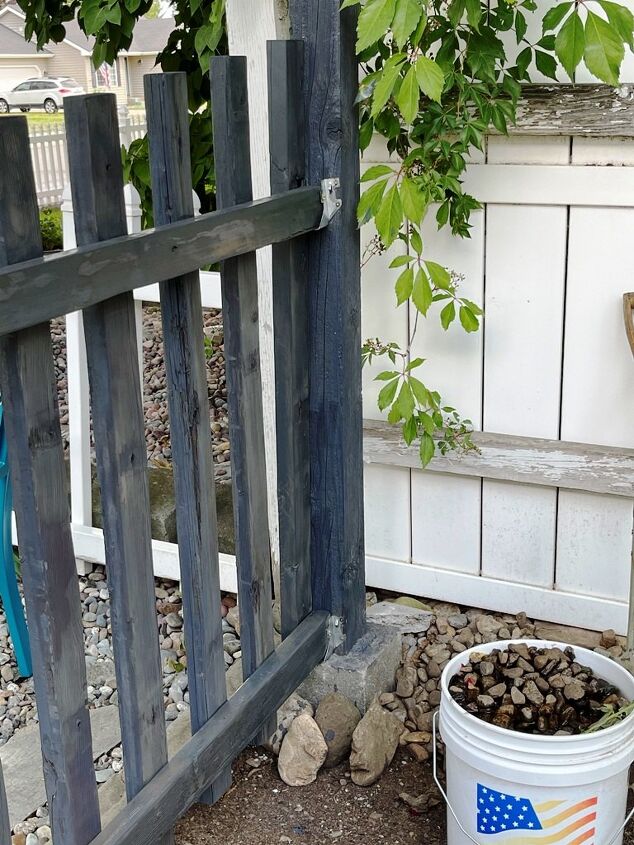
The next finishing touch was to conceal the shiny silver of the brackets that hold the crossbars on the picket fence. This is just a personal preference but the little bit of matte black paint was enough to help the brackets 'disappear'.
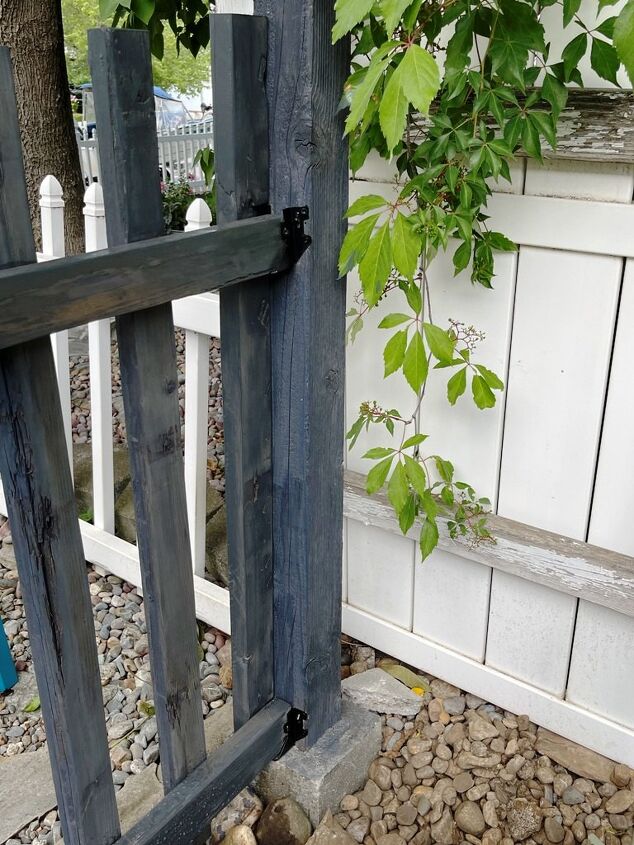
Using a small artist brush, I applied two coats of exterior black paint to the brackets.
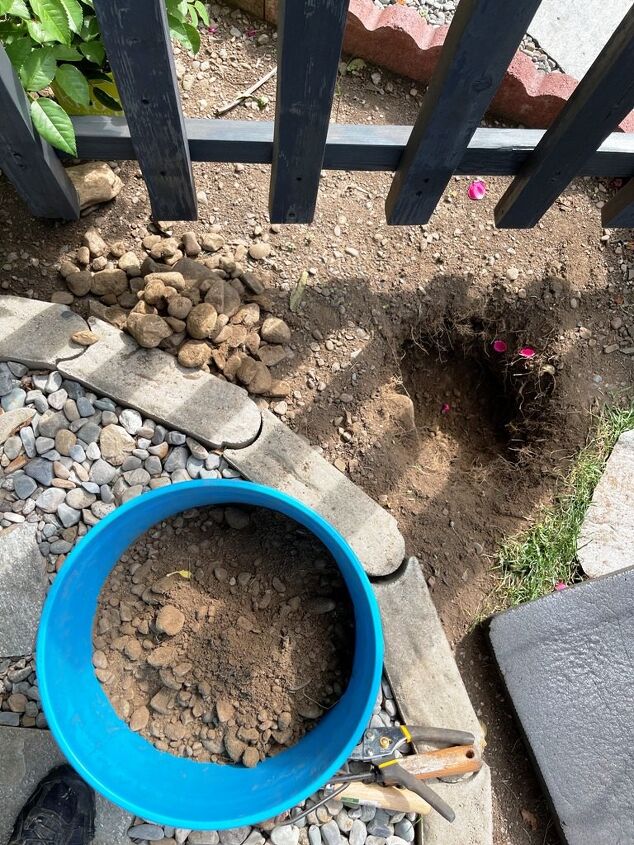
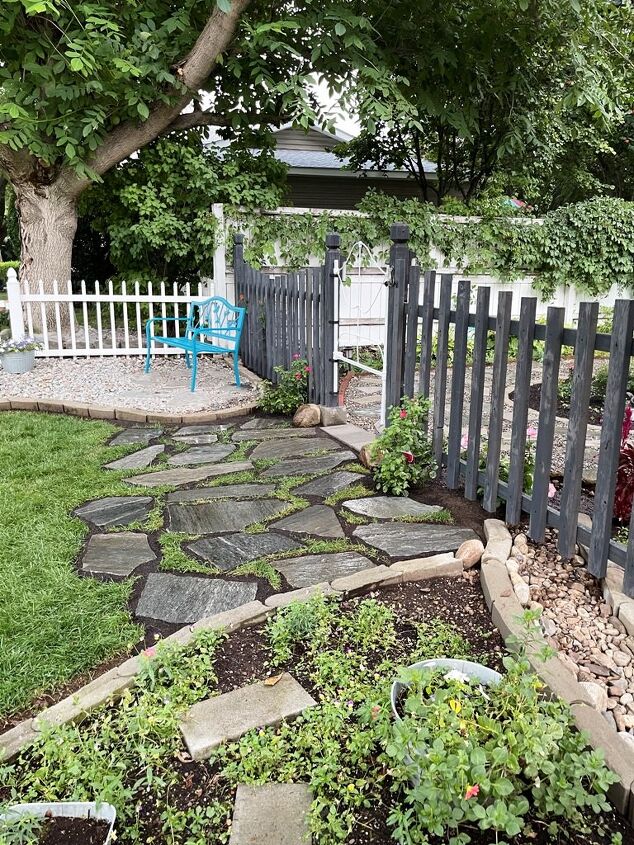
Now that the picket fence was finished, I could plant the roses on the outside by the posts. The 2 roses I bought were in 2-gallon containers. I didn't actually pay attention to the size because it was all the nursery had.
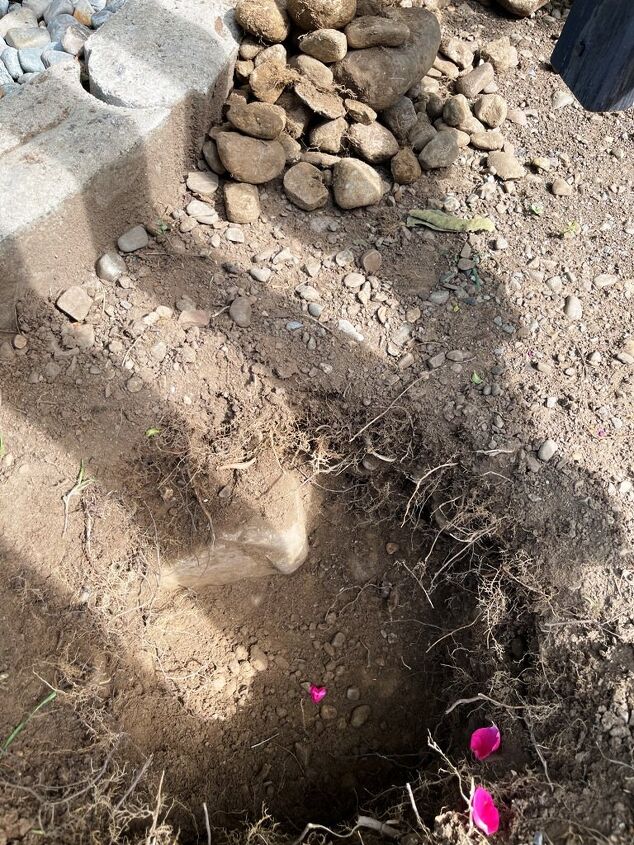
You may remember my stating that our soil is VERY rocky. It took me quite some time to dig holes big enough for the roses. But, now I know that I could have dug holes for the fence posts :)
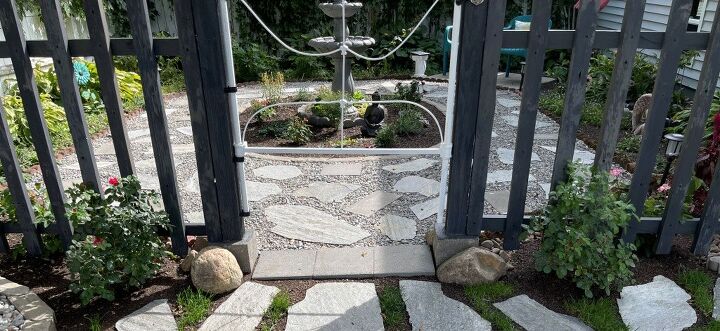
The roses look perfect on either side of the gate. The two large rocks you see here are ones that I dug up while digging holes for plants.
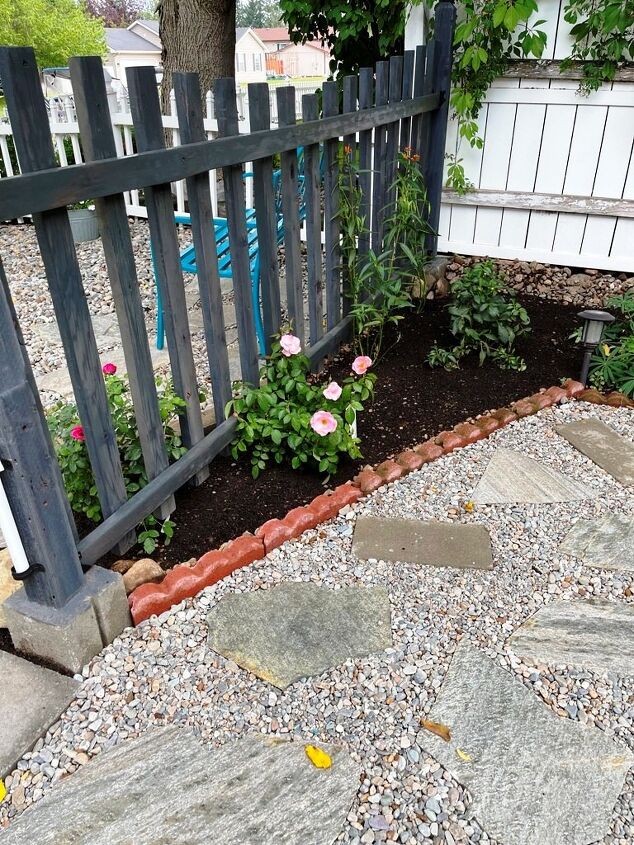
After planting the roses, hubby said he would love to have more roses so I went on the hunt. I knew our local nursery was out of roses so I went to Home Depot & saw that they had a fresh shipment of light pink ones! They were only in gallon buckets too!
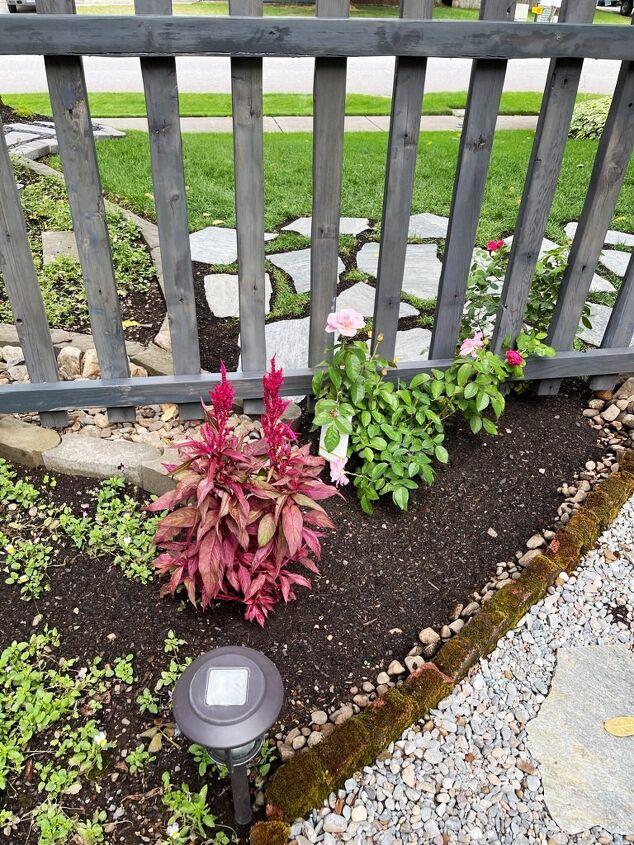
They also had several gallon-sized perennials for $3!!! I bought 4 to plant inside the picket fence with the new roses. Digging the holes for the gallon-sized plants now seemed easy, lol!
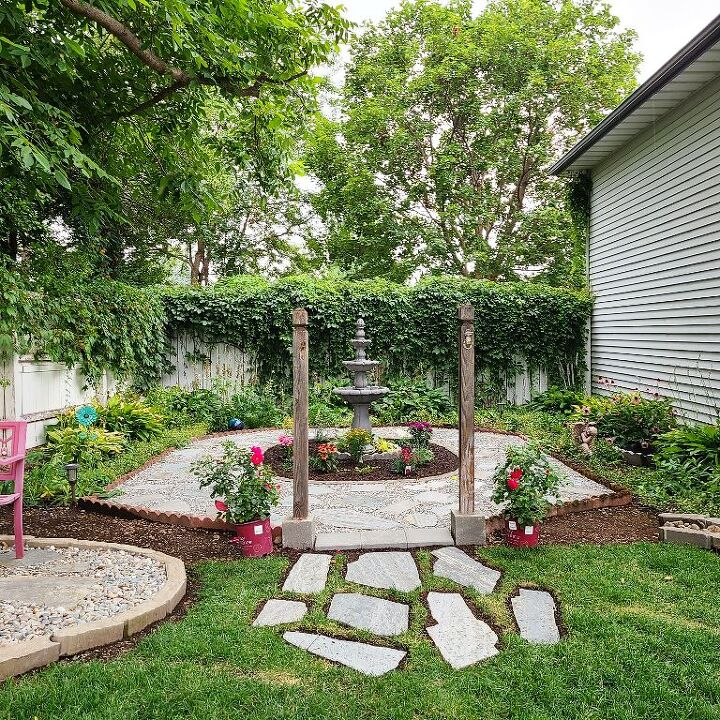
When I envisioned this project, I thought it would be nice to have a flagstone entrance to the garden. I went to my favorite local flagstone supplier and picked up a few pieces. To set the flagstone, I set them where I wanted them and used my spade to cut around each perimeter. After that, I moved the stones aside and pulled up the sod from beneath them. This area is fairly flat but I did use some soil under a few of them to make sure they were level with the ground and with each other.
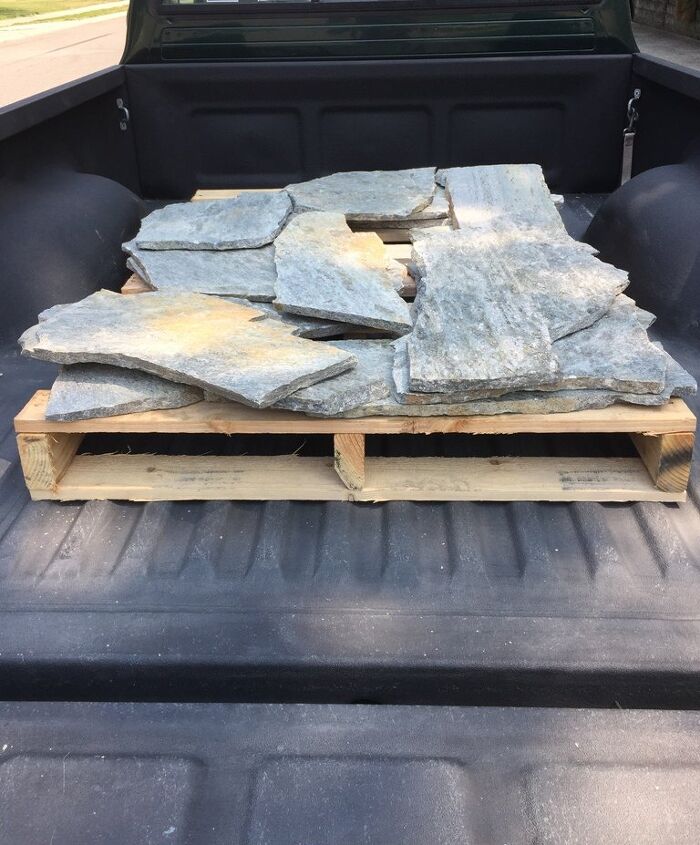
After I finished the Secret Garden project and the fence was installed, hubby and I thought it would look better to have the flagstone span the space between the two side gardens. So...back to the flagstone supplier I went. I bought several more pieces of flagstone and brought them home. The flagstone is mined locally and sells for $.28 a pound.
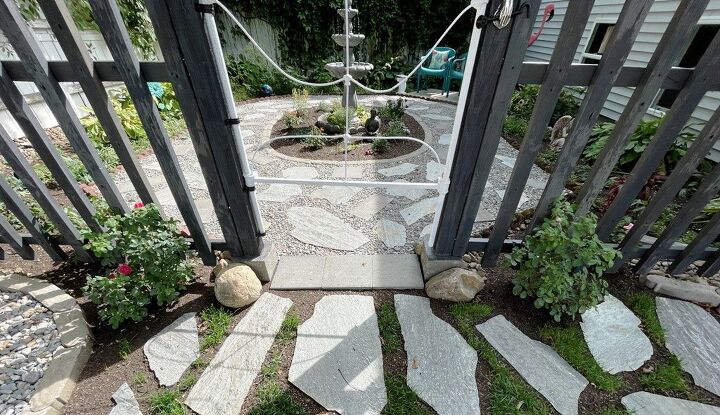
Following the same process of 'planting' the stones, I filled the area from brick to brick. Since the new section was not level with the existing flagstone, I ended up having to lift those stones to level the area.
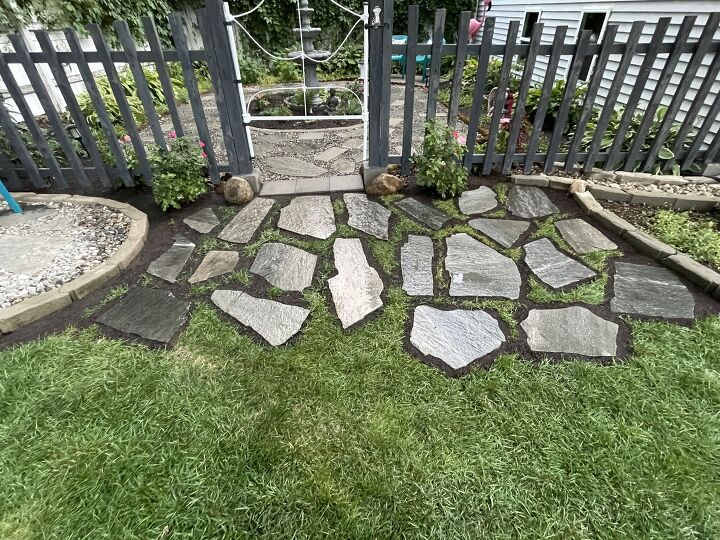
When all the flagstone was set in place, I filled the space around each stone with soil. Having stone from side to side looks so much better!
Flagstone entryway

We thought it would be nice to have a seating area in the Secret Garden. One of the back corners was pretty level & didn’t have any mature plants so it was a great spot. I bought 20 12" x 12" bricks and laid them in that space. only needed to add a little soil under a few of the bricks to level them. We used a couple of patio chairs from the backyard. Such a quick update! Our flamingo makes the perfect accent piece to this little sitting area. We have used it several times already!
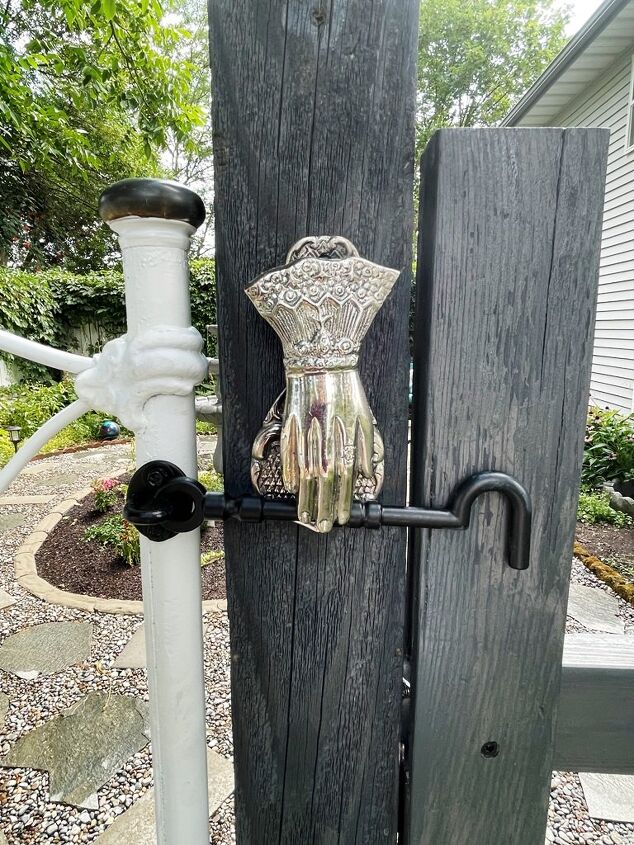
One of my favorite accents to this area is the little handle that holds the gate latch. I found this silver note holder at Habitat one day and thought it would make an adorable latch holder. I was thrilled that it actually worked!
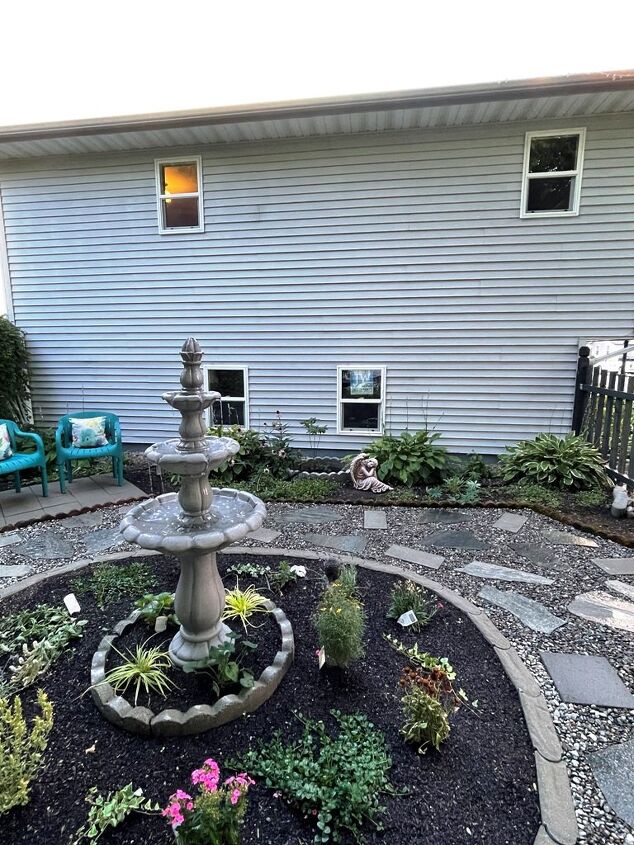
While I was working on the Secret Garden, my contractor installed 4 windows in the wall closest to the garden. We can now look out onto the area and enjoy it even when we are in the house.
Wow! This was such a fun project! The transformation is just spectacular!
Video of the Secret Garden
Comments
Join the conversation
-
Yes l will next spring thank you
-
omg it is so adorable😍 i am in love with this


Frequently asked questions
Have a question about this project?