


How to Start Seeds Indoors

$200
2 Hours
Easy
Hey Friends! Thank you so much for stopping by. I’m so glad that you are here.
I am so excited to get my garden going this year. I have been dreaming about what I am going to plant in the garden since harvesting my garden last summer. Although I am planting some veggies, especially pumpkins, I’m mostly planting flowers this year. I have decided that it is much easier to go to the grocery store and buy the produce instead of growing my own. 2020 has been an interesting year, one thing that I’m learning, is that I don’t have to do things that I don’t want to do. As much as I love gardening, I don’t necessarily enjoy growing, harvesting and canning or freezing garden produce, so I’m not going to, I’m going to plant mostly flowers and that makes me happy.
I am so excited to get my garden going this year. I have been dreaming about what I am going to plant in the garden since harvesting my garden last summer. Although I am planting some veggies, especially pumpkins, I’m mostly planting flowers this year. I have decided that it is much easier to go to the grocery store and buy the produce instead of growing my own. 2020 has been an interesting year, one thing that I’m learning, is that I don’t have to do things that I don’t want to do. As much as I love gardening, I don’t necessarily enjoy growing, harvesting and canning or freezing garden produce, so I’m not going to, I’m going to plant mostly flowers and that makes me happy.
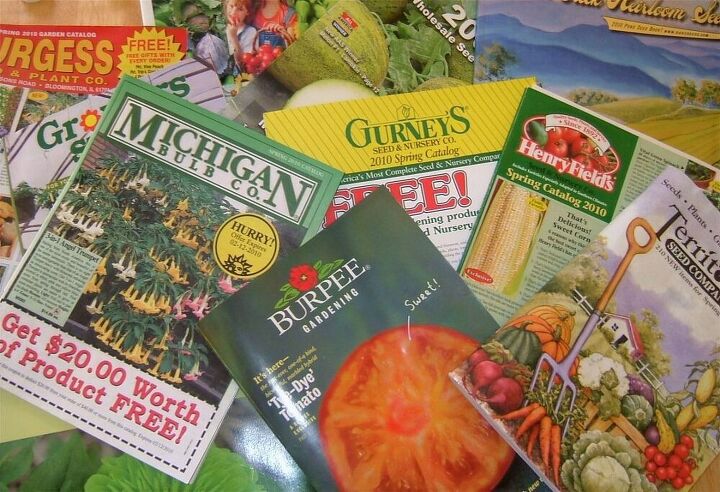
(Affiliate links are used for your convenience. Read my full disclosure here.) I grabbed my seed catalogs and sat down at my computer and chose and ordered my seeds. I love heirloom pumpkins, so I ordered several kinds of pumpkins and a few tomatoes. But, mostly flower seeds.
I got sunflower, Bells of Ireland, strawflower, statice, stock, chinese lantern, amaranthus and more. I will be writing a post later in the spring about planting a cutting flower garden. This will be my first time to start seeds indoors, so I’m learning as I go along and I’m certainly NOT an expert in any form of the word. But, here is what I’ve learned thus far. By growing my own seeds, I save money, I can grow varieties I choose and that are hard to find in my local nurseries, and I have them when I’m ready to plant my garden. Here’s what you will need to sow seeds indoors:
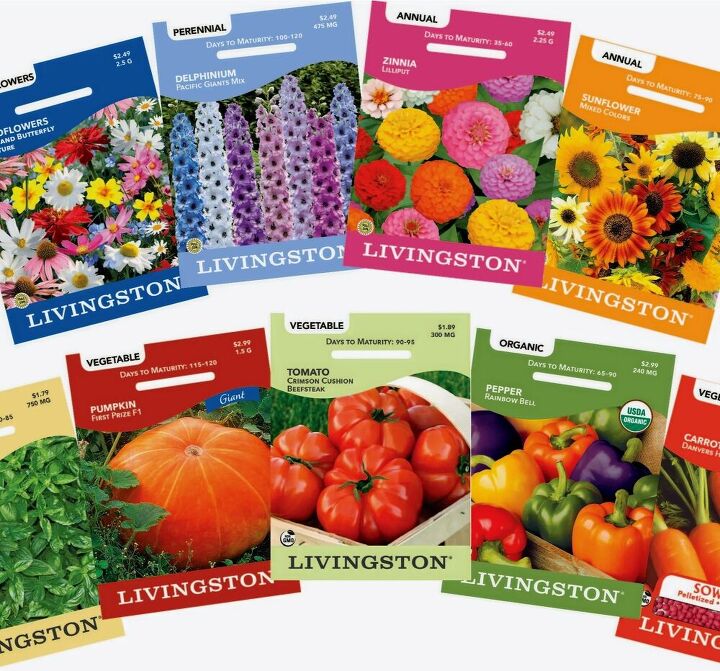
- Seeds
- Seedling trays and pots
- Seedling starter soil
- Labels
- A light source
- Water
- Heat
- A place to grow the seeds.
- Airflow
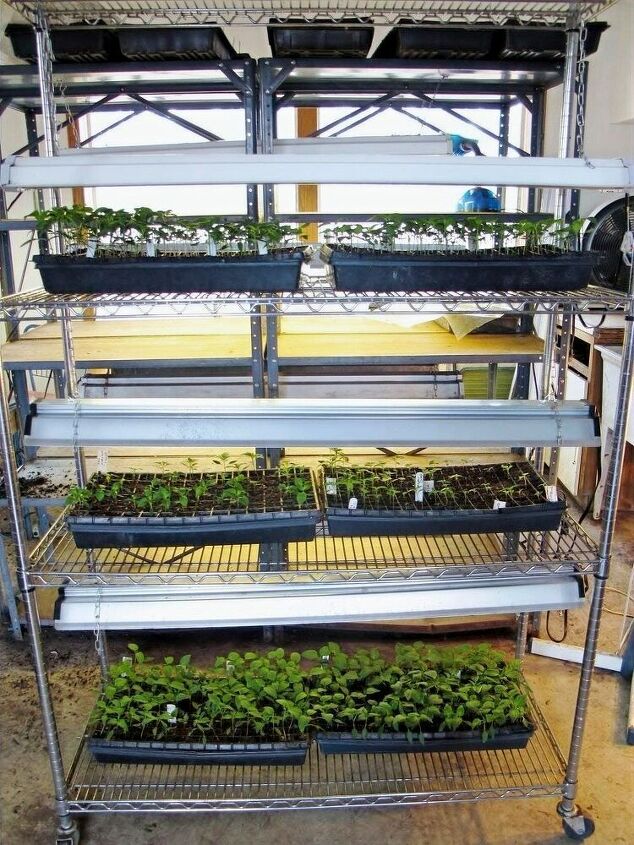
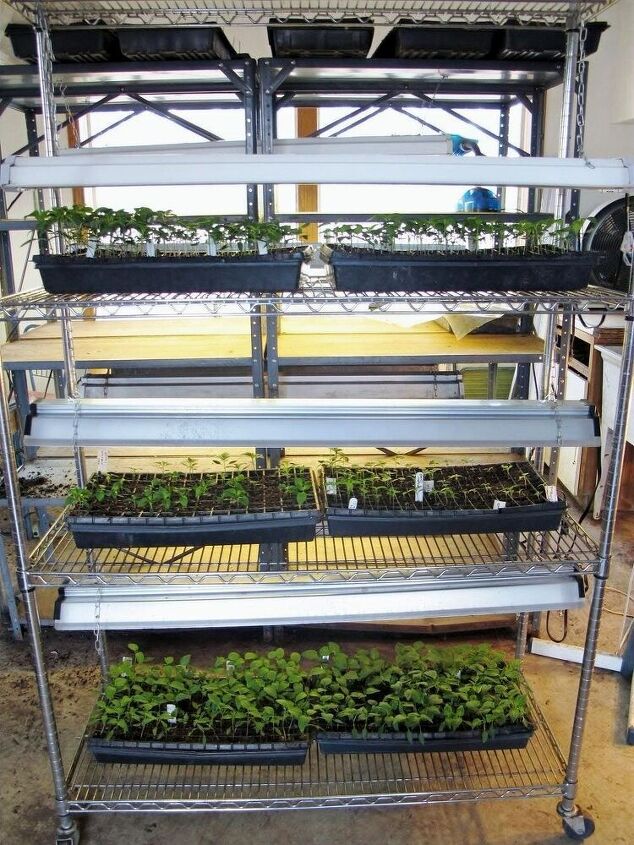
(Photo coutesy of Garden.org) I bought my shelving unit on Amazon. You can get one here. I like this one because it is on wheels and I can roll it out into the sunshine when the plants are ready to harden off before planting.
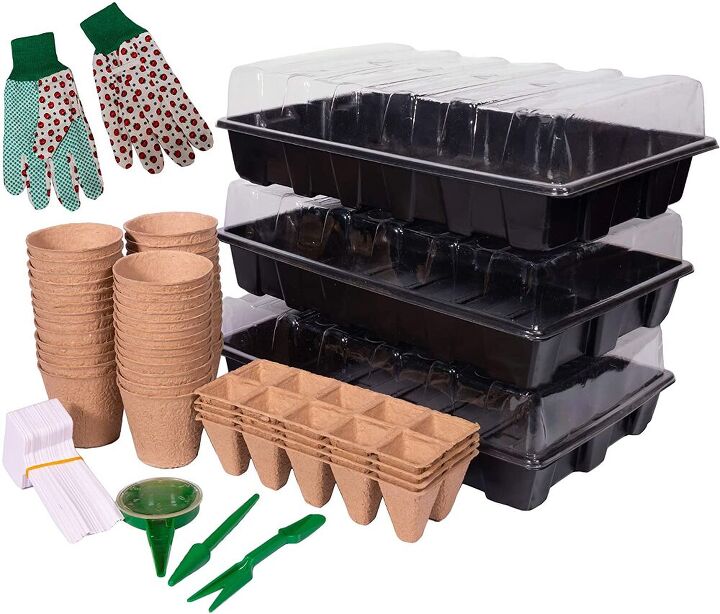
I bought several of these kits, so that I didn’t have to buy a bunch of things individually and this had almost everything that I needed. You can get it here.
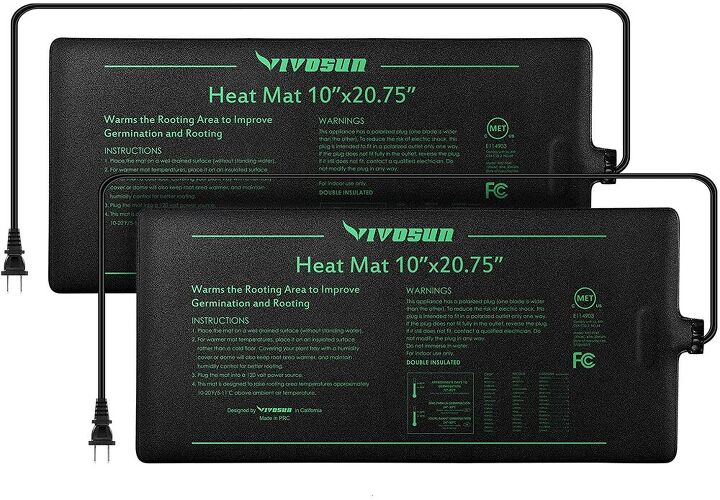
I started by putting heating mats on the shelves of the shelving unit. I bought four 2-packs, you can get it here. The seedlings will need to be kept warm to germinate.
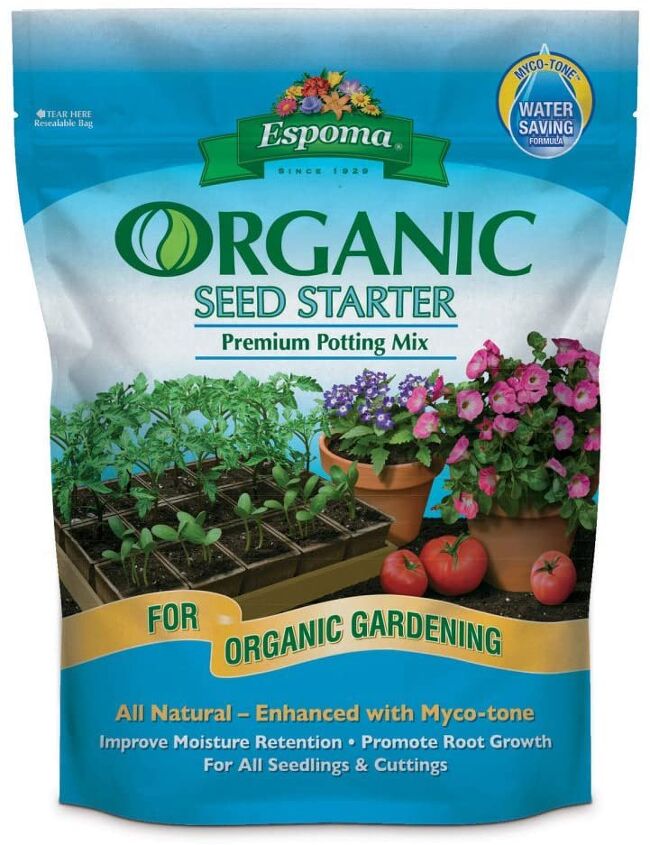
I started by putting the seed starter mix in the seedling trays. The seedling starter mix is a better choice than potting soil, I learned that the hard way. Potting soil is too heavy for the seedlings to push up through. The ideal seedling mix is light, without large chunks or woody pieces, and no fertilizer added. You do not need any fertilizer in the soil – fertilizer can burn fragile seeds and seedlings, inhibiting or killing growth. Get seed starter soil here.
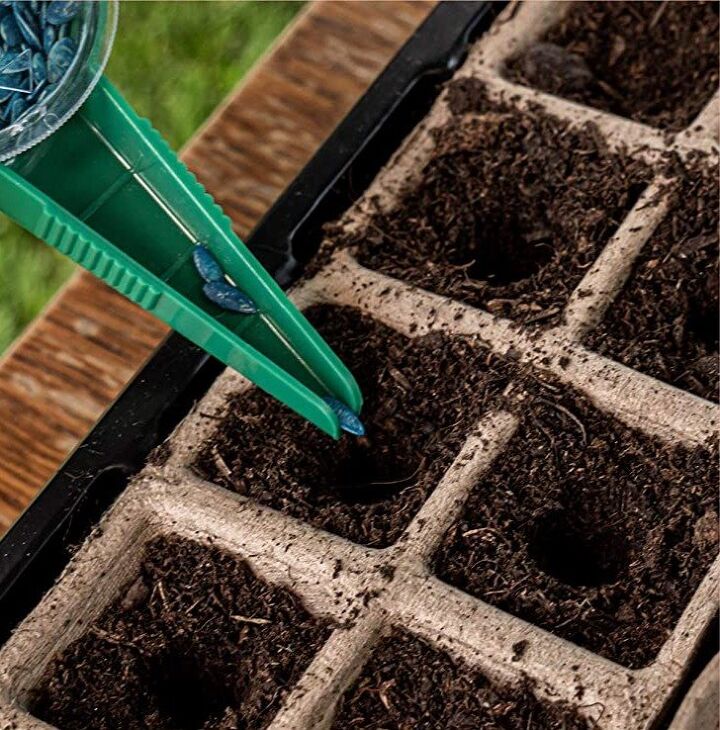
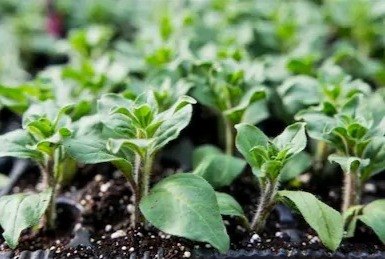
Then I poked a hole in the soil with my finger and inserted several seeds. The seed packet will tell you how deep the hole should be and how many seeds you should plant in each hole. I didn’t use all of my seeds, so I folded over the top of the packet, taped it closed and I keep it in a small seed box.

Be sure to label your seedlings, so that you know what they are. If you are anything like me, you probably won’t remember long without the labels.
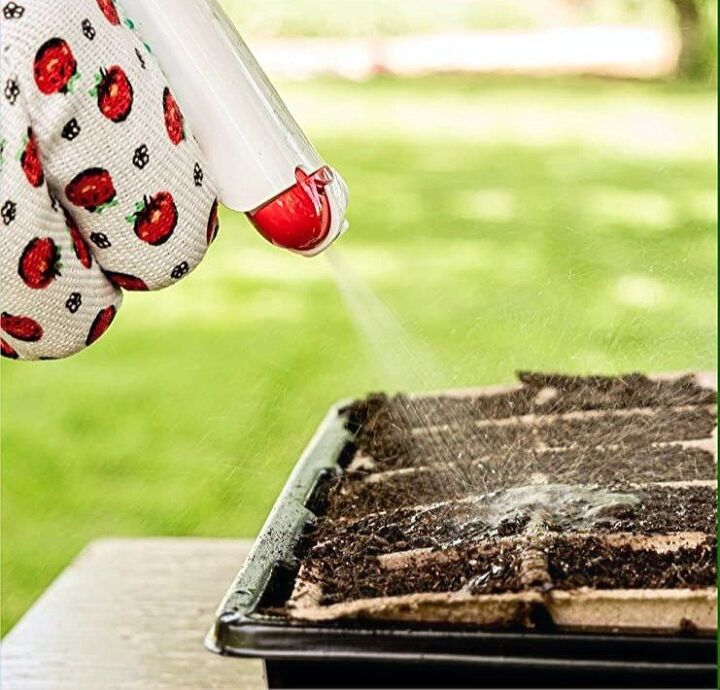
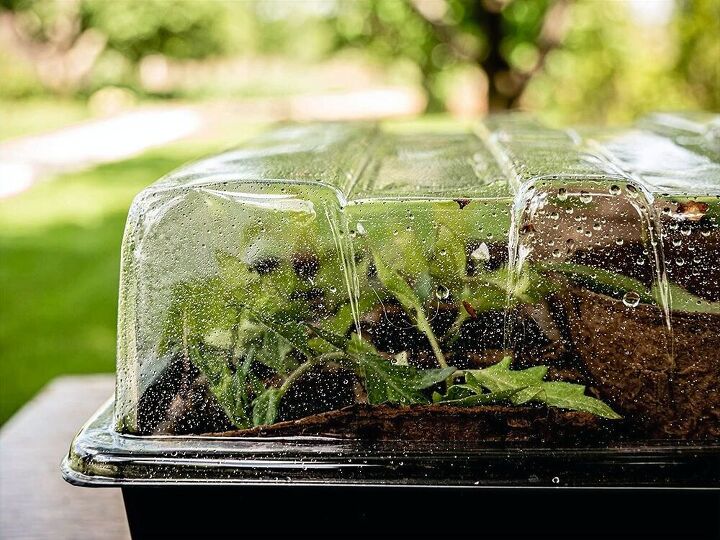
Water the seeds well, but you definitely don’t want them to be soggy. The trays should be kept covered with dome lids after the seeds are planted, before sprouting. The lids help keep in moisture and warmth, assisting in germination.
I then placed my seed trays onto the heat mats on the shelves. I heated the mats to 75 degrees. The heating mat will turn off when it warms up during the day and turns on in the evenings when it cools down. My basement doesn’t get much light, so I followed the example from the picture from the article that I found on Garden.org, and hung grow lights from the shelves using “s” hooks. I plugged the lights into a surge protector with a timer built into it, so that I wouldn’t have to turn the lights on and off each day, lazy, I know. Get the surge protector with timer here. What I liked about this surge protector is that all 8 outlets worked on the timer, most of the other surge protectors had four outlets on the timer and four outlets that stay on all the time.
I bought these grow lights, they came in a 6-pack for $99, other lights were $30 each. Get it here.
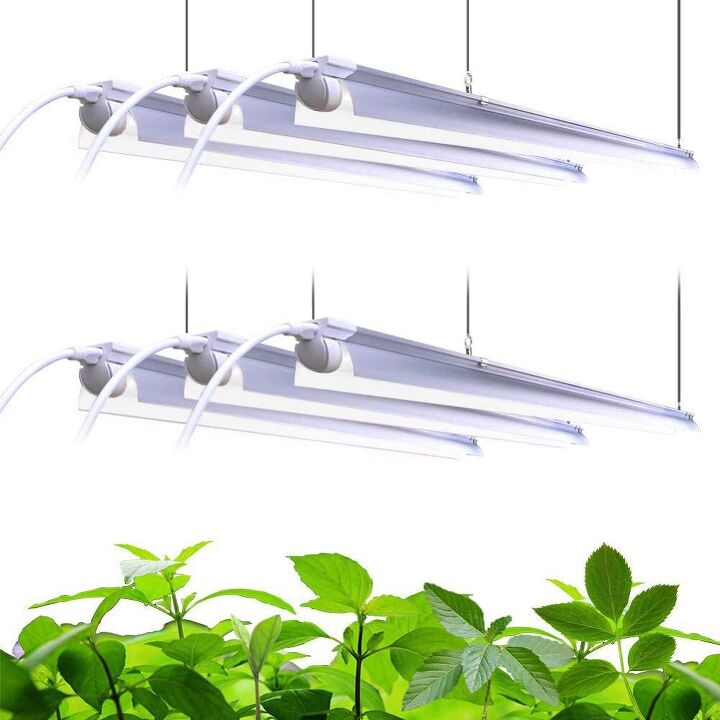
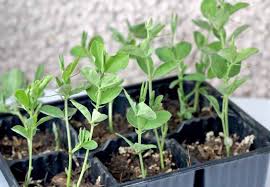
Your seedlings will tell you if they’re getting enough light or not. Without adequate light, seedlings will get “leggy”. This is when they stretch out super tall and thin in search for more light, making them weak, and susceptible to breaking. The shorter and stockier you can keep them, the better. Seedlings need 12-16 hours of light each day. By hanging my lights with the “s” hooks, I can easily adjust them, raising them as the seedlings grow. I kept the lights low and close to the seedlings, just a few inches above, to help prevent leggy seedlings. If you have LED lights, read their specific instructions. They can burn your plants if they’re hung too close!
After the seedlings reached the top of the plastic cover, I took it off. Seedlings need movement to develop strength and prepare them for planting outdoors. Good air circulation also helps prevent disease, mold, and a condition called “damping off”.
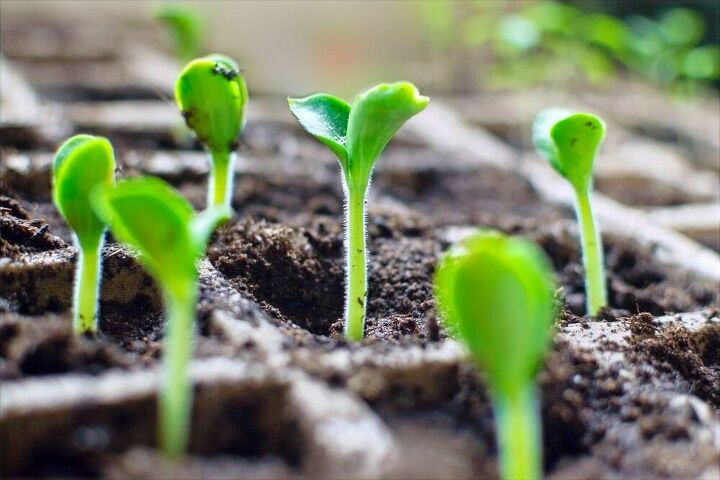
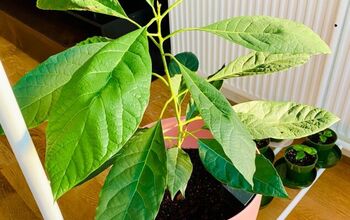
My goal is to keep the soil fairly moist but not soggy during germination. I have been misting the top of the soil with a spray bottle every day, or every other day, depending on how much moisture there is in the soil. Once the seedlings really start to grow, I will start watering them by adding water to the trays and stop using the spray bottle. The soil will draw water from the bottom, as much as they need until the soil is evenly saturated, and then stop. I will be careful not to let them sit in a lot of water, I don’t want them to become too soggy and die. Watering from below also encourages seedling roots to travel downward to the moist soil, developing faster and deeper. Thus the plant also develops faster and taller. I will use an oscillating fan to create a gentle breeze. The movement makes the stems stronger. The airflow also helps keep the seedlings from molding, and disease. I won’t fertilize my seedlings until their first set or two of “true leaves” appear, then I will start to feed them very lightly. The first set of two leaves that emerge (often heart-shaped, and often looking exactly alike between dozens of varieties of veggies) are not the true leaves. These are the their embryonic leaves. The two leaves that come after the embryonic leaves are their “true” leaves. Those leaves will more closely resemble what the mature leaves of the plant will look like.
I will soon be thinning my seedlings down to the one healthiest sprout per cell space-thinning allows the strongest seedling to continue to grow strong without competing for food and water with the other seedlings in the same cell. About ten days before I want to plant the seedlings outside, I will start preparing them for the transplant shock by hardening them off.
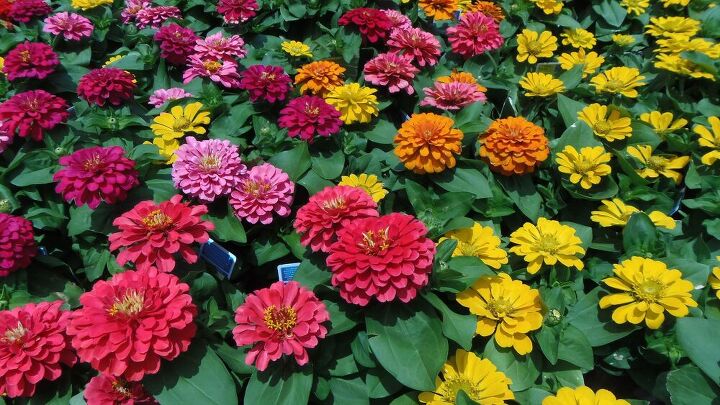
It won’t be long before they grow strong and start to bloom, I can’t wait. I will be writing another blog soon about what flowers I have chosen for my cutting garden. Happy gardening! Hugs and blessings to you, Renae
Comments
Join the conversation
1 comment
-
I can't wait to see what flowers you choose for your cutting garden!


Frequently asked questions
Have a question about this project?