


How to Refinish a Dresser With Stain or Paint

By Alexa Erickson
Whether you have a dresser that looks outdated, or it's showing its age with lots of wear and tear, you may be wondering what to do with it. Before you toss it or donate it, consider refinishing your dresser. Not only will the project bring it new life, but it will save you money on purchasing a new one.
Refinishing a dresser simply means giving it a facelift by sanding it down and giving it a fresh coat of stain (or paint, if you choose). It can also mean swapping out the hardware and cleaning out the drawers.
Even if it sounds like a big project, refinishing a dresser is actually pretty simple. All you need are the right tools and your dresser can look like new in just an afternoon. Here’s everything you need to know about how to refinish a dresser.

How to Remove the Finish from a Dresser
Prior to refinishing a dresser, you’ll need to remove the old finish on it, whether it was previously painted or stained. If you’re working with a painted dresser, you can sand off the old paint. Meanwhile, stained furniture will require chemicals to completely remove the finish. If you're removing stain from a dresser, it’s best to set up shop in a well-ventilated area, like an open garage.
Tools and Materials Needed
- Drop cloth
- Tools to remove hardware
- Protective wear (eyewear, long sleeves, gloves, respirator)
- Bucket of water
- Rags
- Chemical stripper
- Medium-sized paintbrush
- Plastic scraper
- Palm sander and medium-grit sandpaper
Step 1: Prep the Site
Place a large drop cloth beneath the dresser to protect the ground from any potential stains. Then, remove drawers, doors, and any hardware and put them in a safe place. Put on your protective clothing and accessories and keep a bucket of water and rags handy just in case there are any spills.
Step 2: Strip Away Stain
If the dresser is stained, remove the finish with a chemical stripper, making sure to follow the chemical stripper’s directions for application (many require you to mix the stripper with water). If the dresser is painted, you can move on to Step 3.
Use a medium-sized paintbrush to glide the stripping solution over the dresser, making sure to coat the entire thing. Allow the stripper to set for 30 minutes, then use a plastic scraper to carefully remove the old finish. Allow the dresser to dry completely.
Step 3: Sand Off Paint
Sanding the dresser will efficiently remove paint from the wood. Sand along the grain of the wood, wiping away the dust particles with a cloth.
If your dresser was stained and you followed Step 2 with a chemical stripper, once it is dry, you can sand the dresser as you would with paint. This will bring the wood to a smooth consistency, and allow you to remove any lingering signs of the old finish.
How to Refinish a Dresser with a Stain
Once the dresser is down to bare wood, it’s time to refinish it. The possibilities and colors are endless and totally up to you.
If you choose to stain your dresser, you’ll first need to pick out a stain. The choice of an oil-based stain and a water-based stain is yours, but keep in mind that oil-based stains give off strong fumes, so it’s best to apply in a well-ventilated area and wear a respirator if you choose this type of stain.
Here’s how to refinish a dresser with stain; you’ll want to begin by applying a sanding sealer, which helps the wood absorb the stain nice and evenly.
Tools and Materials Needed
- Sanding sealer
- Medium-sized paintbrushes
- Rags
- Stain of your choice
- Painter’s tape (optional)
- Polyurethane sealer
- Tools to replace hardware
Step 1: Apply Sanding Sealer
Apply two thin coats of sanding sealer with a medium-sized paintbrush to the dresser and drawers. Wipe off excess with a clean cloth. Allow to dry completely (look at the sealer’s directions for guidance).
Step 2: Sand
Once dry, lightly sand the dresser with medium-grit sandpaper in the direction of the grain. Wipe away dust with a clean rag.
Step 3: Stain
Apply one coat of stain with a medium-sized paintbrush to the entirety of the exterior of the dresser. Wipe away excess stain that the wood has not absorbed with a cloth once you finish staining the whole dresser. Do the same to the front of each dresser drawer. Use painter’s tape if necessary to avoid staining the sides or interior.
If you want a darker stain, allow each coat to dry, lightly sand, then apply an additional coat until you’ve reached your desired stain color.
Step 4: Apply Sealer or Varnish
Once the stain is completely dry, apply a polyurethane sealer to the wood. Allow it to dry.
Step 5: Replace Hardware
When all parts have dried, put the drawers back in place and replace the hardware (or install updated hardware if you want!).
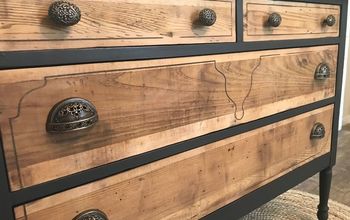
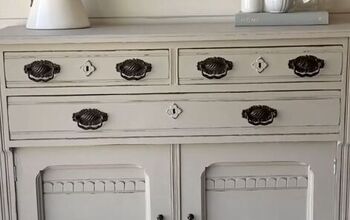
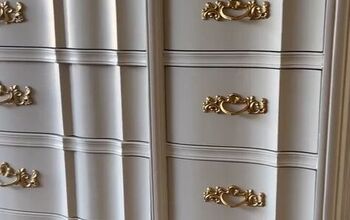
How to Refinish a Dresser with Paint
If you want to get creative with color in your refinished dresser, paint is the way to go. The process is simple and enjoyable; here’s how to do it correctly. Keep a few paint roller and paint brush sizes on hand when you’re painting—you might need smaller rollers for smaller surfaces or small brushes for tight crevices.
Tools and Materials Needed
- Paint
- Paint rollers of multiple sizes
- Paint brushes of multiple sizes
- Painter's tape (optional)
- Topcoat
- New hardware (optional)
- Tools to attach hardware
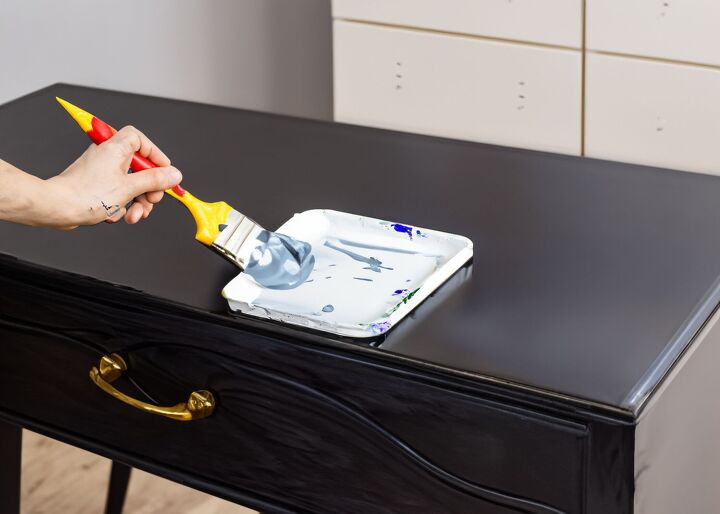
Step 1: Paint
Use a paintbrush or roller to apply a coat of your desired paint onto the dresser and fronts of the drawers (mask off the sides of the drawers with painter's tape if you want super-clean lines). A smaller paintbrush is best to tackle smaller areas. Allow the paint to dry. Apply another coat (or two, depending on your desired look). Allow the paint to fully dry for one day.
Step 2: Apply Finish
Once the paint is fully dry, apply a protective finish to the drawers and dresser. Some paints have a topcoat built into the paint. Regardless, it doesn’t hurt to apply an additional topcoat. Look for a non-yellowing and water-based polyurethane like the Velvet Finishes Protect. Allow to dry.
Step 3: Replace Hardware
When all parts have dried, place the drawers back in place. Replace the hardware, or install updated hardware if you so choose.
Refinished Dresser Care Tips
Once you’ve refinished your dresser, it’s important to know how to keep it in good condition. The last thing you want are scuffs, scratches, and stains decorating your freshly-painted or stained piece. Here are some care tips:
- Be mindful of what you place on the dresser. Protect the paint by placing felt backing beneath heavy items like lamps or mirrors.
- Use a dry microfiber cloth to pick up and wipe away dust. If you need to dampen the cloth, be sure to go over the area again with a dry cloth.
- Avoid commercial cleaning products, which can damage the paint.
Have you ever refinished a dresser? Share your experience in the comments below!
Comments
Join the conversation
-
Looking so fitting! TY for sharing this


Frequently asked questions
Have a question about this project?
I prefer not to use chemical stripper can I sand and then paint over a stained piece?