


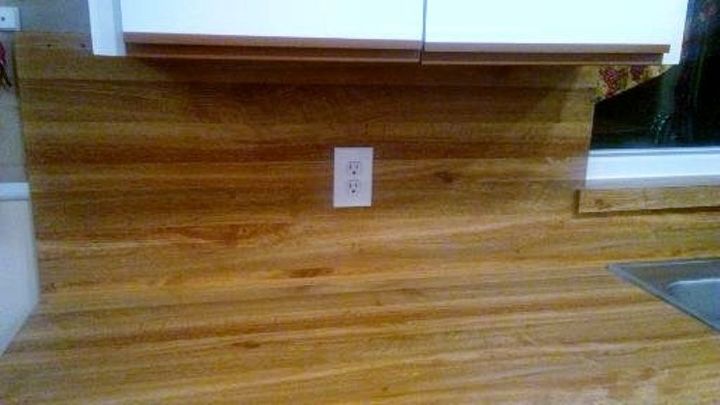
Galley Kitchen Walls 28 Years of Blah.

I have worked long and hard to make my kitchen & dining area Tuscany Wine Country. I made lined cafe curtains, painted the walls, hand plastered a few, and "wrapped" my fridge. Found a $300 Vintage Italian Tole fruit chandelier for $20 at a flea market. Painted the bottom wood trim on my cabinet doors caramel. This color will be used again. Now for the final project - My Beautiful Cork Walls!!! After collecting used natural and synthetic corks thru offerup, letgo,ebay, and craigslist, and buying a table top bandsaw, watching youtube on how to cut the corks, We were ready.
We started by gathering all the needed tools and corks.
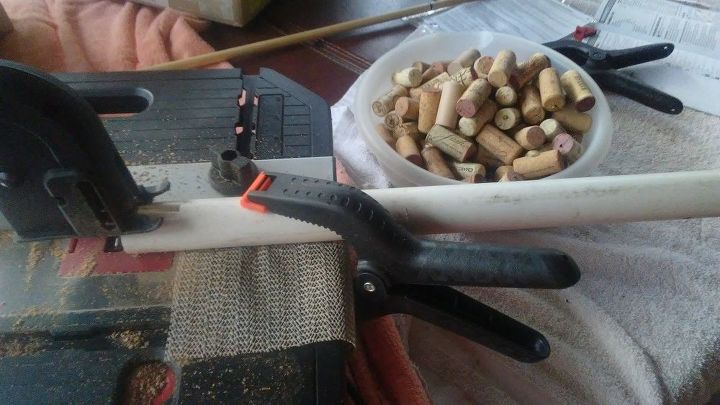
Splitting the corks in half lengthwise. Used over 1200 corks to make 2400 halves. After viewing the youtube video we made a similar jig so our fingers did not go missing. We used a scrap piece of rubber shelf liner to steady the jig made from a scrap piece of pvc pipe.

We cut old corrugated political campaign signs and painted them the caramel color. These are much stronger than the cheap signs. We collected these from the roadsides. Saved them from the dump.
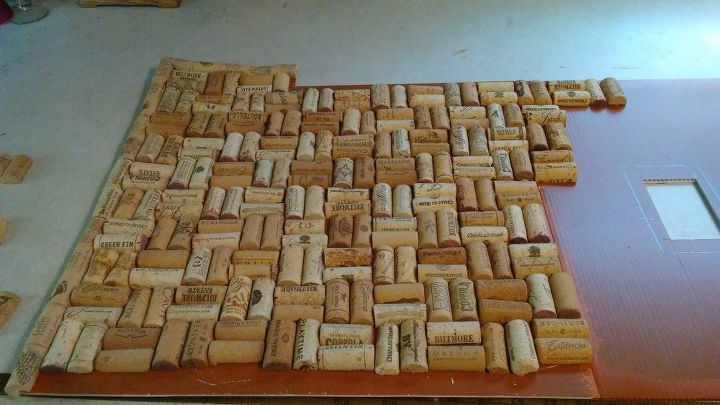
As you can see we cut around the plug as well and started glueing. We measured and precut all the panels. We hand cut and used mostly synthetic corks for the border edge. These are easier to cut and notch to cover the edge. My husband selected the cork pattern from a page off Pinterest. You will see the lines around the plug opening. We had to leave space for the plate cover.
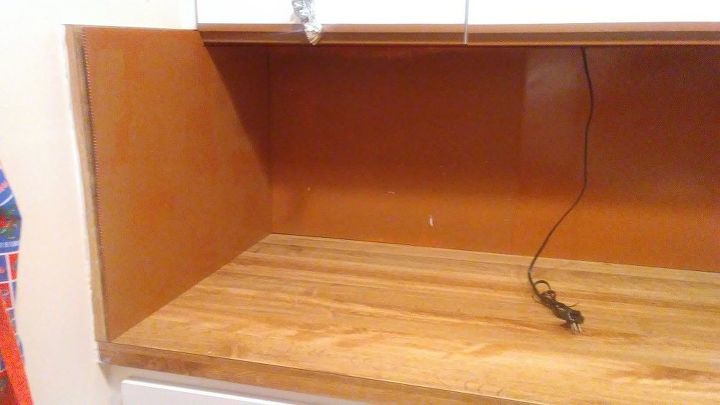
As you can see on the back wall it is covered by the painted panels we duct taped together. The panel on the left is not attached. We were doing a dry fit to make sure the panels were cut correctly. By taping the panels together on back the cork pattern was consistent down the entire wall.
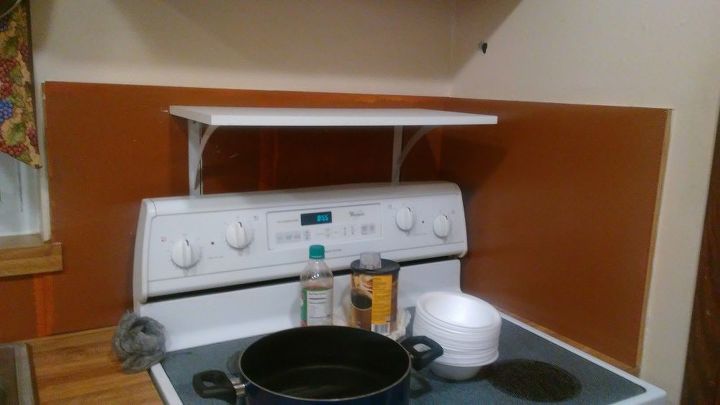
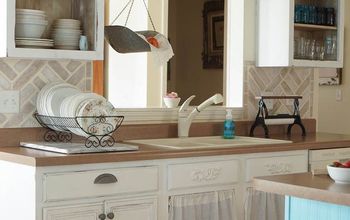
Panels pre cut behind the stove and under the microwave shelf.
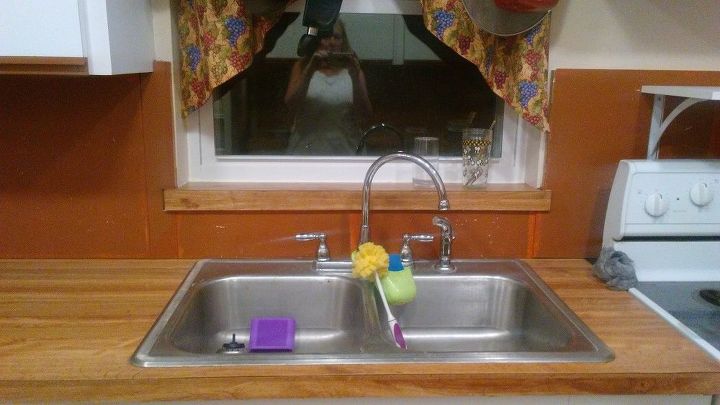
Pre cut panels under the window and behind the faucet.
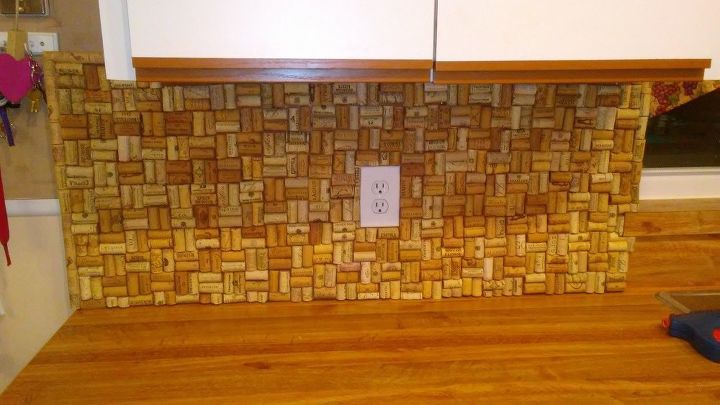
Left side wall after hours of glueing. It took me days to glue corks until we ran out and had to order from ebay and wait for delivery. We used double sided sticky tape to stick these to the walls. We thought if we ever wanted to sell, the walls behind would not be damaged and the panels could be easily removed. The plug plate holds the center as well.

This took a day because we painted corks with Flex Seal to protect from the water. The other panels were not painted with flex seal. It has rained so much we wanted to get them up and finish. Once things dry out we will paint them with clear flex seal.
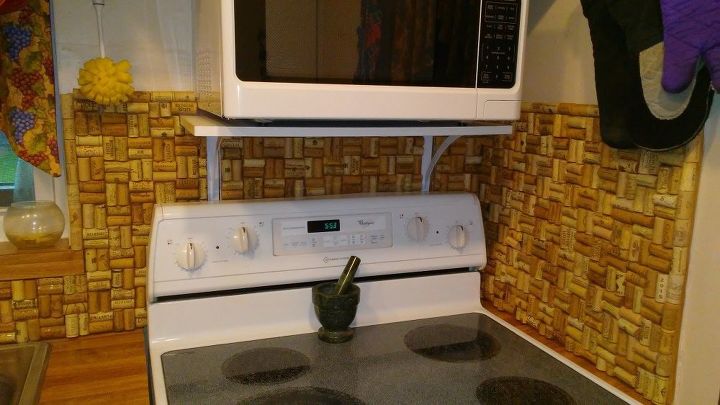
The slits were perfectly measured to slide around the shelf legs. The white board was taken off to do this. Notice the hand cut border covers the edges. If not, the corrugated edges would show. For the inside corner we left almost a 1/2 inch space for the 2 panels to meet.
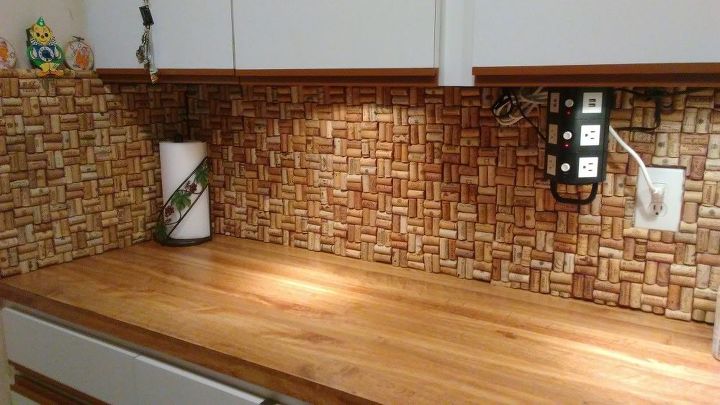
Voila!!! The right side is up and finished. You can see my plug tower hanging. I use this for my many candy dipping pots for making cake pops in different colors. It also has usb charging plugs.
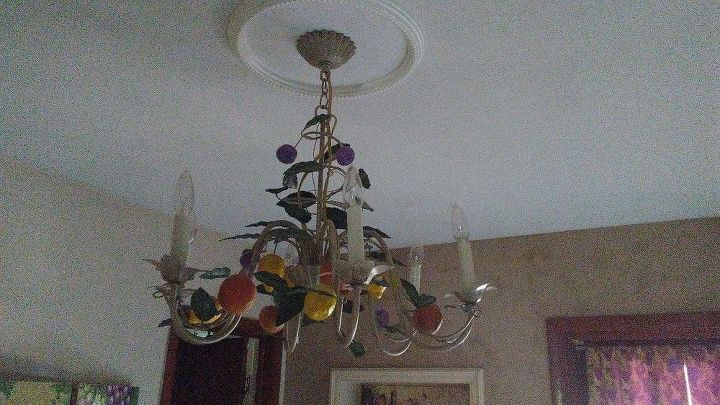
Flea Market find $20. Found out later this is a $300 chandelier. Score!!!
Resources for this project:


Comments
Join the conversation
-
Great idea, but myself I would get better color outlet covers. The white just stand out and take away from the wall
-
Wow very cool. I don’t think I’d have the patience to do all that but I love it.


Frequently asked questions
Have a question about this project?
It's been my experience that the flex seal smells, even after the initial spraying. Like, cat box smell. It only went away after I painted over it. How have you dealt with that smell?
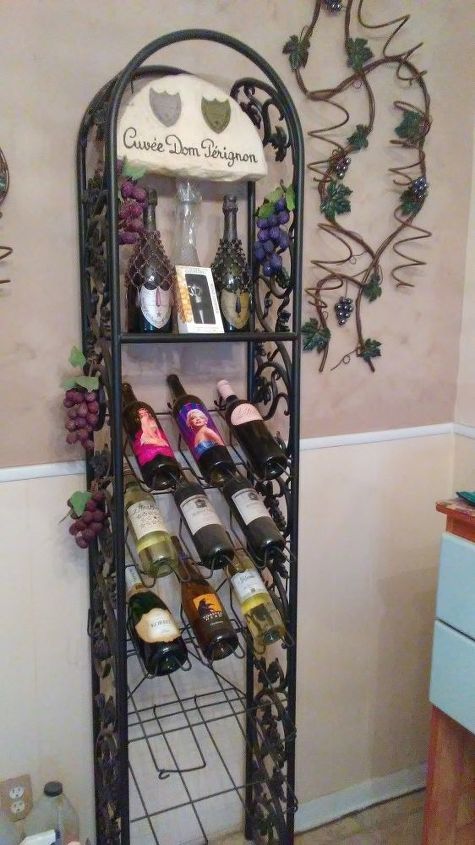
I really like the look! But your wine rack, aren't the wine bottles to be stored with the corks down so they don't shrink and evaporate?
I want to know about wrapping your fridge! Where do I find that project?
I wouldn’t have the patience for the cork collecting but it’s not my passion. My best friend would have gushed over your decor. It is very nice.