


Beadboard Cabinet DIY Update With Paint
Today I’m sharing my Beadboard Cabinet DIY Update with Paint for the Blogger’s DIY Challenge .
Beadboard Cabinet DIY Update with Paint
This cabinet is special, not only because it’s beautiful, but because it was handcrafted by my dad for my mom. It’s one of the pieces I kept when we settled their estate and sold their home.
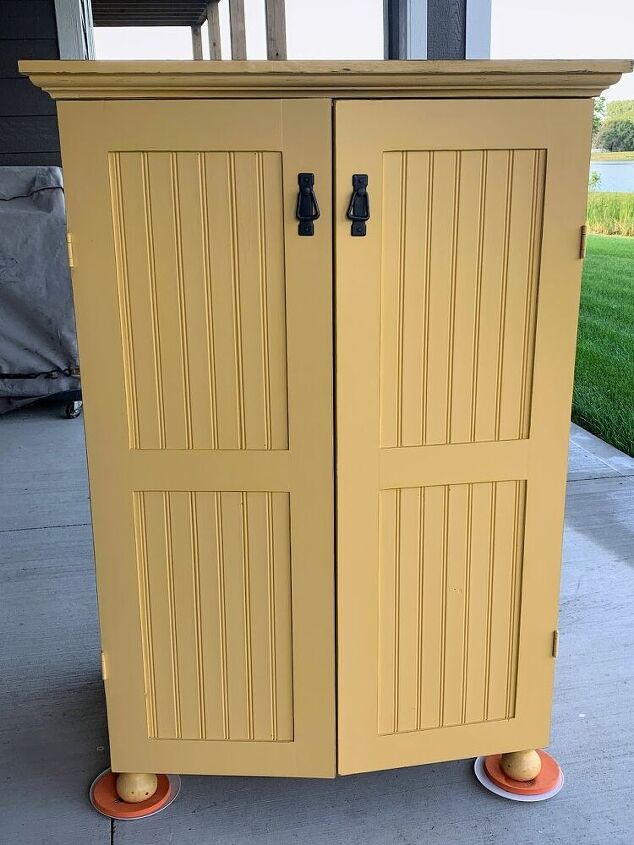
It was created as a TV cabinet, back when big tube televisions were still a thing. When my parents upgraded to a flat screen years later, this cabinet was resigned to the basement. I’m excited to give it a new purpose, and bring it out where it can be seen and loved.
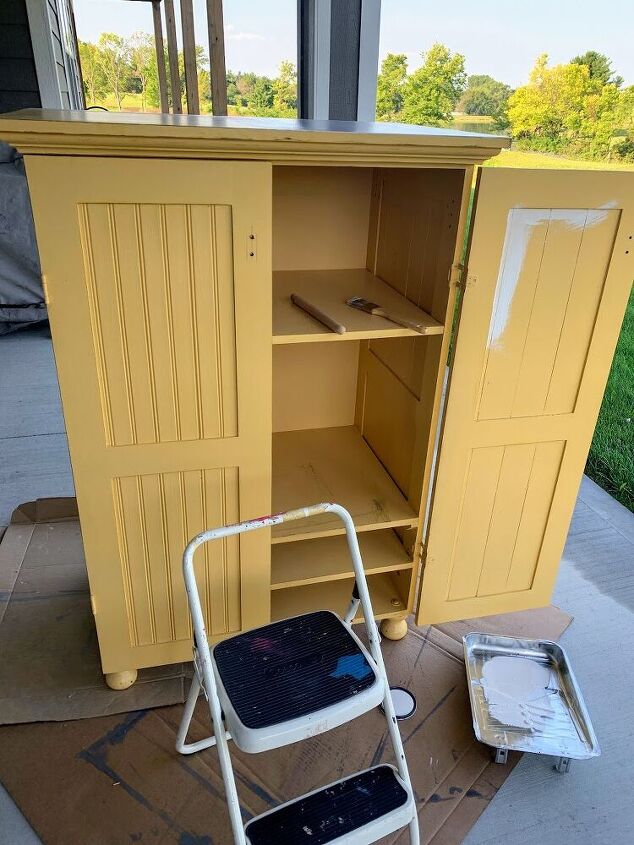
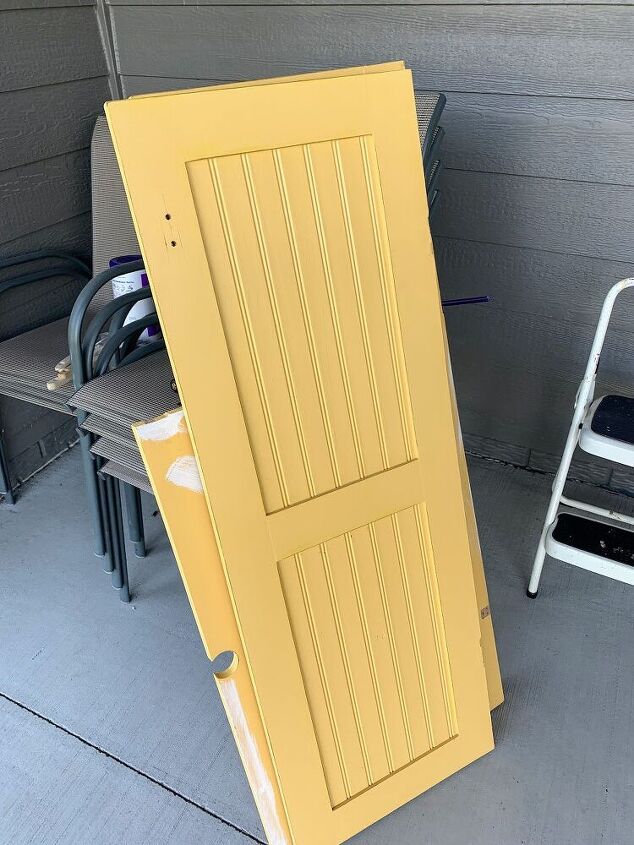
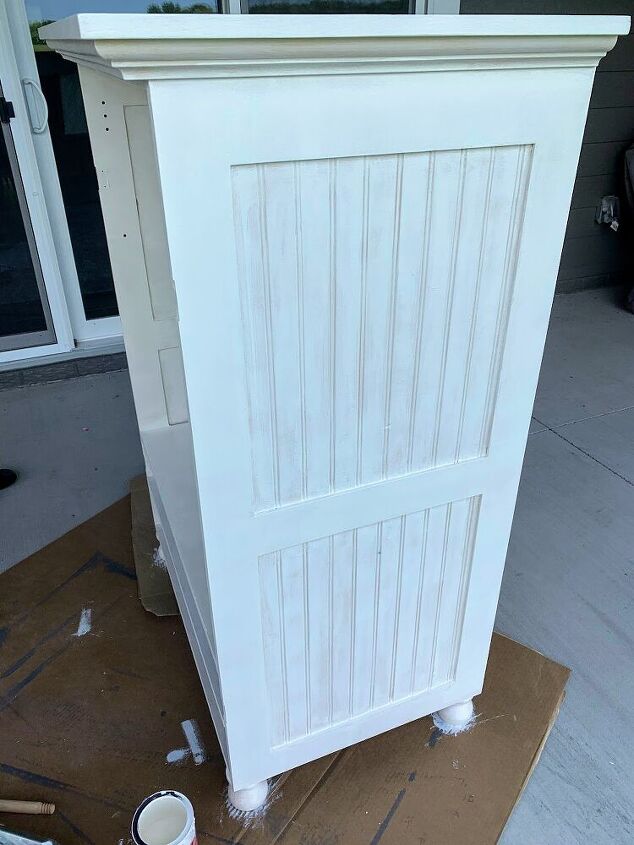
The yellow was so pretty, but it had seen better days.
I knew this special beadboard cabinet would be gorgeous again with a little DIY update with paint.
Time to Get to Work
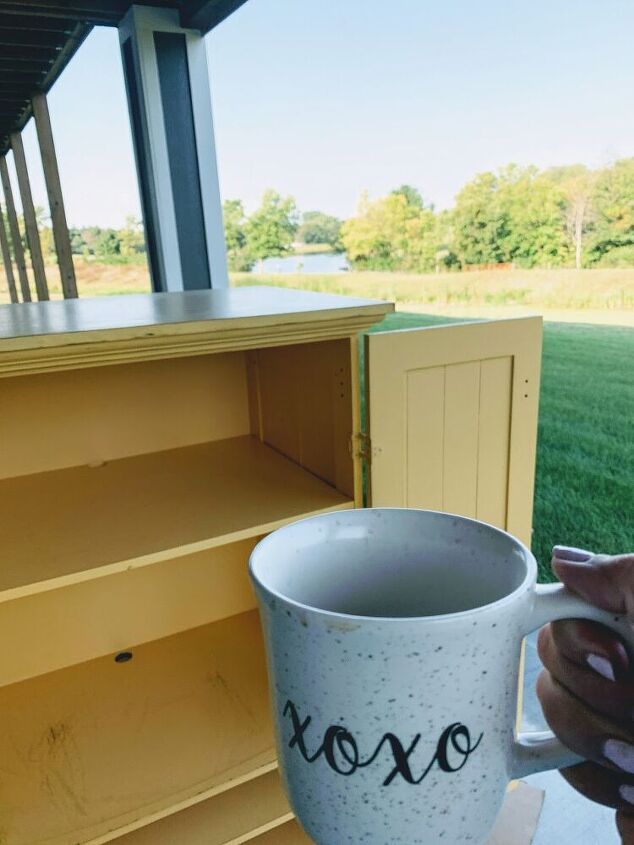
I like to get an early start on my projects, so the mister hauled this baby outside for me before he left for work, I filled up my coffee cup, and got busy…
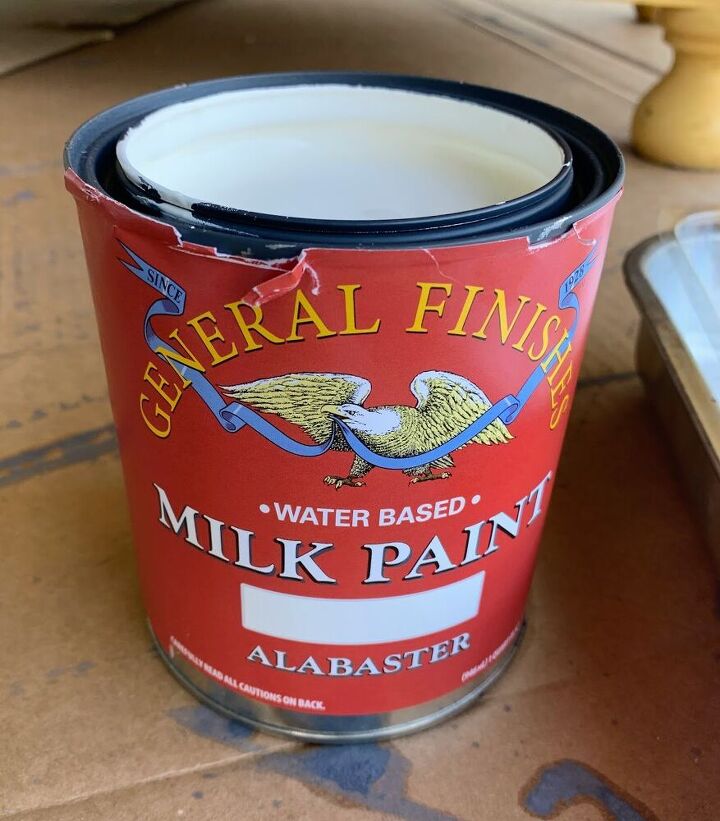
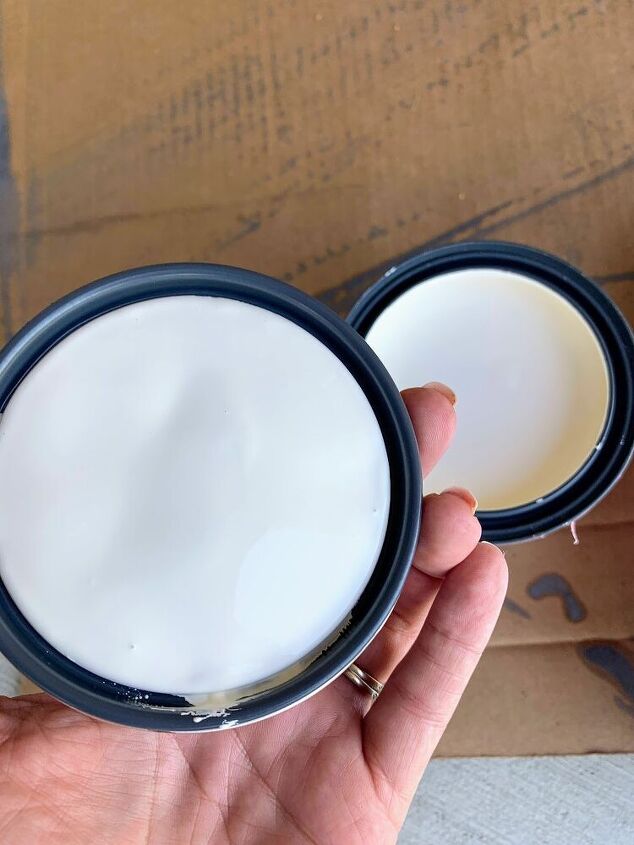
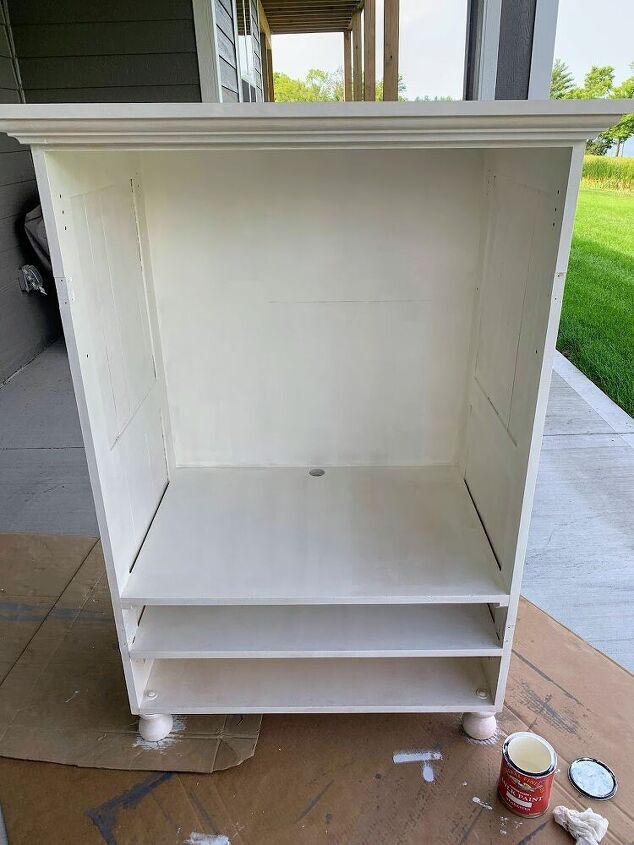
General Finishes in Alabaster
General Finishes in Alabaster was the perfect color for this project. It’s a soft, neutral white that’s not too bright, but also not too yellow-y.
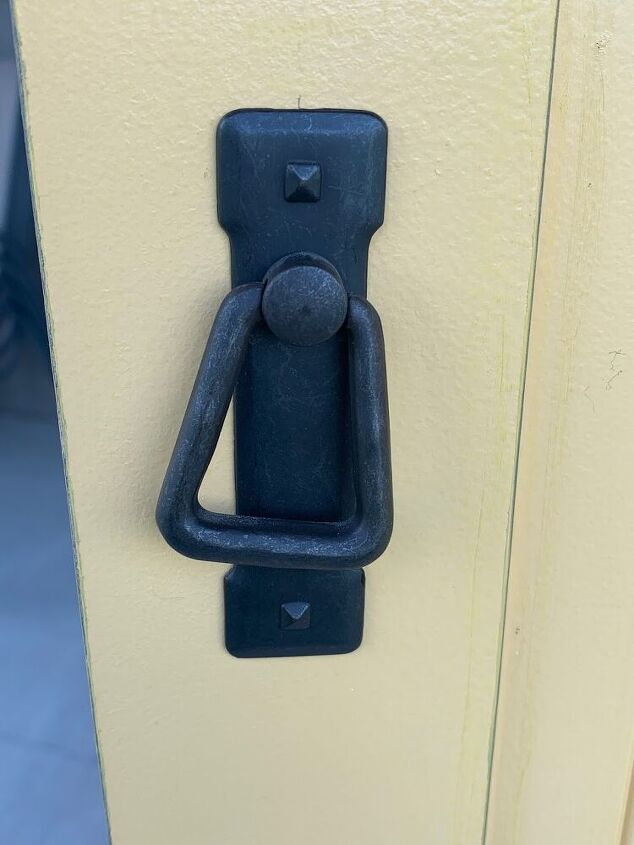
The Hardware
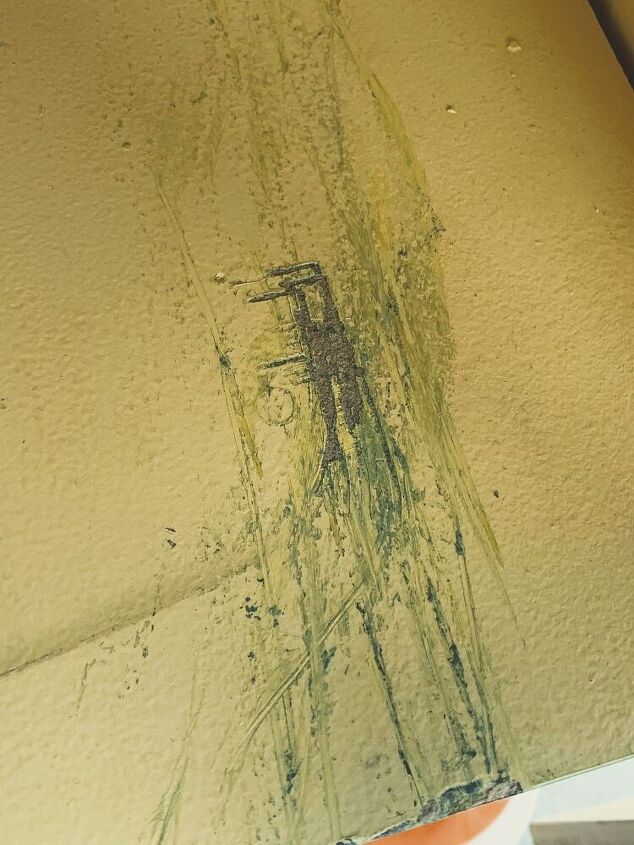
I love the hardware my parents chose for this piece. The cabinet doors have full wrap hinges that allow them to fold all the way back and out of the way, but unlike the front handles, the door hinges had been painted over. I started to paint over them in white as well, and then decided I’d rather strip them back down to bare metal instead.
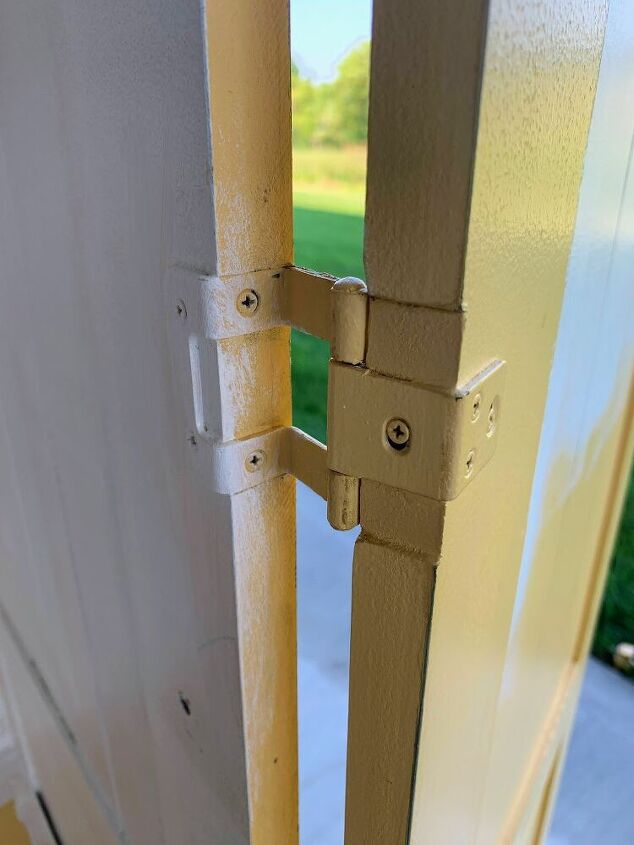
So off the doors came, and I plunked the hinges into a jar filled with a little Citristrip.
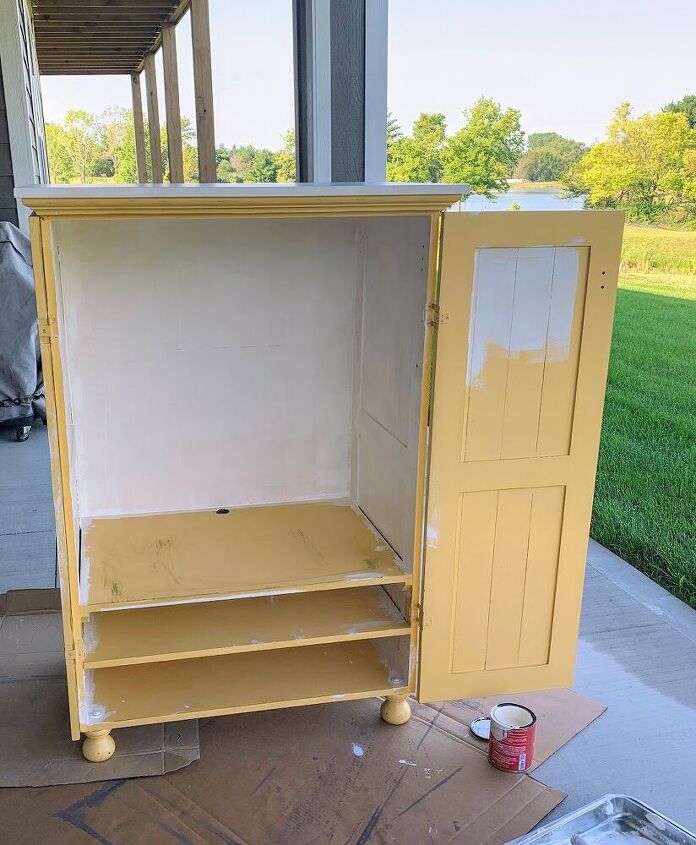
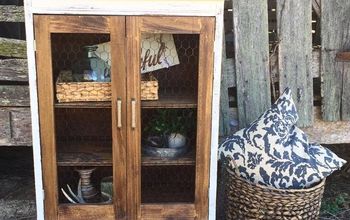
I was already getting excited at this point, because look how pretty that beadboard is painted white.
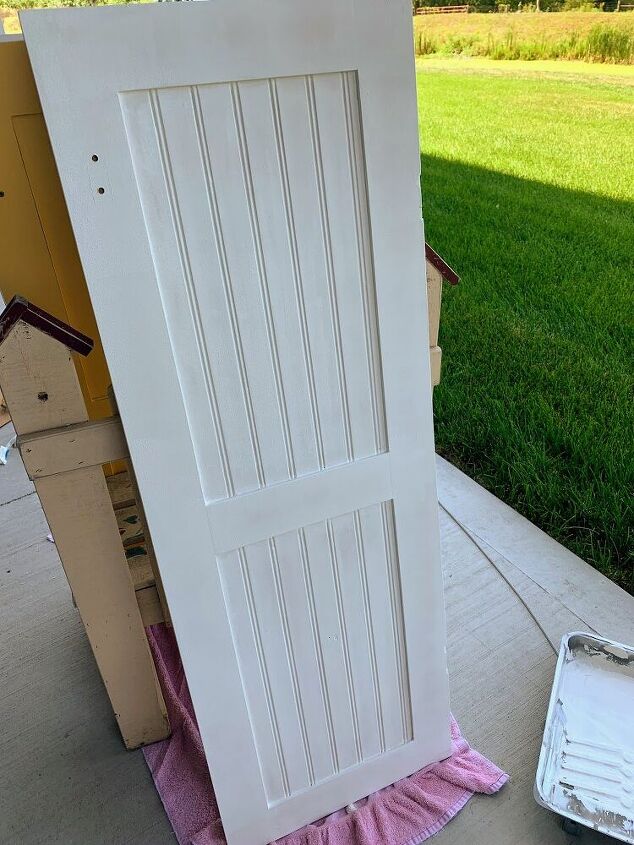
One coat of paint done…
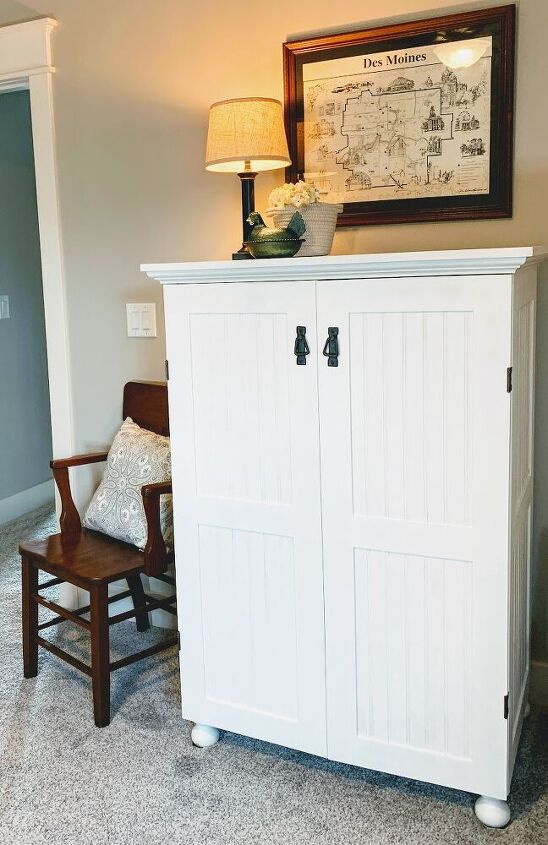
And two coats…
Look how much better the door hinges look restored back to black metal again!
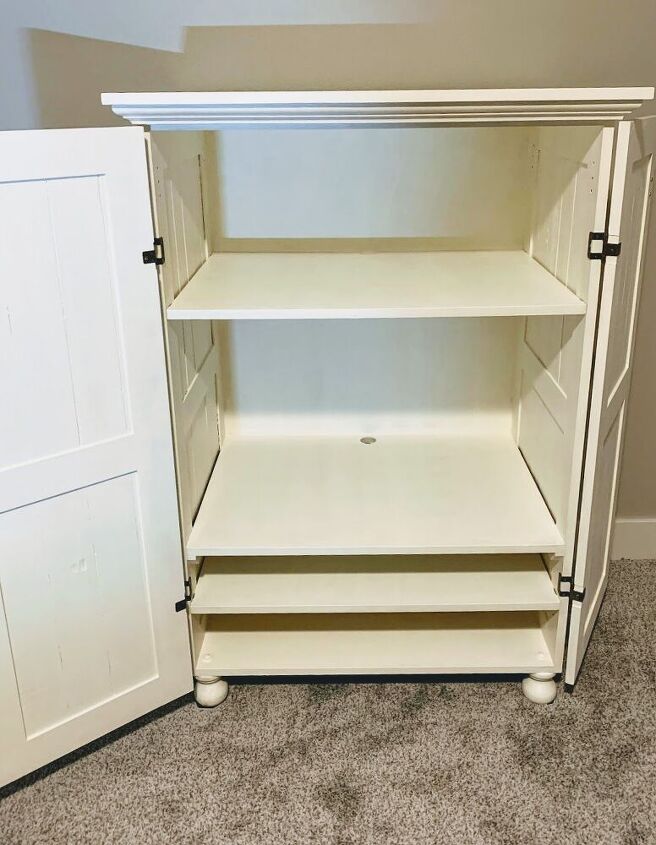
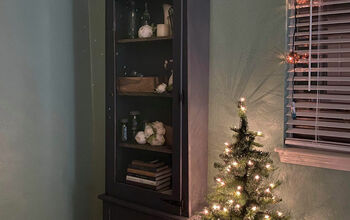
It may have originally been meant for a TV cabinet, but now it’s perfect for storage in the guest bedroom. Especially the guest bedroom that has so many of my family pieces in it.
My dad was such an amazing handyman. I often look back on some of his projects and I’m amazed at all the things he could fix or build. It makes me happy to have this special piece that my mom designed and my dad built now living in my house.
You can see the entire guest bedroom makeover on the blog, which includes other family pieces and two more furniture makeovers!
Let’s stay in touch! Visit me at The House on Silverado for more DIY, Home Decor, and Recipes. You can also follow on social media, so you won’t miss a thing!
Facebook —– Instagram —– Pinterest
This post contains affiliate links. Thank you for reading and supporting my blog.
CLOCHES & LAVENDER

Comments
Join the conversation
-
It's beautiful! You are so lucky to have such a special piece of your family history to use and enjoy for many years to come. Thanks for sharing.


Frequently asked questions
Have a question about this project?