


Gun Cabinet Turned Hutch Display Color Update

5 Materials
$50
3 Days
Medium
When my good friend Lacey told me she was planning on giving her white display hutch a new look with a charcoal grey paint color I offered to spray it for her. First of all because she was very pregnant, secondly because I just love her, and finally because I knew my sprayer would give a smooth as butter finish and would take less than half the time of brushing it on like she was planning. Don’t get me wrong, there is nothing wrong with using a brush to paint your projects, but if you own one..I think you’ll agree with me that spraying furniture is just magic!
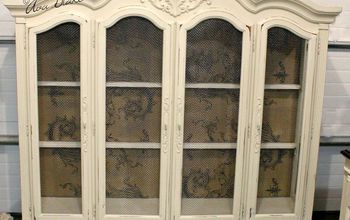
Lacey had converted this old gun cabinet into a display case for her most treasured trinkets and she was giving her master bedroom a new look. She had already made the gorgeous wood shelves, as well as painted the inside a dark gray color. When I first started painting I used Rusteoleums chalk paint…A LOT! It brushes one really nice and for the price, honestly its hard to beat. The inside of this cabinet was painted with Rustoleums chalk paint in charcoal grey already, and I had a can in my spray booth so I planned on using it for the body of this piece as well. Once I started working with it in my spayer I quickly realized i wasn’t happy with the way it was spraying, even after adjust the viscosity with water multiple times. After it dried I reassed it and decided to sand it down and do a color comparison with General Finishes milk paint in the color queenstown gray. General Finishes products are amzing and their milk paint matches up with the Homeright and Wagner sprayers like peanut butter & jelly, seriously! Luckily queenstown grey was literally the perfect match with Rustoleums charcoal gray and you honestly couldn’t tell a difference between the two at all. A good furniture artist knows that you learn by trial and error and even the most skilled worker is going to learn something new everyday…if you’re not learning you’re not growing!
Lacey had converted this old gun cabinet into a display case for her most treasured trinkets and she was giving her master bedroom a new look. She had already made the gorgeous wood shelves, as well as painted the inside a dark gray color. When I first started painting I used Rusteoleums chalk paint…A LOT! It brushes one really nice and for the price, honestly its hard to beat. The inside of this cabinet was painted with Rustoleums chalk paint in charcoal grey already, and I had a can in my spray booth so I planned on using it for the body of this piece as well. Once I started working with it in my spayer I quickly realized i wasn’t happy with the way it was spraying, even after adjust the viscosity with water multiple times. After it dried I reassed it and decided to sand it down and do a color comparison with General Finishes milk paint in the color queenstown gray. General Finishes products are amzing and their milk paint matches up with the Homeright and Wagner sprayers like peanut butter & jelly, seriously! Luckily queenstown grey was literally the perfect match with Rustoleums charcoal gray and you honestly couldn’t tell a difference between the two at all. A good furniture artist knows that you learn by trial and error and even the most skilled worker is going to learn something new everyday…if you’re not learning you’re not growing!
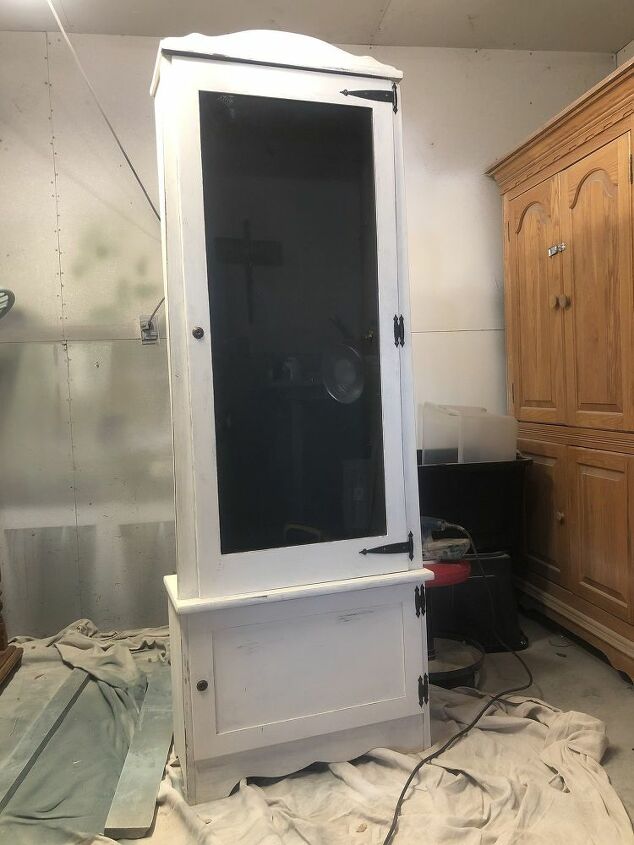
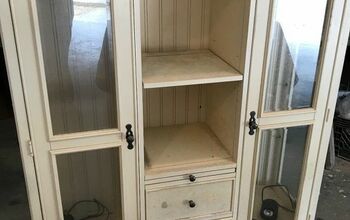
Here is a before photo of the cabinet in my spray booth. It really is a cute little piece, but I have to say....I love the after look better than the before!
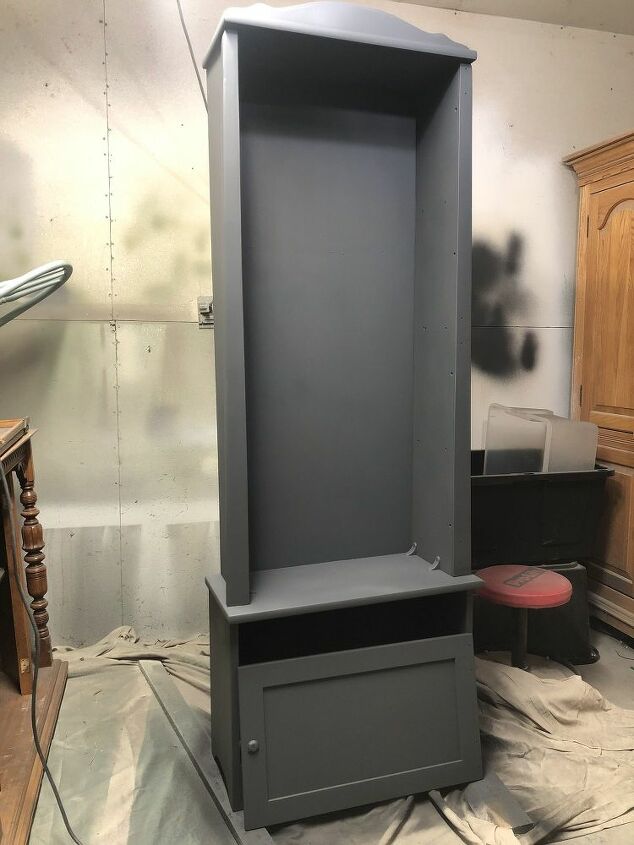
Already loving this look!
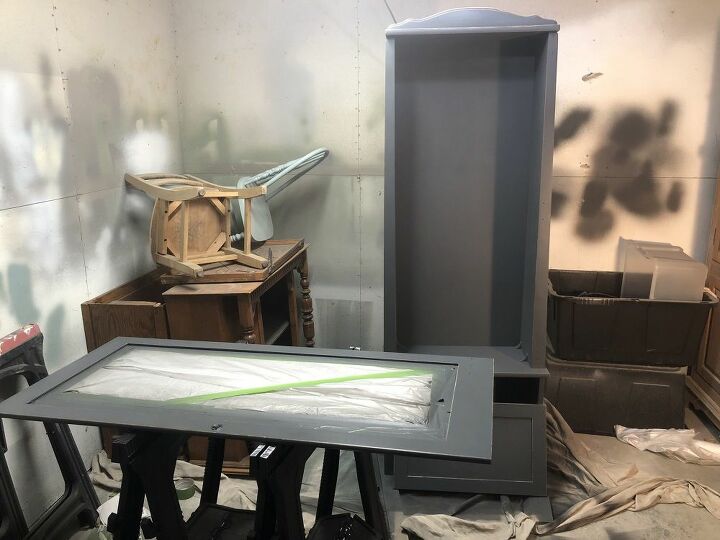
After two days of the milk paint curing, I sprayed the polyurethane top coat to guarantee durability! I let the hutch dry after I sprayed it with polyurethane overnight before I installed the doors again.

Lacey really liked the idea of the edges being distressed so that the original wood color would pop through. I loved that idea too, but because the piece had already been pained white, I knew when I was sanding I really had to focus on the edges to ensure I sanded all the white paint off. With the white paint off the edges where I’m planning to distress the piece it will help ensure that the original wood will pull through opposed to the white color of the paint. We ended up with a tiny bit of white in some of the distressed areas but overall I think it turned out amazing!
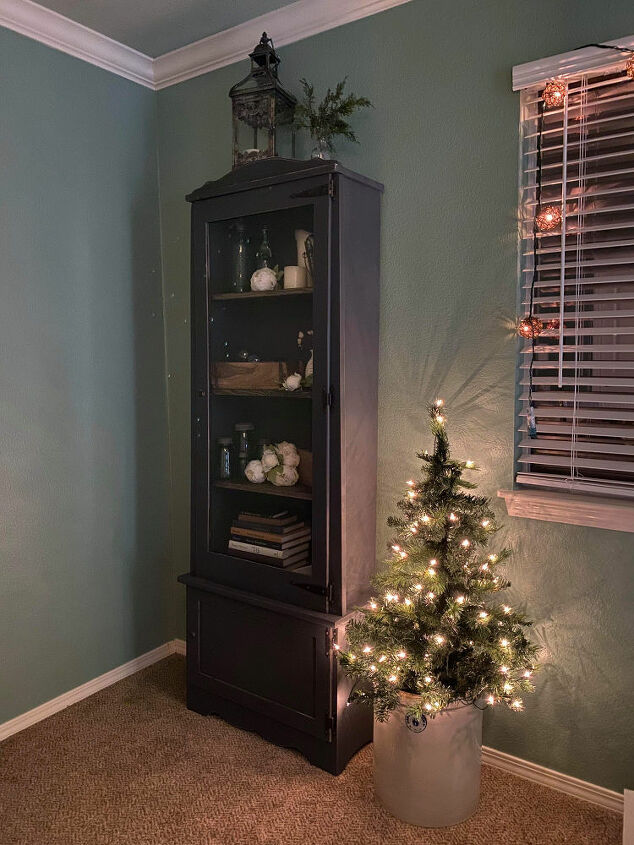
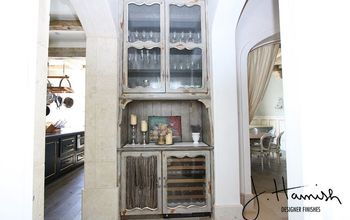
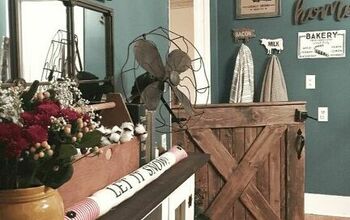
How gorgeous does the hutch look in Lacey's house! I love it!

I knew she'd stage it with perfection!
Resources for this project:
See all materials


Any price and availability information displayed on [relevant Amazon Site(s), as applicable] at the time of purchase will apply to the purchase of this product.
Hometalk may collect a small share of sales from the links on this page.More info
Comments
Join the conversation
4 comments
-
This is so beautiful!!
-
That came out great!!!! Makes me want to try a project like this!


Frequently asked questions
Have a question about this project?
Did the gun cabinet come with shelves or u bought them