


How to Makeover a Bathroom Cabinet With Faux Wood Paint

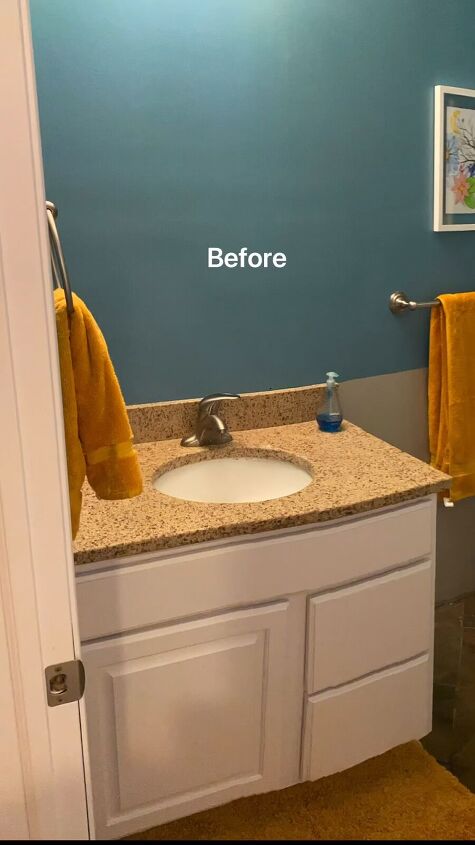
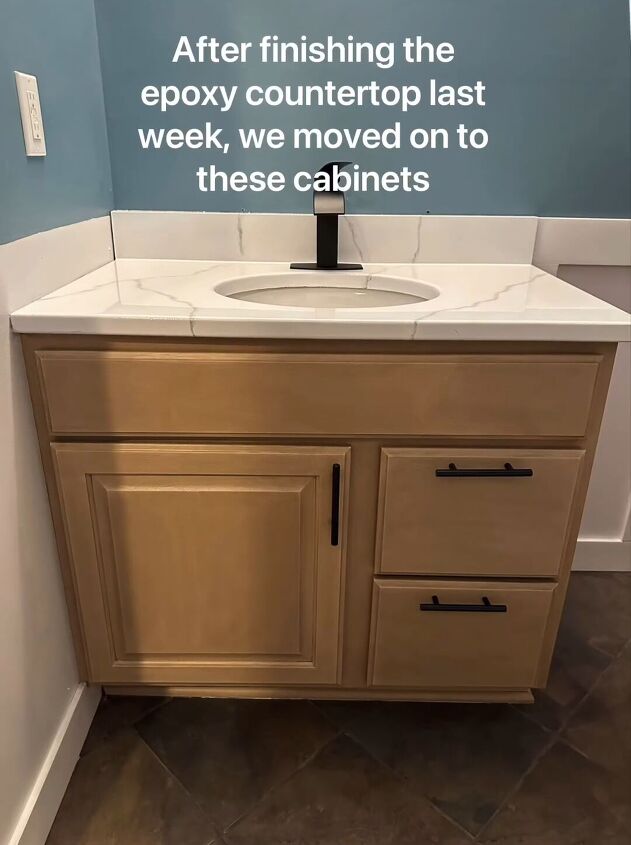
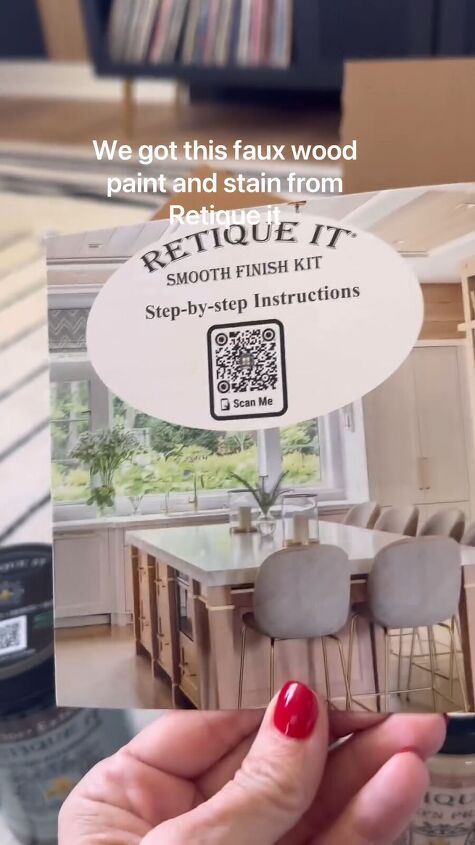
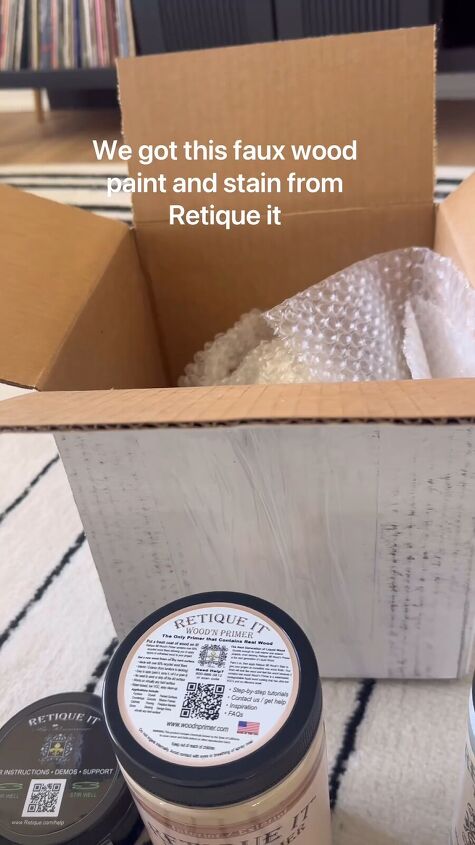
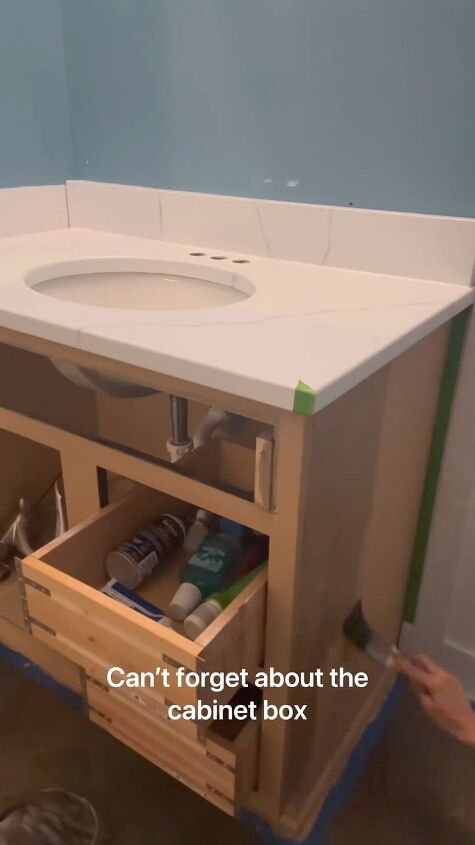
After refinishing our bathroom vanity countertop we moved on to refinish the melamine cabinet. We made the vanity look like wood using a liquid wood product called Retique It. Some people think it’s a faux wood paint kit but it’s actually a paint kit that has a product that has real wood in it–liquid wood.
This product helped to make our cabinet look brand new. The trick is in the graining tool that you use with the faux wood paint to create a realistic-looking grain. Here are the basic steps but always read and follow Retique It’s package directions.
Tools and materials
- Melamine cabinet vanity
- Retique It Kit (with primer, brushes, stain)
- Paintbrushes or foam brushes (if needed)
- Drop cloths or newspapers
- Painter's tape (optional)
- Sandpaper (optional, if cabinet needs very light scuffing)
Steps
Step 1: Prepare the cabinet
- We put drop cloths or newspapers on the floor to protect the flooring.
- We made sure the cabinet was completely clean, dry, and free of any grease or dirt.
- We didn’t need to do this but you can scuff the cabinet to create a slightly rough surface. This is not always necessary with Retique It because the primer will take care of the scratches and other flaws.
- Clean off any dust or debris from the surface you are going to transform.
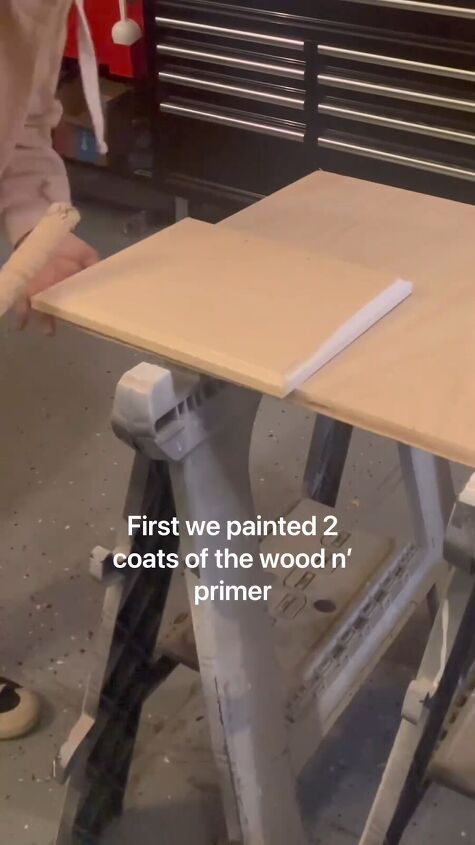
Step 2: Apply Retique It Wood Primer
- Shake the can of Retique It Wood Primer thoroughly. (Sometimes it’s called Retique It Wood Primer Paint.)
- Use a stirring stick to ensure the primer is well-mixed.
- Using a paintbrush or foam brush, apply the first coat of Retique It Wood Primer evenly over the cabinet surface.
- Allow it to dry completely before applying the second coat.
- Apply the second coat of Retique It Wood Primer.
- Let it dry thoroughly.
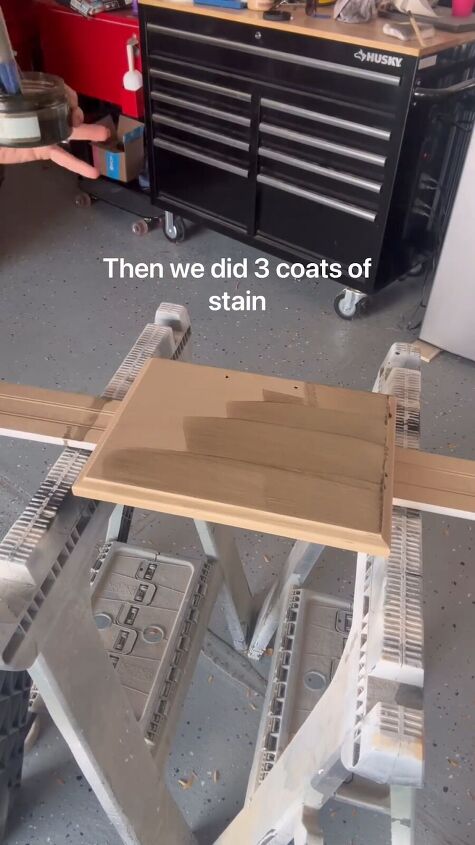
Step 3: Apply Retique It Faux Wood Stain
- Shake the can of Retique It Faux Wood Stain.
- Ensure the paint is well-mixed with a stirring stick.
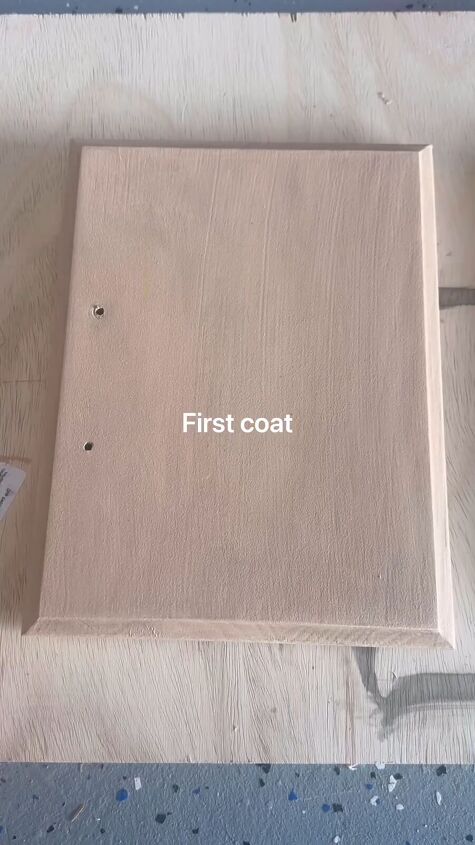
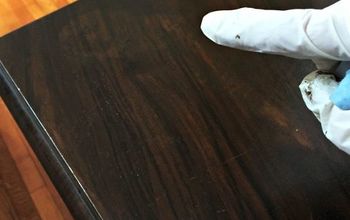
- Apply the first coat of Retique It Faux Wood Stain evenly over the primed cabinet.
- Go one section at a time and do even strokes up and down.
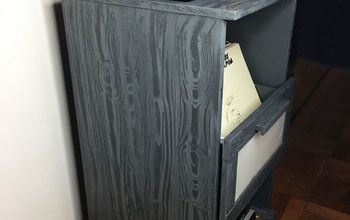
- Take the graining tool and pull it over the wet stain to create the wood grain.
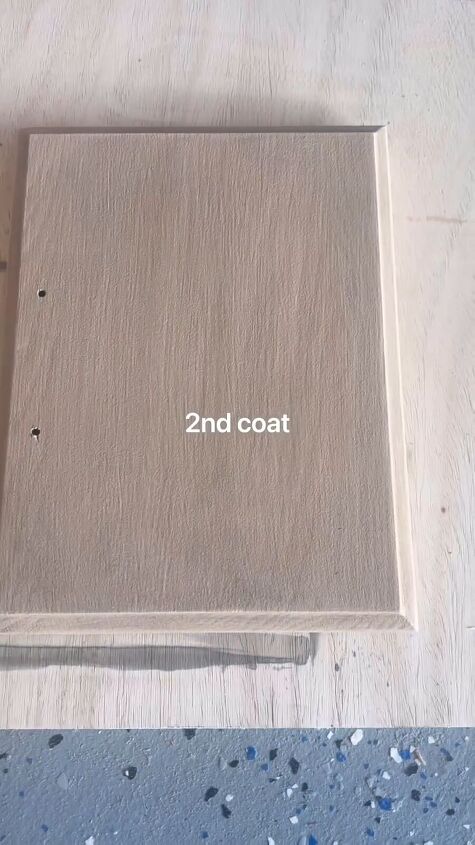
- Continue with this method, doing one strip of stain and graining tool at a time.
Step 4: Apply multiple coats (optional)
You can apply a second or third coat of the stain if you choose to. We did three coats to deepen the color and the depth of the graining. We used a very, very subtle graining on this project. Just follow the same method as in Step 3. Always use the graining tool with each coat.

Step 5: Seal the cabinet
Apply a clear sealer on the cabinet for added protection and durability. Retique It sells its own wood sealers but you can use any other clear wood sealer for your piece of furniture after you are happy with the staining and graining results. Follow the instructions on the sealer product.
Faux wood paint
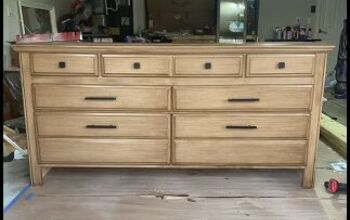
I can’t believe how Retique It transformed our bland melamine cabinet into realistic-looking wood! The Retique It products have given it a fresh wood appearance, making the cabinet look brand new.
Have you tried Retique It? How did you like it? What did you refinish with Retique It? Let us know in the comments below.
Follow @a_bit_unexpected_diy on Instagram for more DIY ideas.


Frequently asked questions
Have a question about this project?