


How to Recover Chair Cushions the Easy Way
I can’t wait to show you how to recover your old stained chair cushions. This is such an easy DIY that will make your kitchen or dining room chairs look brand spanking new again!
This post contains affiliate links. Please see my full disclosure policy for more details.
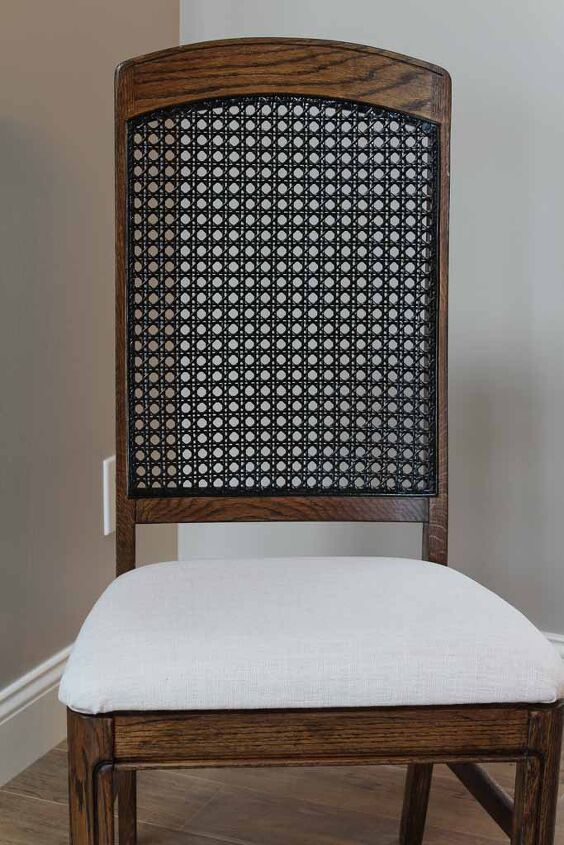
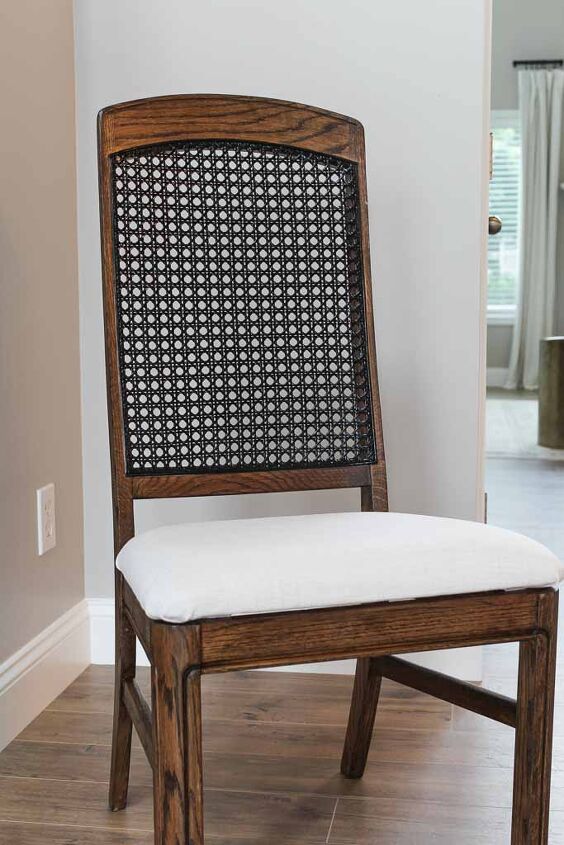
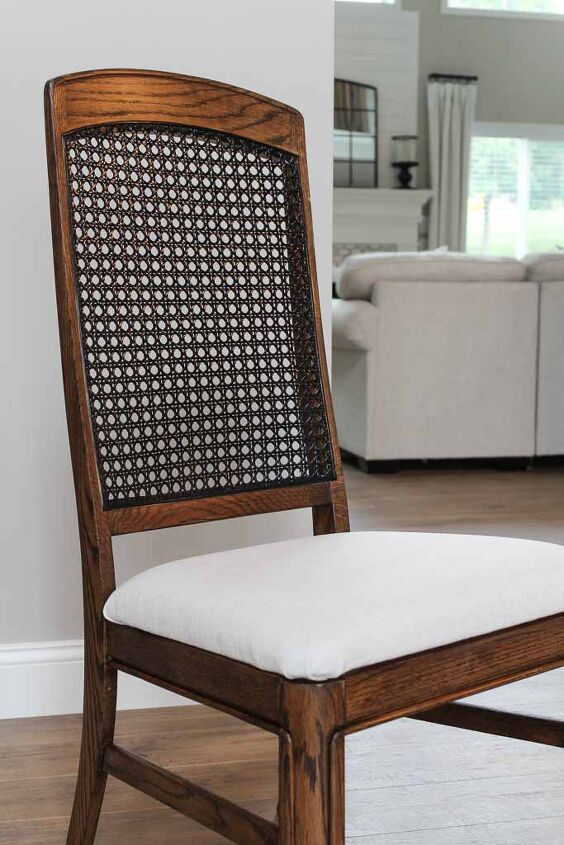
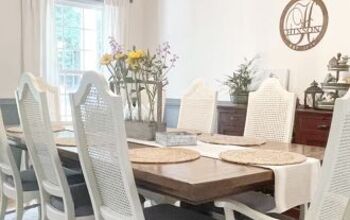
Earlier this week, I showed you how I transformed a vintage set of cane back chairs into a gorgeous new modern addition to our dining room makeover.
They turned out so stunning, and the icing on the cake was the brand new linen fabric I reupholstered them with.
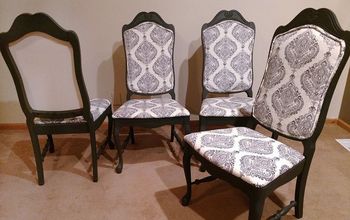
I’ve refurbished practically every kitchen and dining chair cushion I own at least twice now. That’s what happens when you have small messy eaters in the house.
And it’s so much easier and cheaper to just reupholster old chair cushions than it is to run out and buy a set of brand new chairs.
This really all depends on the type of fabric you select to recover your chairs. For all of my past projects I had really great luck finding upholstery fabrics on sale at stores like JOANN Fabrics and Hobby Lobby.
For my chairs, I used a simple linen upholstery fabric from Hobby Lobby. The total cost came to around $25 for four seat cushions.
That’s pretty inexpensive for a whole new dining chair look.
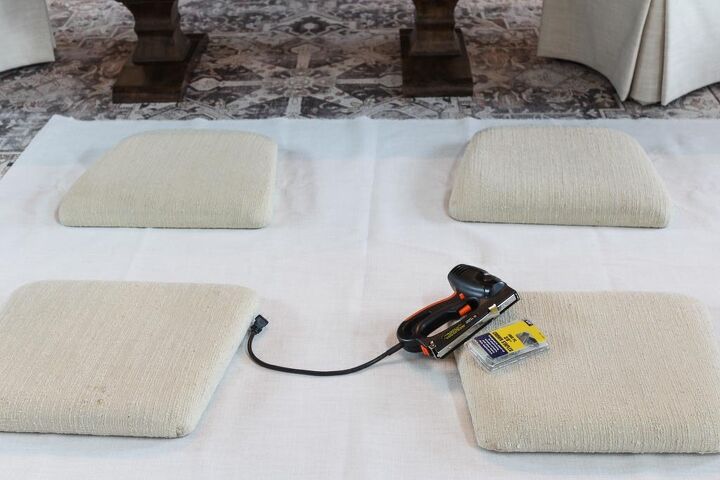
- Staple gun and staples
- Fabric scissors
- New fabric
Yes! You can easily reupholster over existing fabric as long as whatever you’re covering over isn’t too bulky. If it is, you could end up with lumpy uneven corners and edges of your seat cushions.
You’ll also want to keep in mind how transparent your new fabric is.
The last thing you want is to see your old dining room chair fabric peeking through your gorgeous new upholstery job.
The fabric on most upholstered seat cushions is usually attached with staples. If you do need to remove the existing fabric for some reason, you’ll just need a simple pair of pulling pliers to lift out the upholstery staples first.
So are you ready to try this insanely easy and cheap DIY to update your old chairs?!
I always recommend ironing or steaming your new fabric before you begin any upholstery project. This will help remove and wrinkles or bunching and ensure that the fabric lays flat for your installation.
Once you’ve done this, allow it to cool for about 15 minutes so the fabric can set and dry/
I purchased a yard and a half for my four dining seat cushions, and it proved to be more than enough to get the job done.
You can lay out your existing cushions onto your new fabric and trim out enough for each cushion.
I like to leave several inches of excess fabric around each seat cushion so that I can trim off any excess as I go. I’d rather have too much fabric than not enough.
Start by laying your fabric face down, ensuring it’s smooth and wrinkle free.
Next, lay your your chair cushion face down on top of the fabric directly in the center.
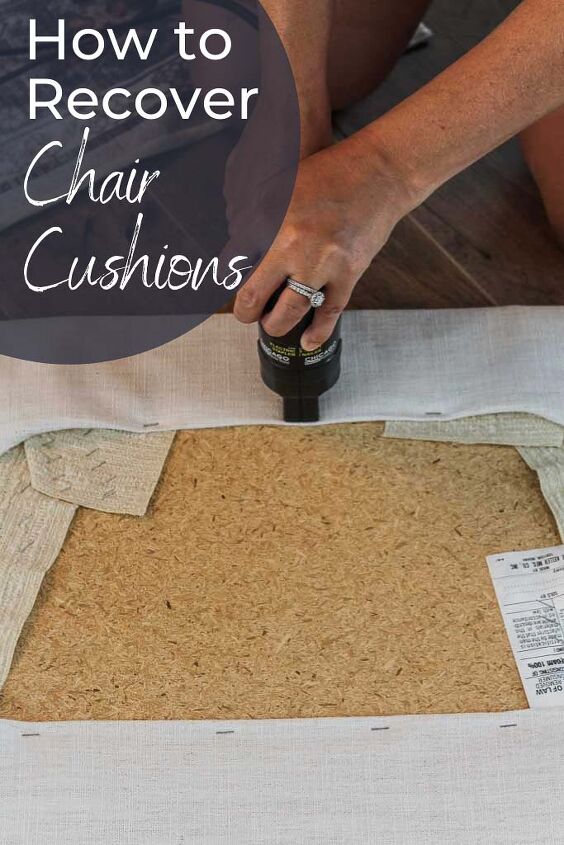
Starting at either the top (front facing side of seat cushion), or the bottom (back facing side of seat cushion), fold over the end of your fabric to create a nice straight seam.
Then, pulling it taught, secure it in the center of your fabric seam using a staple gun.
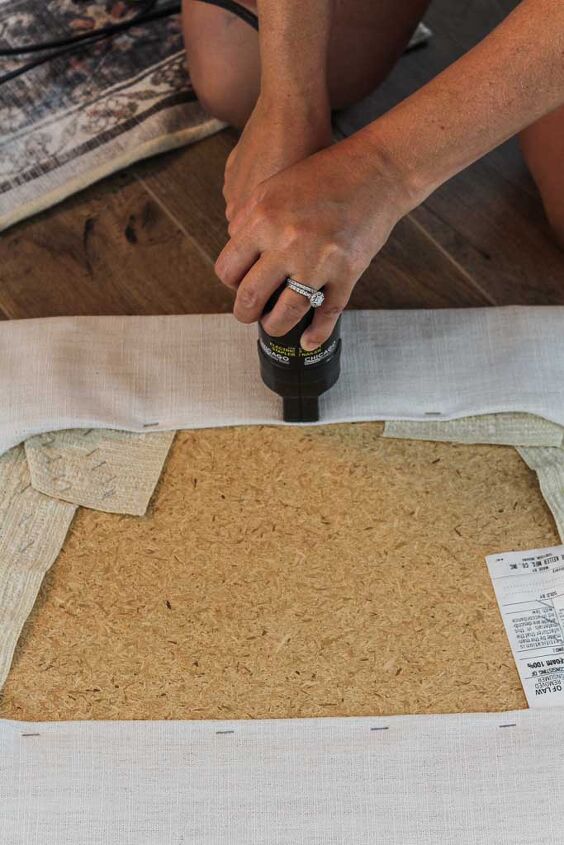
You can then work your way out along both sides continuing to secure it with additional staples about every 2 inches or so.
Make sure that you keep your fabric pulled taught as you staple to avoid any wrinkles or bunching in your upholstery.
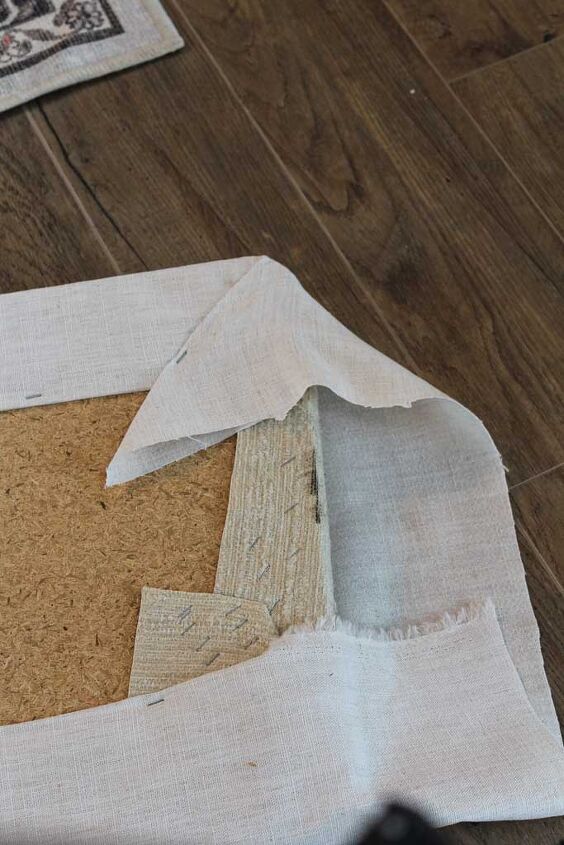
No matter which method you use to upholster a chair seat, the corners always seem to be the trickiest part.
I found the easiest way to attach them was to fold in each corner as if you were wrapping a present and secure them with staples.
Just as you did with your top and bottom portions, you’ll want to keep the fabric pulled tightly on the sides.
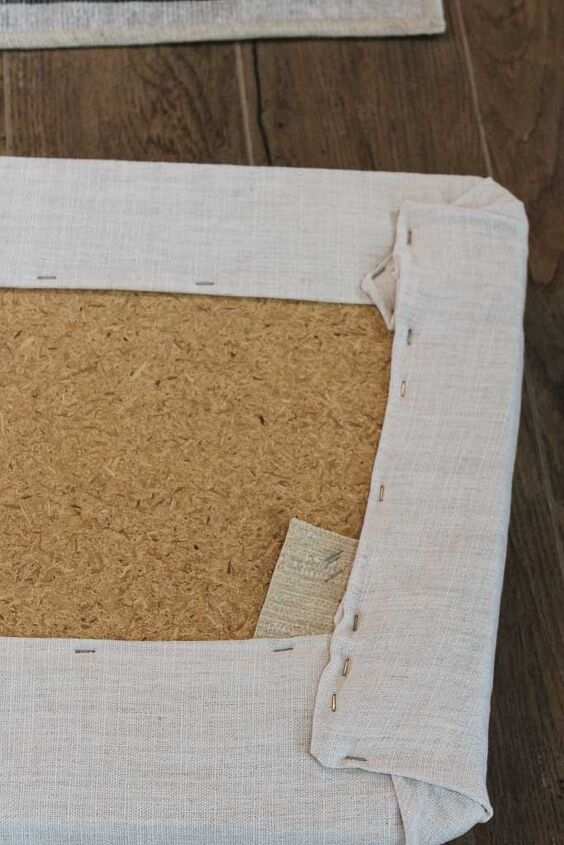
Once you’ve made it past those tricky corners, the rest of this project is a breeze.
Simply fold over the remaining sides of your fabric to create a creased seem and continue attaching it with a staple in the middle.
Work your way out along the sides securing the fabric with additional staples every 2 inches.
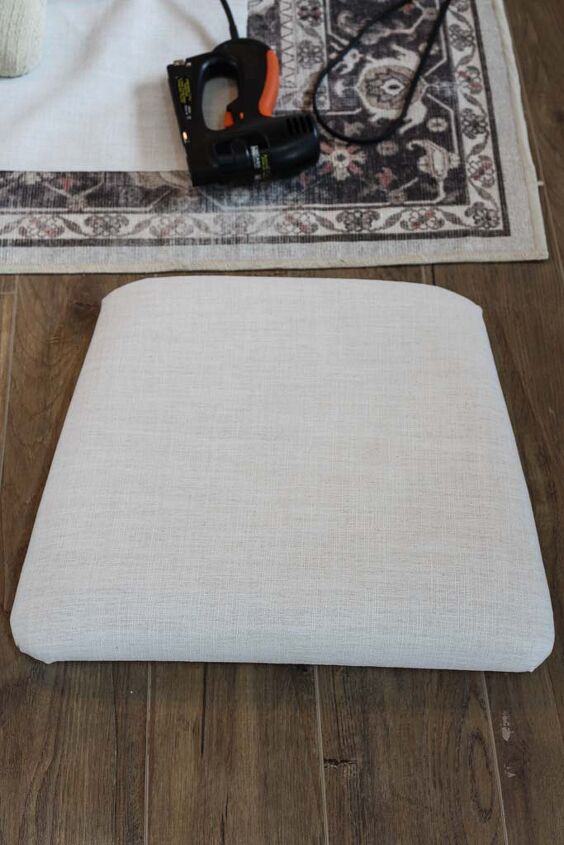
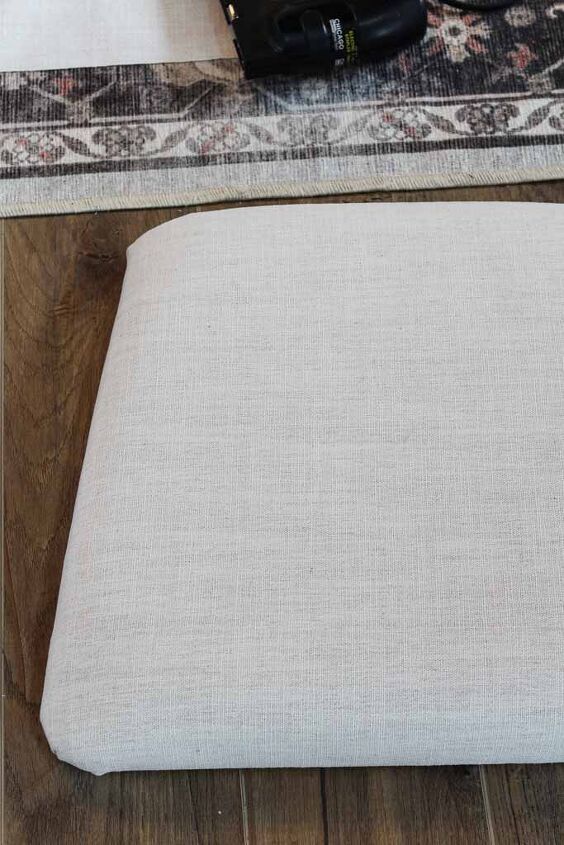
Lastly, you’re ready to attach your newly recovered seat cushions to your dining chair and enjoy a whole new look!
I reused the same wood screws to attach mine securely back to the chairs and they were just as tight as they were before.
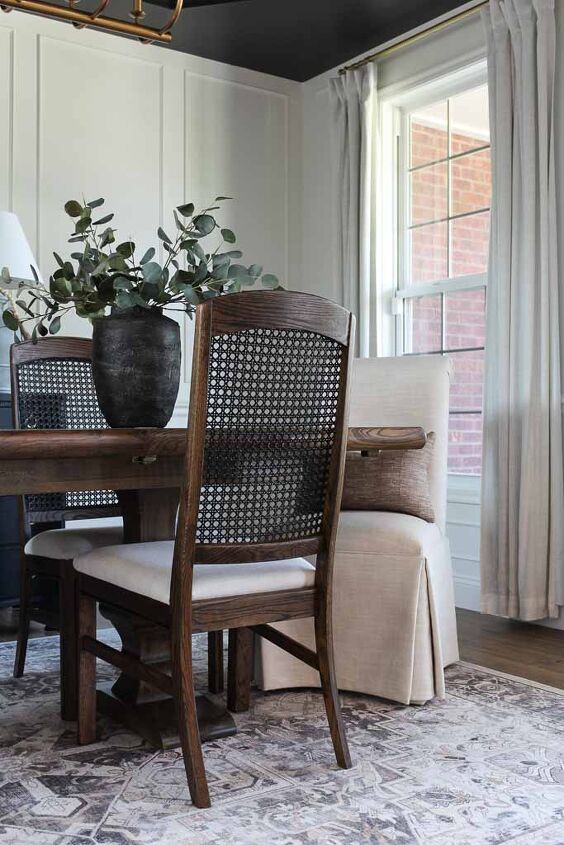
I love this clean new look in our dining room!
What did you think of this quick and easy DIY project? Would you give it a try to spruce up some old dining chairs in your home? Let me know in the comments below, I love hearing from you!


Frequently asked questions
Have a question about this project?