


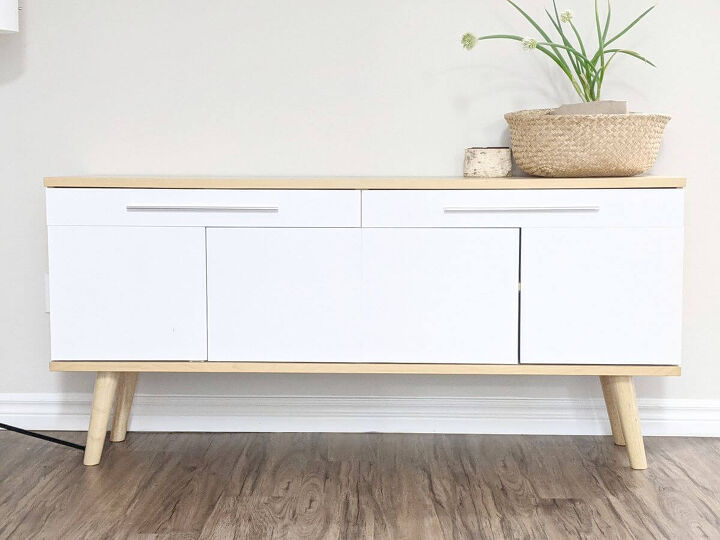
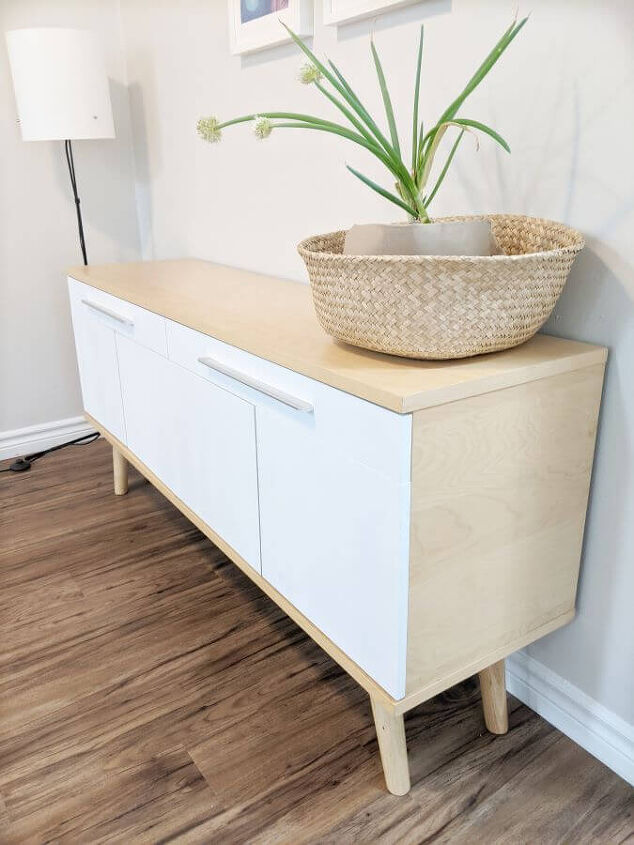
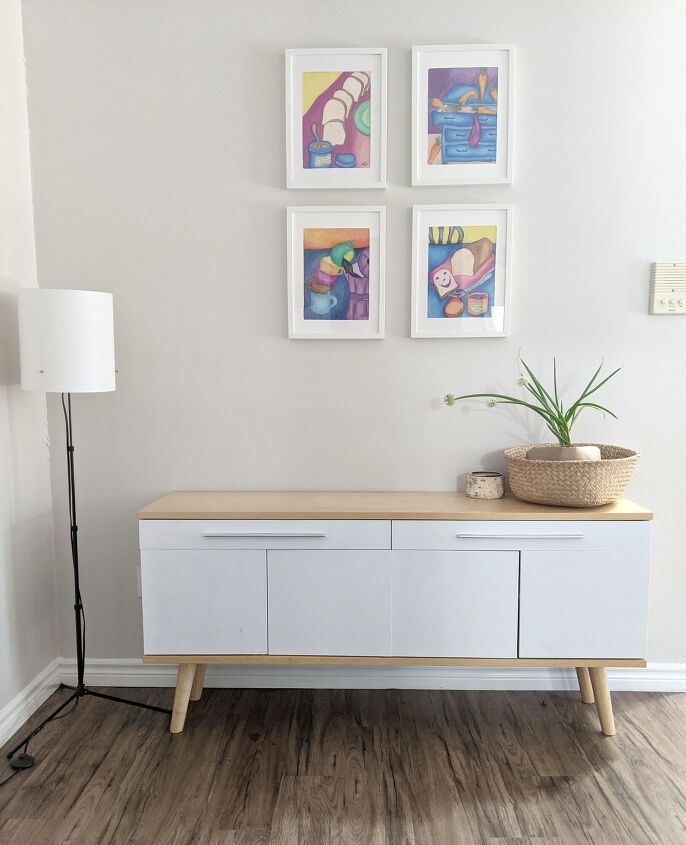
Ikea Hack- How To Turn An Ikea TV Stand Into A Mid-century Sideboard
If you’re like me and you’ve been salivating over some mid-century style furniture but find it a bit pricey then you will love this Ikea hack!
I found this tv stand on an online classified ads for used furniture. It was sold for at least one fourth of it’s original price so I jumped at the chance. It had a few nicks, fortunately, in areas that are not easily seen.
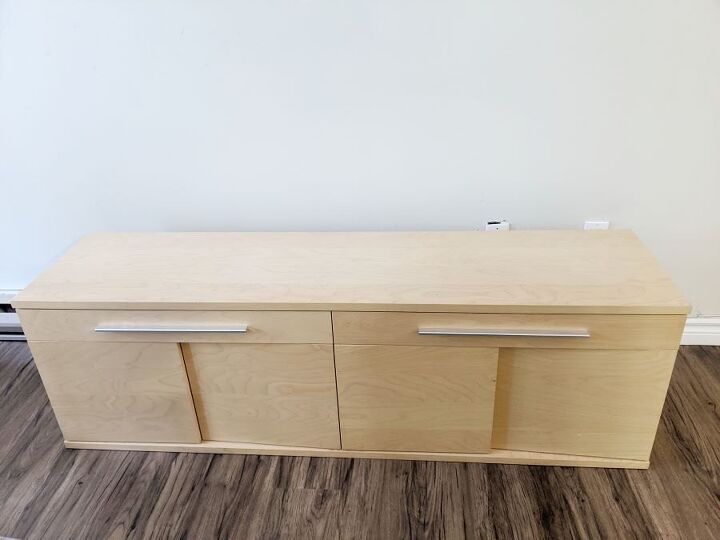
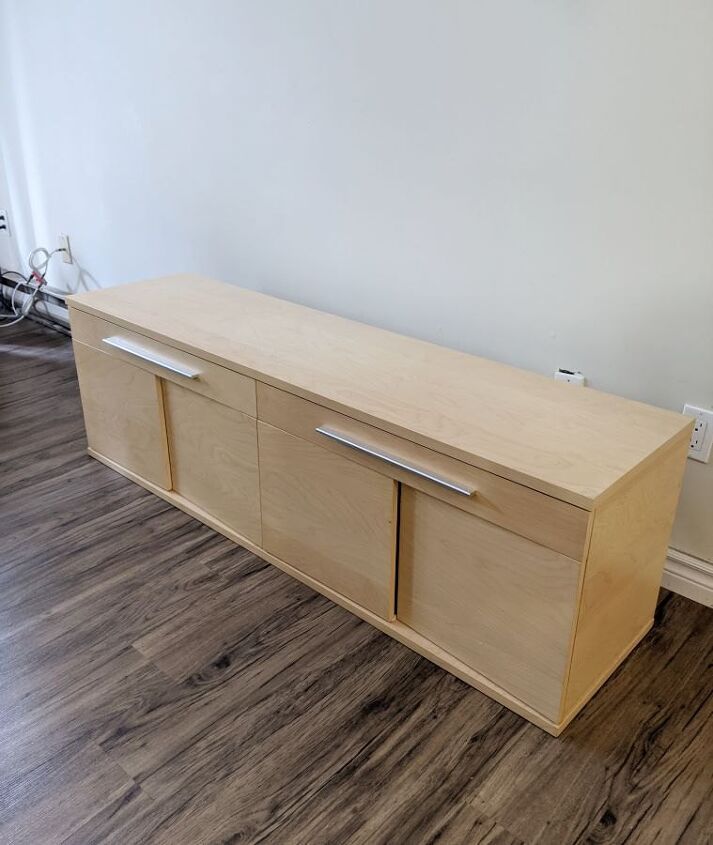
Like most Ikea furniture, this one was a laminated piece. I have painted on laminated furniture before using chalk paint and it worked quite well. It adhered to the piece without any kind of sanding.
But for this project, I wanted a semi-gloss finish and I was not certain if I could use a semi gloss spray paint on top of chalk paint. I googled for other methods other than chalk paint so I could try out another hack.
Materials I Used
I found several that recommended Zinsser B-I-N Shellac-Base Primer Sealer. I have never tried this before and I thought this was a great time to check how this paint will work on a laminate.
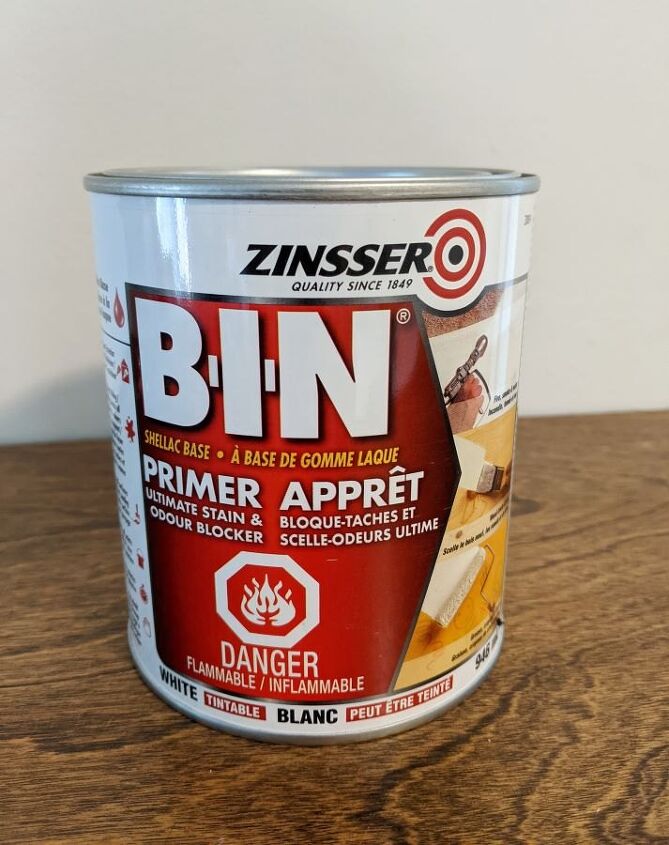
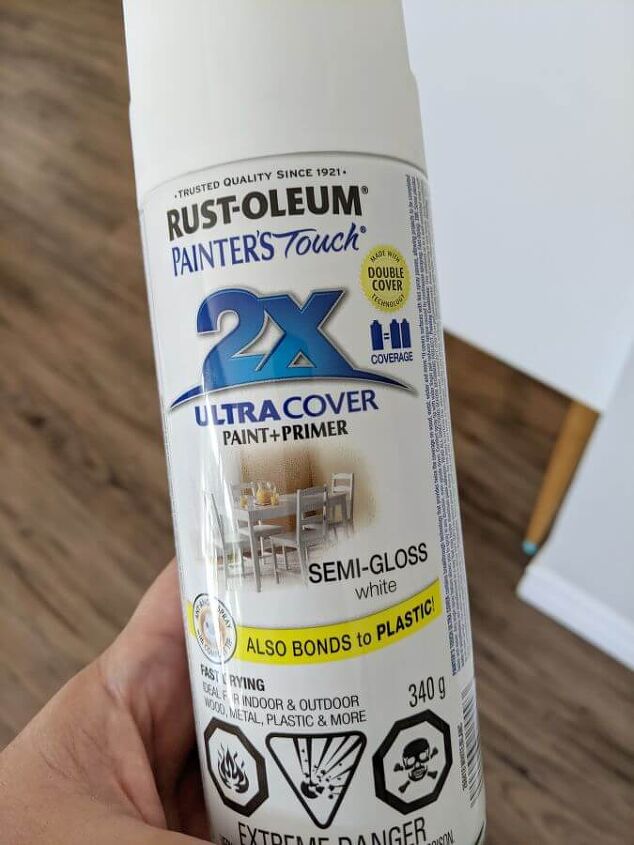
And then I purchased a Rust-Oleum Painter’s Touch semi gloss spray paint. Even if you use a paint that can serve as a primer as well, working on laminates is tricky. You need a primer that can adhere to a laminate’s surface. Laminates are made of synthetic material and are not porous like wood which means it cannot easily absorb paint or stains.
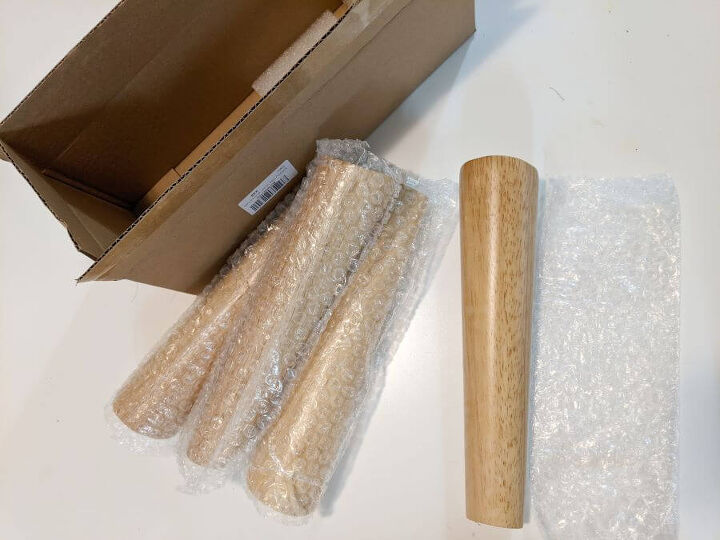
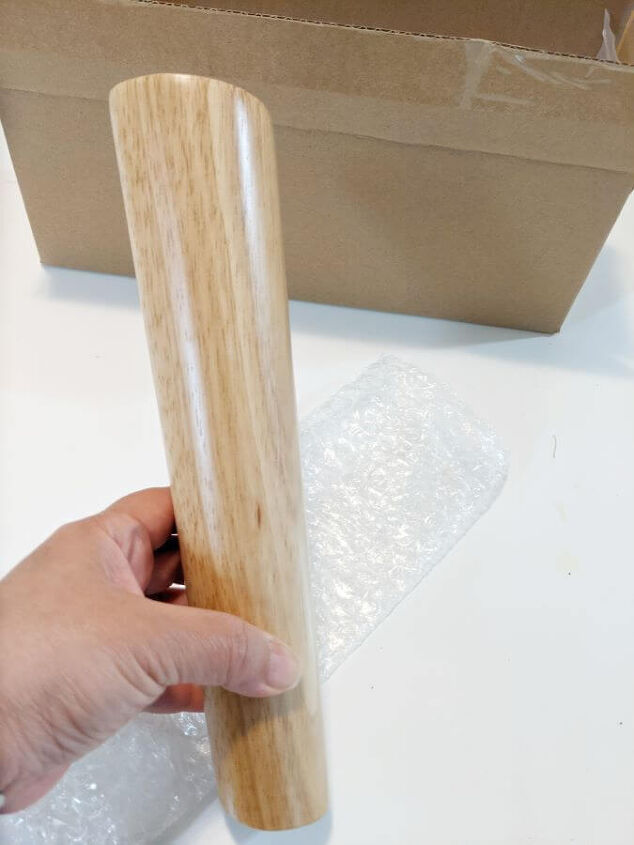
To complete this makeover and transform this TV stand into a mid-century sideboard , I purchased a 10 in /25cm solid wood oblique tapered legs on Amazon. I had to choose a thick diameter for the legs because this furniture is not at all light. And it’s length stretches to 61 inches. Skinnier and taller tapered legs will not be able to support it.
Once I got all the materials, I put on my painting pants and shirt. You know, that reliable old clothing that has all the paint stains from all the diy projects in the past.
The Ikea Hack Begins
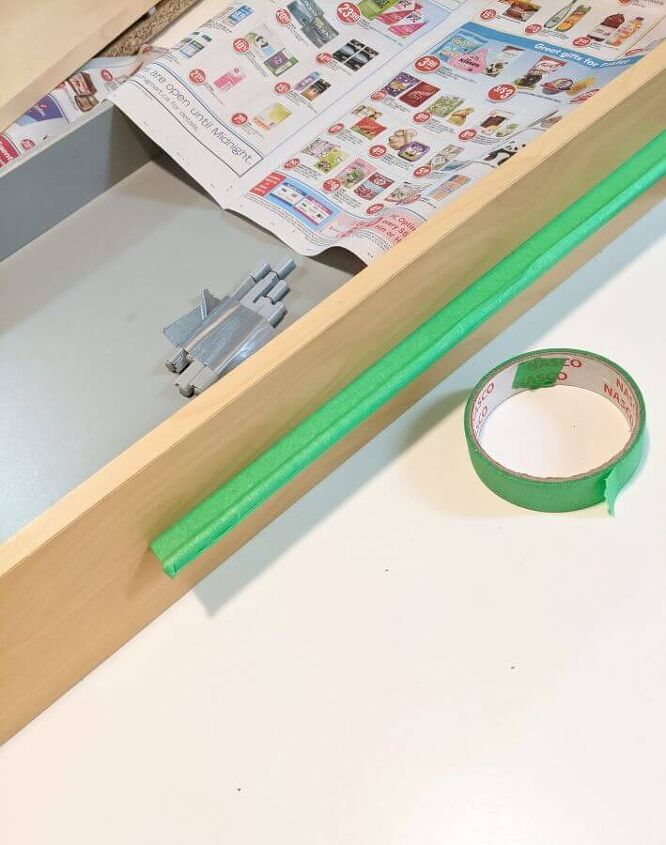
First, the drawers were removed and cabinet doors unscrewed from the base.
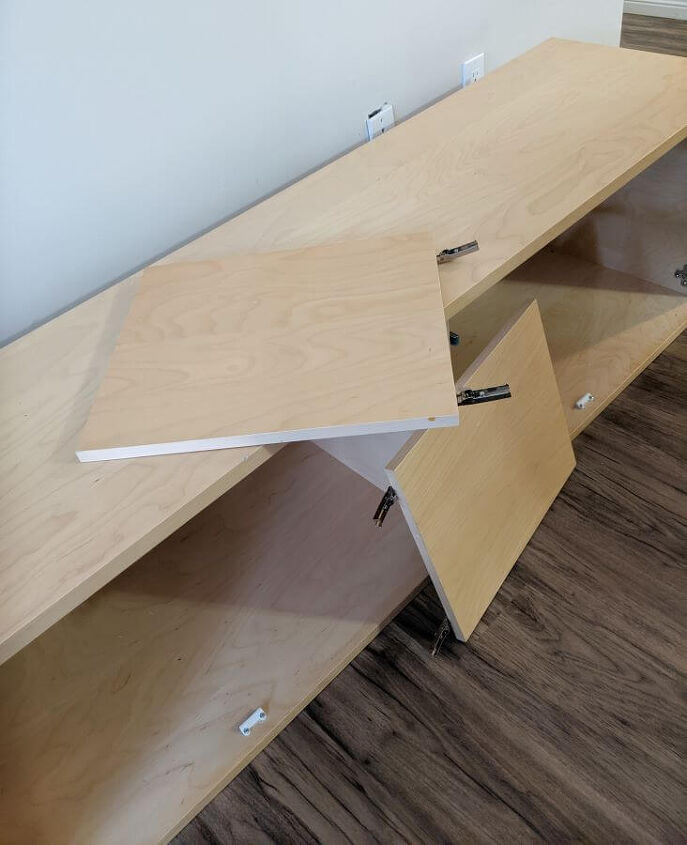
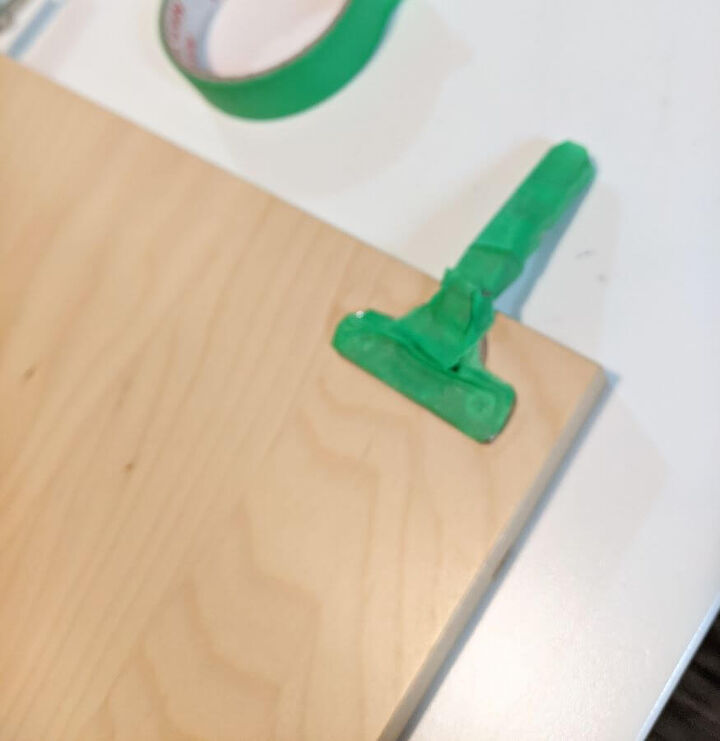
The next step should be removing the hinges and pulls attached to the drawer and cabinet doors. I say should because I did not do that and instead just covered it with painter’s tape. Let me tell you now, that taping it all down instead of removing it gave me more of a problem. I will tell you why as I go on.
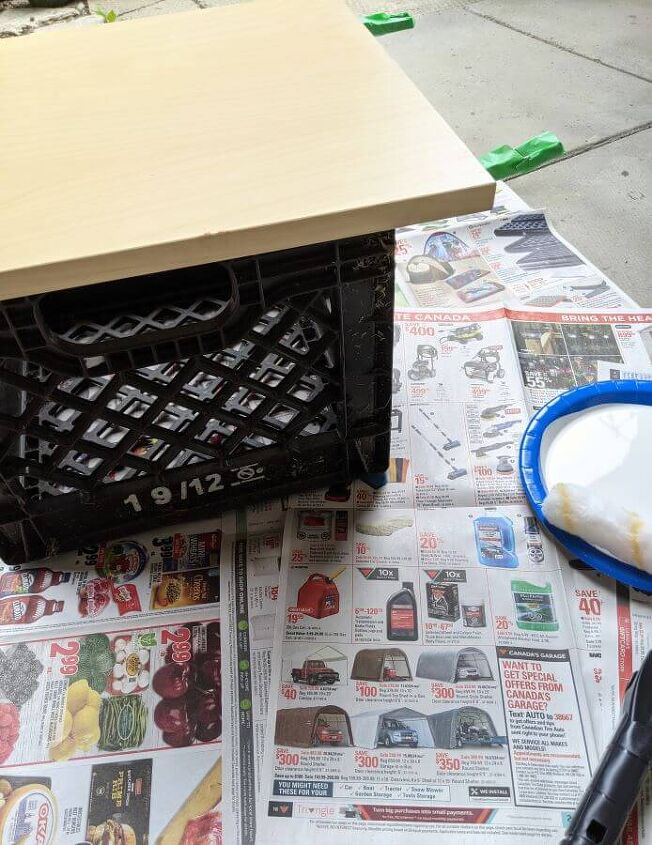
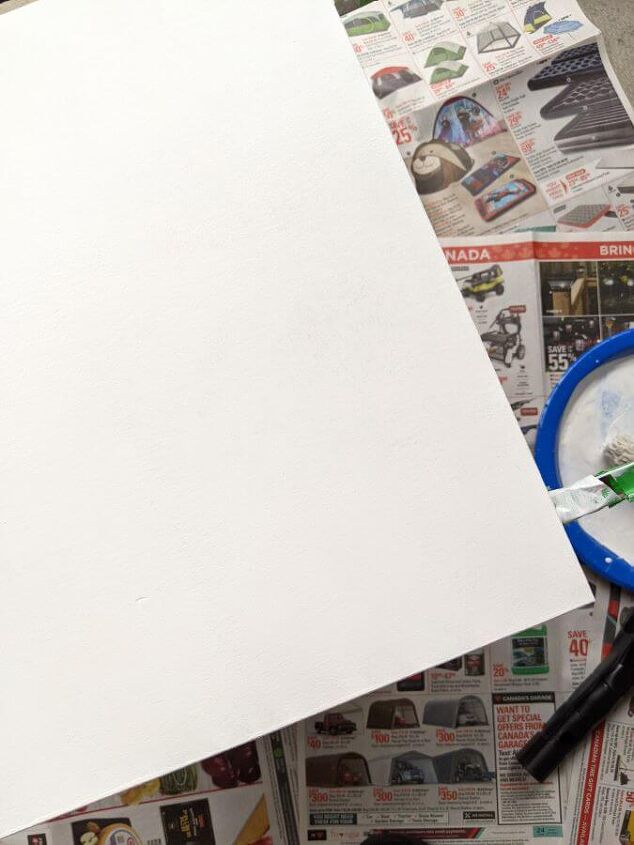
Next step, I laid out some newsprints outside the patio and used an old crate to rest the cabinet door on. I bought a 10mm mini roller paint brush and poured some Zinnser B-I-N paint on a paper plate. You can use a paint tray but I wanted to avoid the clean up of the brush and tray. Shellac-base paint requires denatured alcohol or ammonia for clean up and I admit, I did it the lazy way. I threw the roller brush after but at least I did not throw out the tray because I used a paper plate.
Priming The Laminate
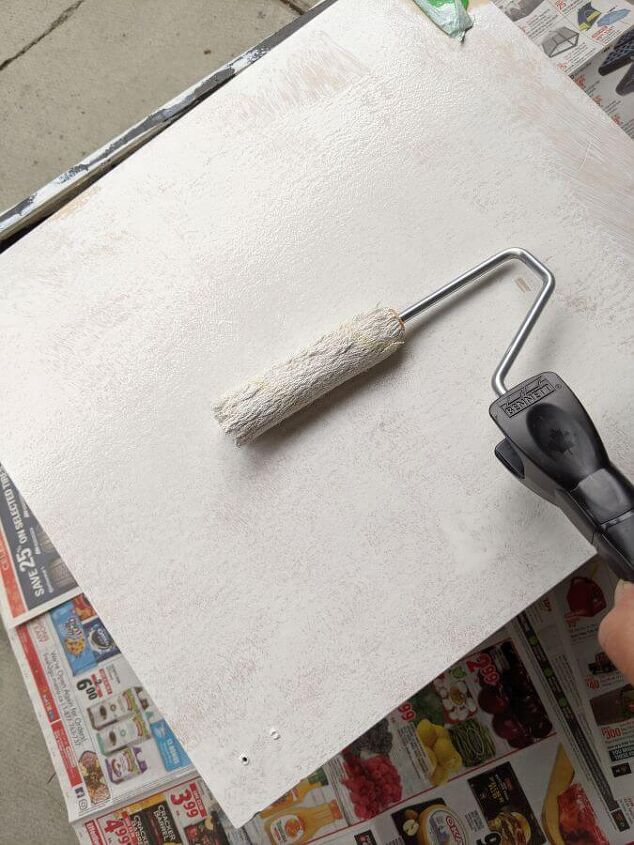
I have never used this paint before and I ended up panicking the whole time I was painting. It will be good to note that the consistency of this paint is very watery and it dries really fast. I knew that on the top of my head. But the actual use of it was sending me on a high cortisol level. As I painted it on the cabinet door, the way it was gliding on the surface looked like it was not working. That was the first coat.
The result of that panic was that I could not paint it evenly as you can see on the photo. And you cannot just go over the paint because some parts of it would’ve dried already and some parts wet.
I set that aside and did the other 3 doors. Meanwhile I noticed how fast the paint on my plate was drying up. It was forming like a dry film at the top. Maybe because I was doing this outside on a very hot day. That was why I was painting so fast and all the time thinking if I was doing it right. I don’t know but I guess it would have helped if I first tried this out on a piece of scrap wood just to familiarize myself with this paint’s behavior.
So if you’ve never used this paint before, I highly suggest testing this out first. Try it on scrap wood before working straight onto a furniture project.
When I finished with the second coat, I was a bit relieved to find out that the paint worked. This Ikea hack might actually have a chance in life. It looked better but I could still see uneven patches.
Instructions recommend 45 mins before the second coat.
Painting With Semi-gloss
I allowed the primer to dry for an hour after the second coat before applying the spray paint.
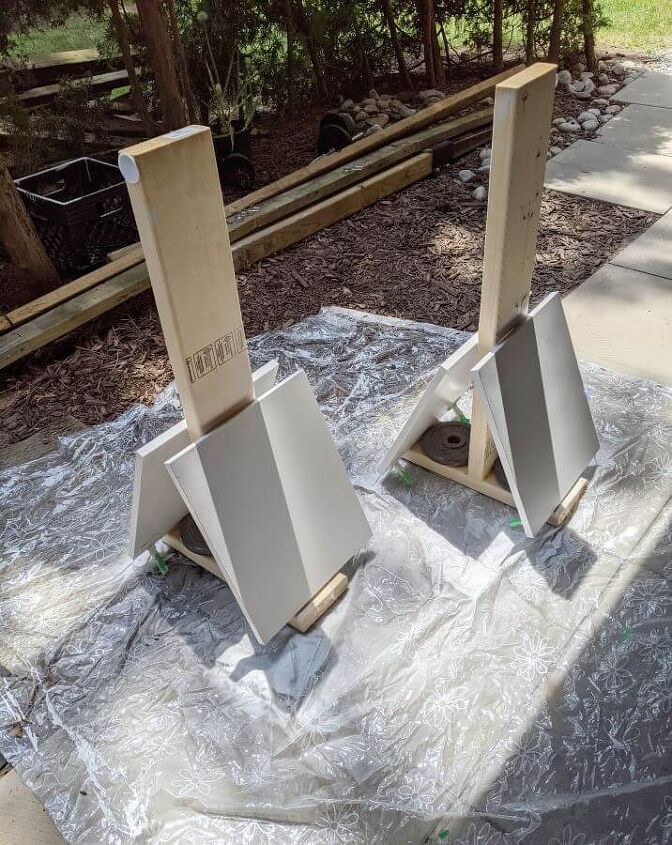
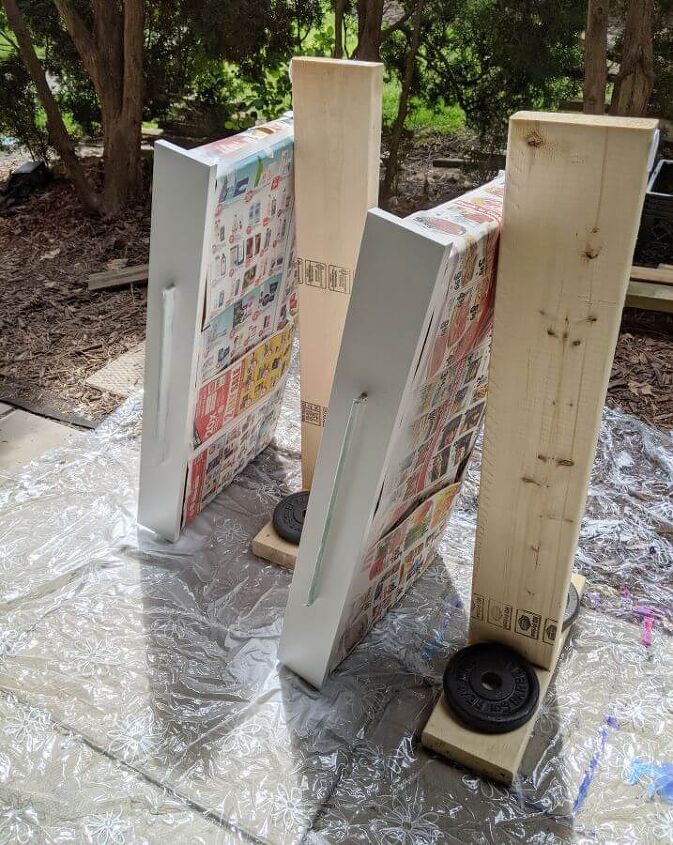
Next, I laid out an old shower curtain and found some stands to lean the cabinet doors and drawers onto. I applied 2 coats of spray paint. But for some reason, as the 2 coats dried up I could see that the semi gloss shine was uneven. I had to apply a 3rd coat on areas that needed the shine.
Did it work? No. I could not figure out why the gloss was so uneven. This is one of those diy’s where you just have to keep going.
The Assembly
I let the paint dry and cure. Meanwhile, I asked the assistance of my hubby to place the legs on the bottom of the stand. First, he screwed the metal plate base on the top part of the legs.
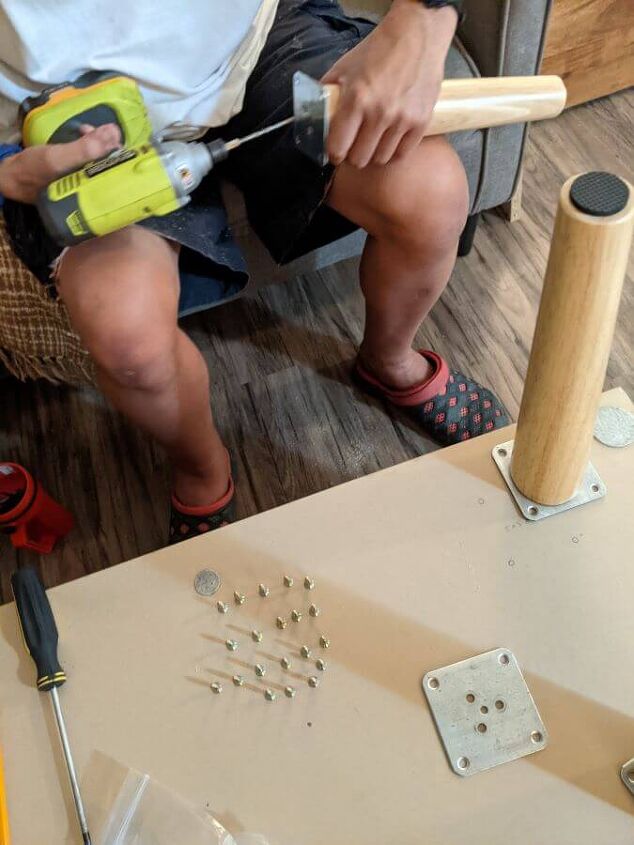
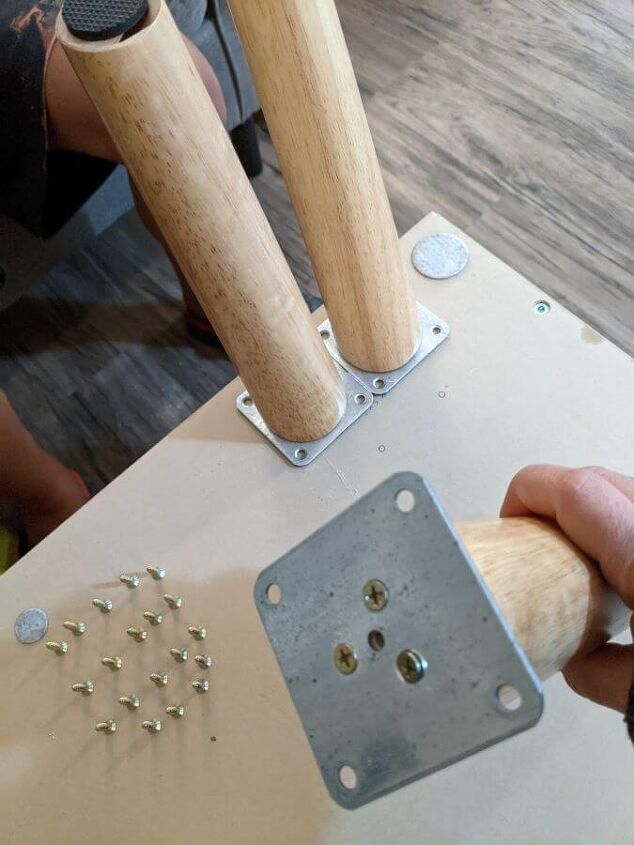
Then, he prepared all the parts and configured the placements of each leg. Using an oblique leg requires careful attention because there you need to place each leg on the right angle. A slight difference in the placement of the angle will skew the way the legs stand. And it’ll look so misplaced.
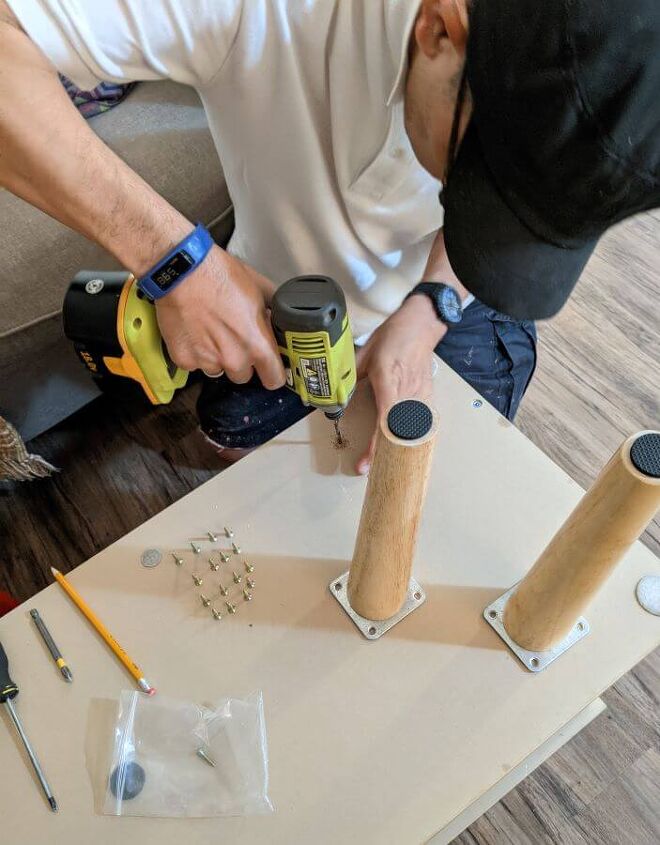
Once all the placement had been sketched out with a pencil, he drilled the holes and screwed the legs in
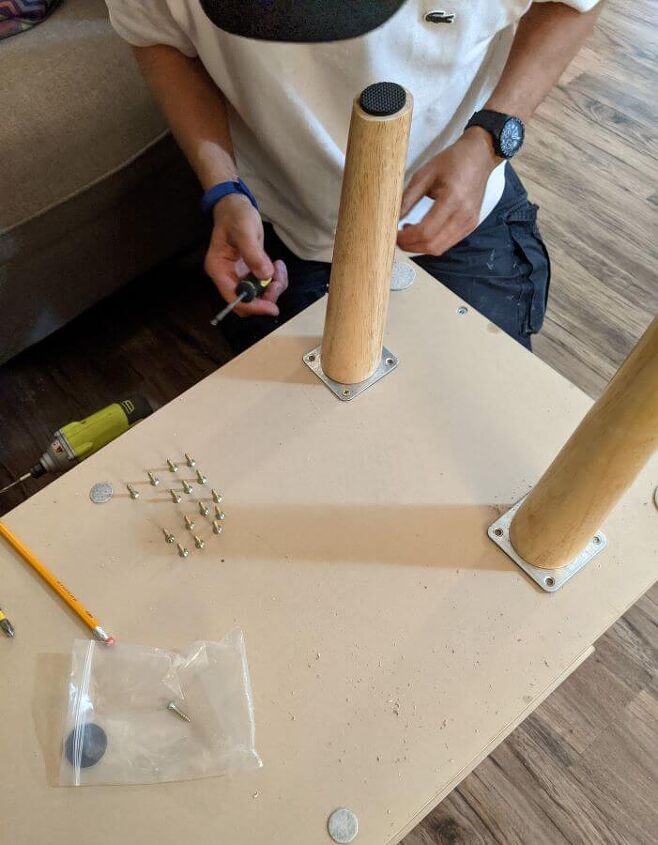
My handy hubby had to be the one to screw back the hinges since he was the one who took it out. Kudos to him for joining my project that he did not sign up for!
The Problem
Remember, I mentioned that taping down the hinges and drawer pull instead of removing them gave me a problem. The issue was not evident until I removed all the tape. During the unveiling of the newly painted drawers and cabinet doors, I saw gaps of the paint on the laminate! Arghhhhh! Those tight sections all around the drawer pull.
I tried to remedy the obvious flaw by taping the drawer pulls again but this time ever so carefully. At this point I tried to remove the pulls. But the attempt to unscrew the pulls from was futile. It seemed to be so stuck there for life. I went ahead anyway and repainted with the spray paint all around the sections that had gaps. Waited for it to dry and unveiled it again.
There was some improvement but if you look closely enough you can still see some gaps. I’ve had failed diys before but this one was half and half. I would rate the execution as satisfactory for a diy project but not a raving success. It looks good though! I was so happy about how it looked at the end. But I avoid eye contact with those painting gaps when I’m near it.
Ikea hack – My mid-century sideboard.
I can’t wait for you to try out this Ikea hack. You can also try out some of these other Ikea hack projects:
Turn An Ikea Placemat To A Wall Clock
Resources for this project:
See all materials


Comments
Join the conversation
-
Looks great!
-
I love this. It’s beautiful!! 🤗🩷


Frequently asked questions
Have a question about this project?