


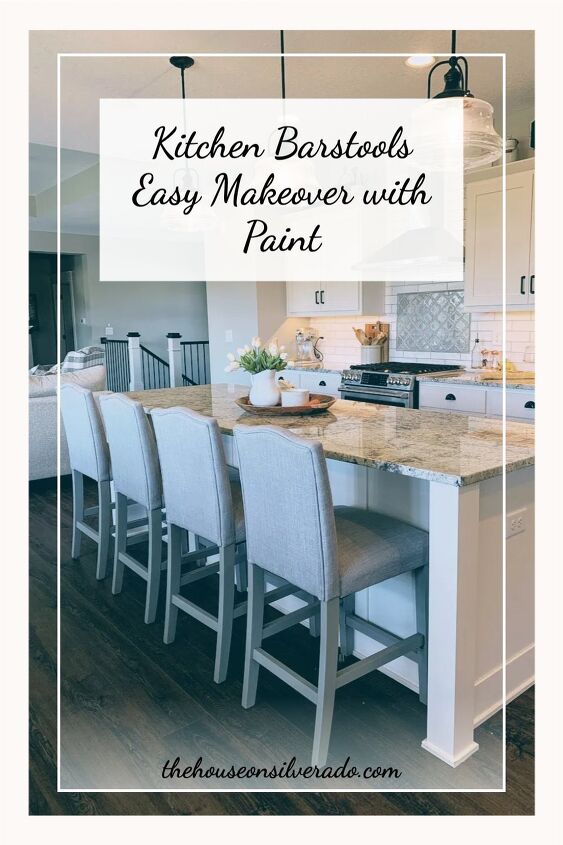
Kitchen Barstools Easy Makeover With Paint
I never fail to be amazed at the transformative powers of a little paint. After giving my kitchen barstools the side-eye for some time now, I finally got a wild hair, and gave them an easy makeover with nothing but paint.
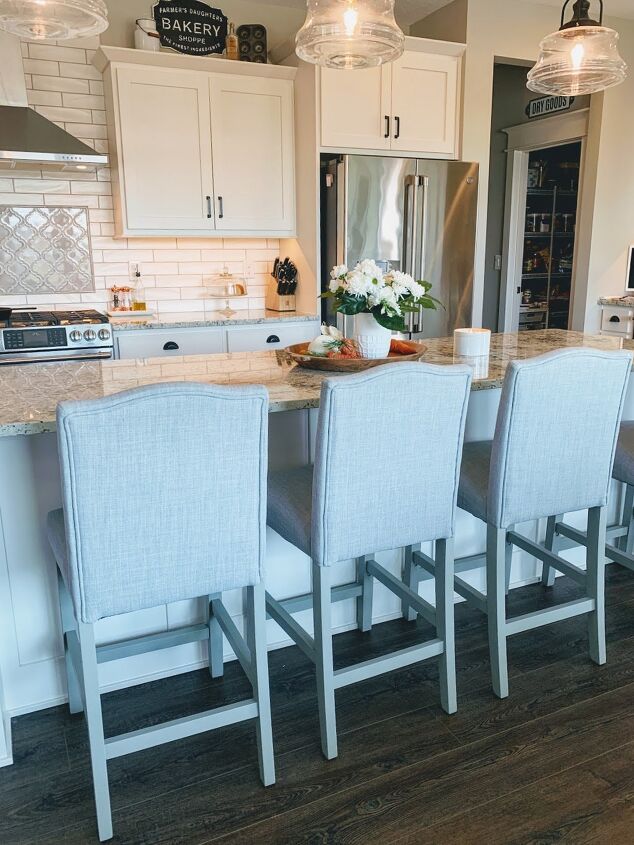
I bought these four barstools when we first moved in to our new home about 2.5 years ago. At the time, we were just finishing up with the whole building-process, which was overschedule, and stressful already. I ordered these online and had them shipped, and in the pics online, it was hard to tell the exact coloring.
I like almost everything about these barstools.
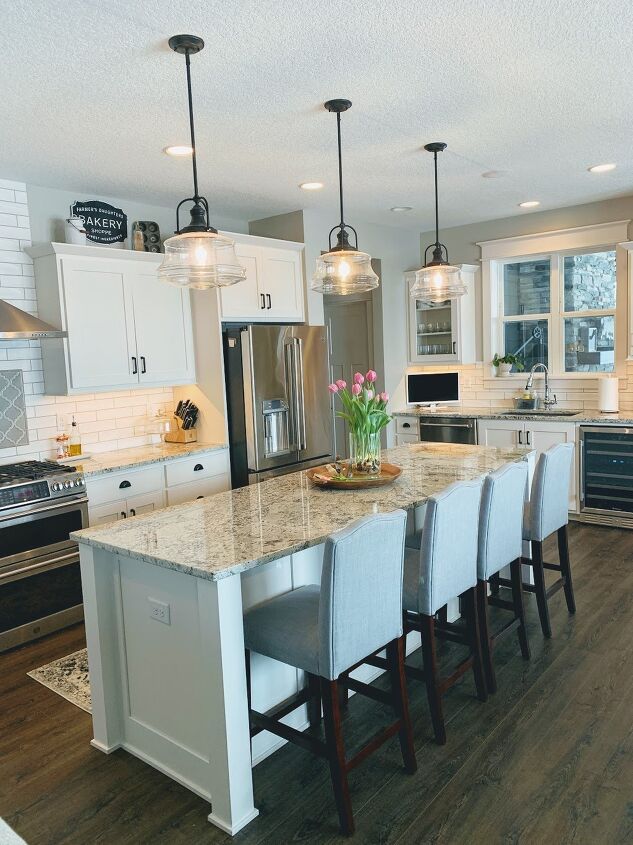
- The gray shade of the upholstery works perfectly with the gray and neutral tones in my kitchen.
- The upholstery on the chairs is well-made and is holding up nicely to everyday use.
- I love the tiny bit of sparkle from the nailhead trim on the backs of the stools.
- The stools are really comfortable.
But, can you see that little bit of reddish cherry wood undertone on the legs? It bugged me. It just wasn’t playing nicely with the darker espresso tones in our flooring and dining table. I should have sent them back right away, but at the time, I was so busy and overwhelmed with everything else going on, that I just decided I’d live with it.
And I have been for the last 2.5 years.
But one recent Saturday while my husband was at work, I decided that a simple coat of paint would fix the problem. I whipped out my favorite can of General Finishes Empire Gray Milk Paint and set out to eliminate the red tones. 👨🏻🎨
Supplies
It didn’t take much to give these barstools a whole new attitude! A drop cloth, a small paint roller, a paint brush, and my General Finishes Empire Gray paint and I was ready to rock & roll!
Guys, can you believe this is still the same quart-sized can of paint I’ve used for my Antique Hope Chest Makeover, all four items in my Easy Upcycles with Paint post, and now these chairs! And there is still paint left in the can! Seriously, I love this stuff.

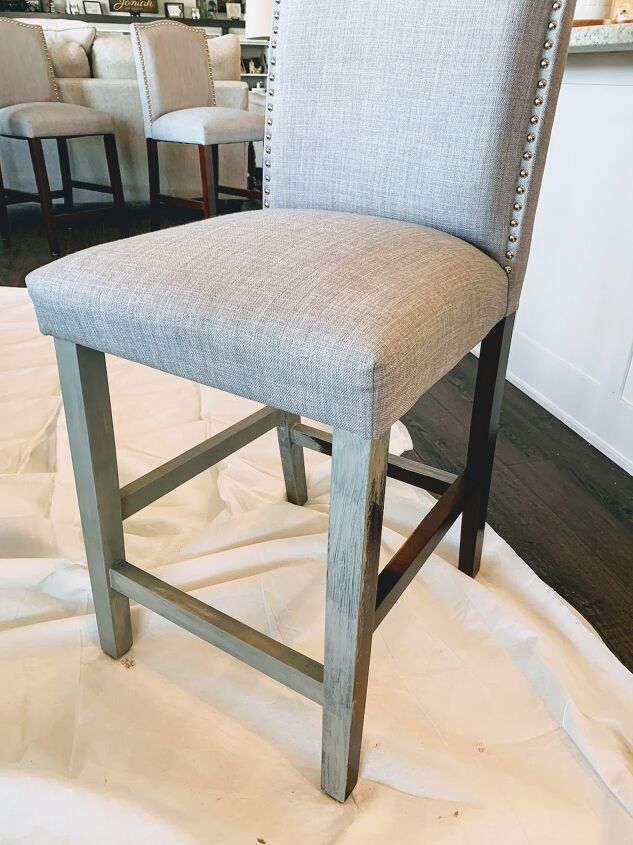
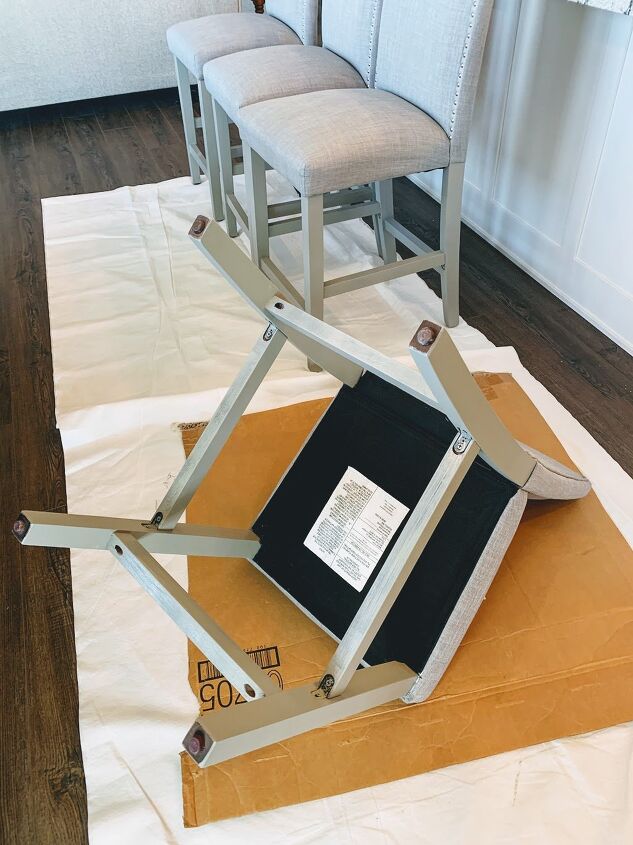
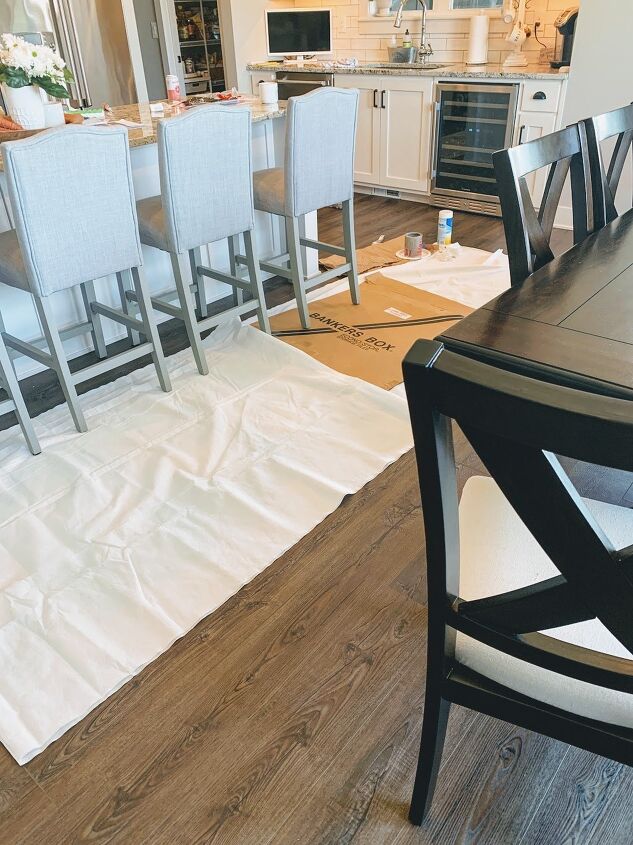
In process…
One of the things I love about this General Finishes Milk Paint is that you generally don’t have to use a primer, or do any sanding to prep the wood.
All I did was wipe the stools down really well with a damp cloth to remove any dust, let them dry, and then started rolling on my paint. One coat followed by a second lighter coat just to even out any brush strokes, and that was all it took!
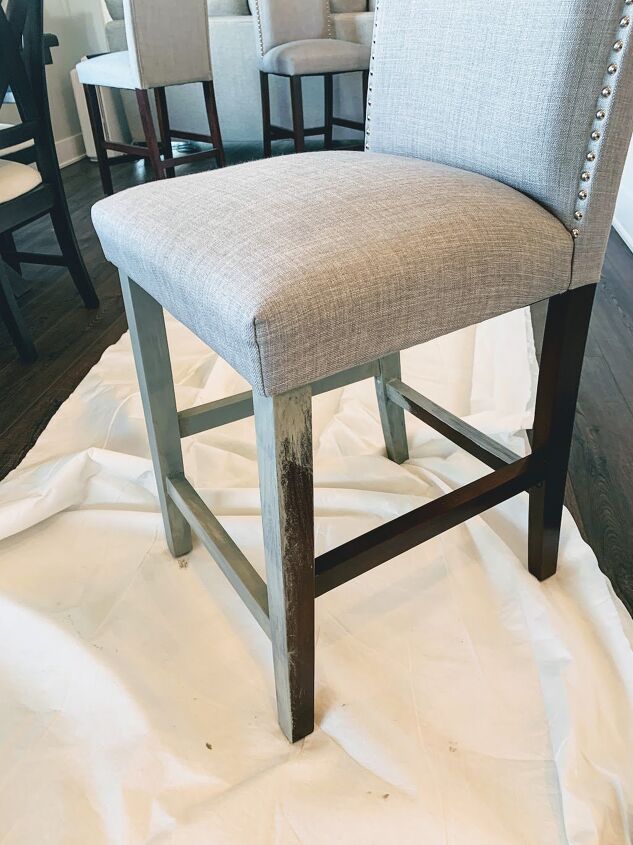
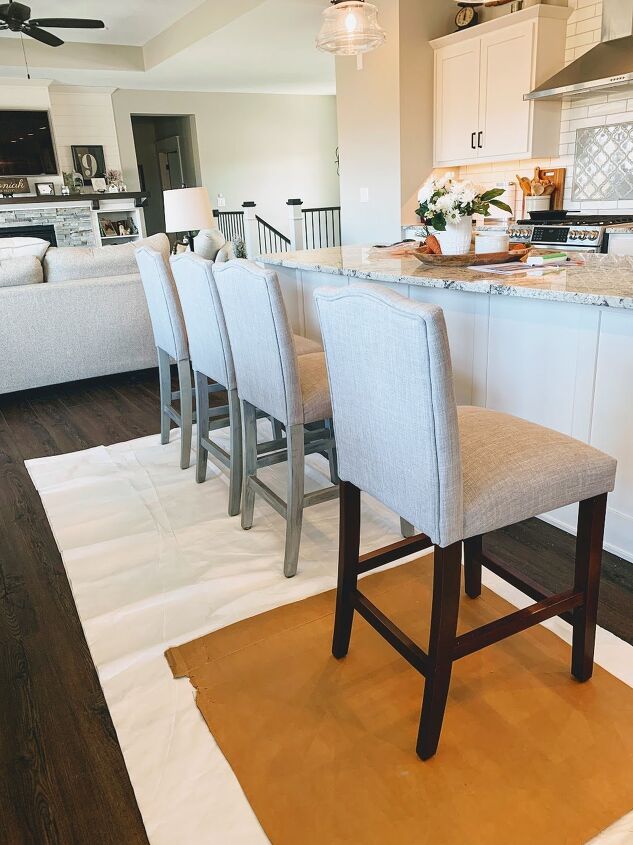
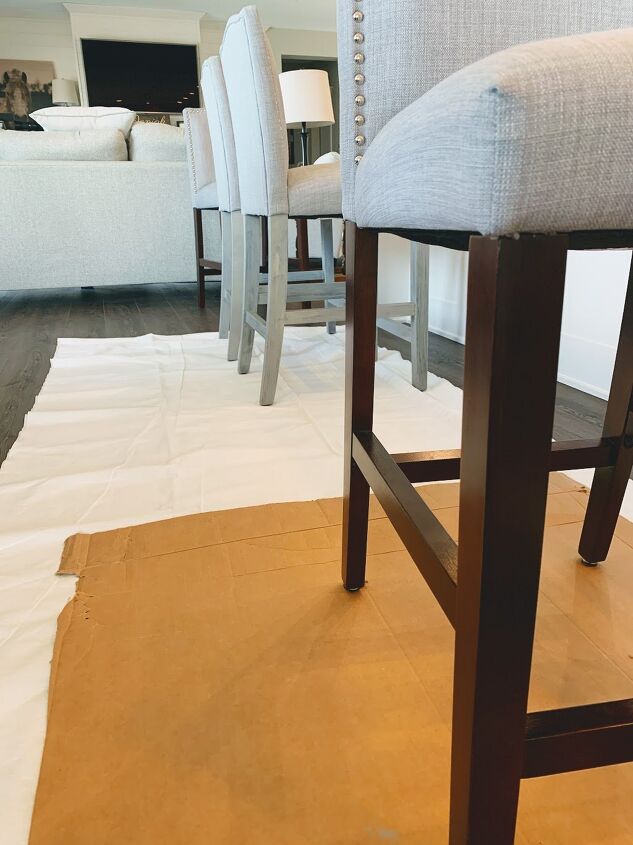
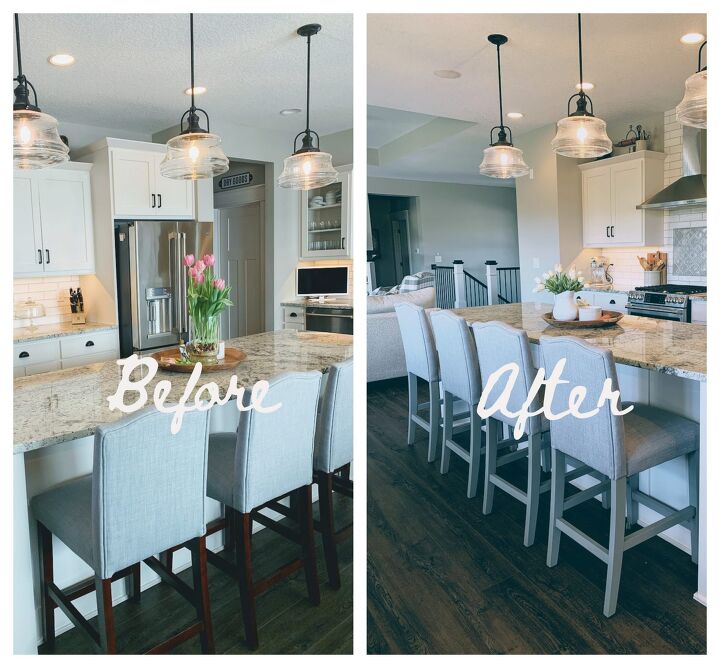
Before…
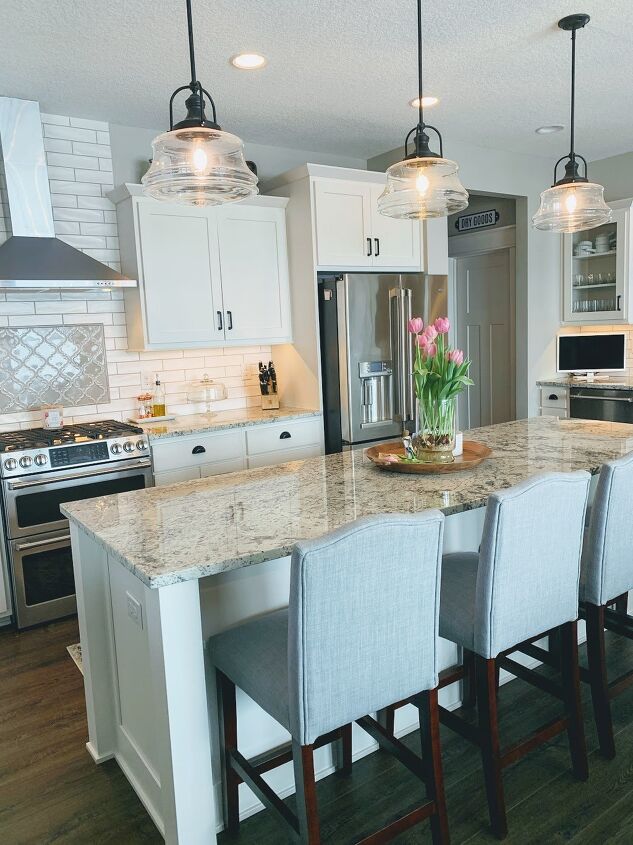
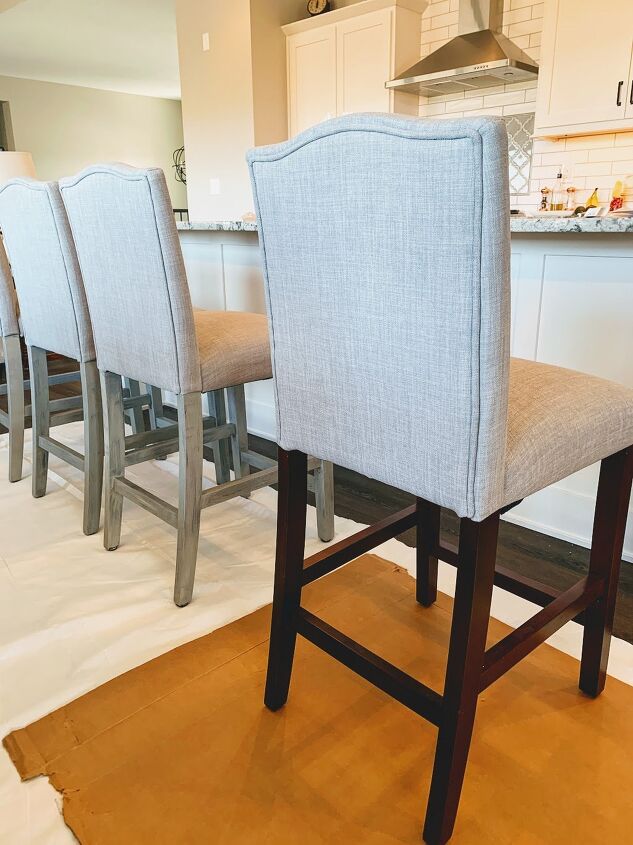
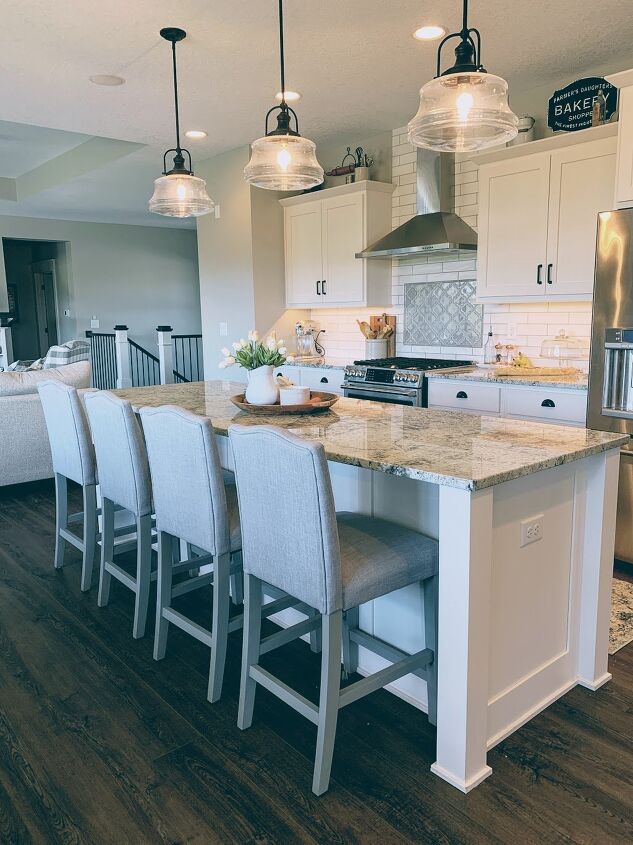
After…
See how much better the gray looks with the dark floors and dark dining table?
I’m biding my time until summer you guys, because I have several other pieces of furniture just waiting for a paint makeover. Summer is my favorite time of year…. lots of ☀️, ☕️, and plenty of time for 🎨, 🛠, 🌷, 🍅. I can hardly wait…
🎉

Let’s stay in touch! Subscribe using the box on my blog home page, as well as follow on social media. 💕
Facebook —– Instagram —– Pinterest
This post contains affiliate links. Thank you for reading and supporting my blog.
Resources for this project:


Comments
Join the conversation
-
Looks so much better! Great job. Did your husband notice the difference? Mine wouldn’t right away lol
-
Crazy how just painting the legs made such a huge difference! Looks great!


Frequently asked questions
Have a question about this project?