


Spring Makeover on a Thrifted Cabinet

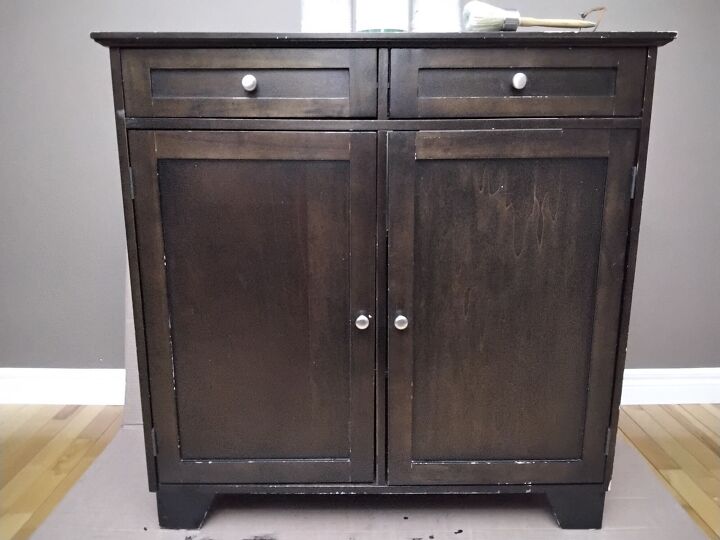
As with my last post I have gotten creative with storing okay hiding some craft supplies in my dining room, I mean the room at least gets used now! Enter storage solution number two, a cabinet that I needed to hold picture frames that I upcycle for charity.
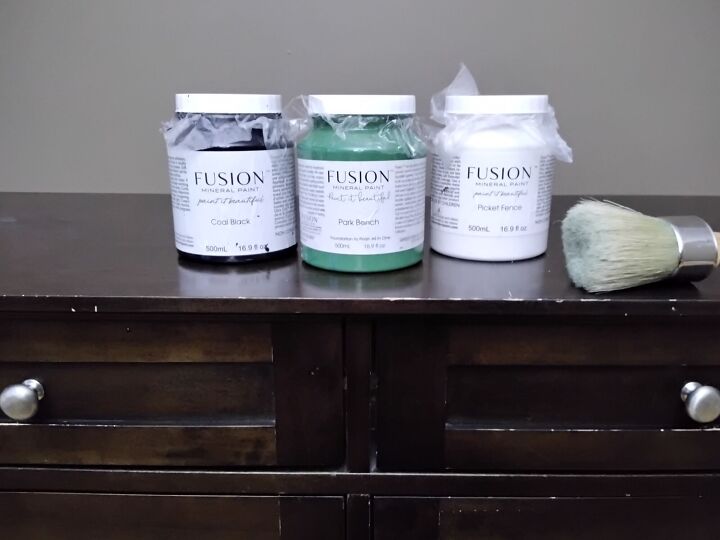
Best all in one wood paint!
It had working drawers and doors, it was a good size for what I needed and had shelves, it was cheap so I mean what's there to complain about?
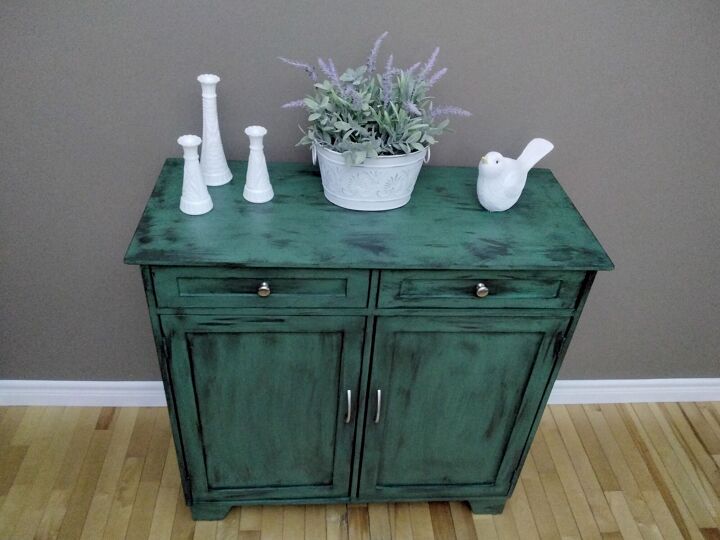
First up was to decide on the color, I have a lot of black furniture so I didn't need more of that, the white was too stark for me so green it will be!
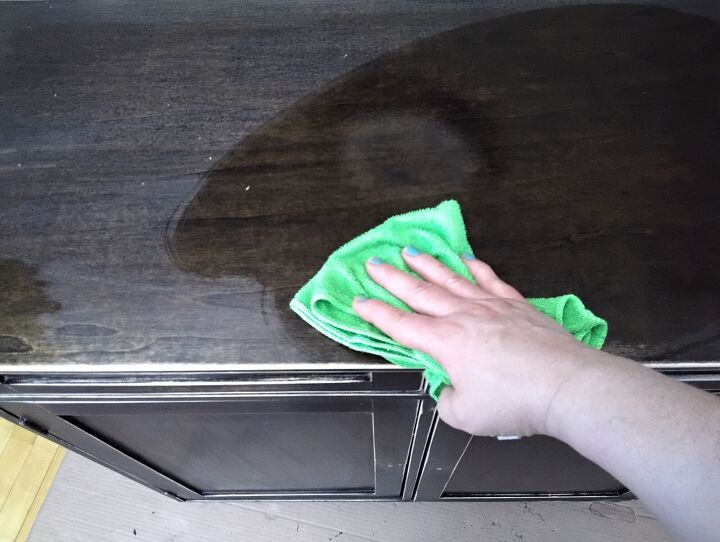
I just wanted to dull the smooth finish on the furniture so I hand sanded all of the exterior surfaces.
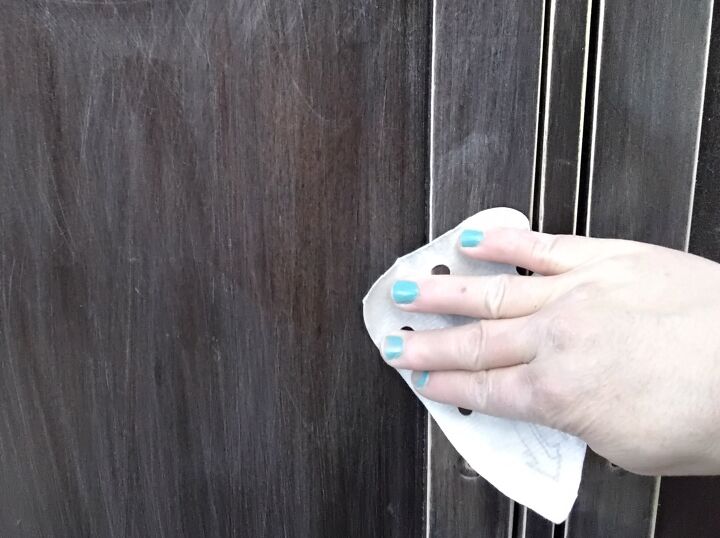
That created a bit of dust so I made sure to give everything a wipe over with a microfiber cloth.
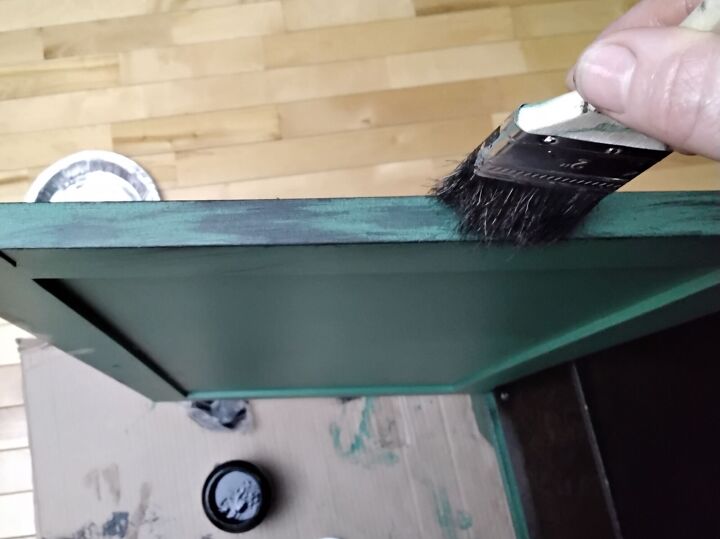
I removed the handles and painted the first coat with my paint brush but for the second coat I used a cotton, mini roller brush to get a smooth, even coverage.
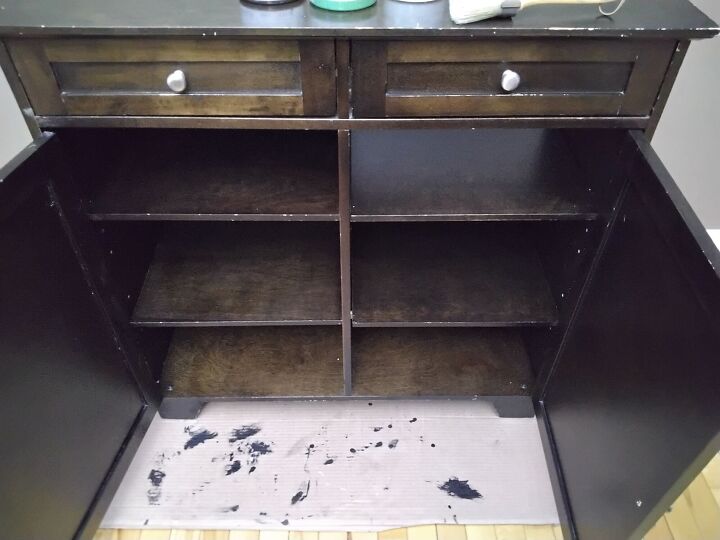
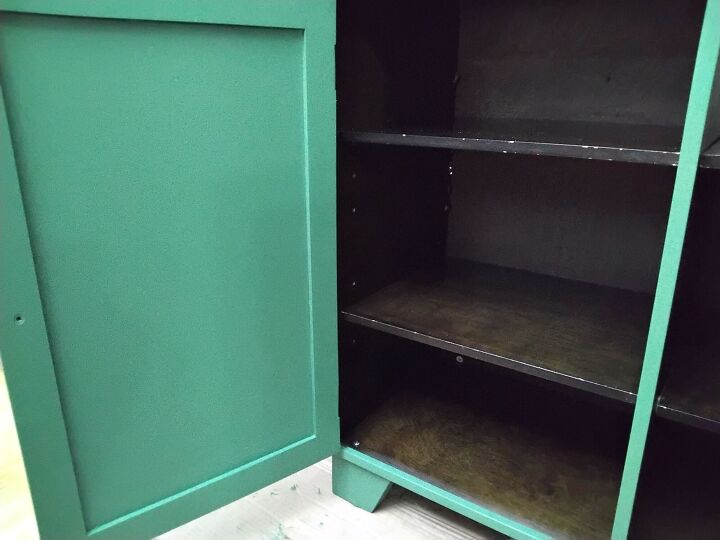
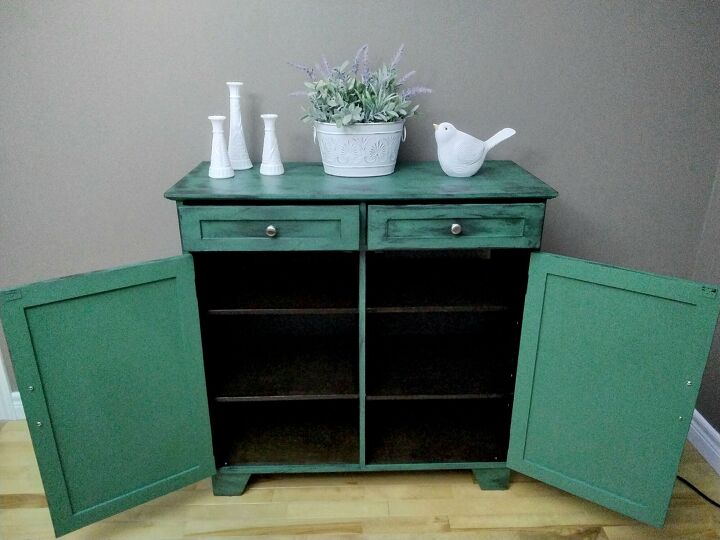
I did the front and back of the doors but for the shelving interior I left it as it was except the edges that would be seen with the doors shut. I used painters tape to give me a clean line on the paint finish.
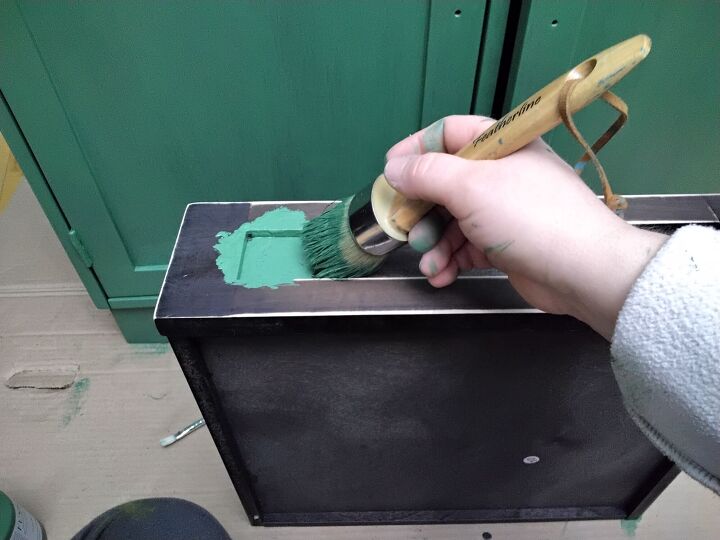
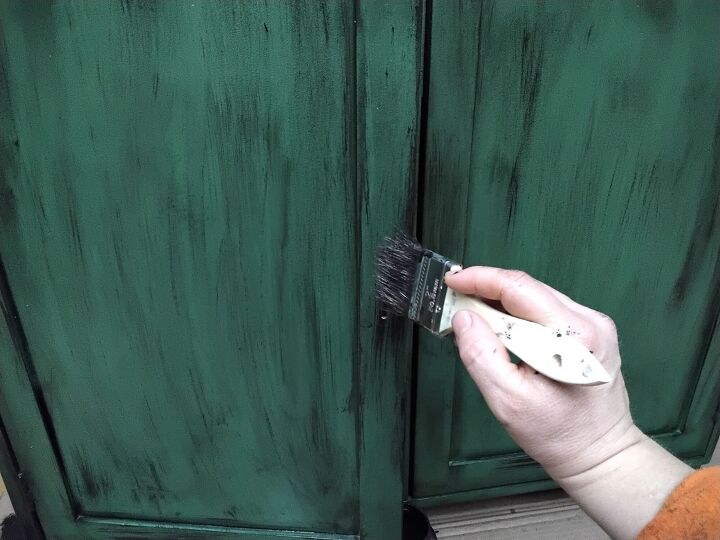
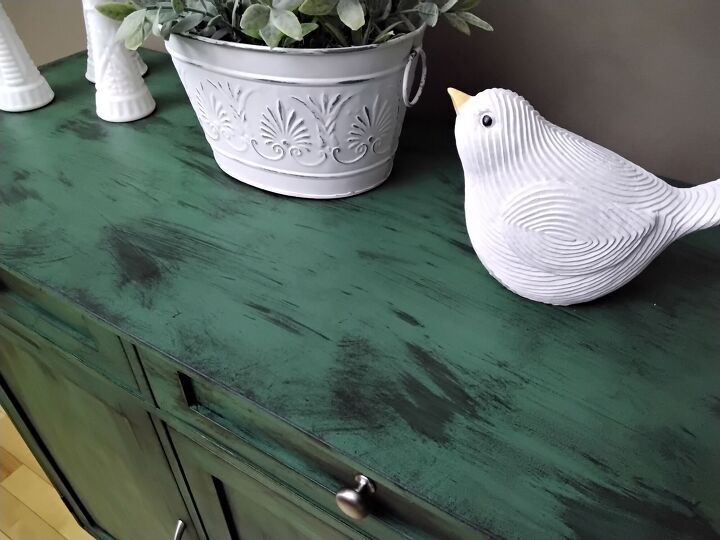
Remember how I mentioned I have a lot of black furniture already? Well I couldn't resist adding a light smidge of the coal black here and there onto the green. I used a chippy brush to give me the light handed looks that I was aiming for.
I had no preset plan in my head, I just did light strokes with an almost dry brush to give a feathered, barely there look.
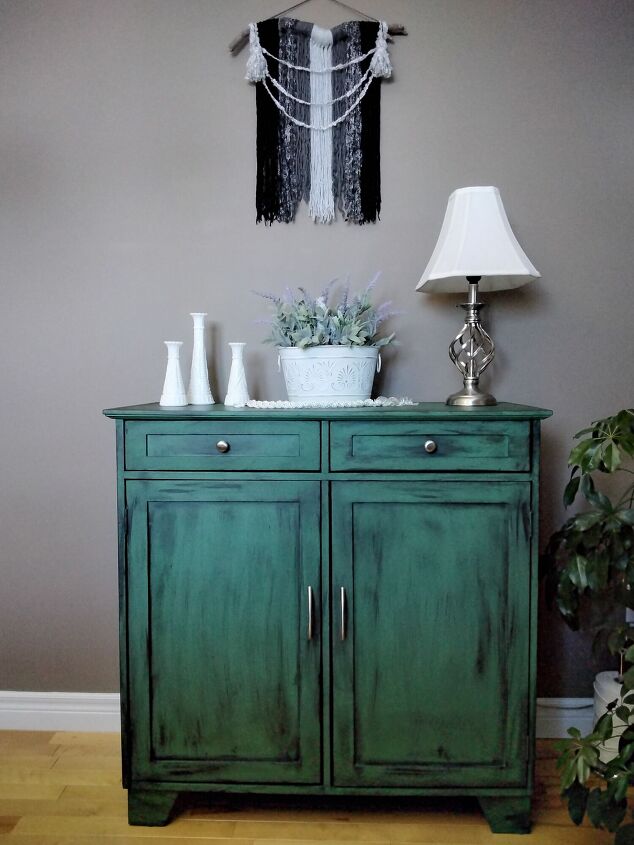
Oh yes, there's many imperfections but I think it adds to the charm of this new, old cabinet. Moving on to putting the handles back on, I went with handles not knobs for the doors this time resulting in me drilling extra holes.
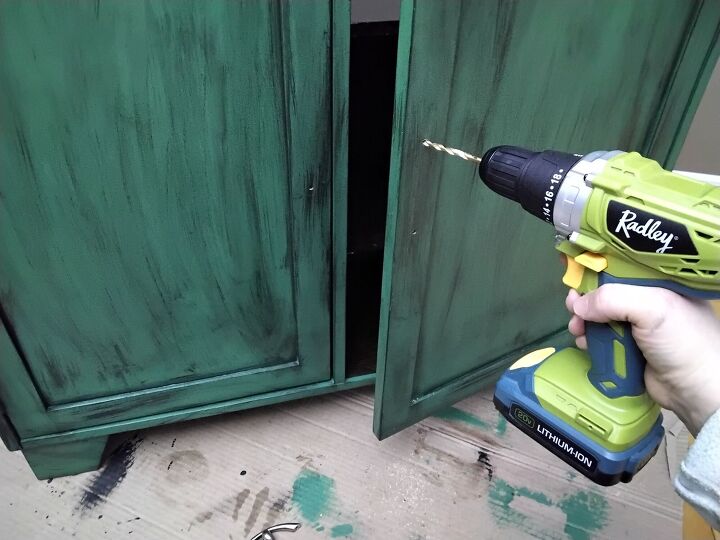
Yes, yes, yes that's better I prefer the handles, on the doors at least.

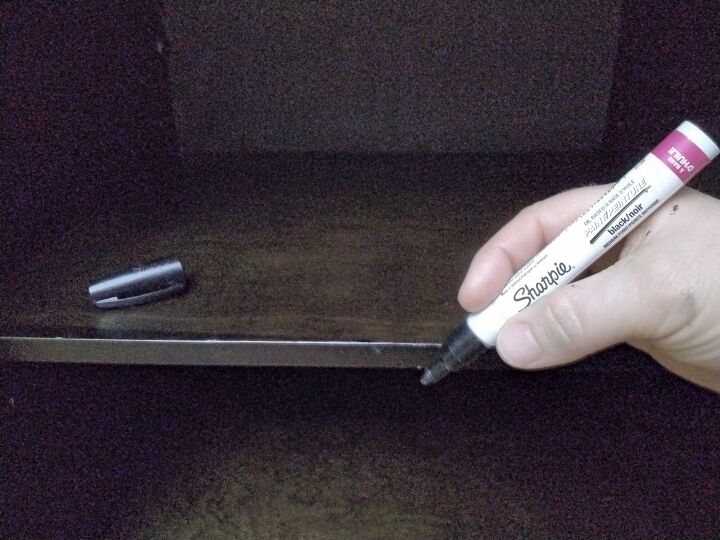
One last, tiny job before I share the reveal, the knicks in the wood finish needed some attention. I simply applied and then buffed a black sharpie paint pen, it worked like a charm!
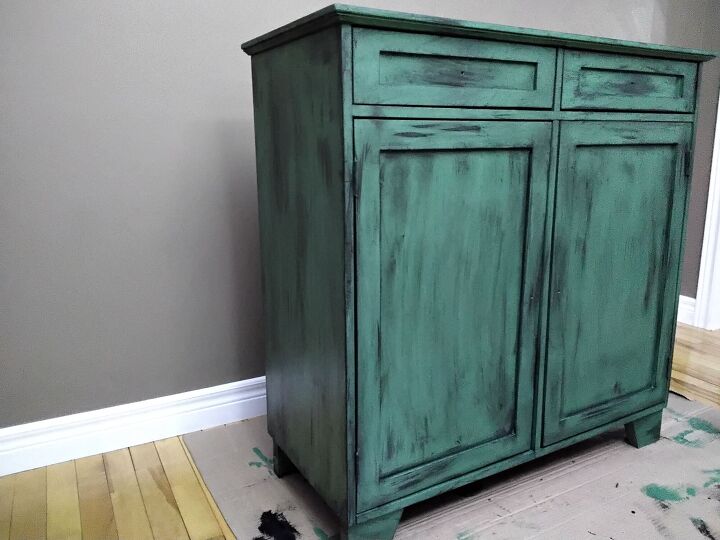
Okay so now we've come to the reveal, are you ready?? It may not make it into the makeover hall of fame but it will certainly make it into my dining room!!
Look at all of that hidden storage just waiting to be filled, it's going to be a game changer to have accessible craft supplies nearby as I cook or bake in my kitchen.
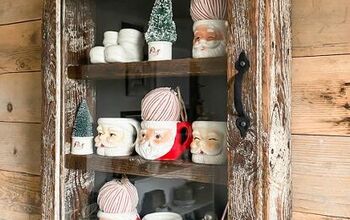
I think the green was a great backdrop for any white accents that I choose to display.

Thanks for checking in on my little, old makeover just using minimal tools and minimal effort to make it purdy once more.
All of my picture frames are stored inside the cupboard doors and stencils and scrapbooking paper are hidden in the two drawers. At any moment that my meal is just simmering I can take a couple of steps and continue with my creating.
Resources for this project:
See all materials


Comments
Join the conversation
-
Great idea to add the black, gave it a more rustic look. Love it!
-
Love it!


Frequently asked questions
Have a question about this project?